Vintage Dining Table and Chairs Transformation
Hey friends! Thanks for stopping by today! Before we begin, don’t forget to find me on Instagram, Facebook, YouTube and Pinterest and sign up for the newsletter….You’ll be able to keep up on the latest happenings around our home and family.
************************************
Today, I wanted to share with you about my thrifted dining room table and chairs renovation!
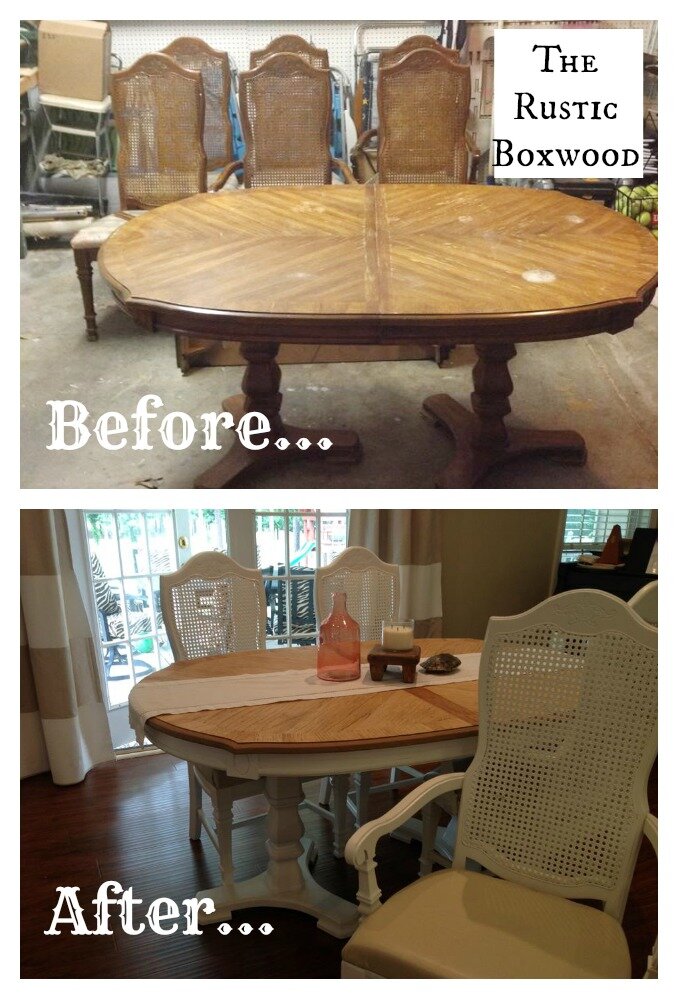
I refinished this set from our local thrift store a few years back, but it's still beautiful and in great shape! I absolutely LOVE the cane chairs and the curves of the table legs. And -- knock on wood -- the cane chairs have held up after all these years! :) Lol!
What I used....
sanding paper and sanding block
large paint roller
can of white paint
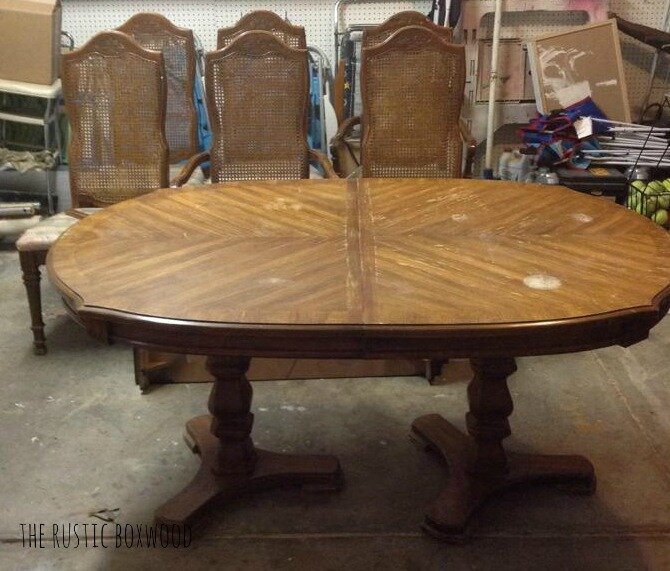
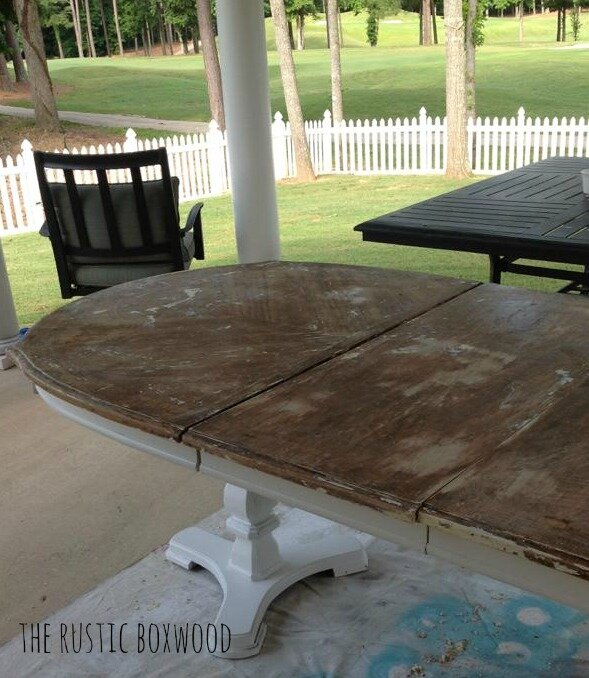
The pic below shows how it started out...an old, dilapidated mess! You can't see in the pic, but all of the chairs had some 80's fabric that was covered with a clear plastic tarp thingie (?). It wasn't pretty! And you can see the watermarks on the table as well!
First, my hubby carried the table and chairs onto our back patio to protect against the fumes AND to keep from having to sweep up the big mess I was about to make. :)
Next, I sanded down the table to give it a rough edge, so the paint would stick. Third, after wiping off the grime from the sand job, I began to paint. It only needed a couple of good coats.
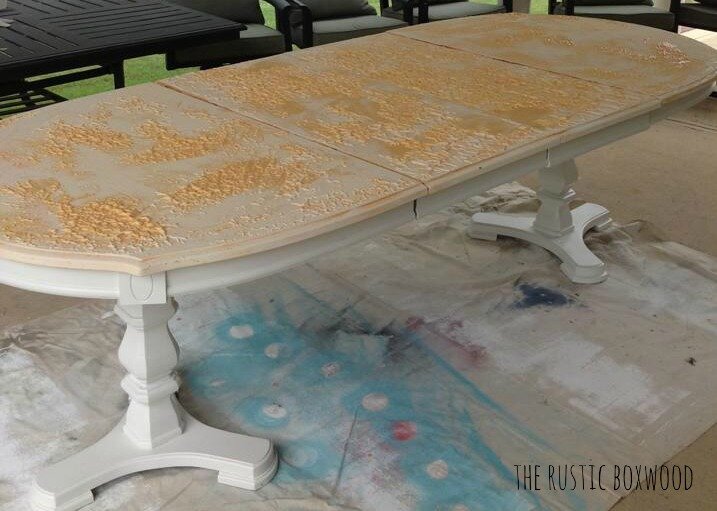
Now, came the exciting part! It was time to adhere the poly! (I used polyurethane only on the tabletop, in order to protect the surface.) So as I painted the poly on, I noticed that a yellowish tint started to appear. And being the newbies that we were to refinishing furniture, my hubby and I both thought that maybe it would dry clear....Afterall, the outside of the can DID say that it was a clear poly. Below is a pic of how it dried. An ugly yellow. Just terrible.

I was so disappointed that it didn't dry clear like it was supposed to! So, I started over. Thankfully, there's this wonderful product for people who are looking to strip their furniture, and it's called Citristip. Y'all! It worked like a dream! I just followed the directions on the bottle, and the layers of paint and the yellow poly came right off. It was amazing! Below is a pic of what it looks like, once applied.
One good thing that came from this process is the fact that I realized (after sanding the poly off) that I liked the tabletop a natural finish instead of what I originally planned, which was a white tabletop!

So, after learning my lesson the first time, I repainted and then applied what's called Waterlox. And I'm here to tell you that this product actually DID dry clear (or at least as clear as one can get with a "natural" finish)! I just painted the Waterlox on the top of the table and on the arms of the chairs....wherever I thought there'd be a lot of wear and tear.

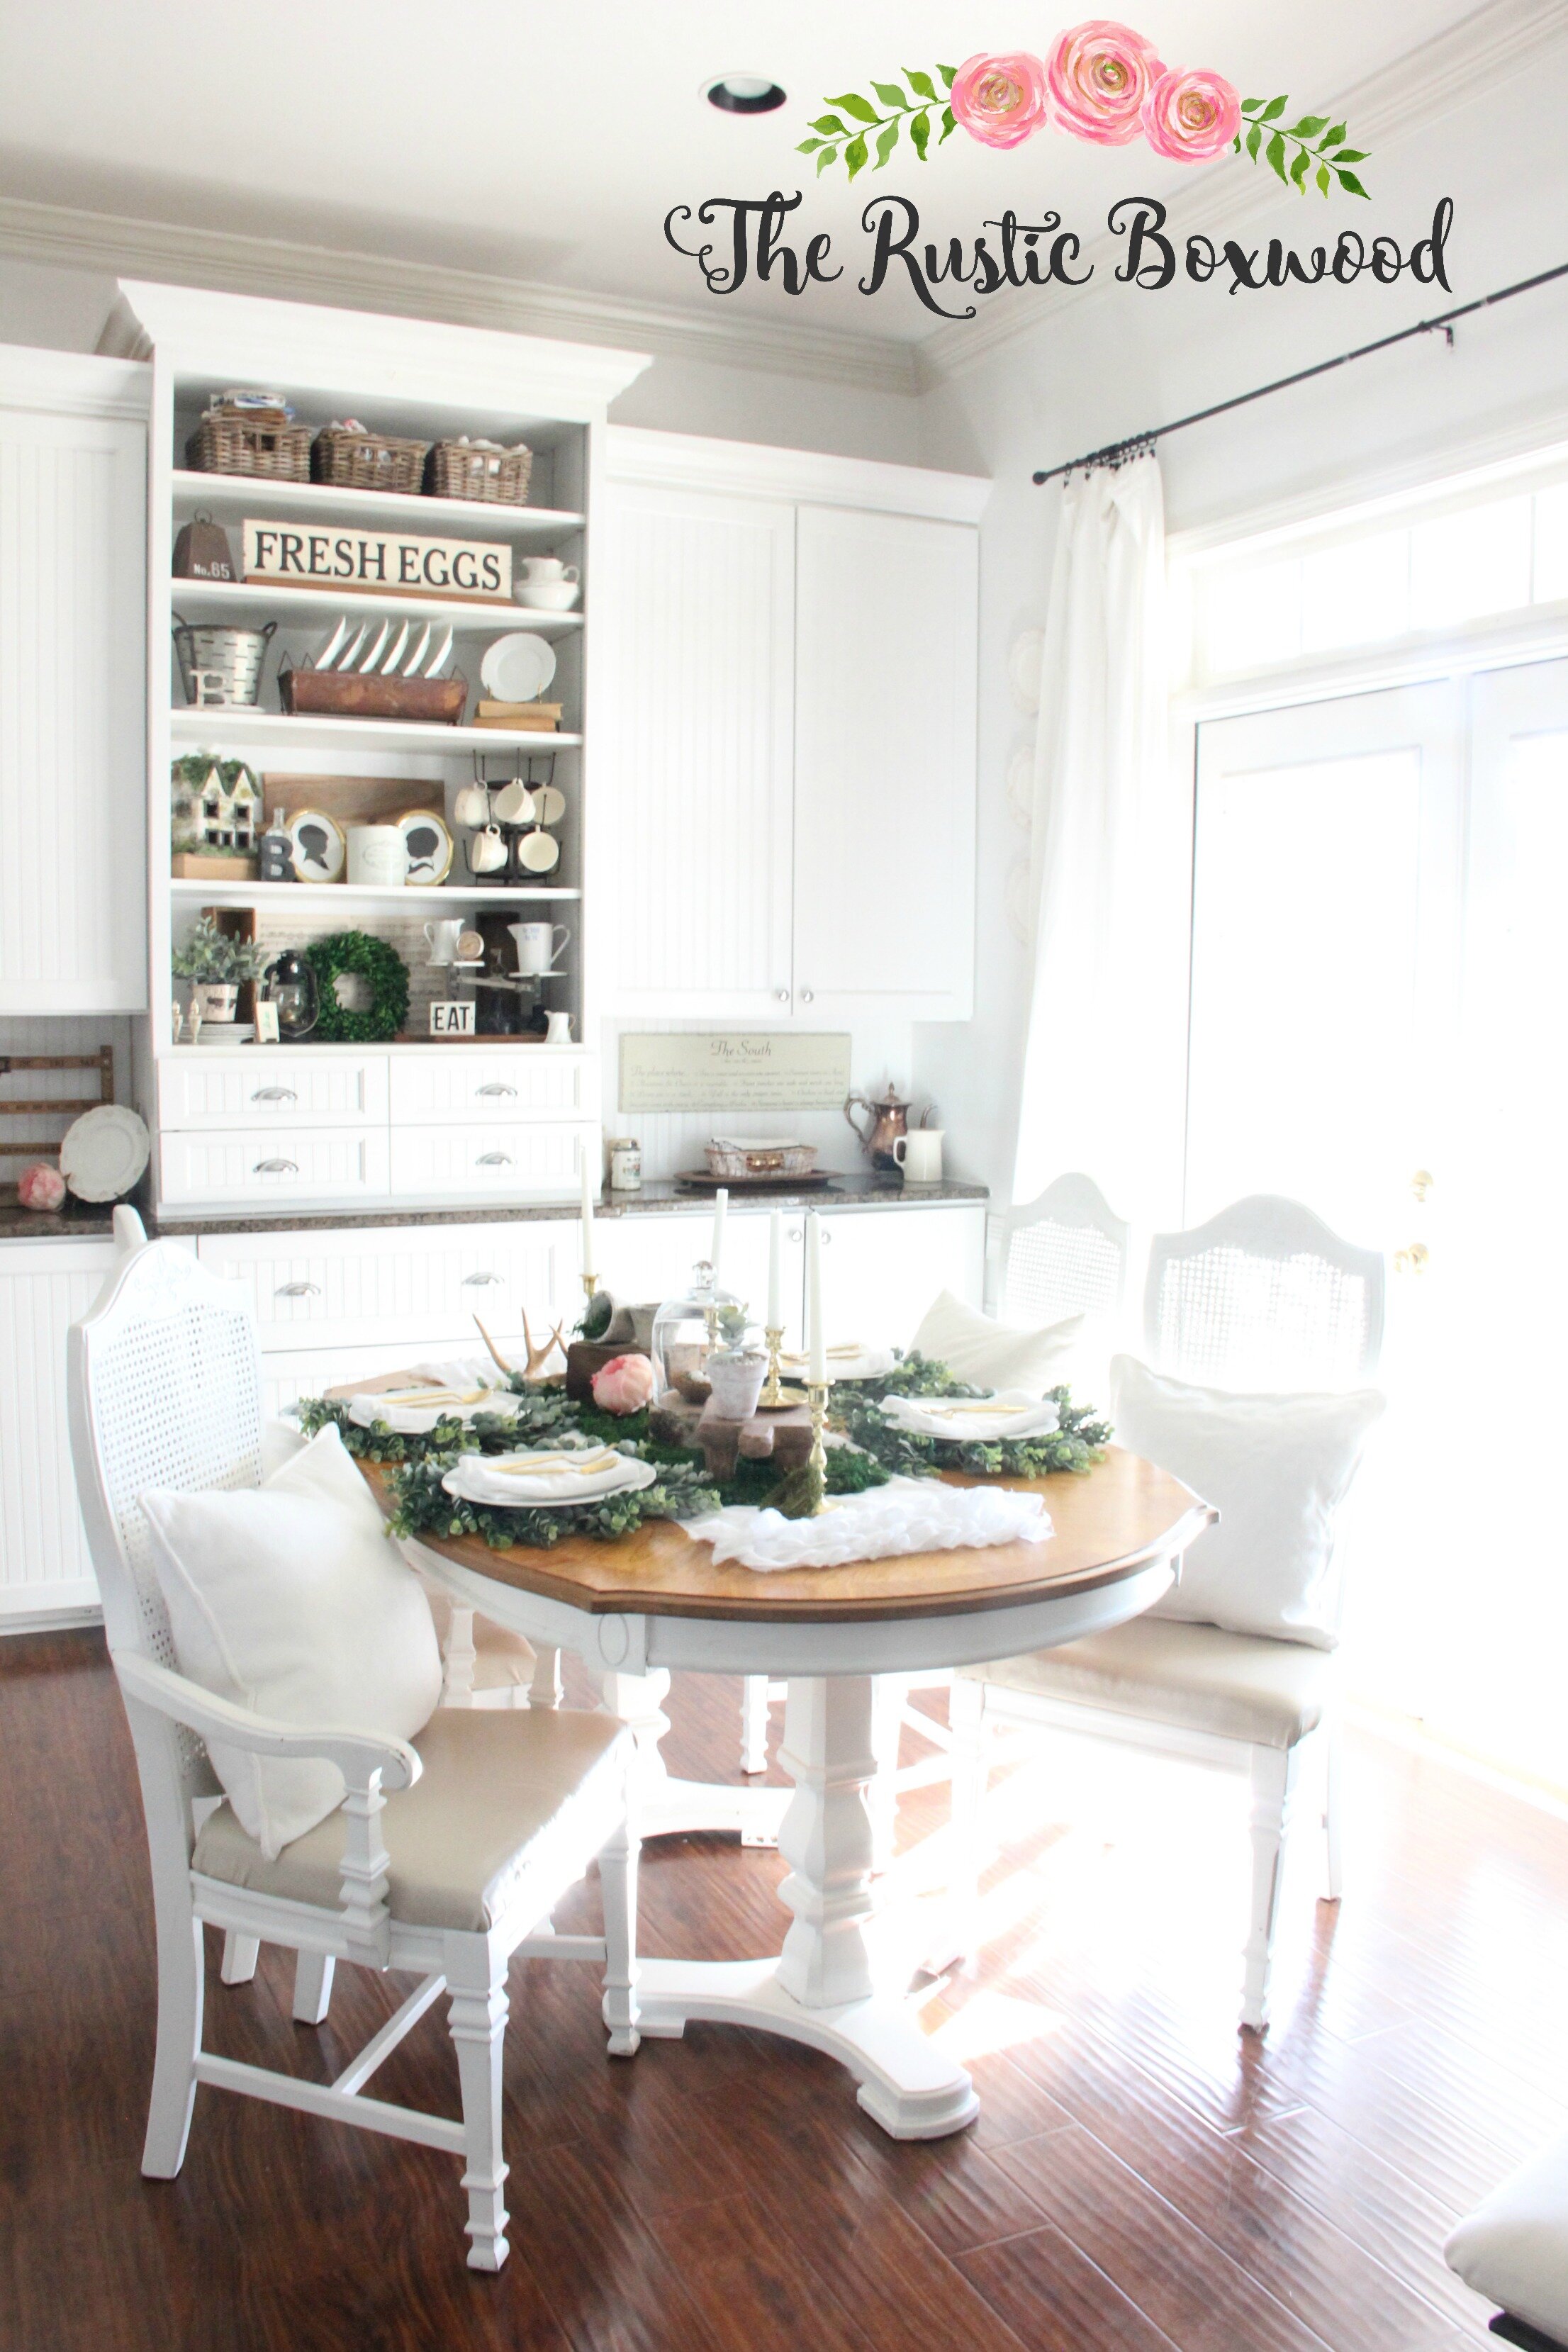
So there you have it, folks. My refinished kitchen table and chairs. We eat on this table; we do homework and projects on this table; we use the sewing machine on this table....What can I say?! We use this table for everything, and it's held up beautifully! I haven't reapplied Waterlox yet, but I probably should soon since I clean it all the time with soapy water and a sponge.
Please let me know what you think! Have you ever had a mishap with poly? I'd love to hear your story! Comment below, or stop by Instagram, Facebook or Pinterest and say hello!
********************************
Update: Here's a fresh view of that table a few years after this post was shared. We absolutely love it, and the finish has lasted through the years! To see more pics of this table, head to my blog post called "DIY, Natural Spring Tablescape." (Click this direct link.)
You might also like: