Simple, DIY Book-Page Wreath
Hey friends! Thanks for stopping by today. I'd like to share with you how easy and inexpensive it is to make this book-page wreath! You only need a few items, and you can make your wreath as large or as small as you'd like!
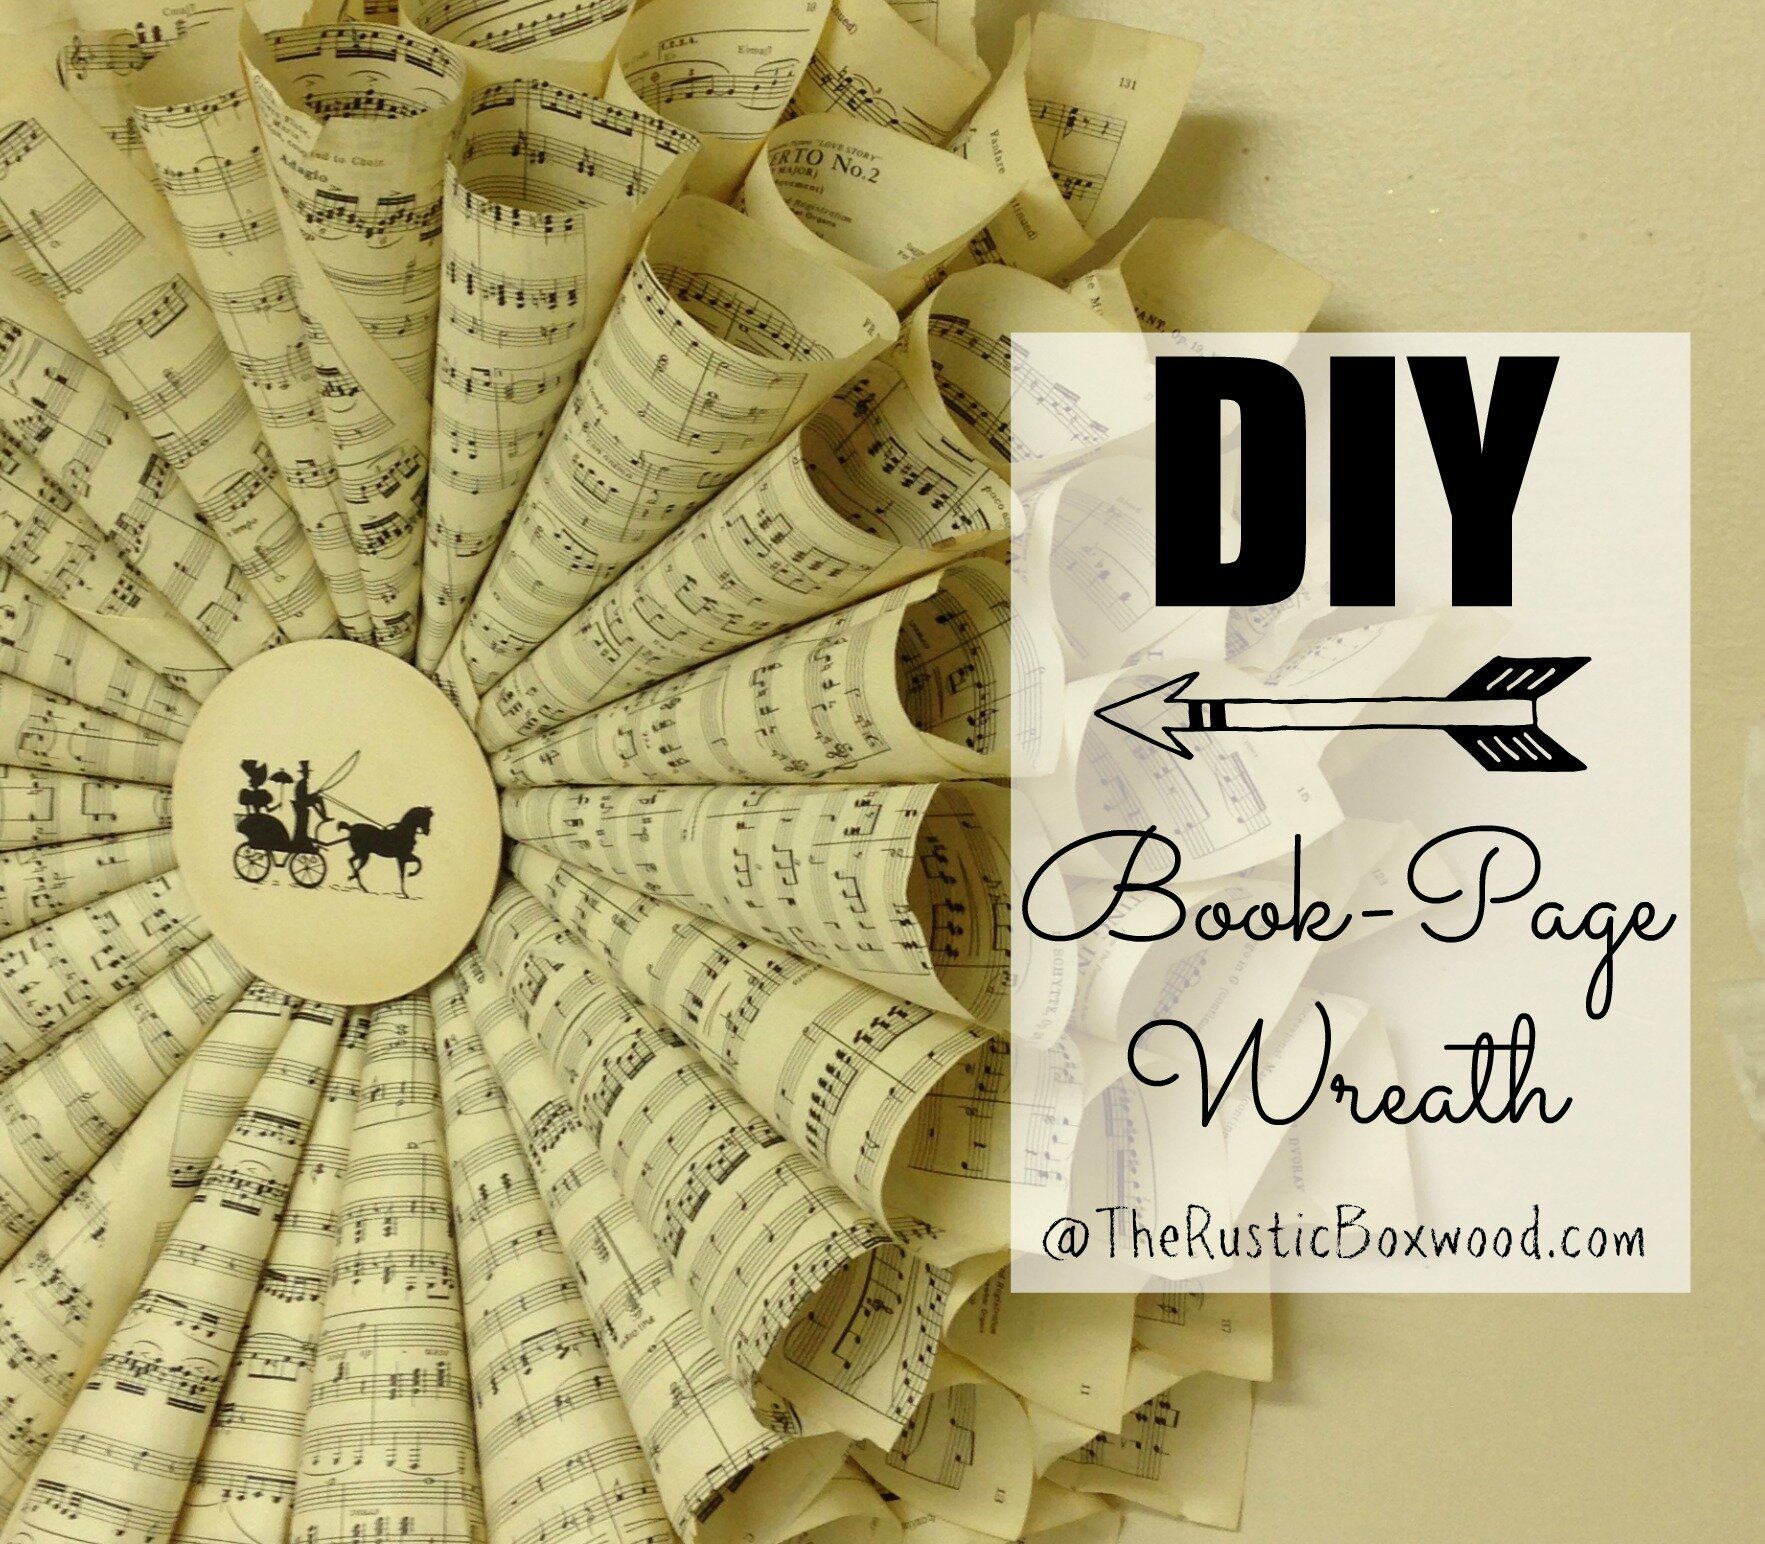
Think about all the possibilities! You can hang this beautiful statement piece by itself on a wall, above your bed, or you could make a smaller one and hang it on a door, a chalkboard, a mirror, a gallery wall....You name it!
Here's what you'll need:
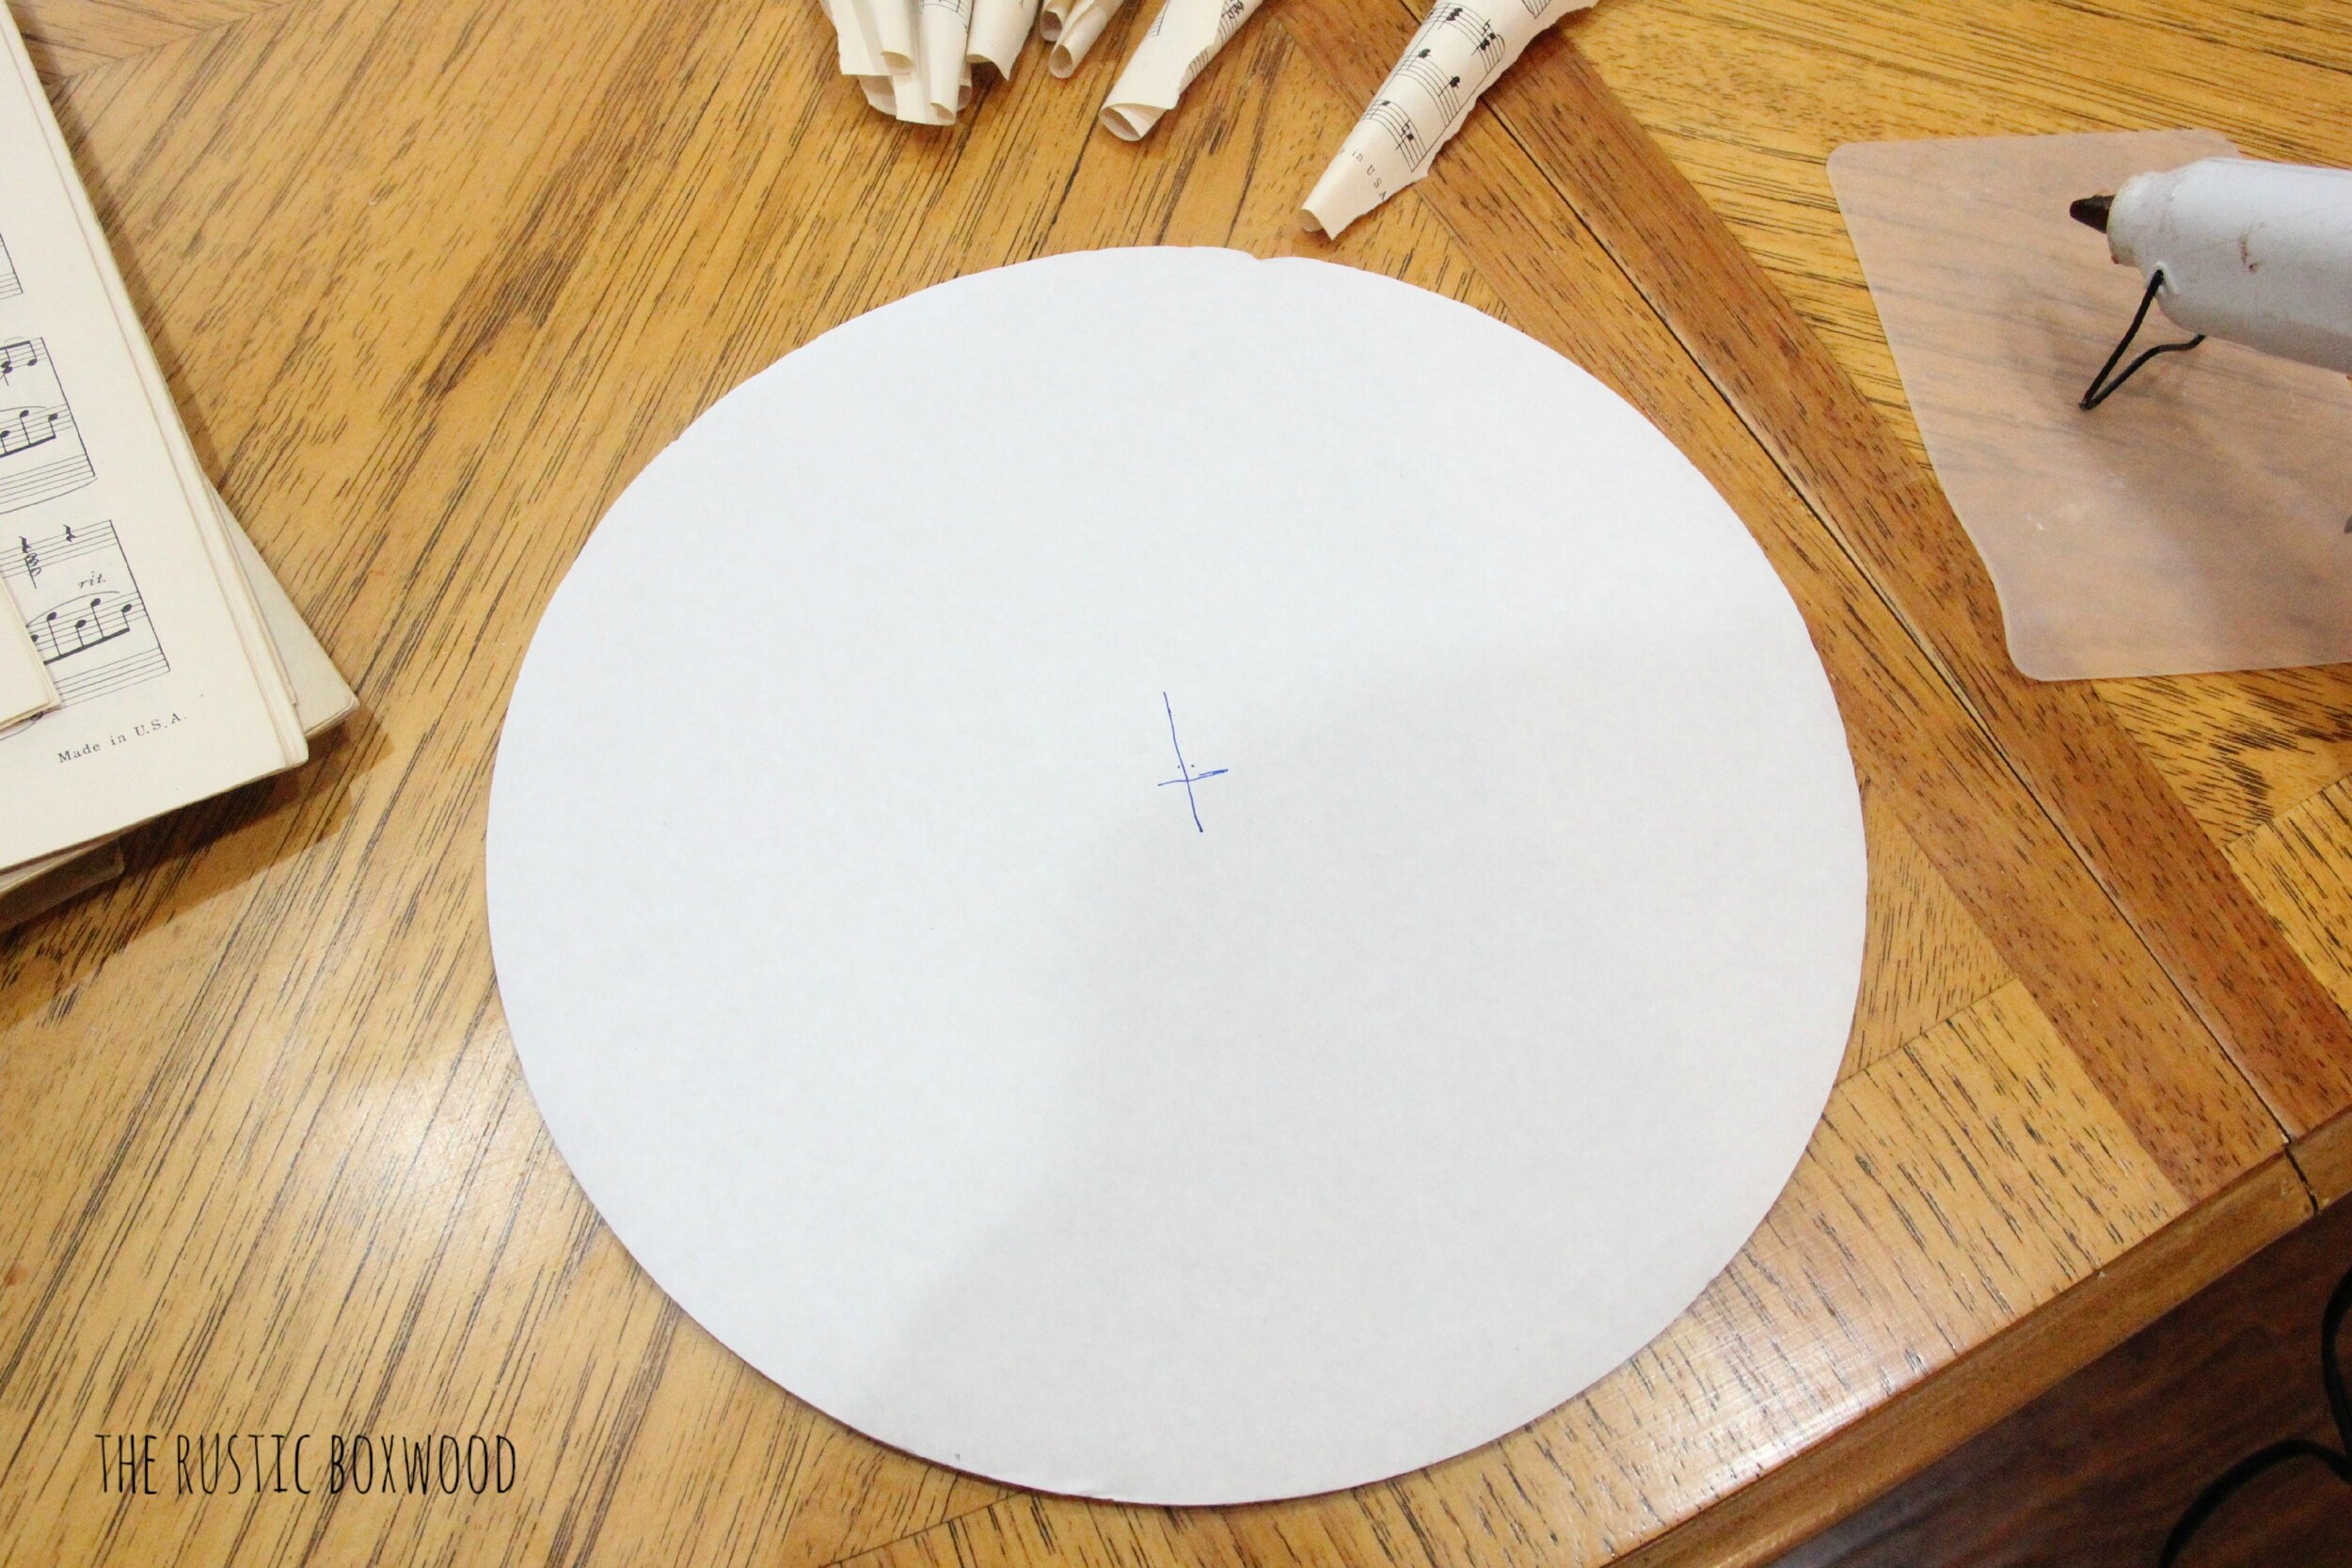
round, cardboard cake plate (like this one)
hot glue gun and glue sticks (lots of 'em)
sheet music or pages torn from a book (again, lots of 'em)
an embellishment (to go in the middle of the wreath)
wide ribbon (for hanging the wreath)
nail, thumb tacks or 3m tape (for hanging the wreath)
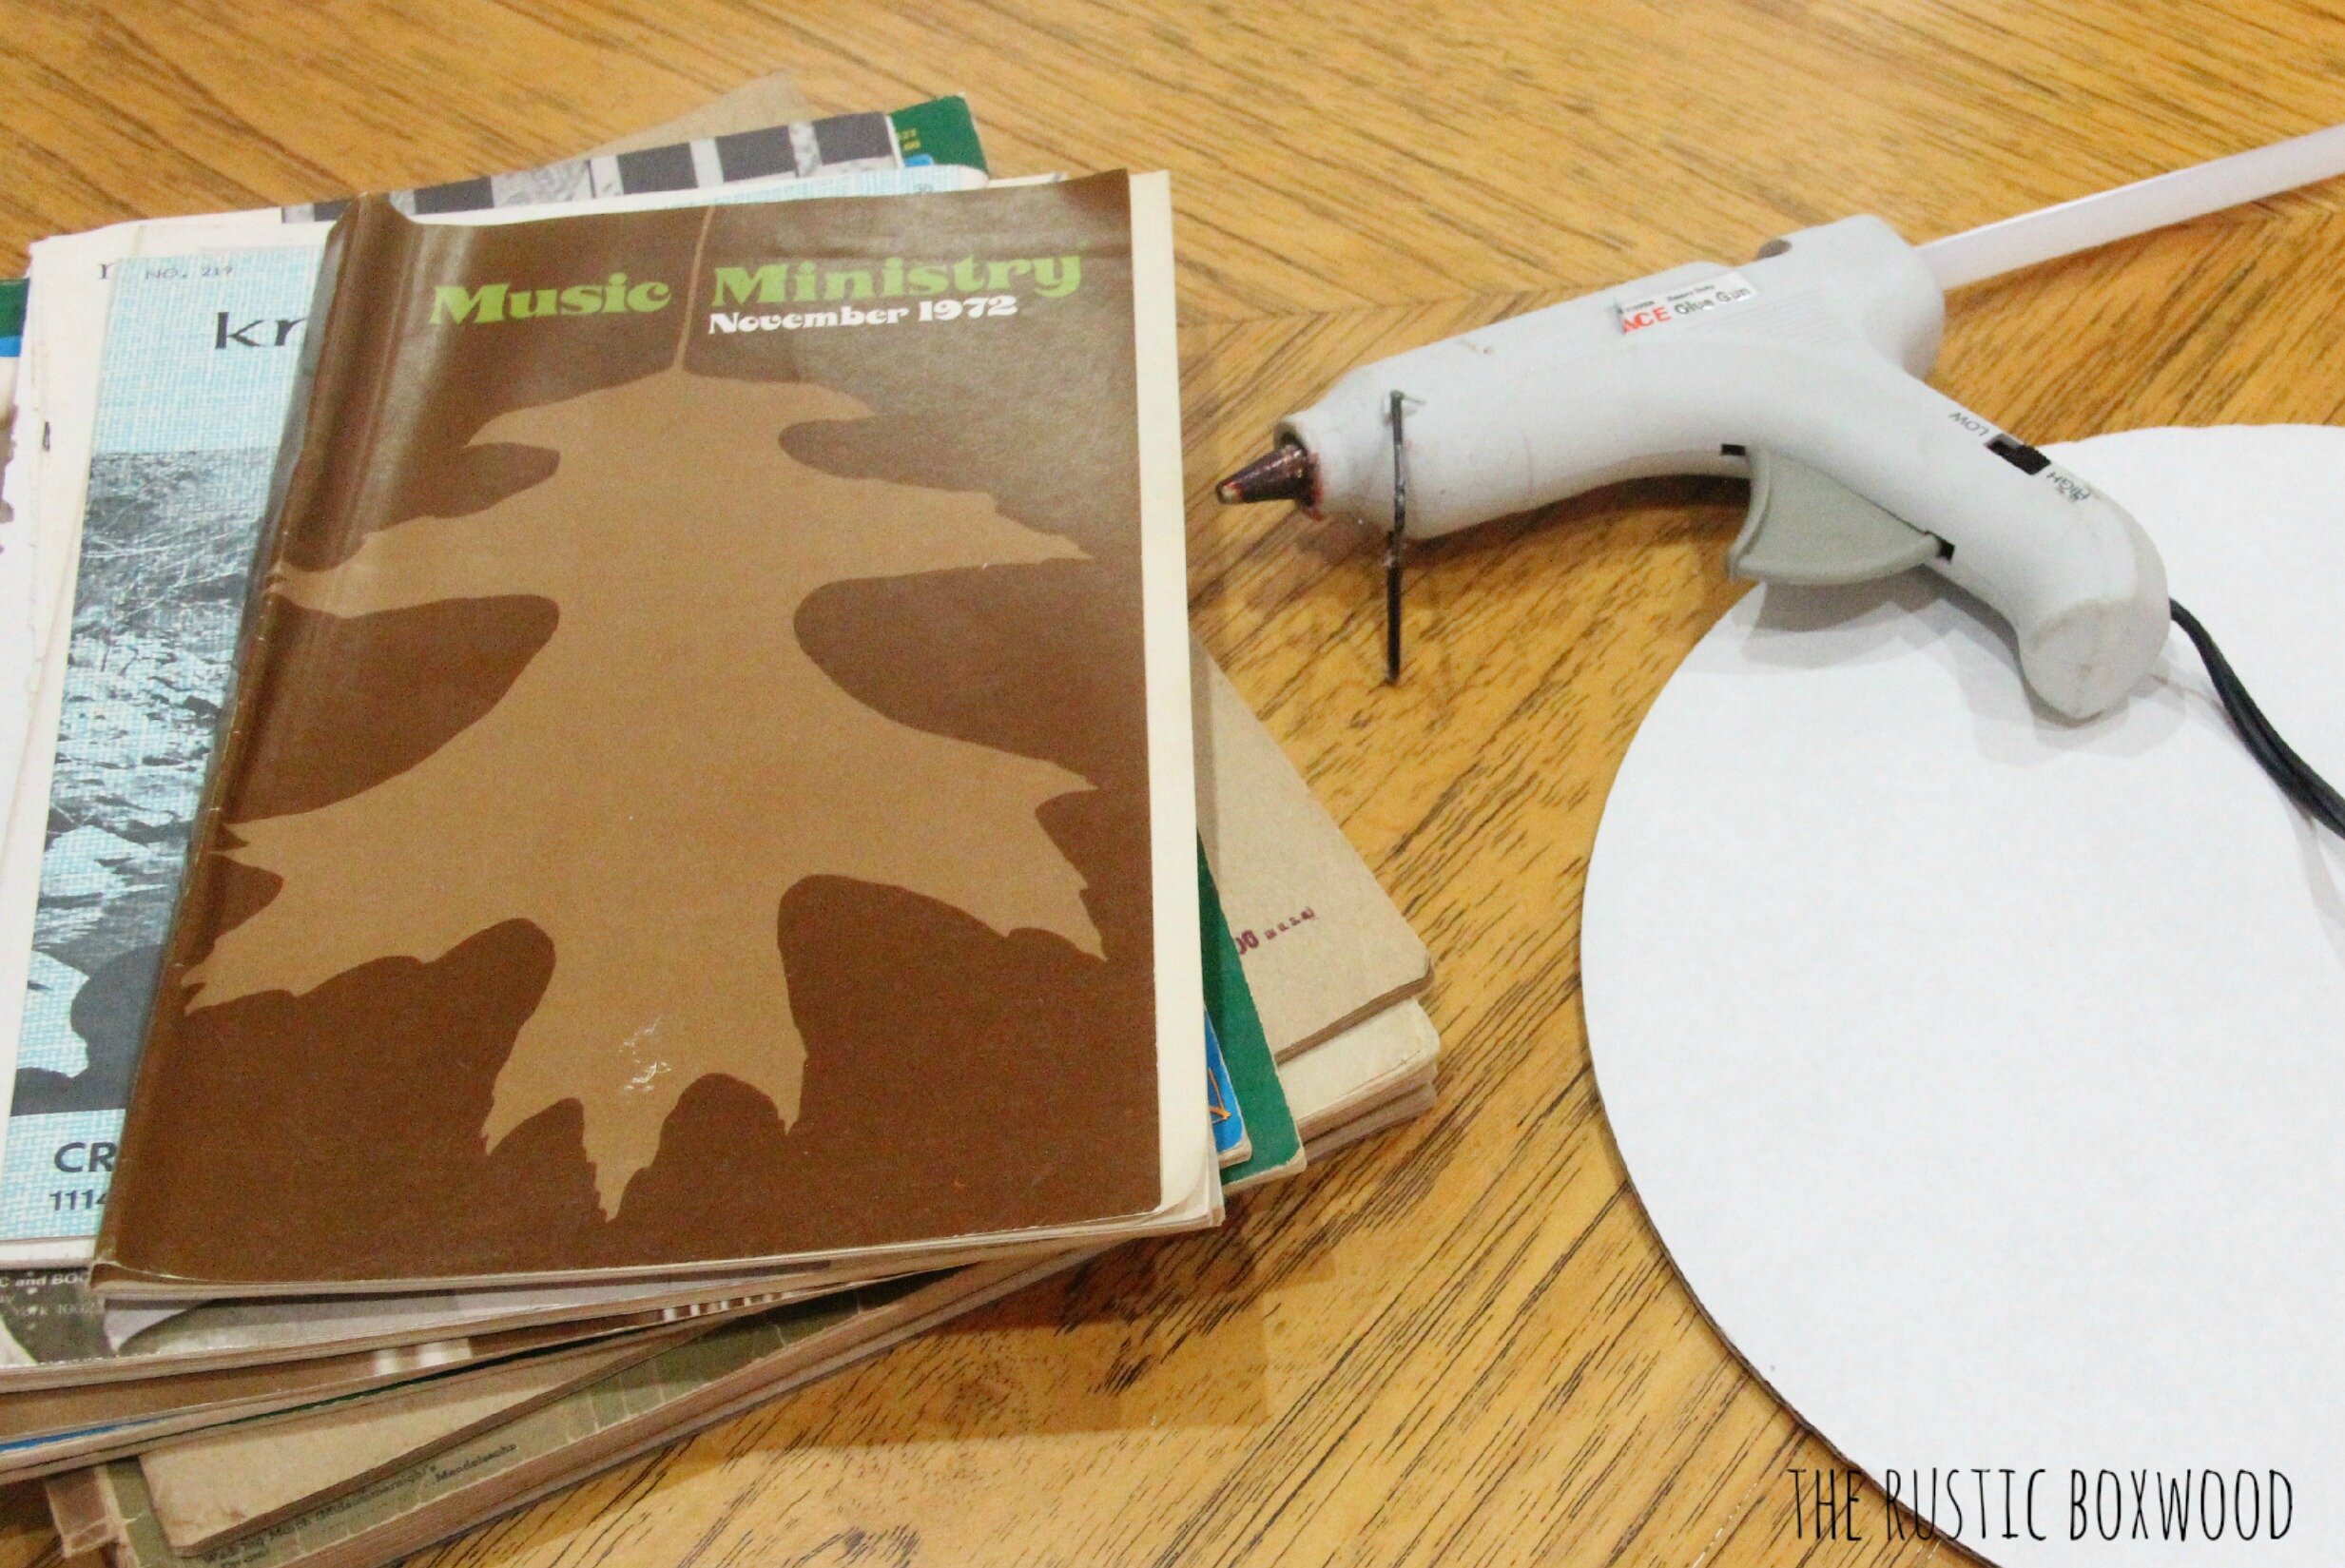
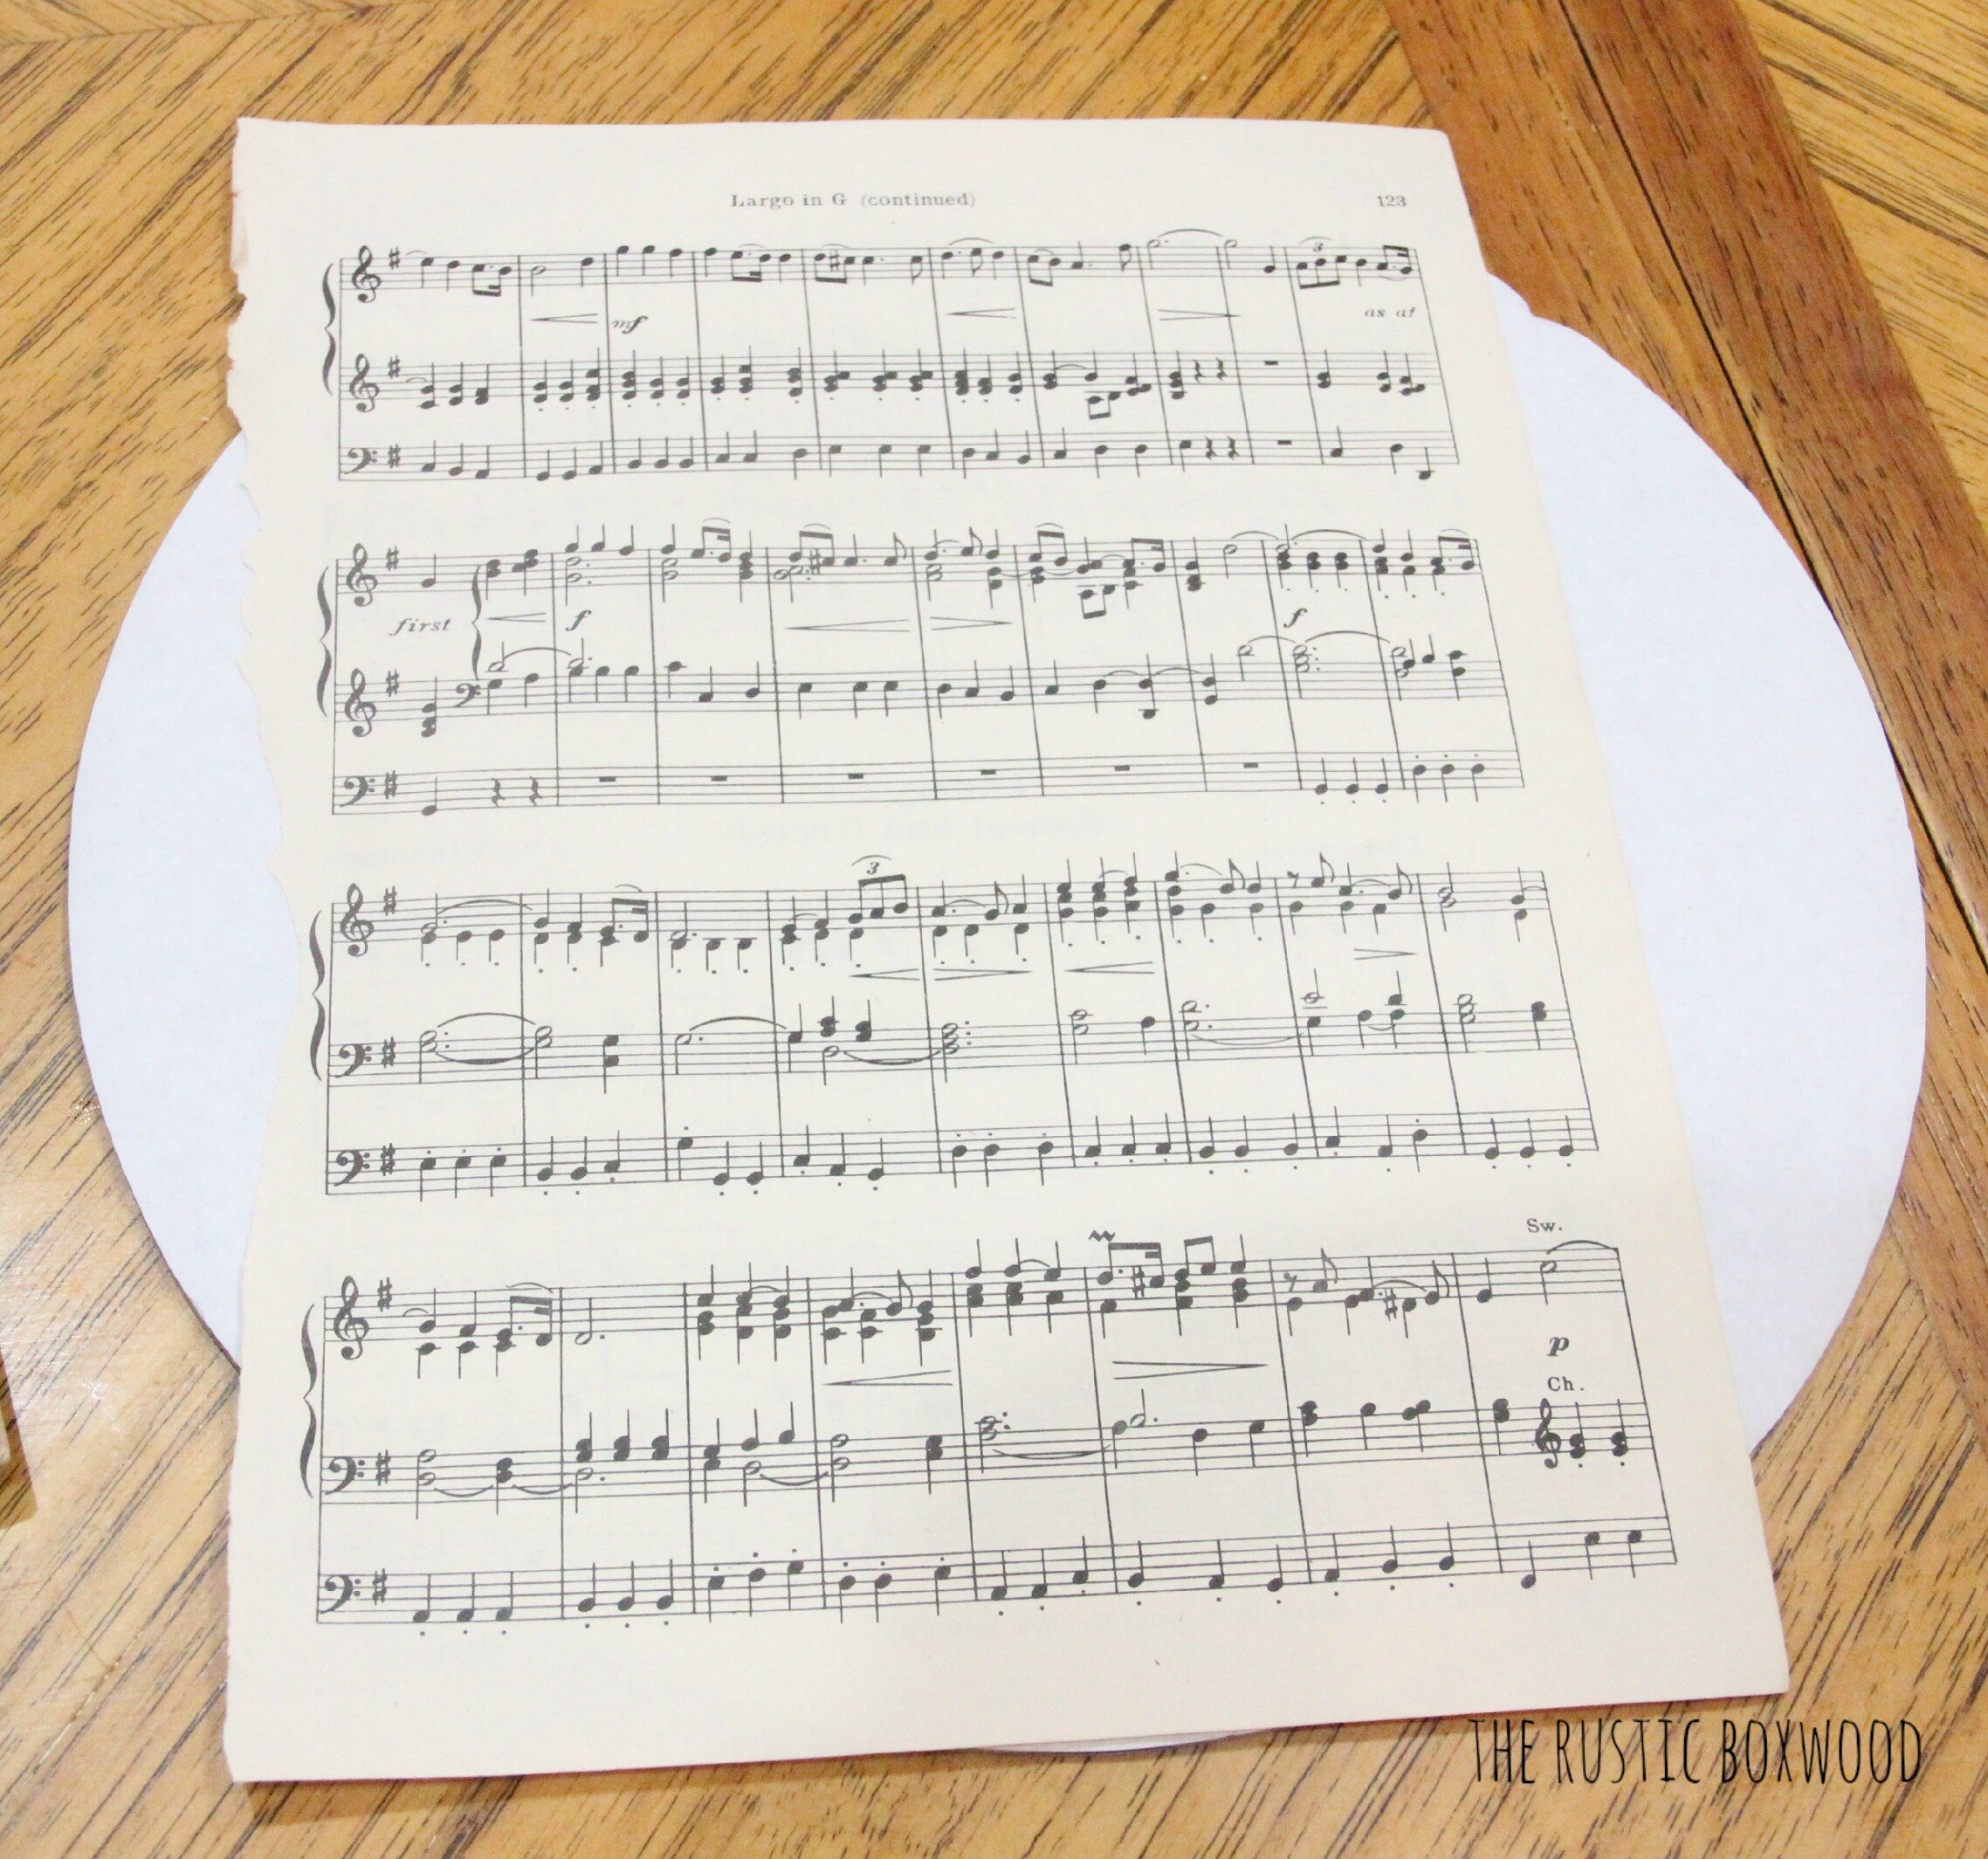
A long time ago (ahem, a few years back...but we won't discuss my hoarding problems today), I bought a box FULL of vintage sheet music at a yard sale for $2. At the time, I didn't know what I'd do with all those papers, but the deal was just too good to pass up. I knew that one day, I'd figure out what to do with them! Fast-forward to last month, when I was asked to participate in a silent auction for the American Heritage Girls organization. I finally knew exactly what my calling was with my beloved sheet music! Since I already had the cardboard cake plate, a book-page wreath was the perfect choice!
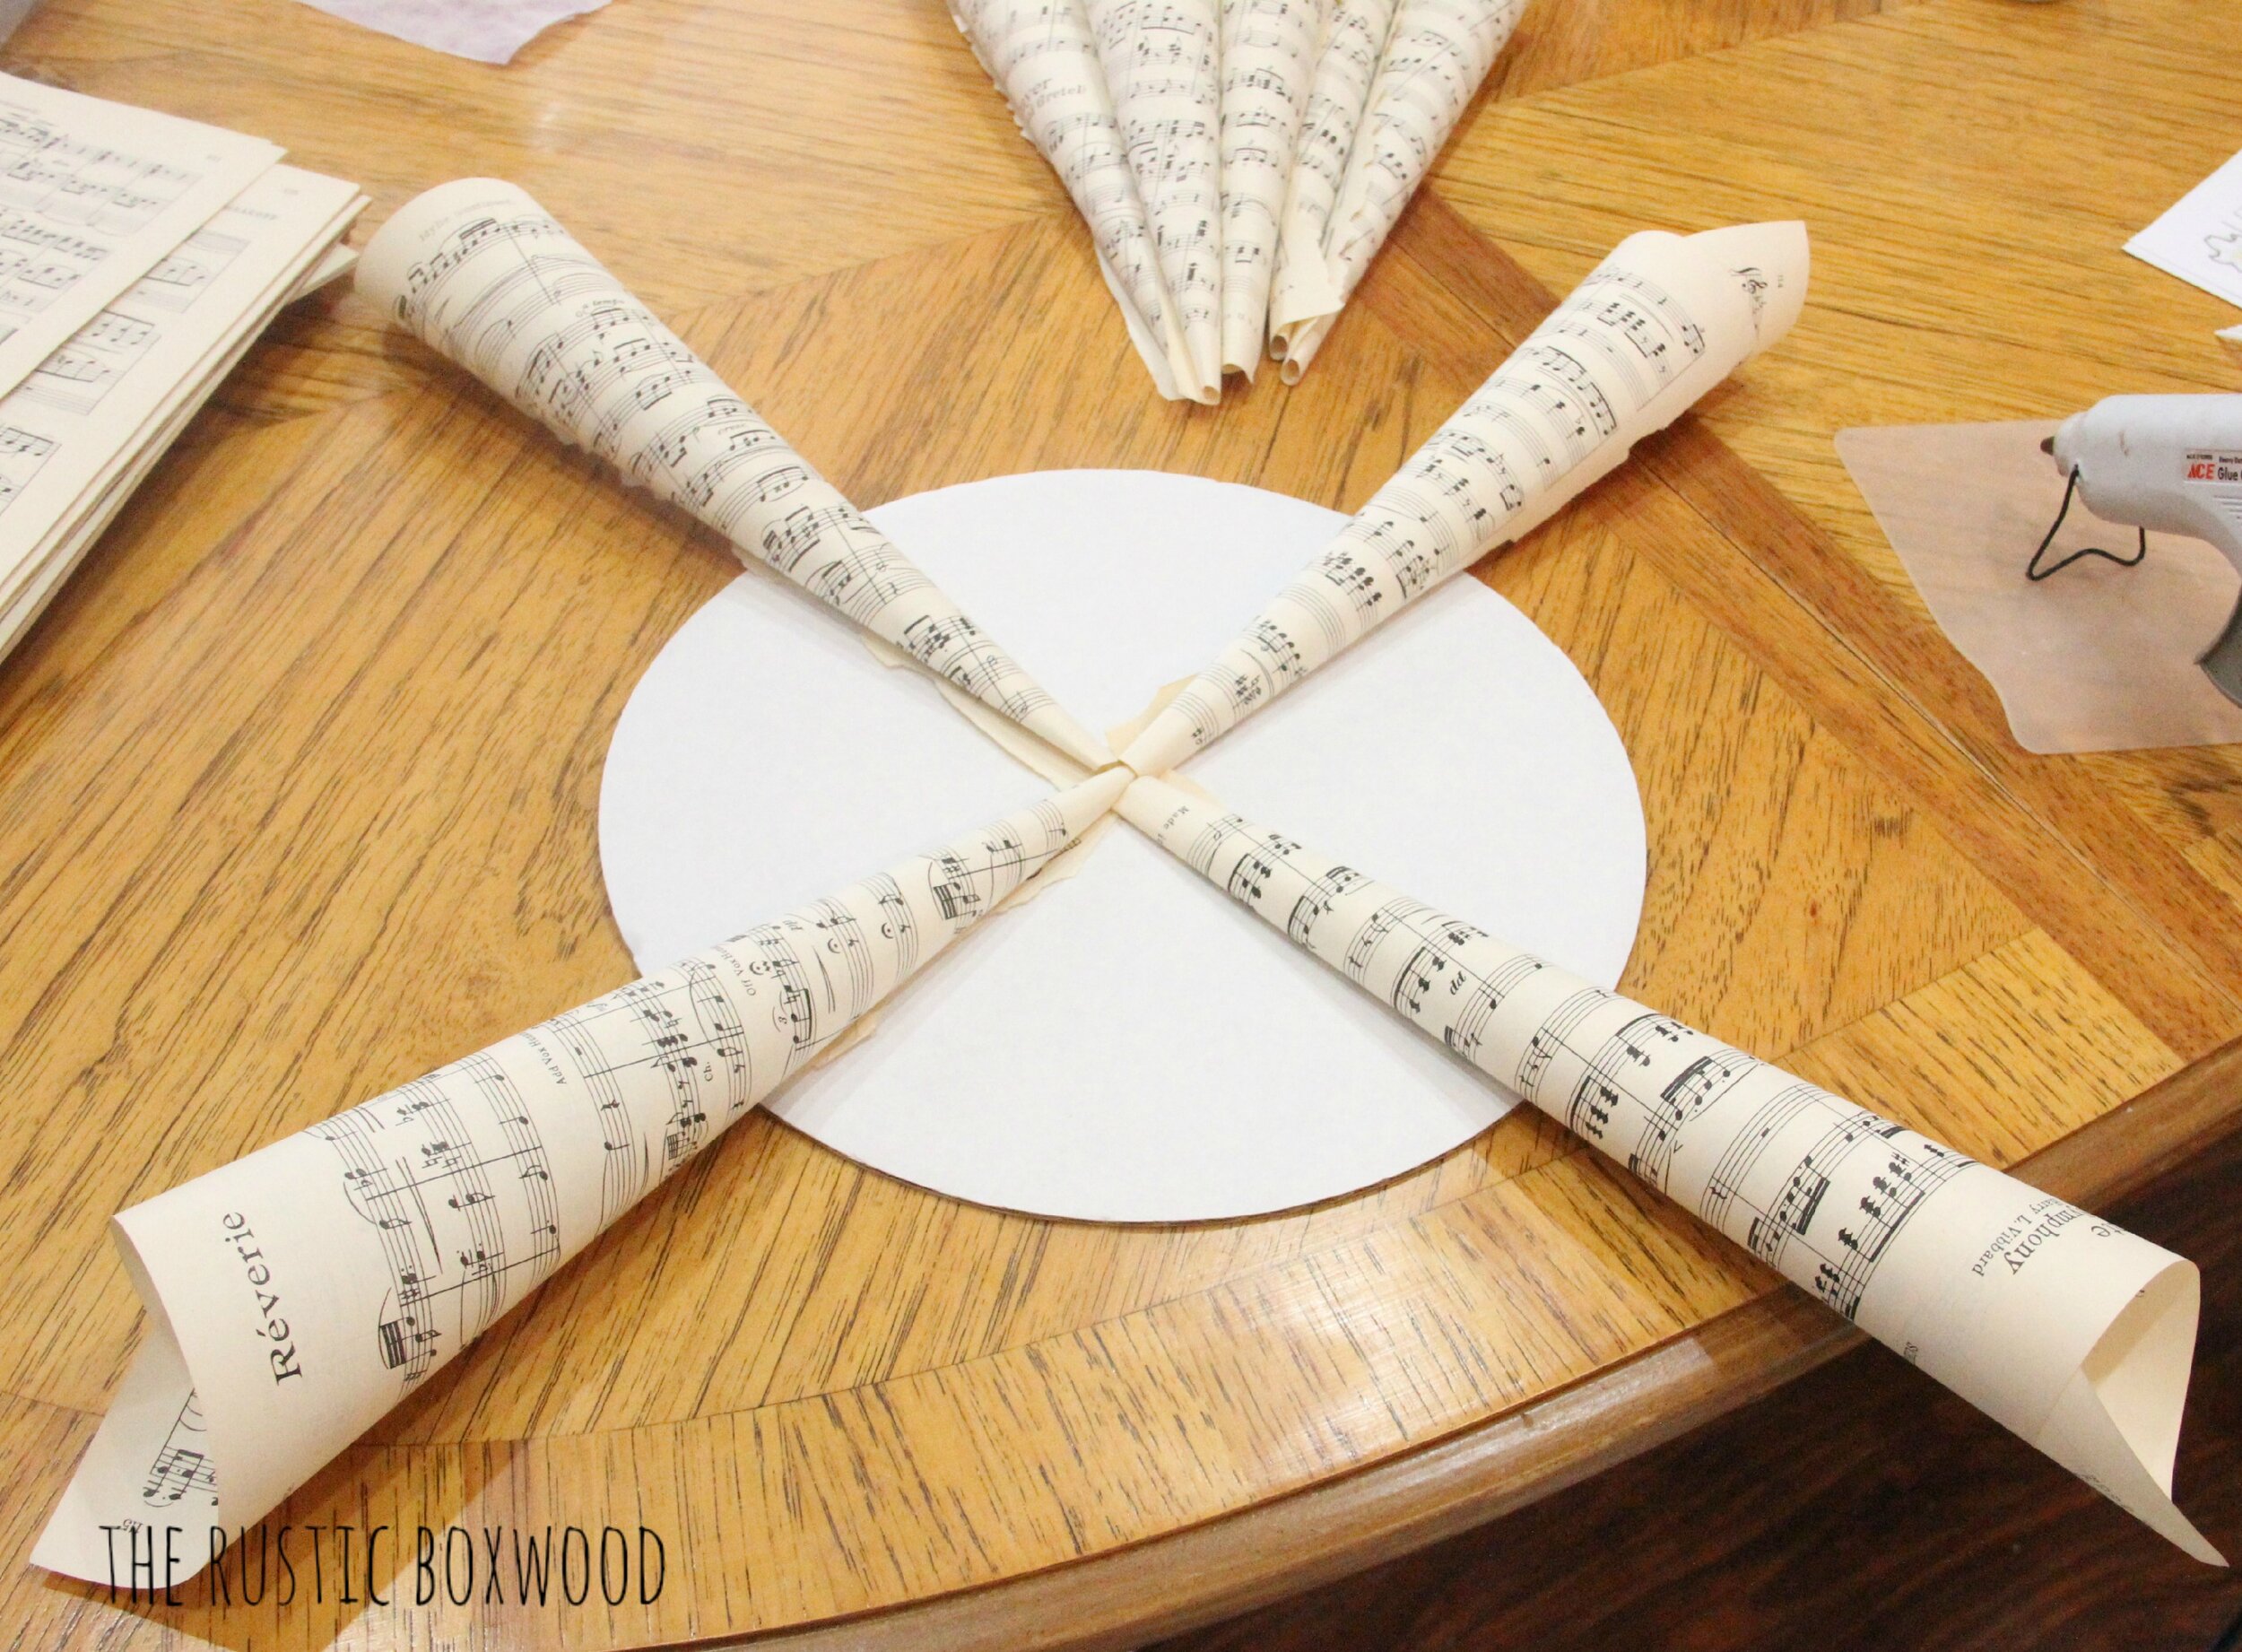
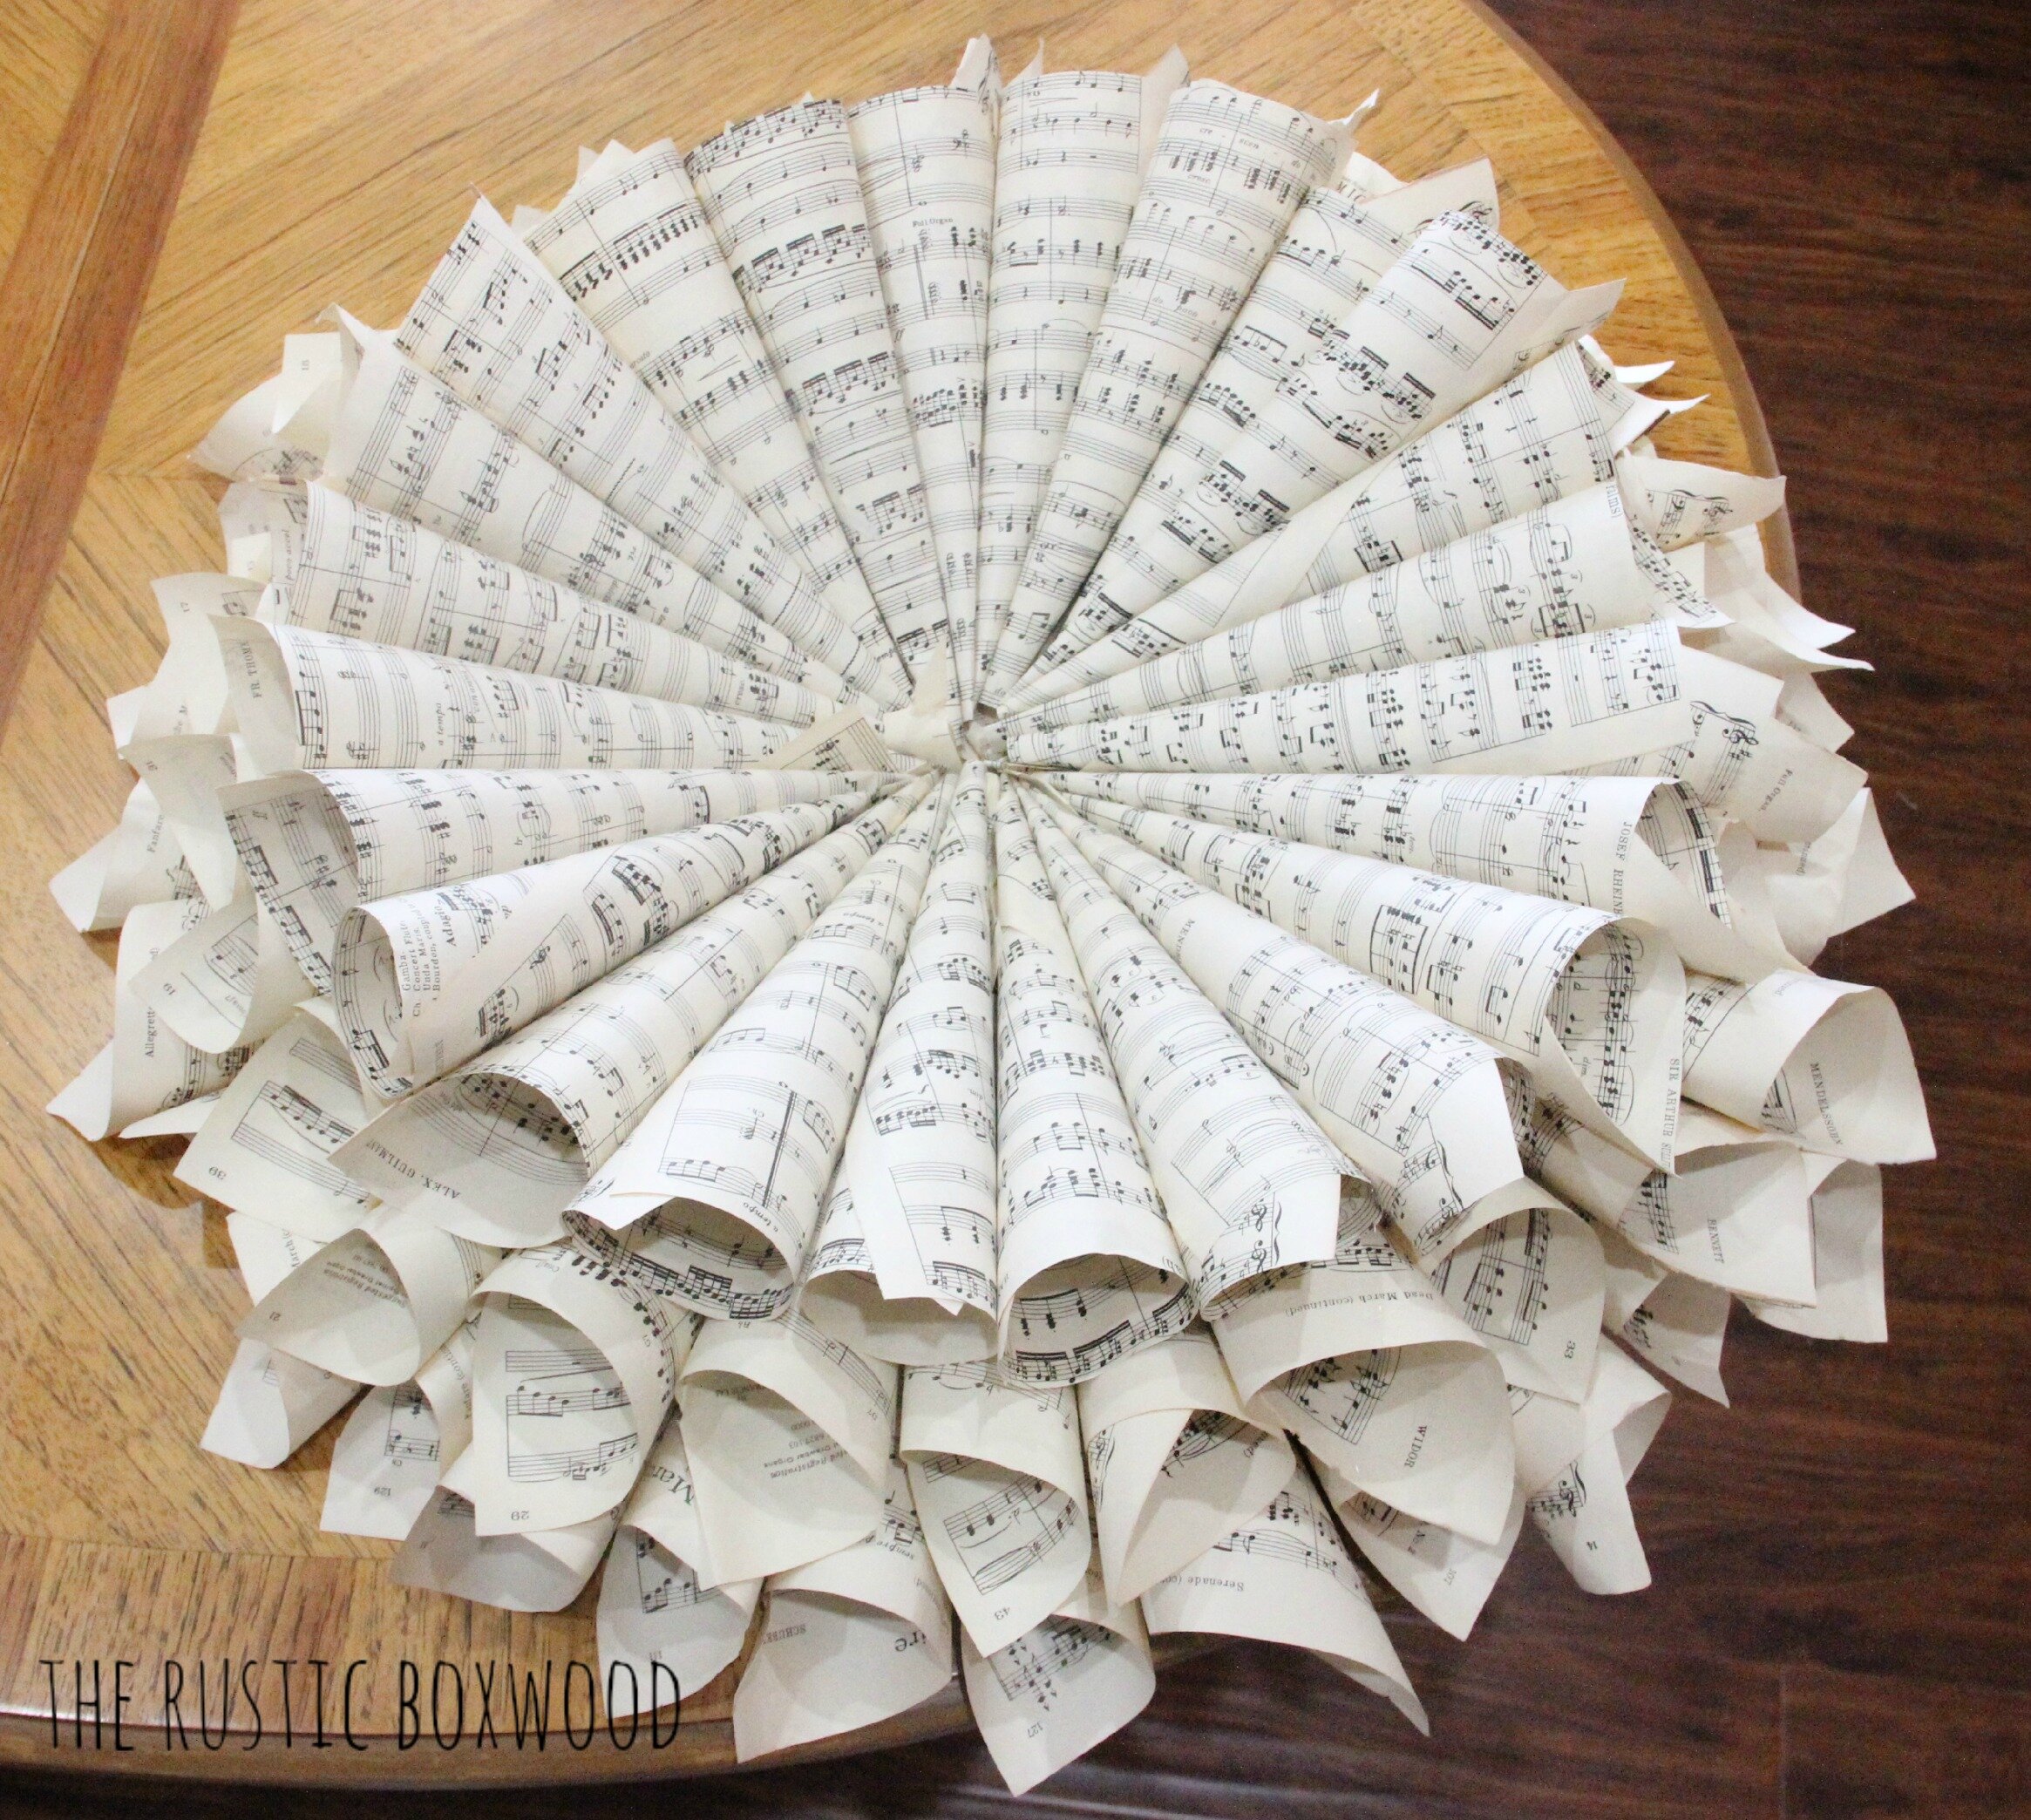
First, while you're heating up your glue gun, tear out a bunch of papers. The torn papers don't have to be perfect, and the edges can be jagged. (That's what I love about this project....You don't have to have perfection!) And make sure you have three different paper sizes...the longest size being for the bottom layer of the wreath, the middle size being for the middle layer, and so on.
I worked in stages and tore out about 10 pages at a time.
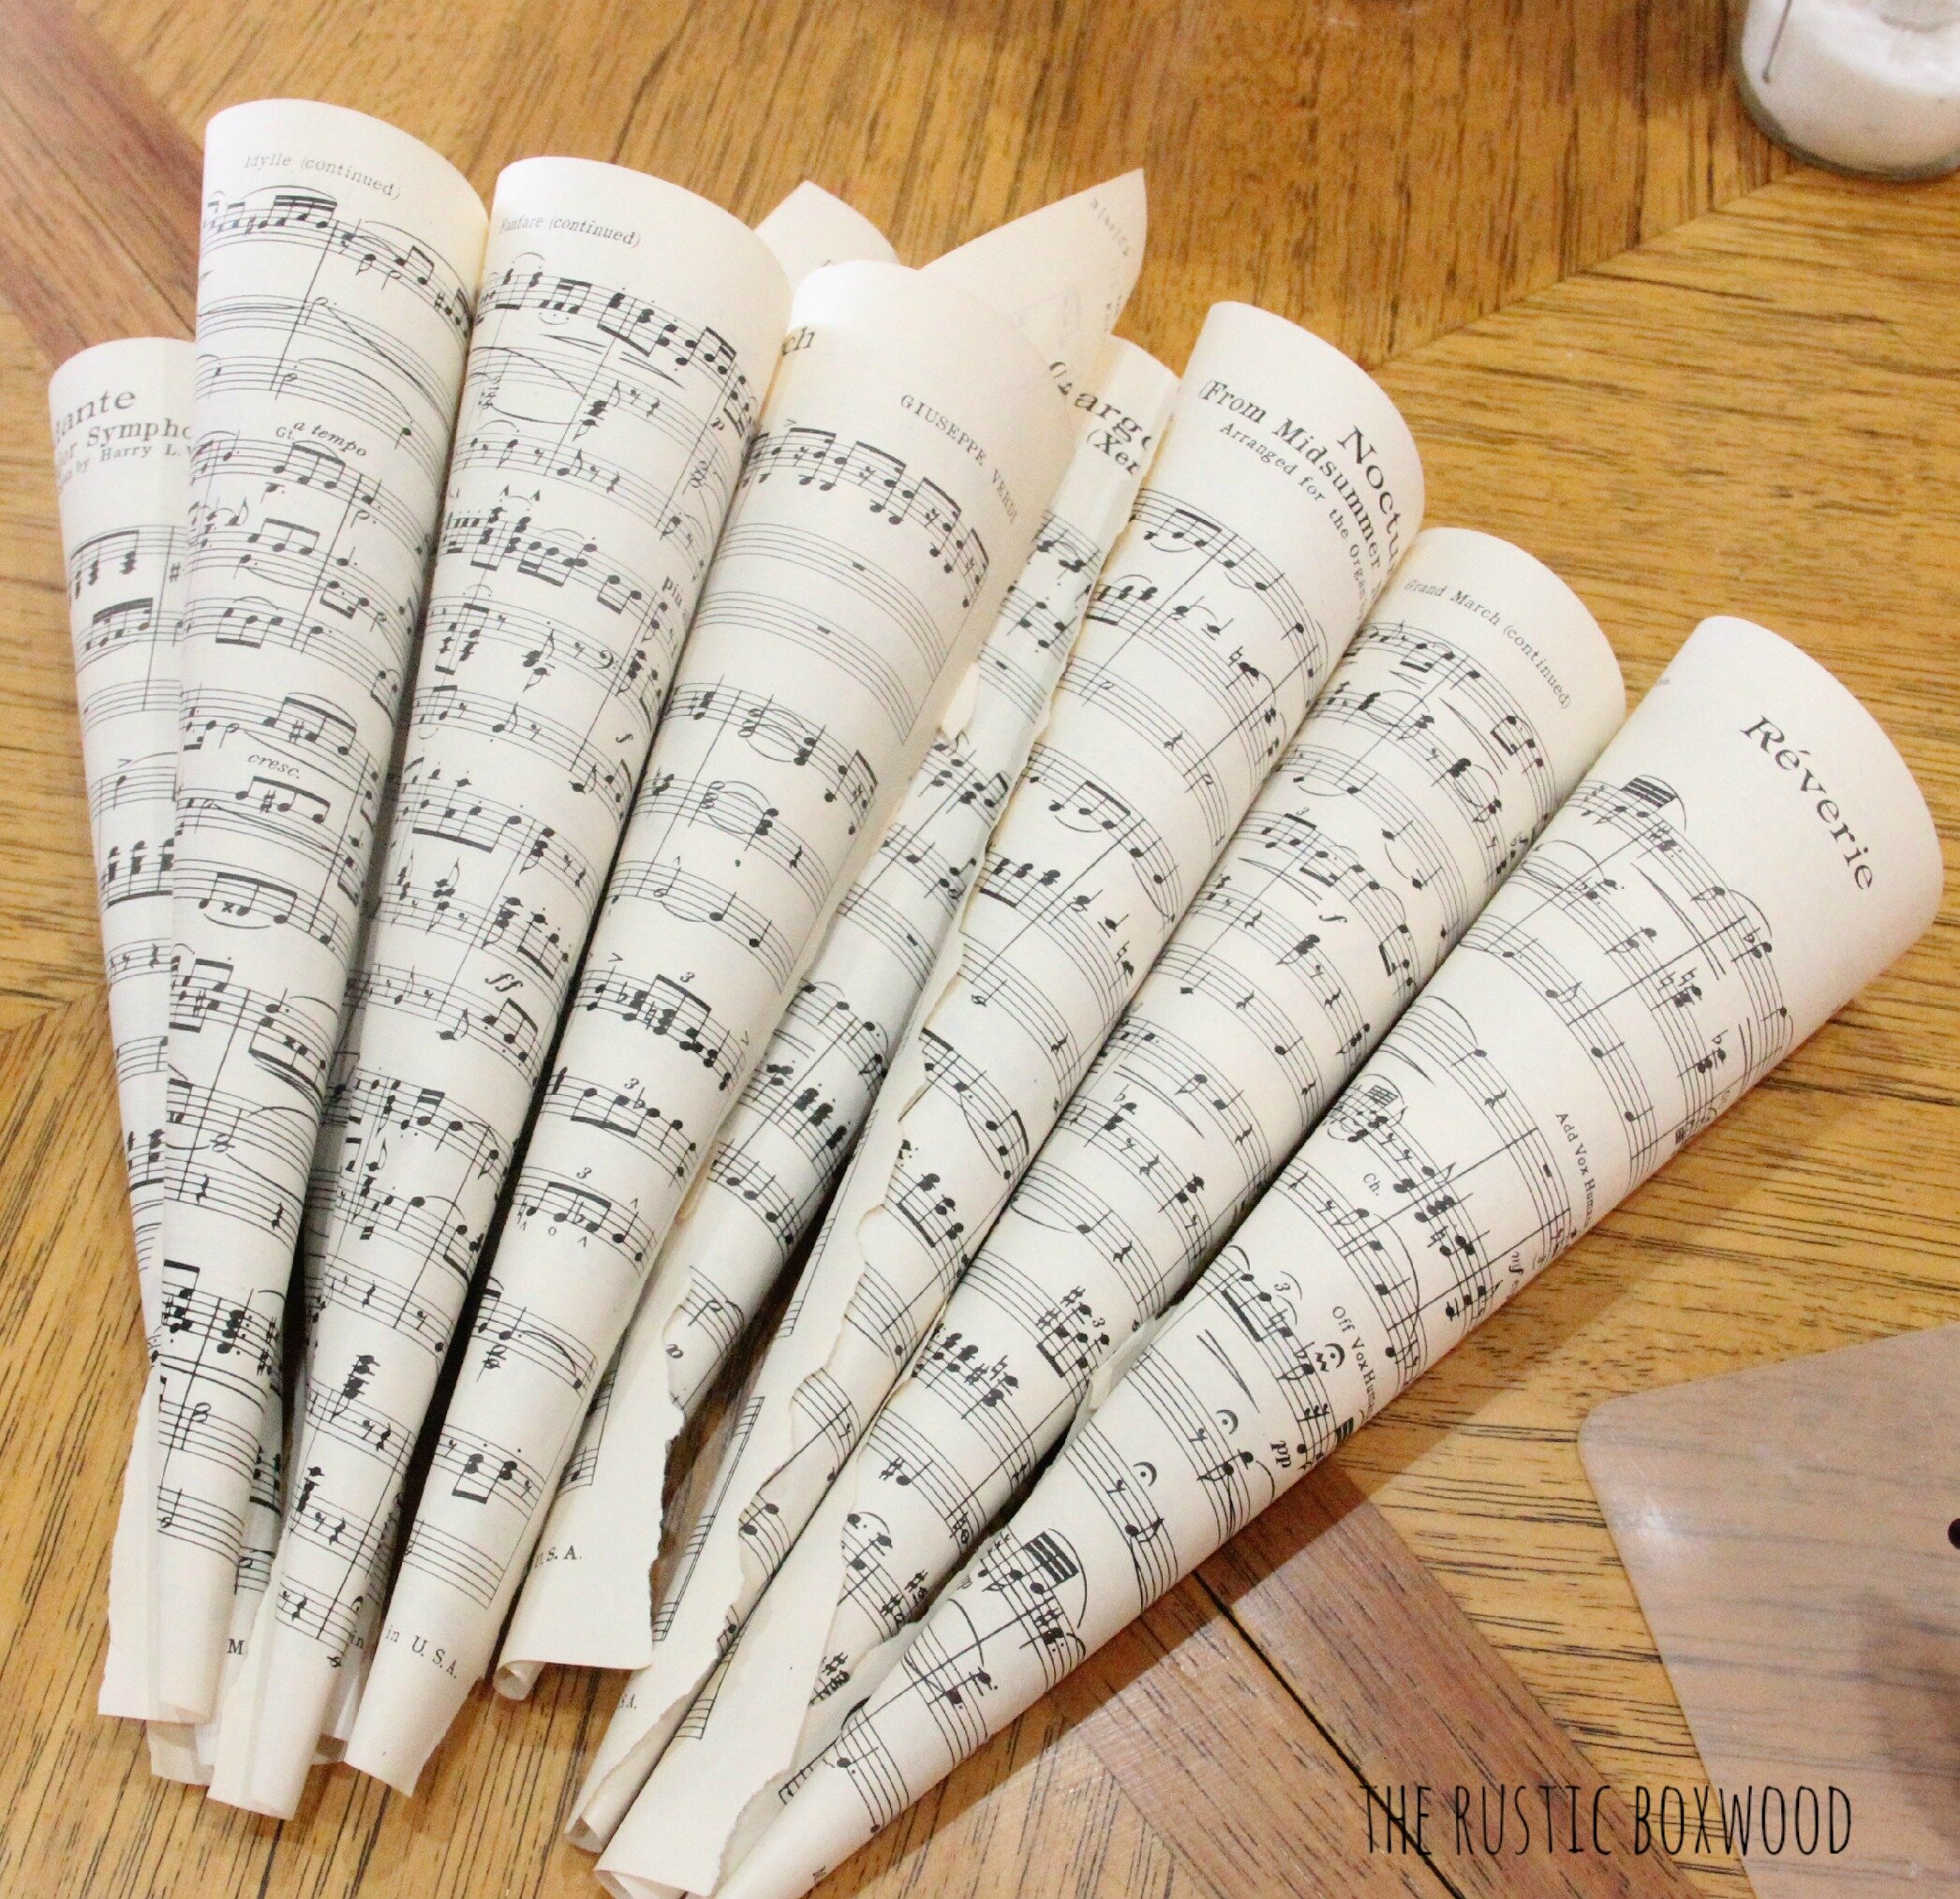
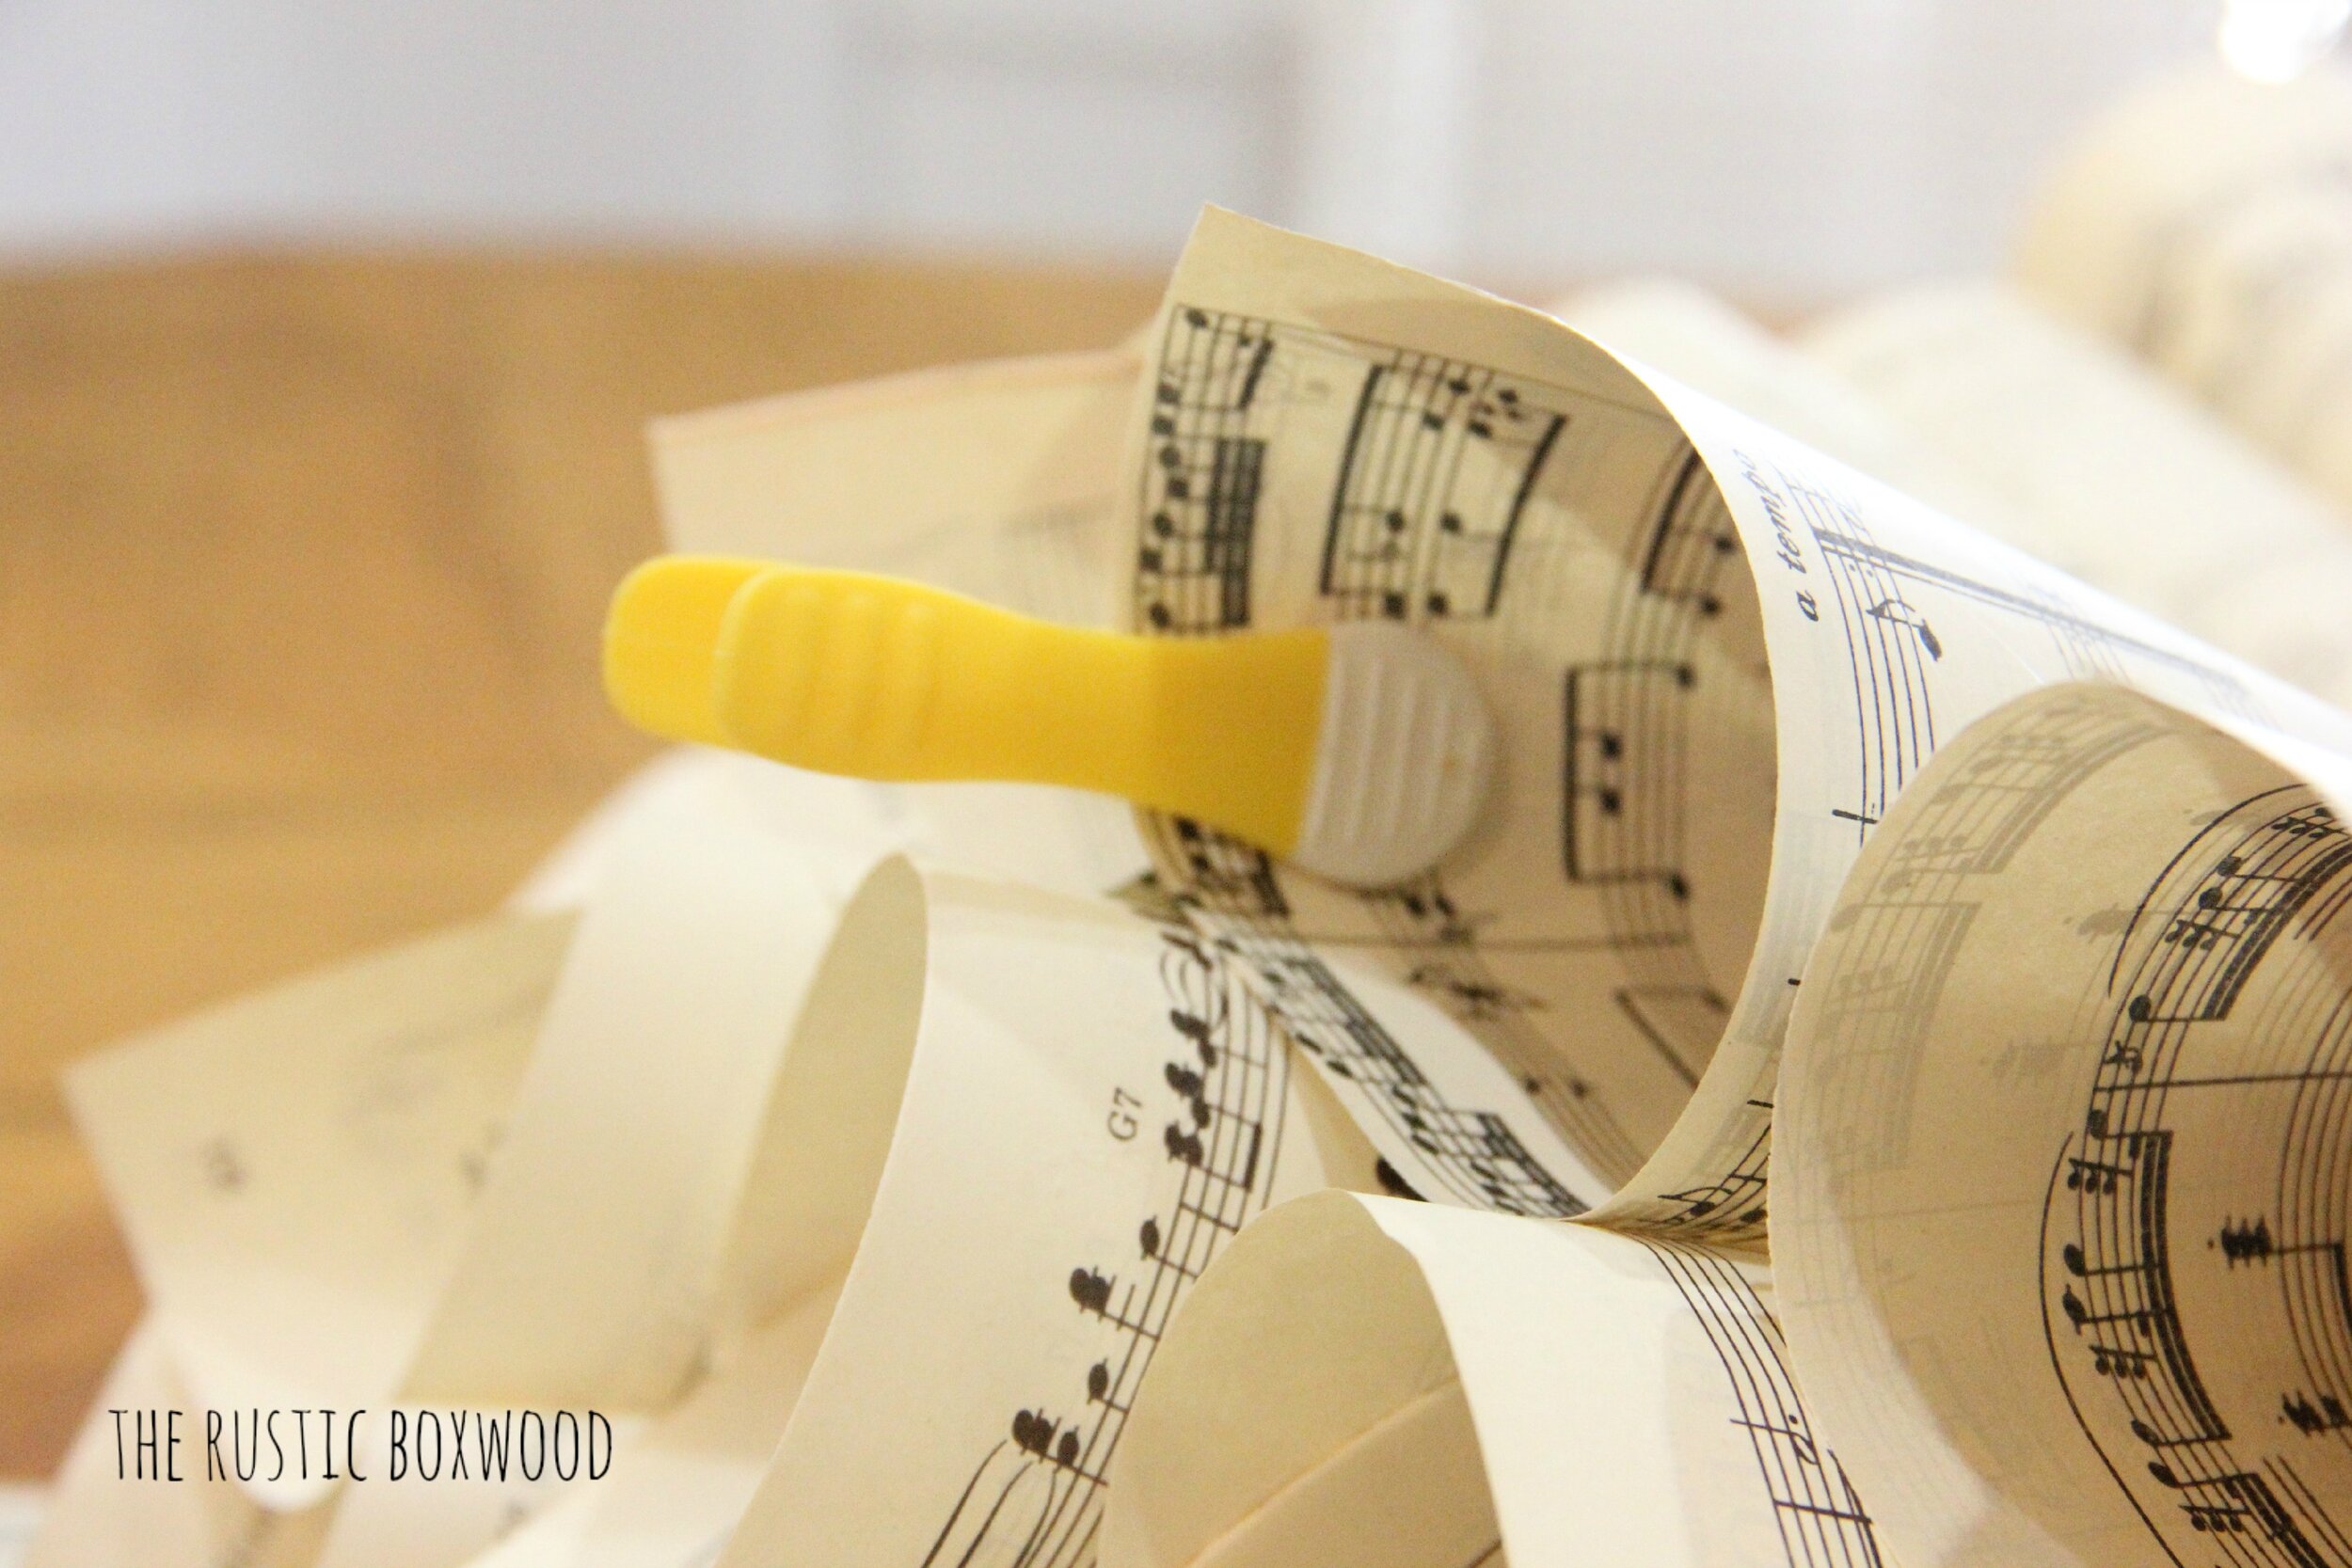
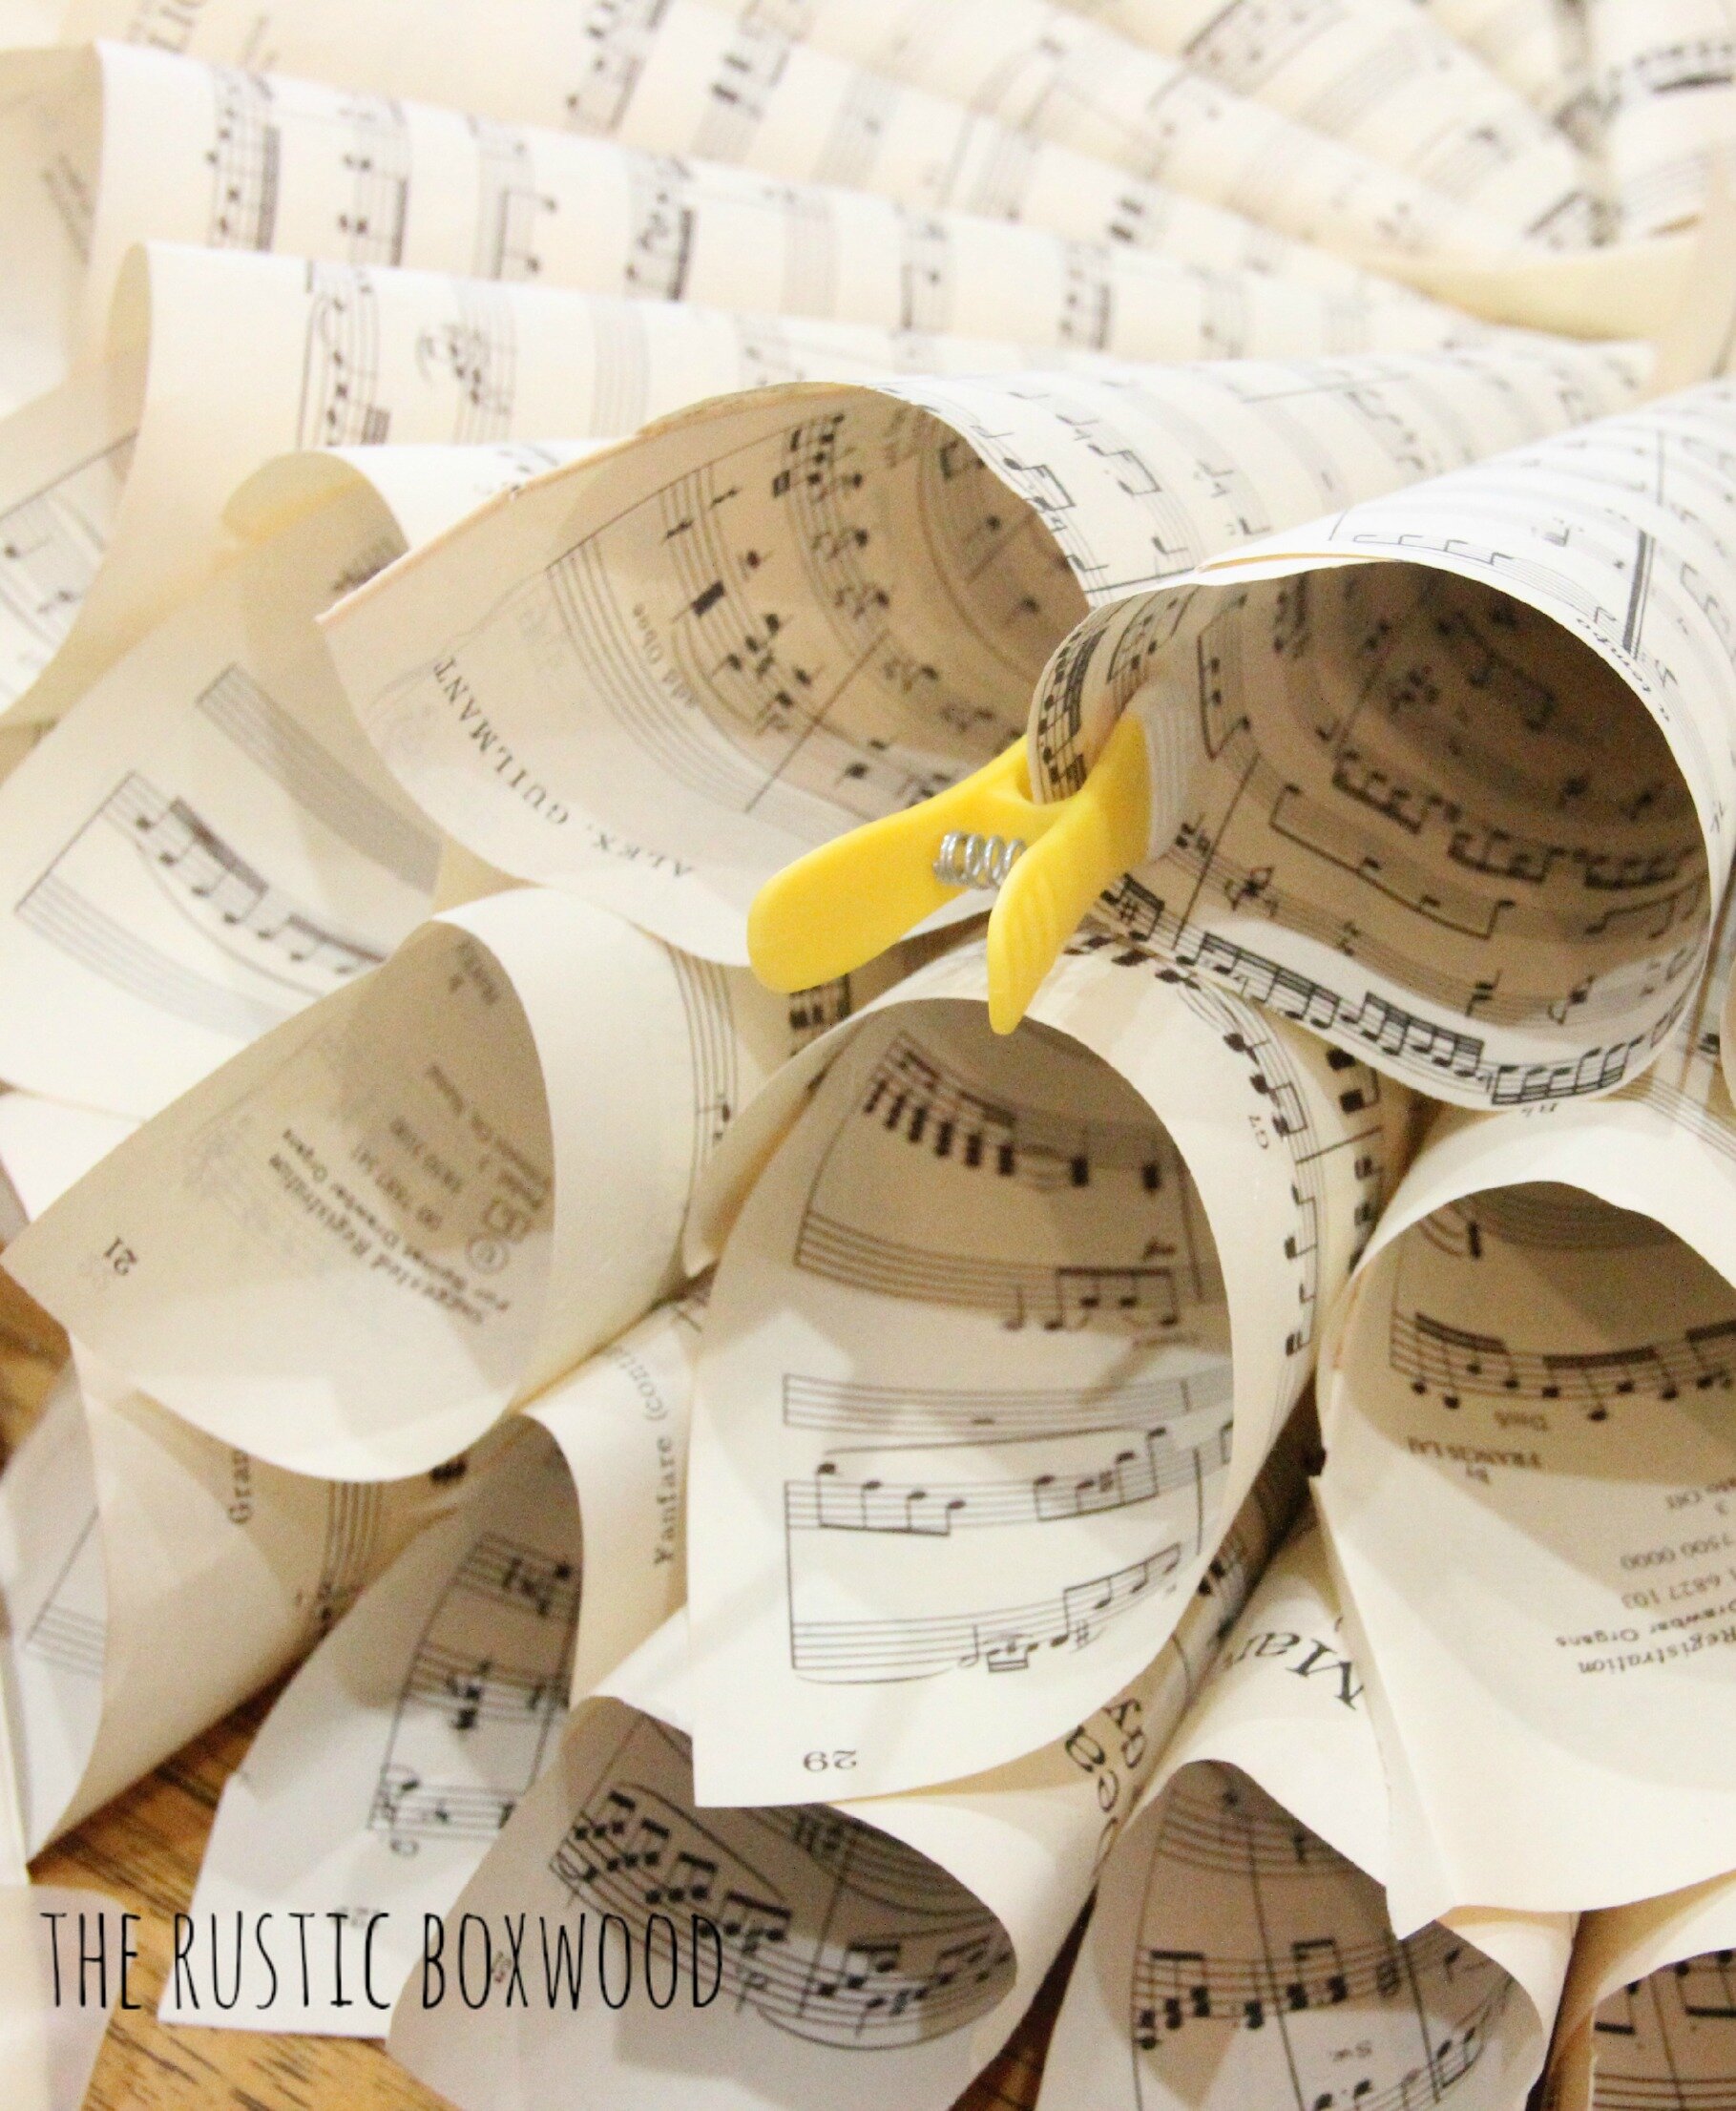
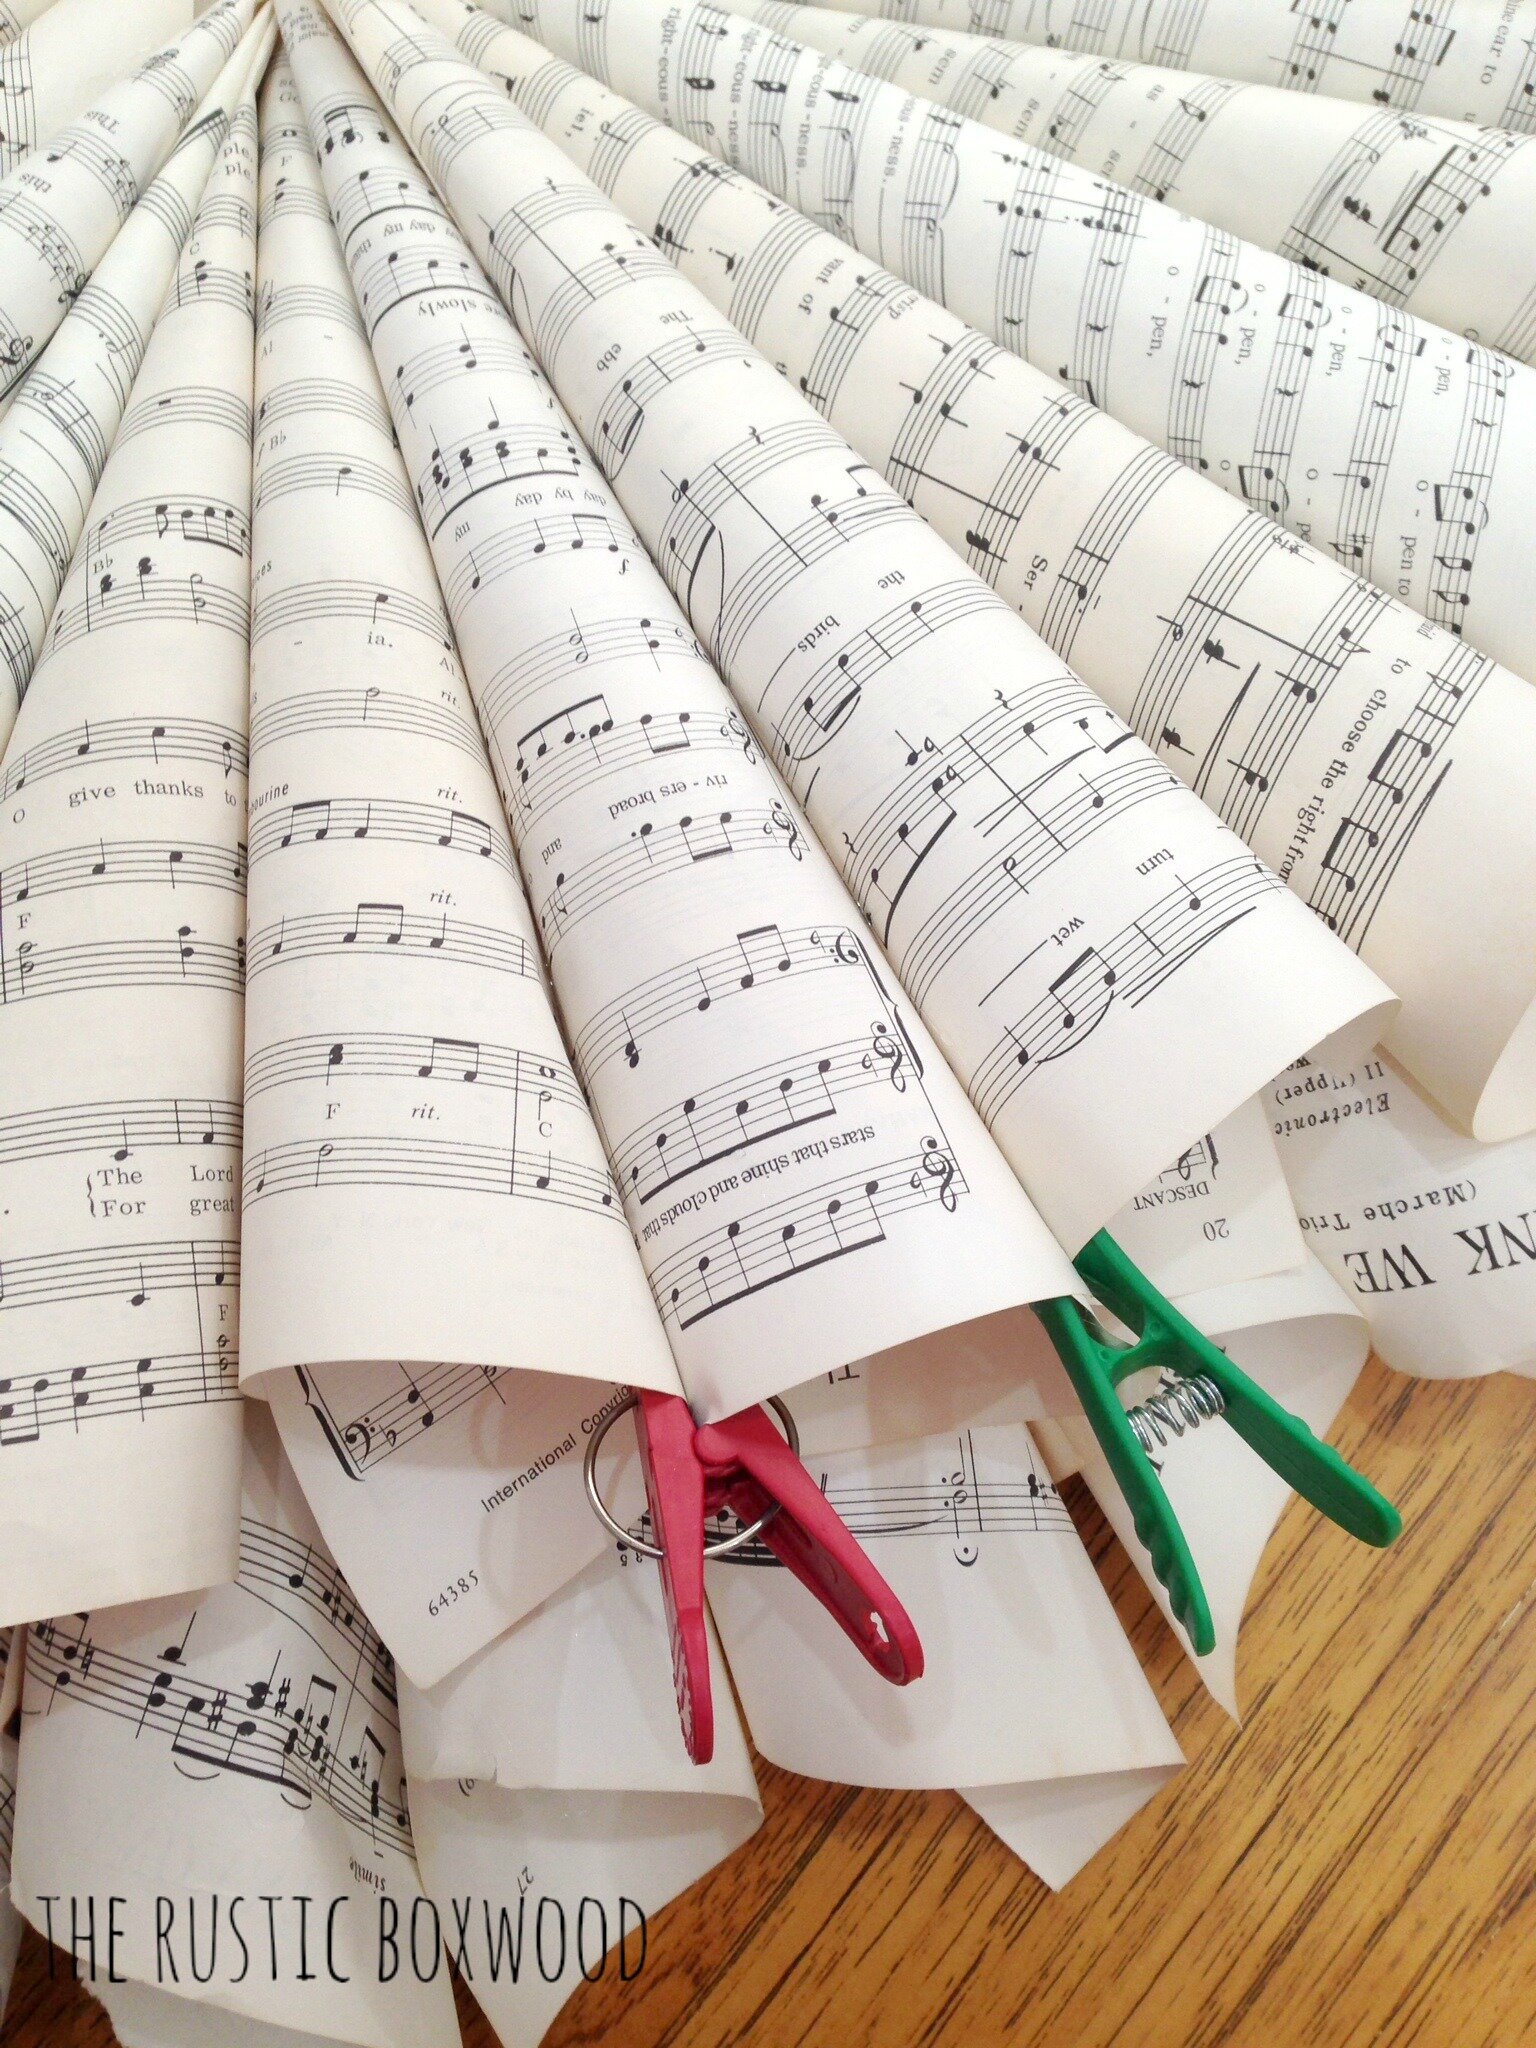
Once you've rolled up a cone, make a line of hot glue up the edge of the page and then gently roll the page, holding it together for a few seconds until the glue dries. Continue this process with a few more cones, and then you can begin to glue the first layer onto your cake plate!

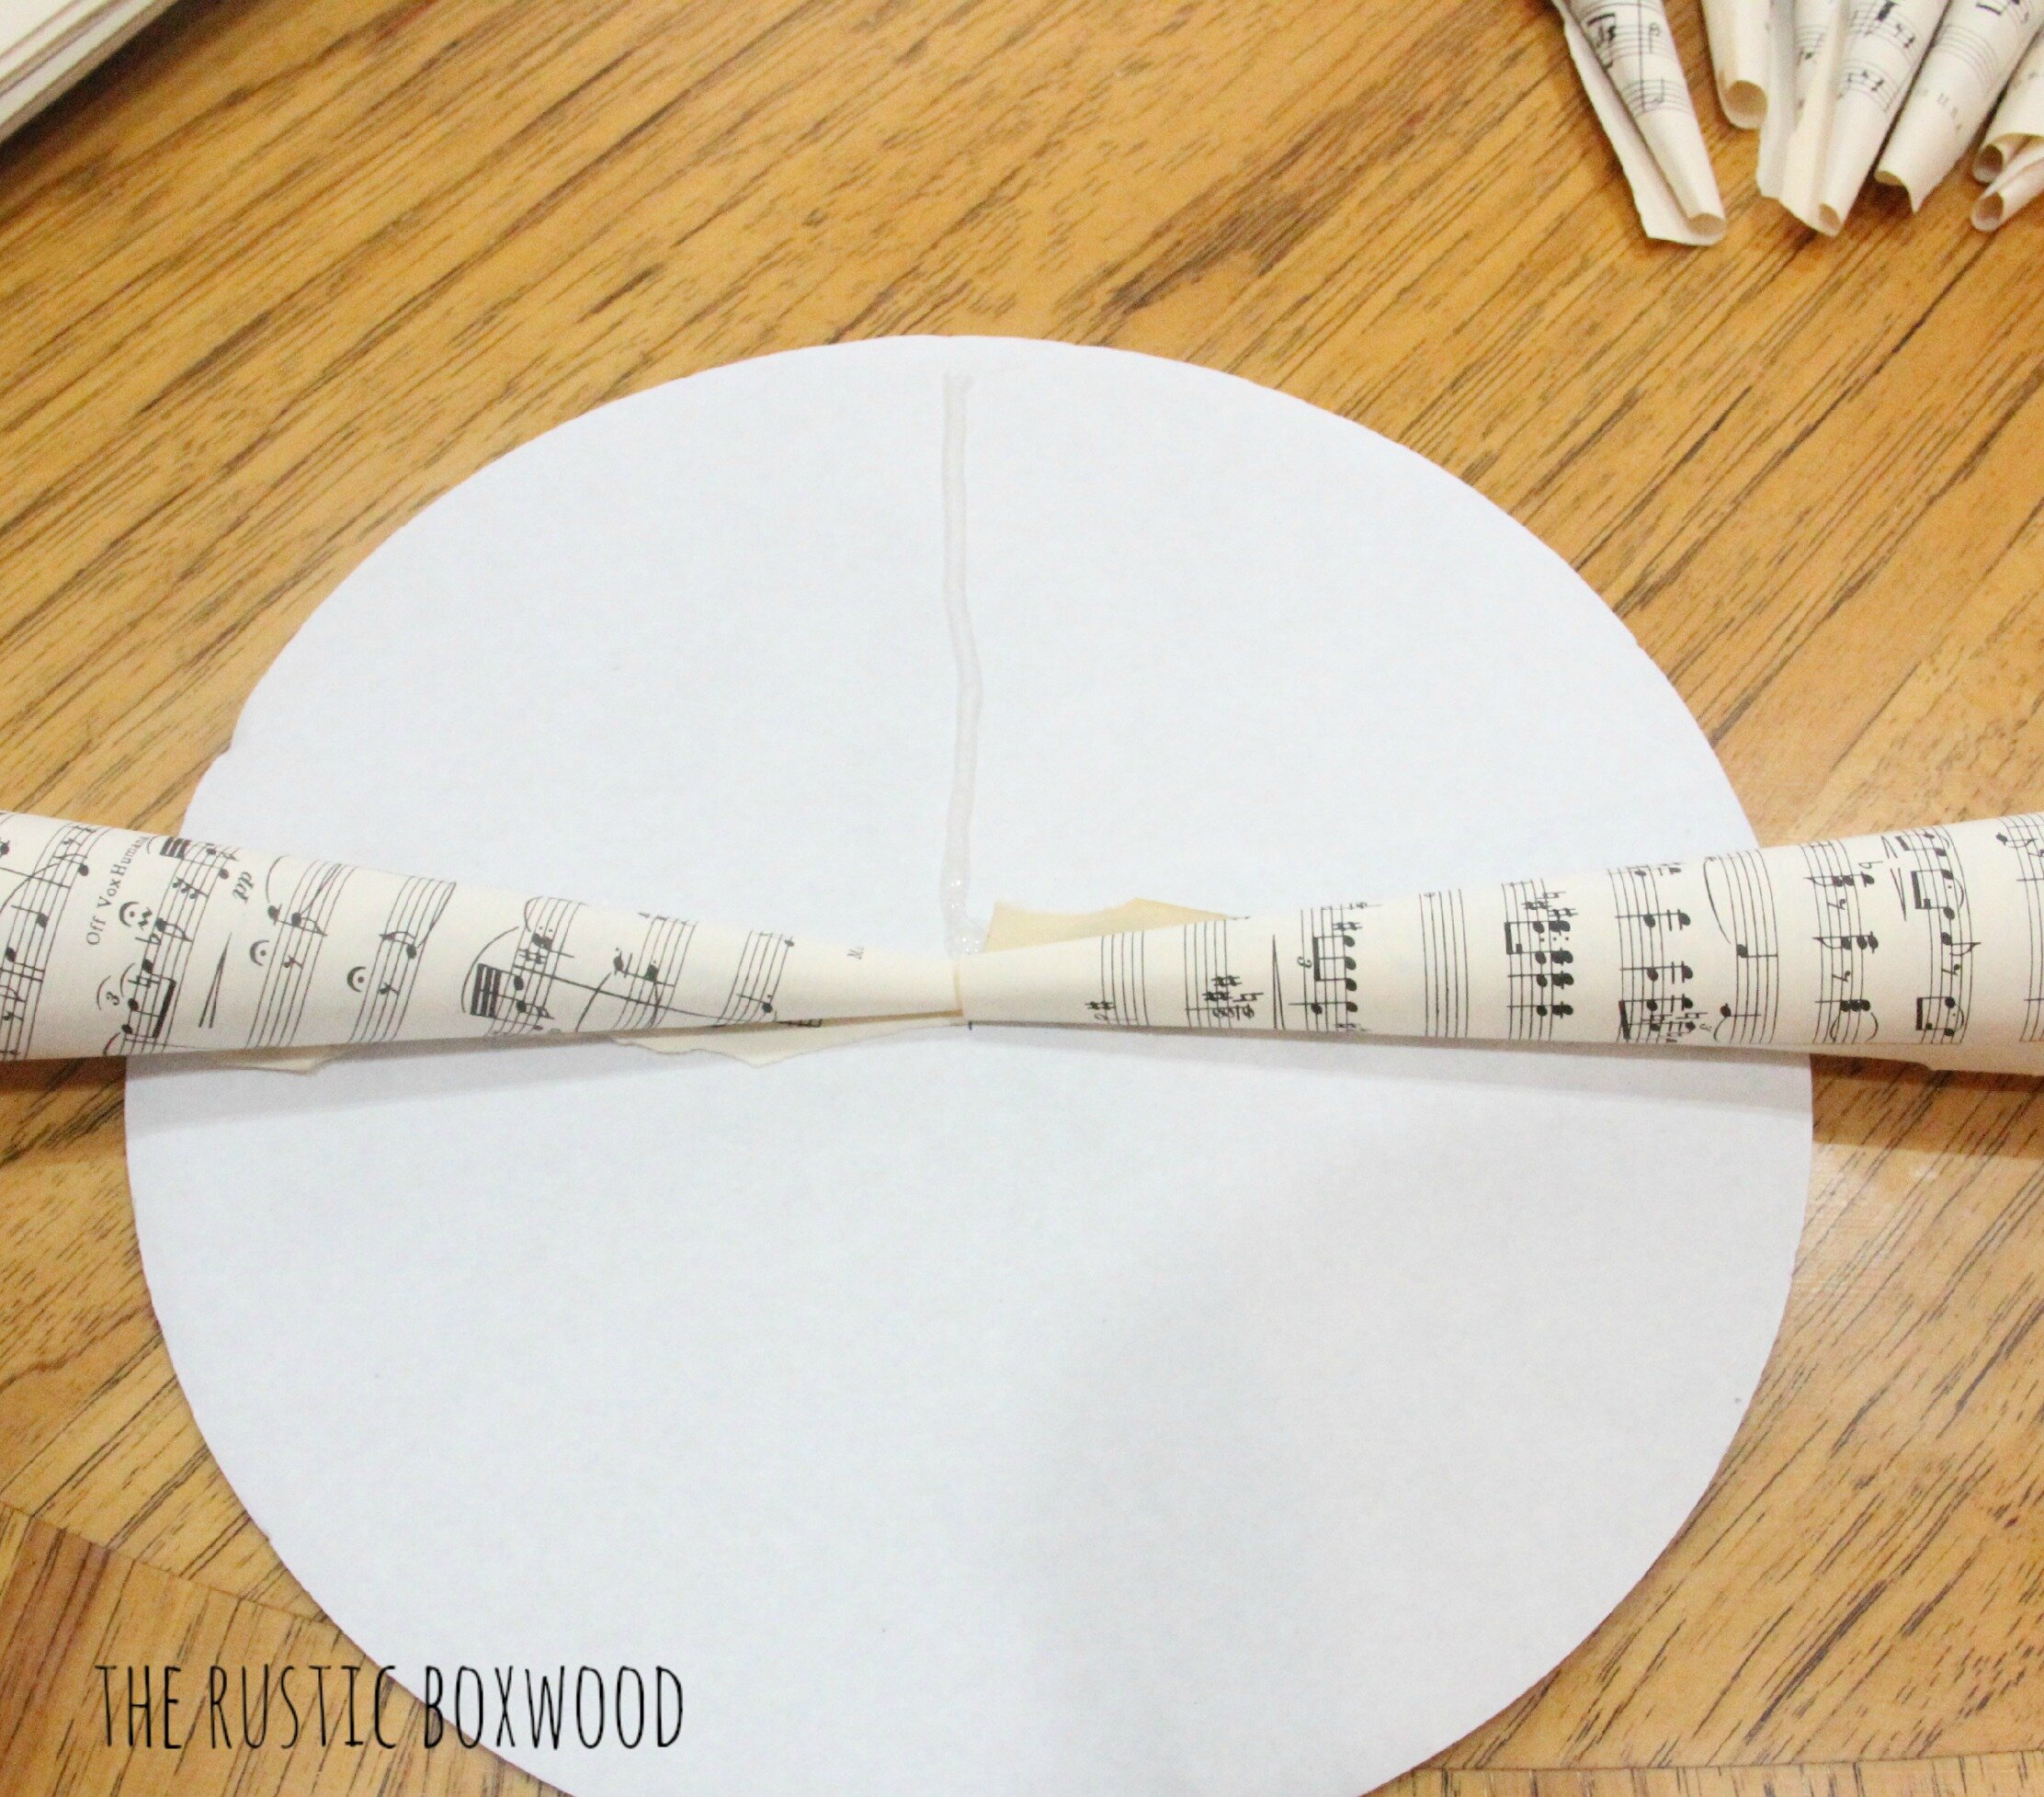
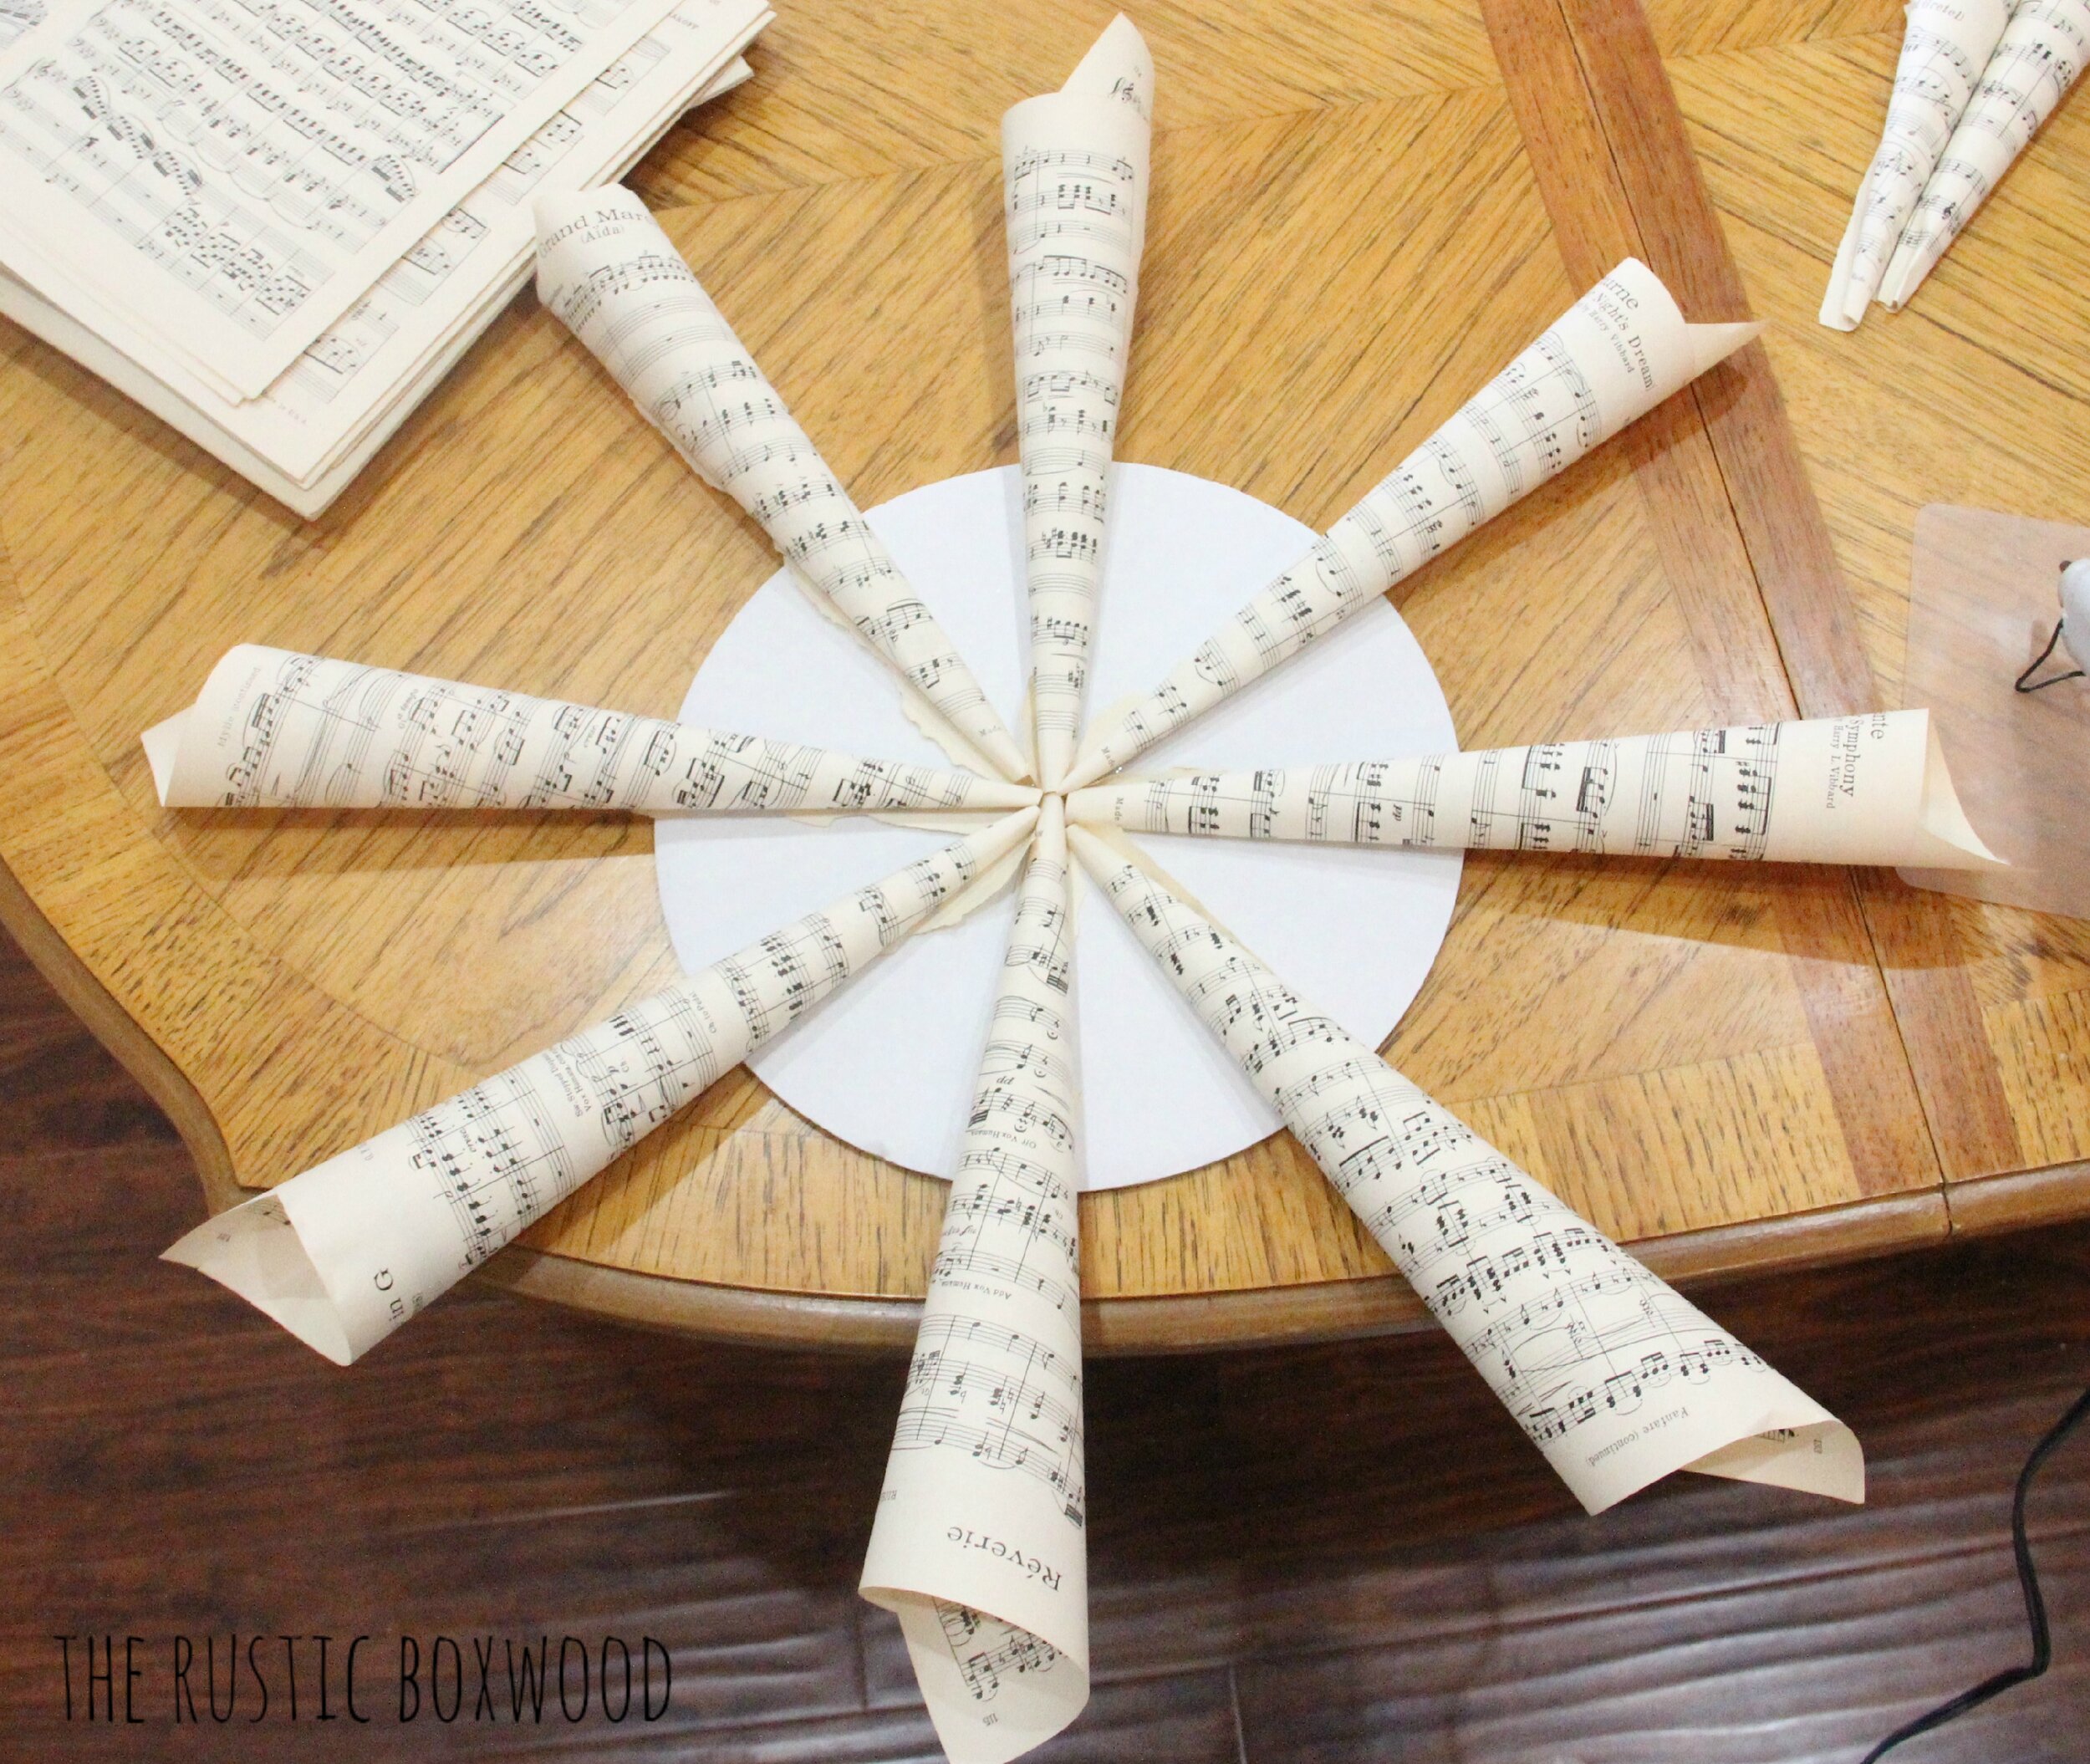
And for some of the cones that were "incooperable" (those that wouldn't stick to each other), I simply attached a chip clip to hold two cones together for a few minutes. I didn't want any gaps in between any of my cones!
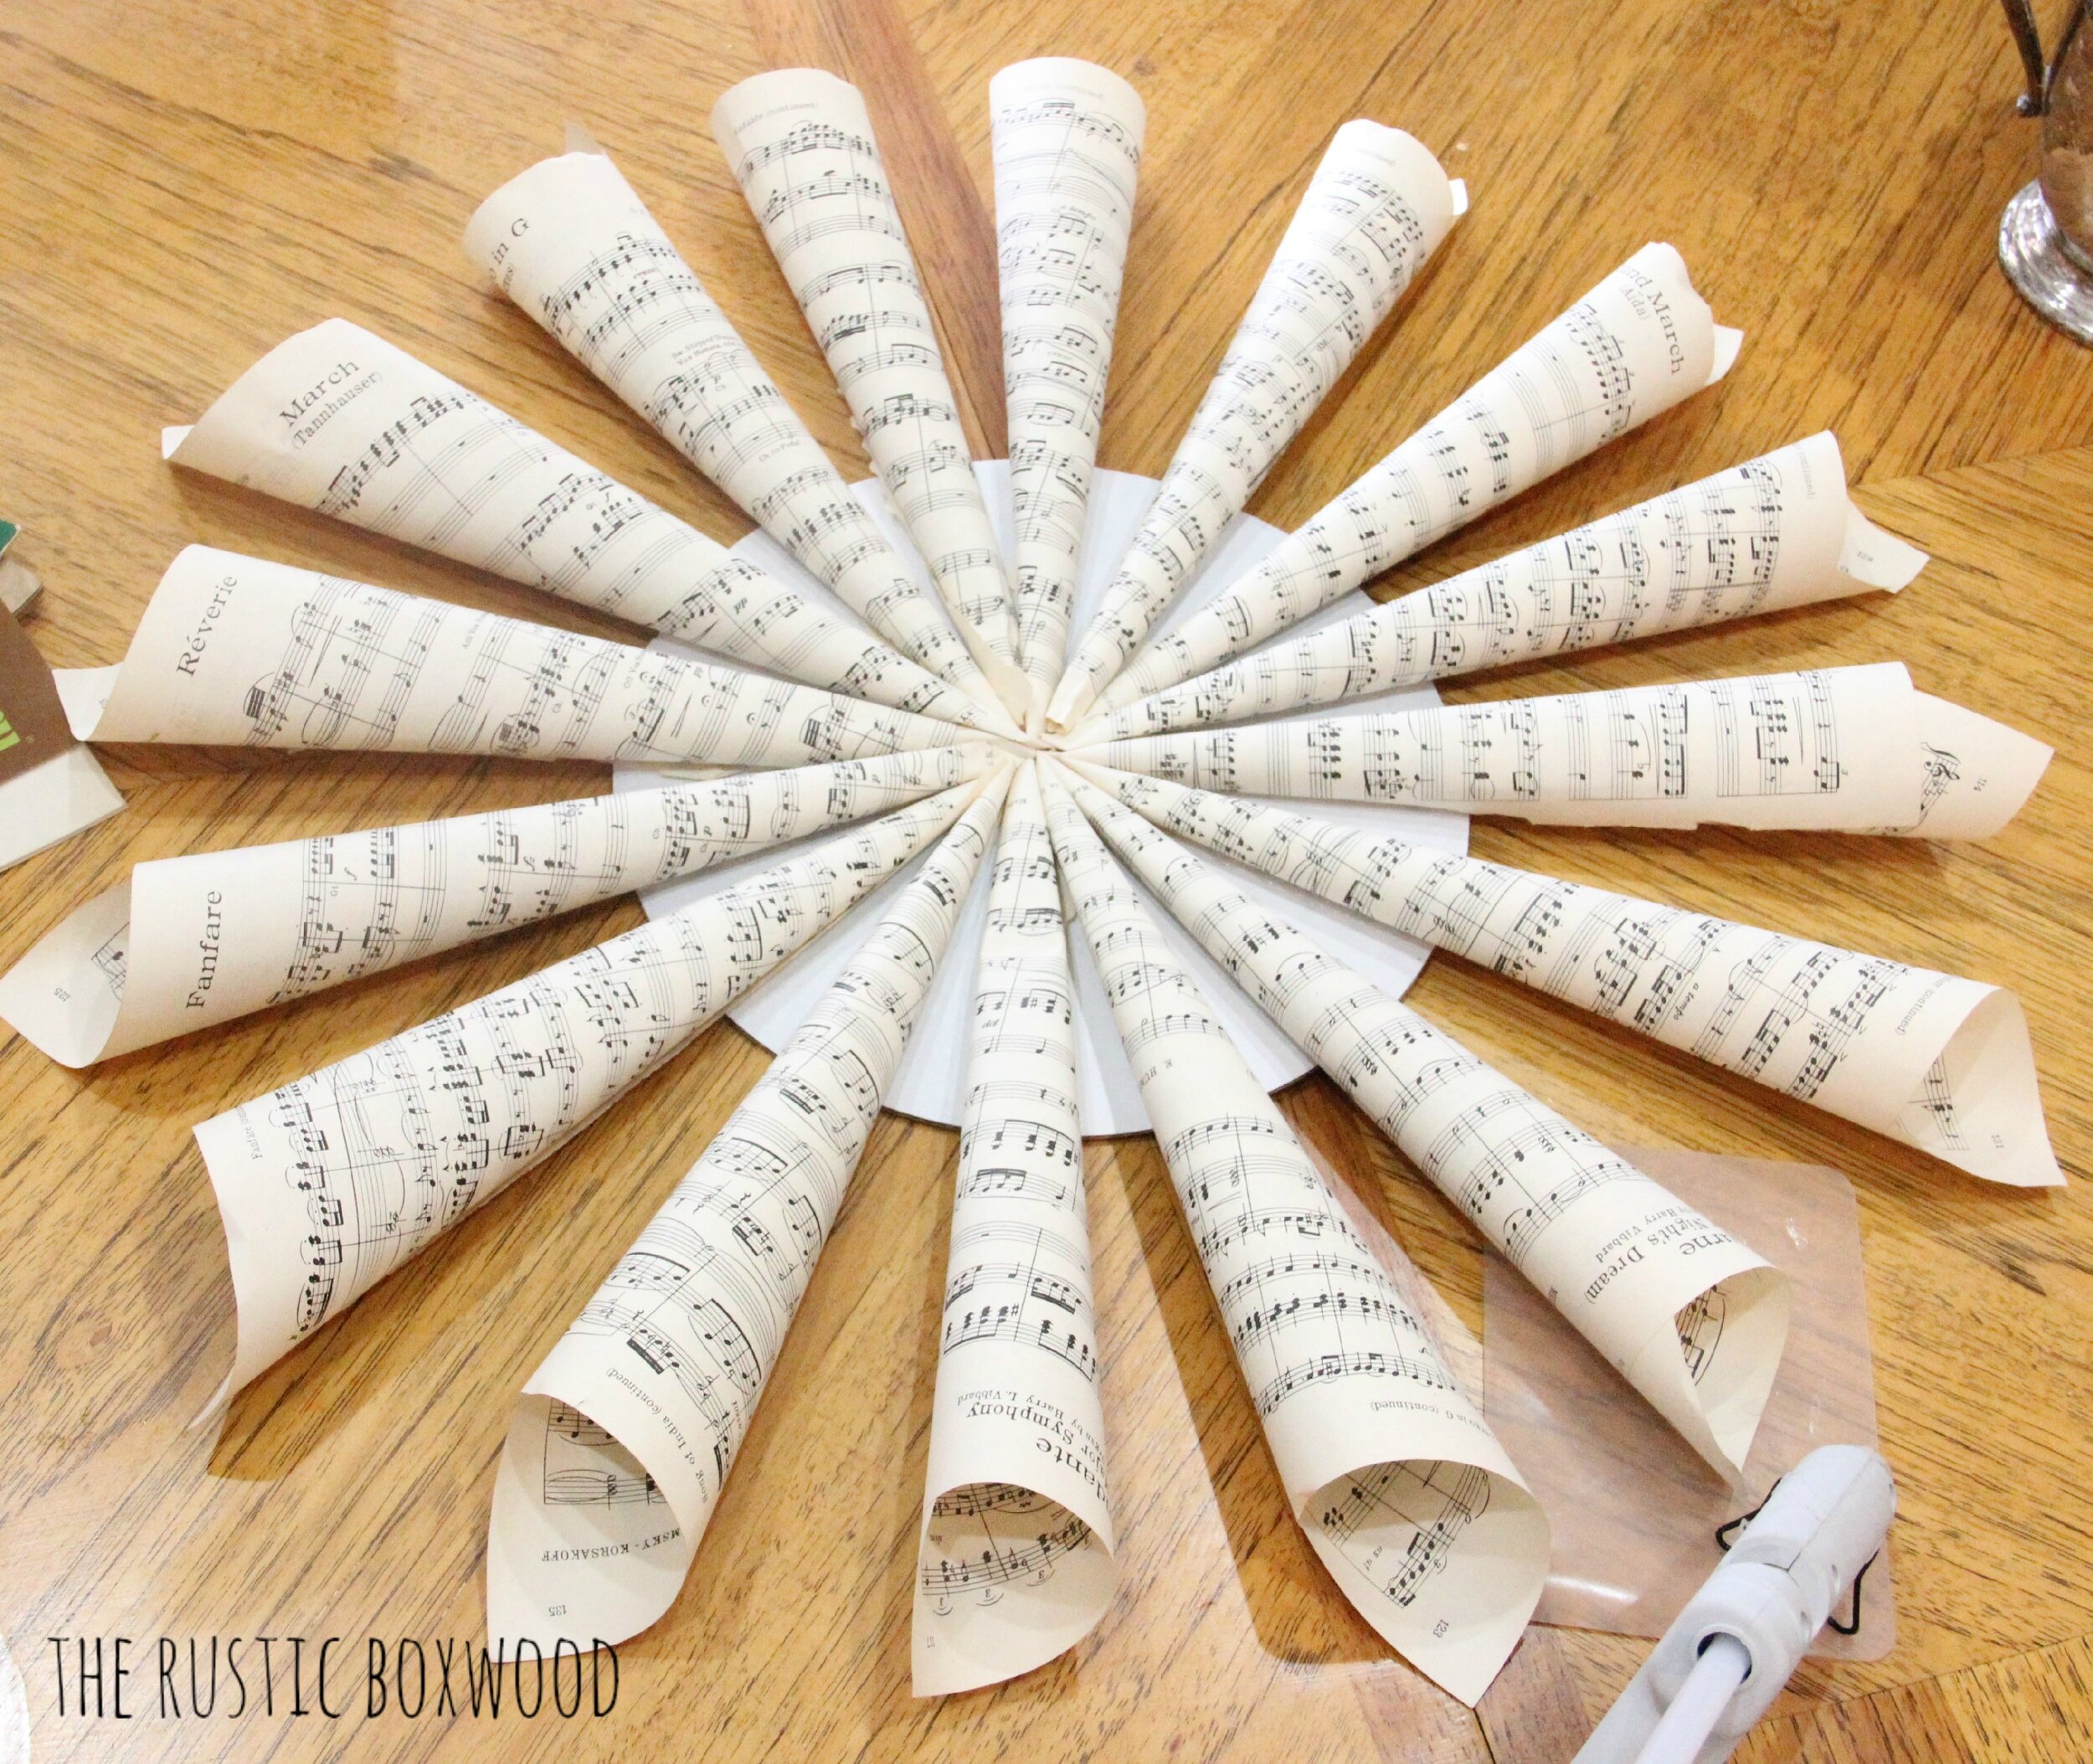
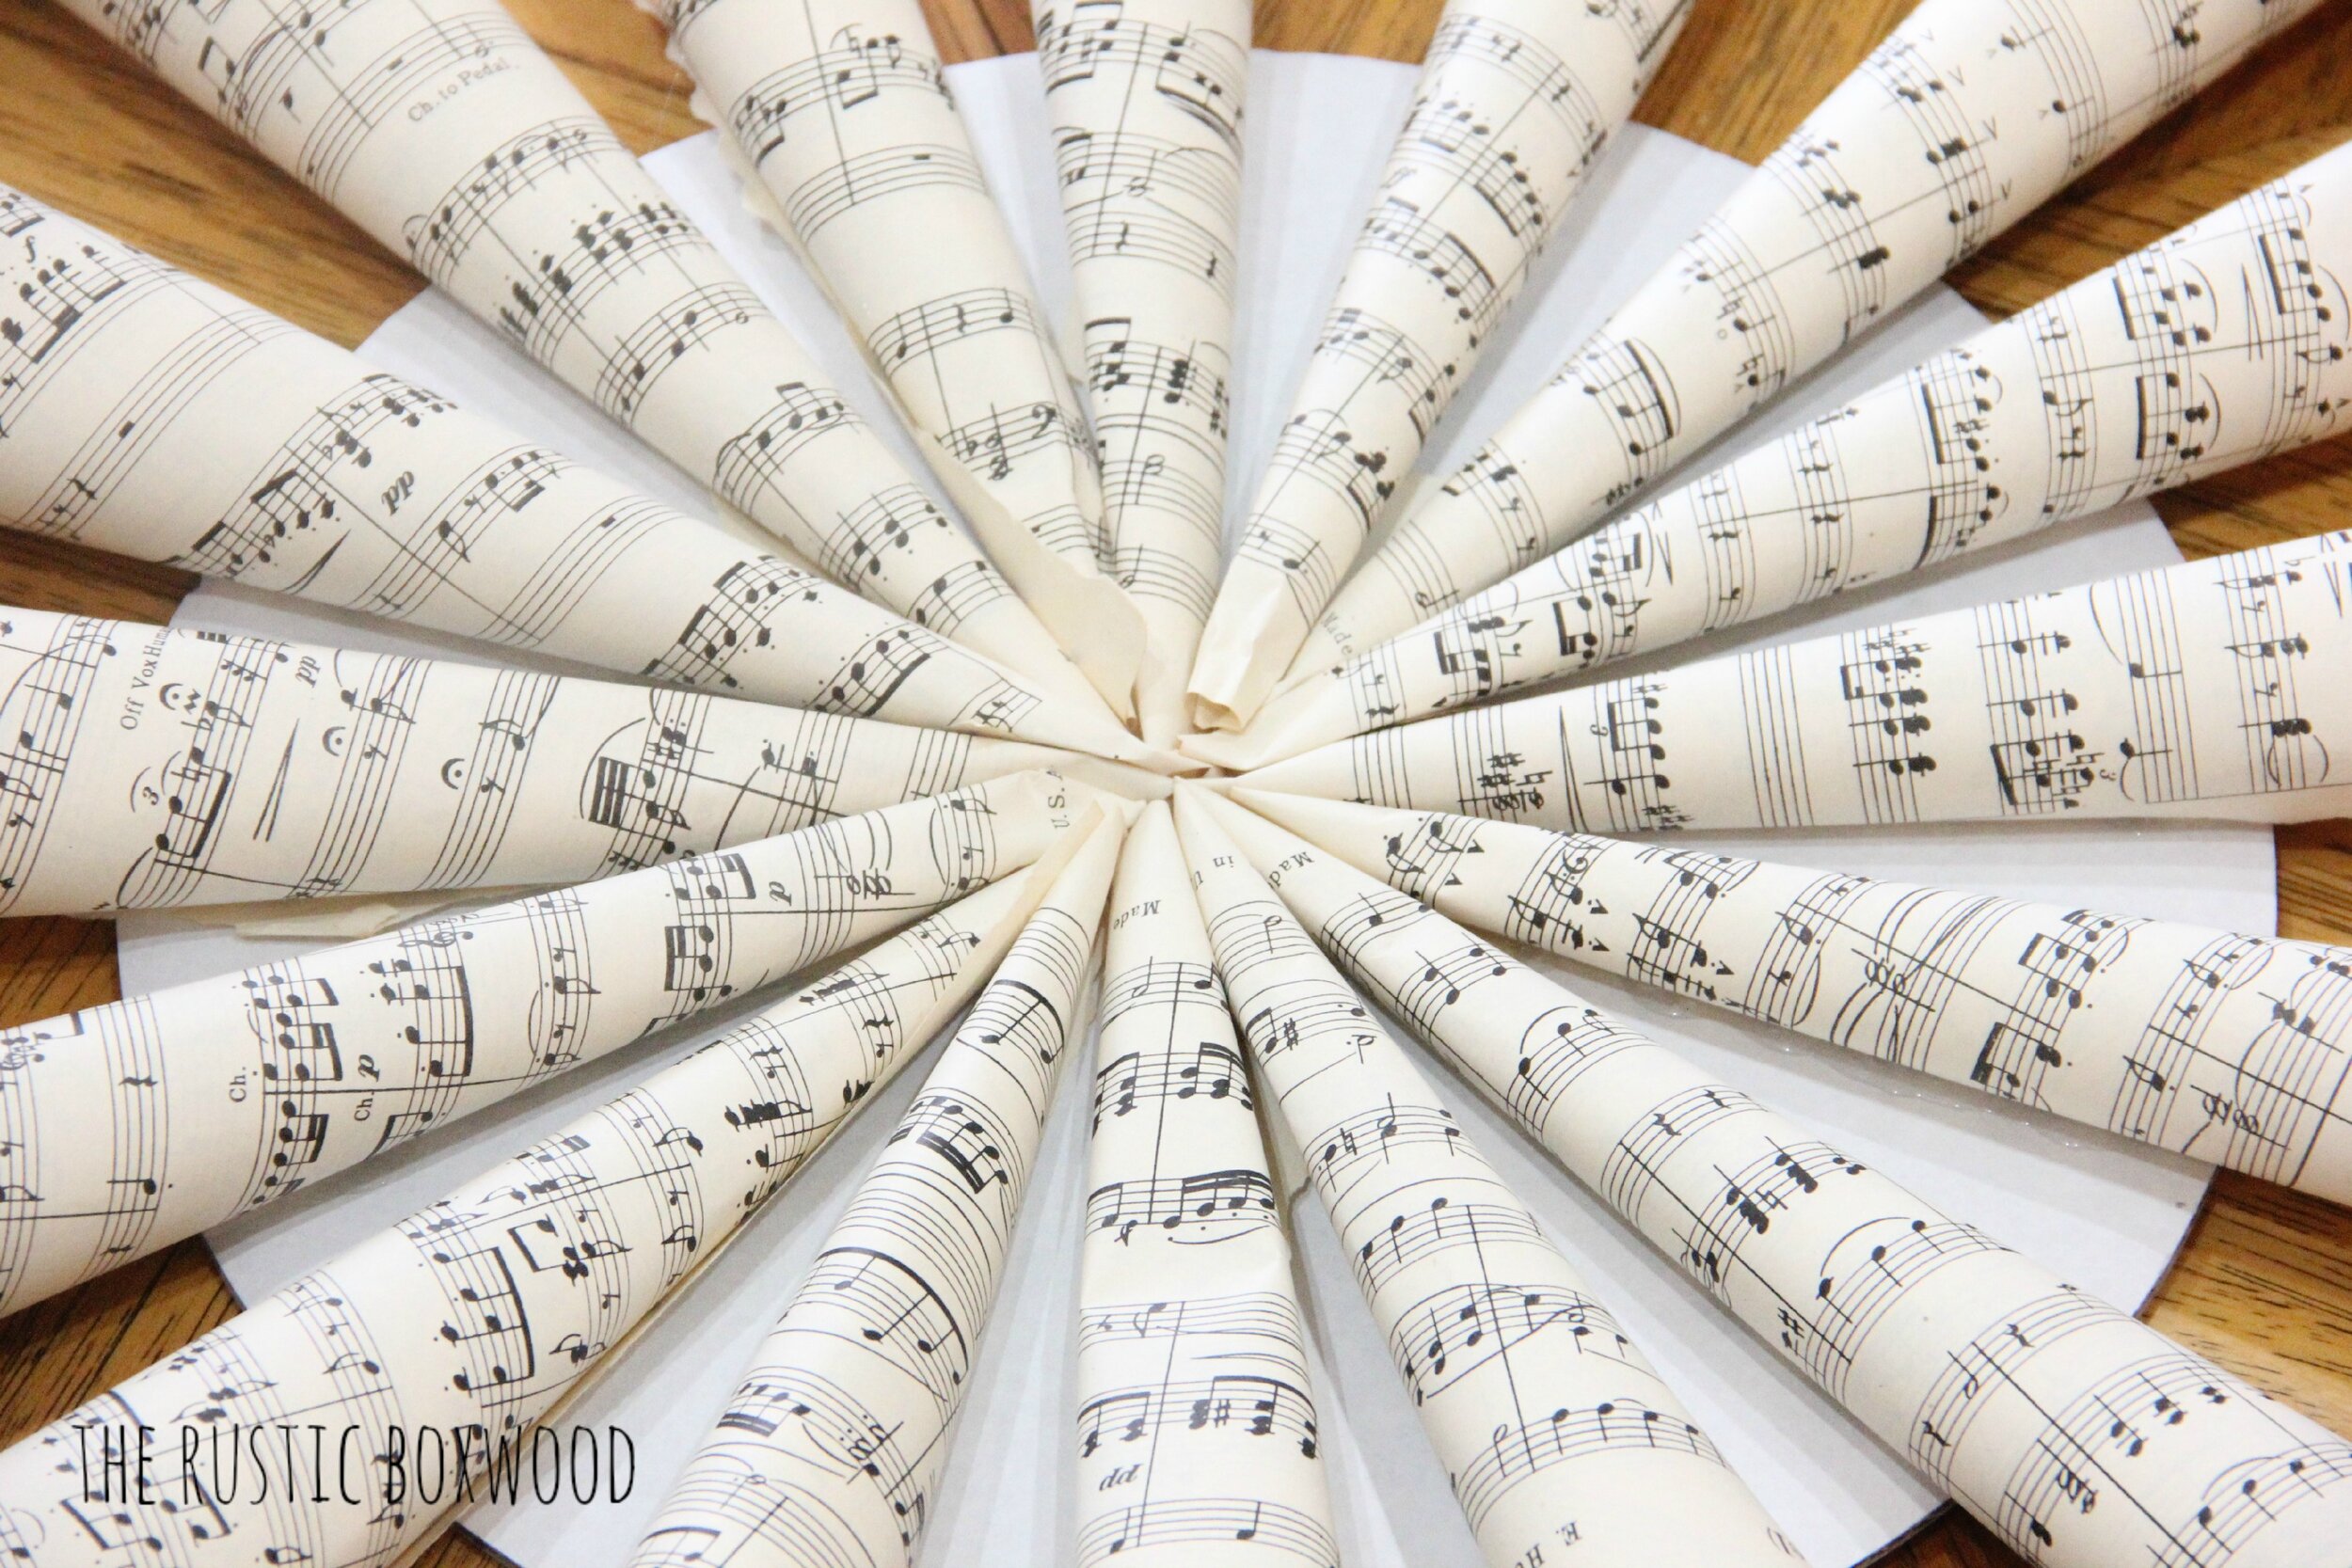
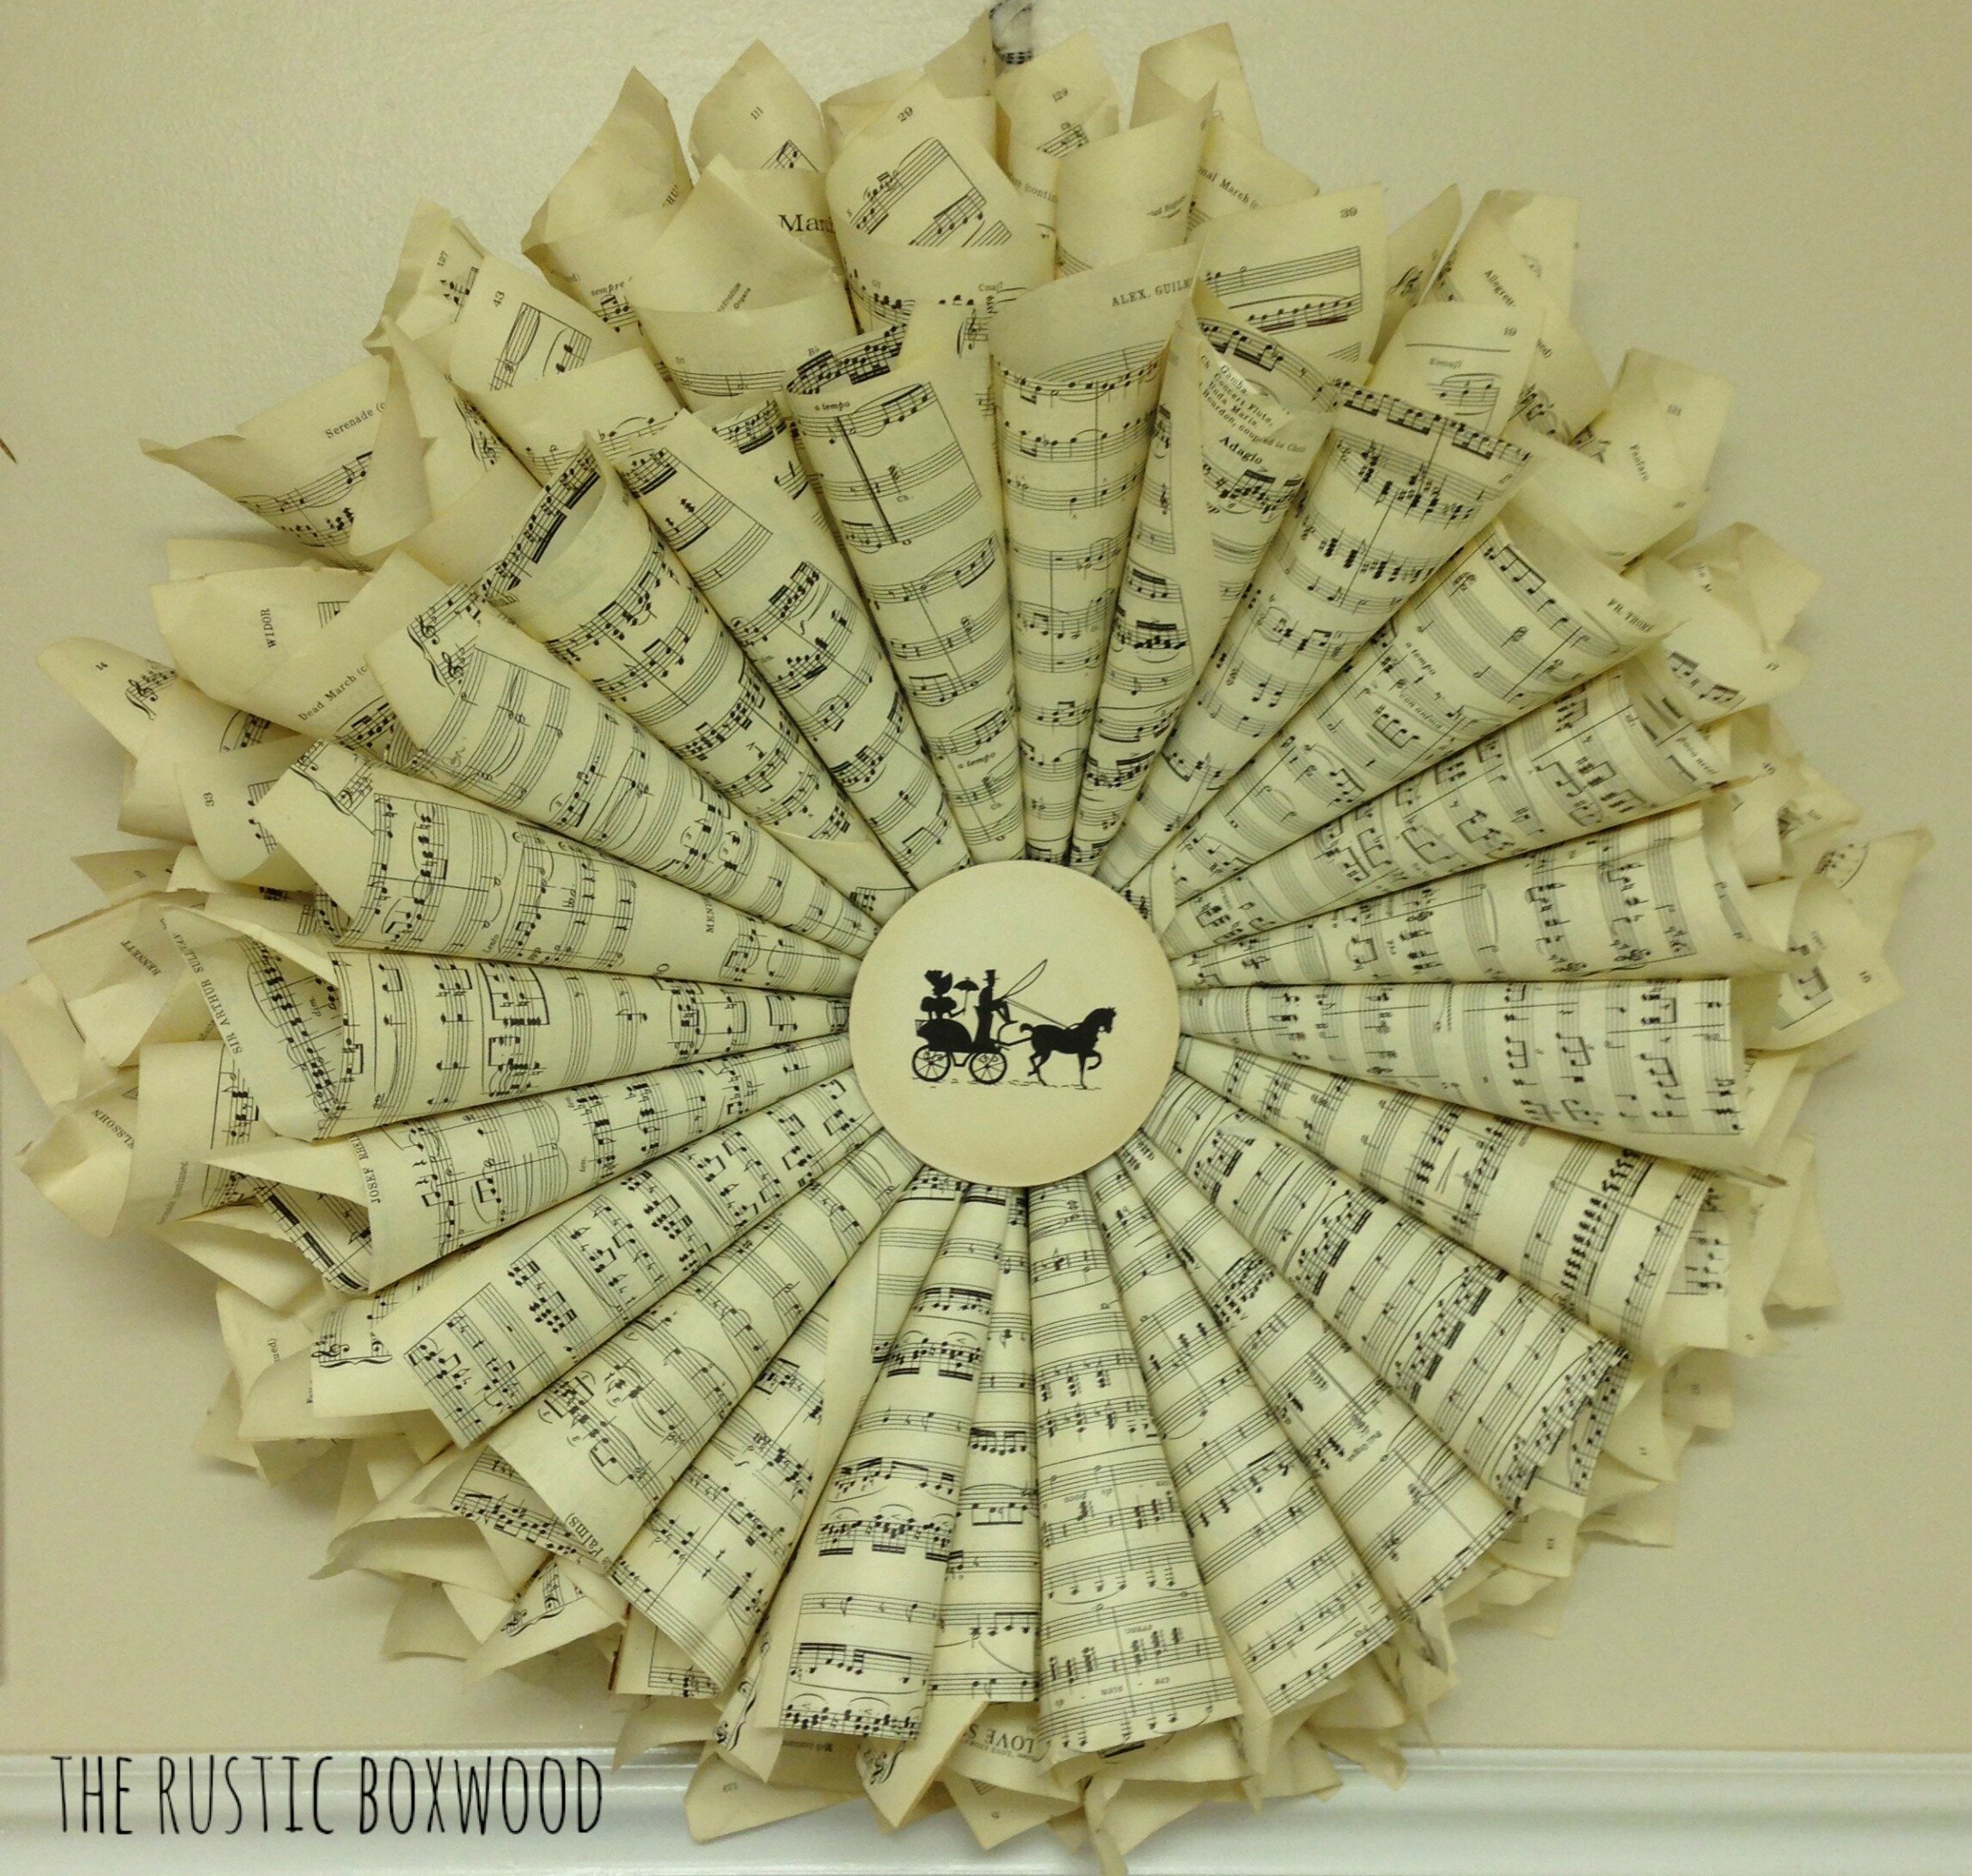
As you near the end, your wreath will look a little something like this...
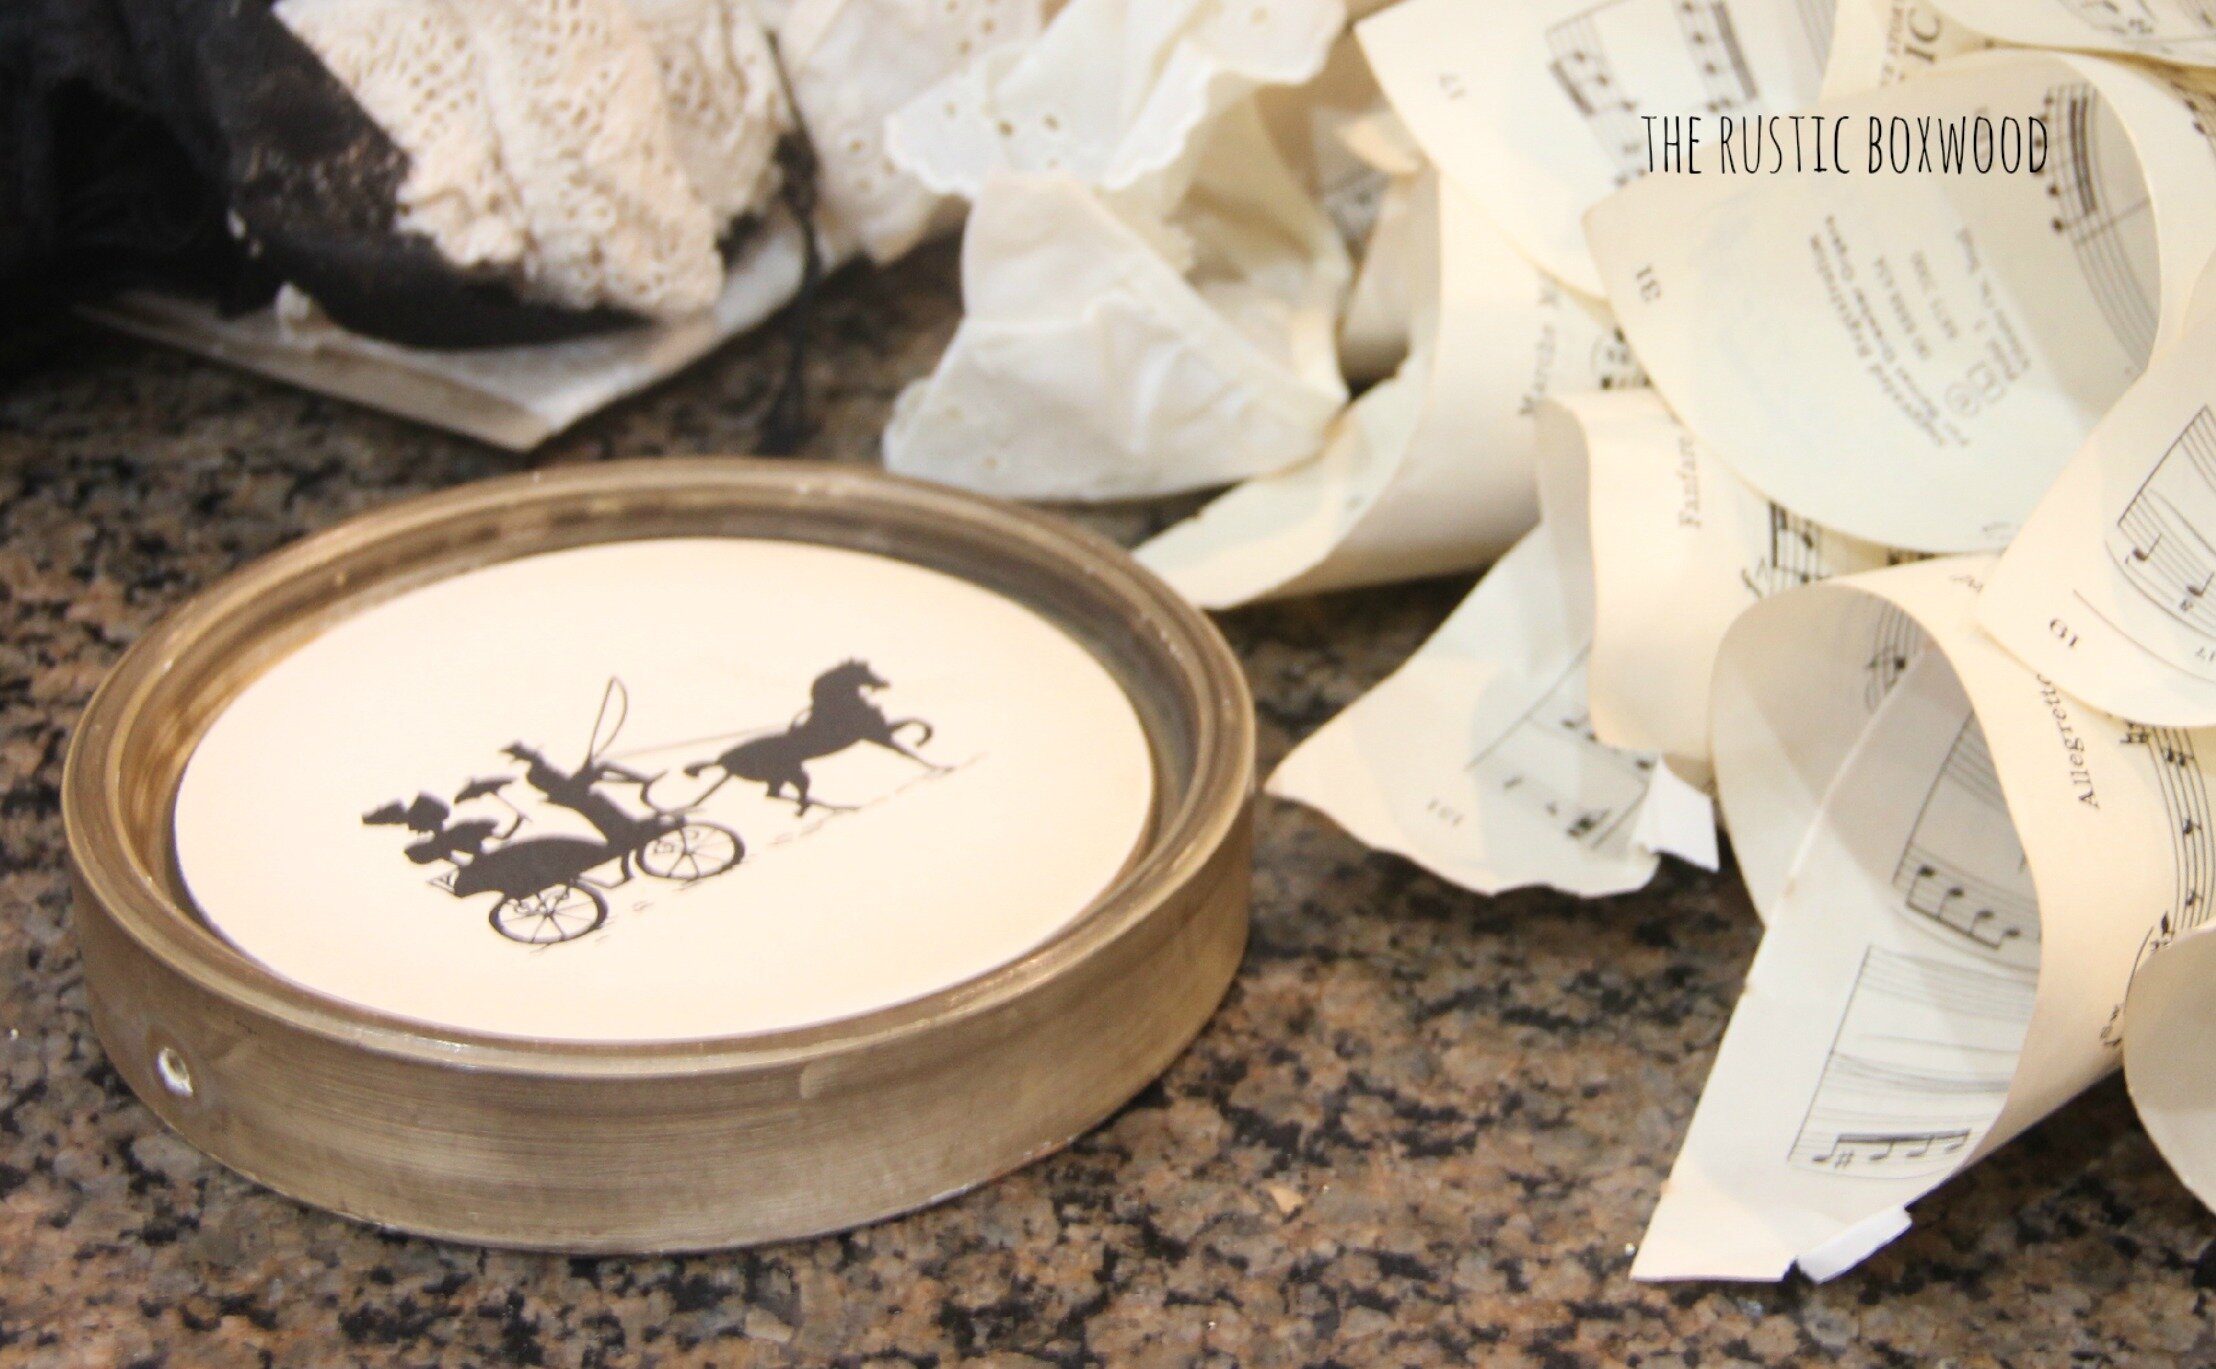
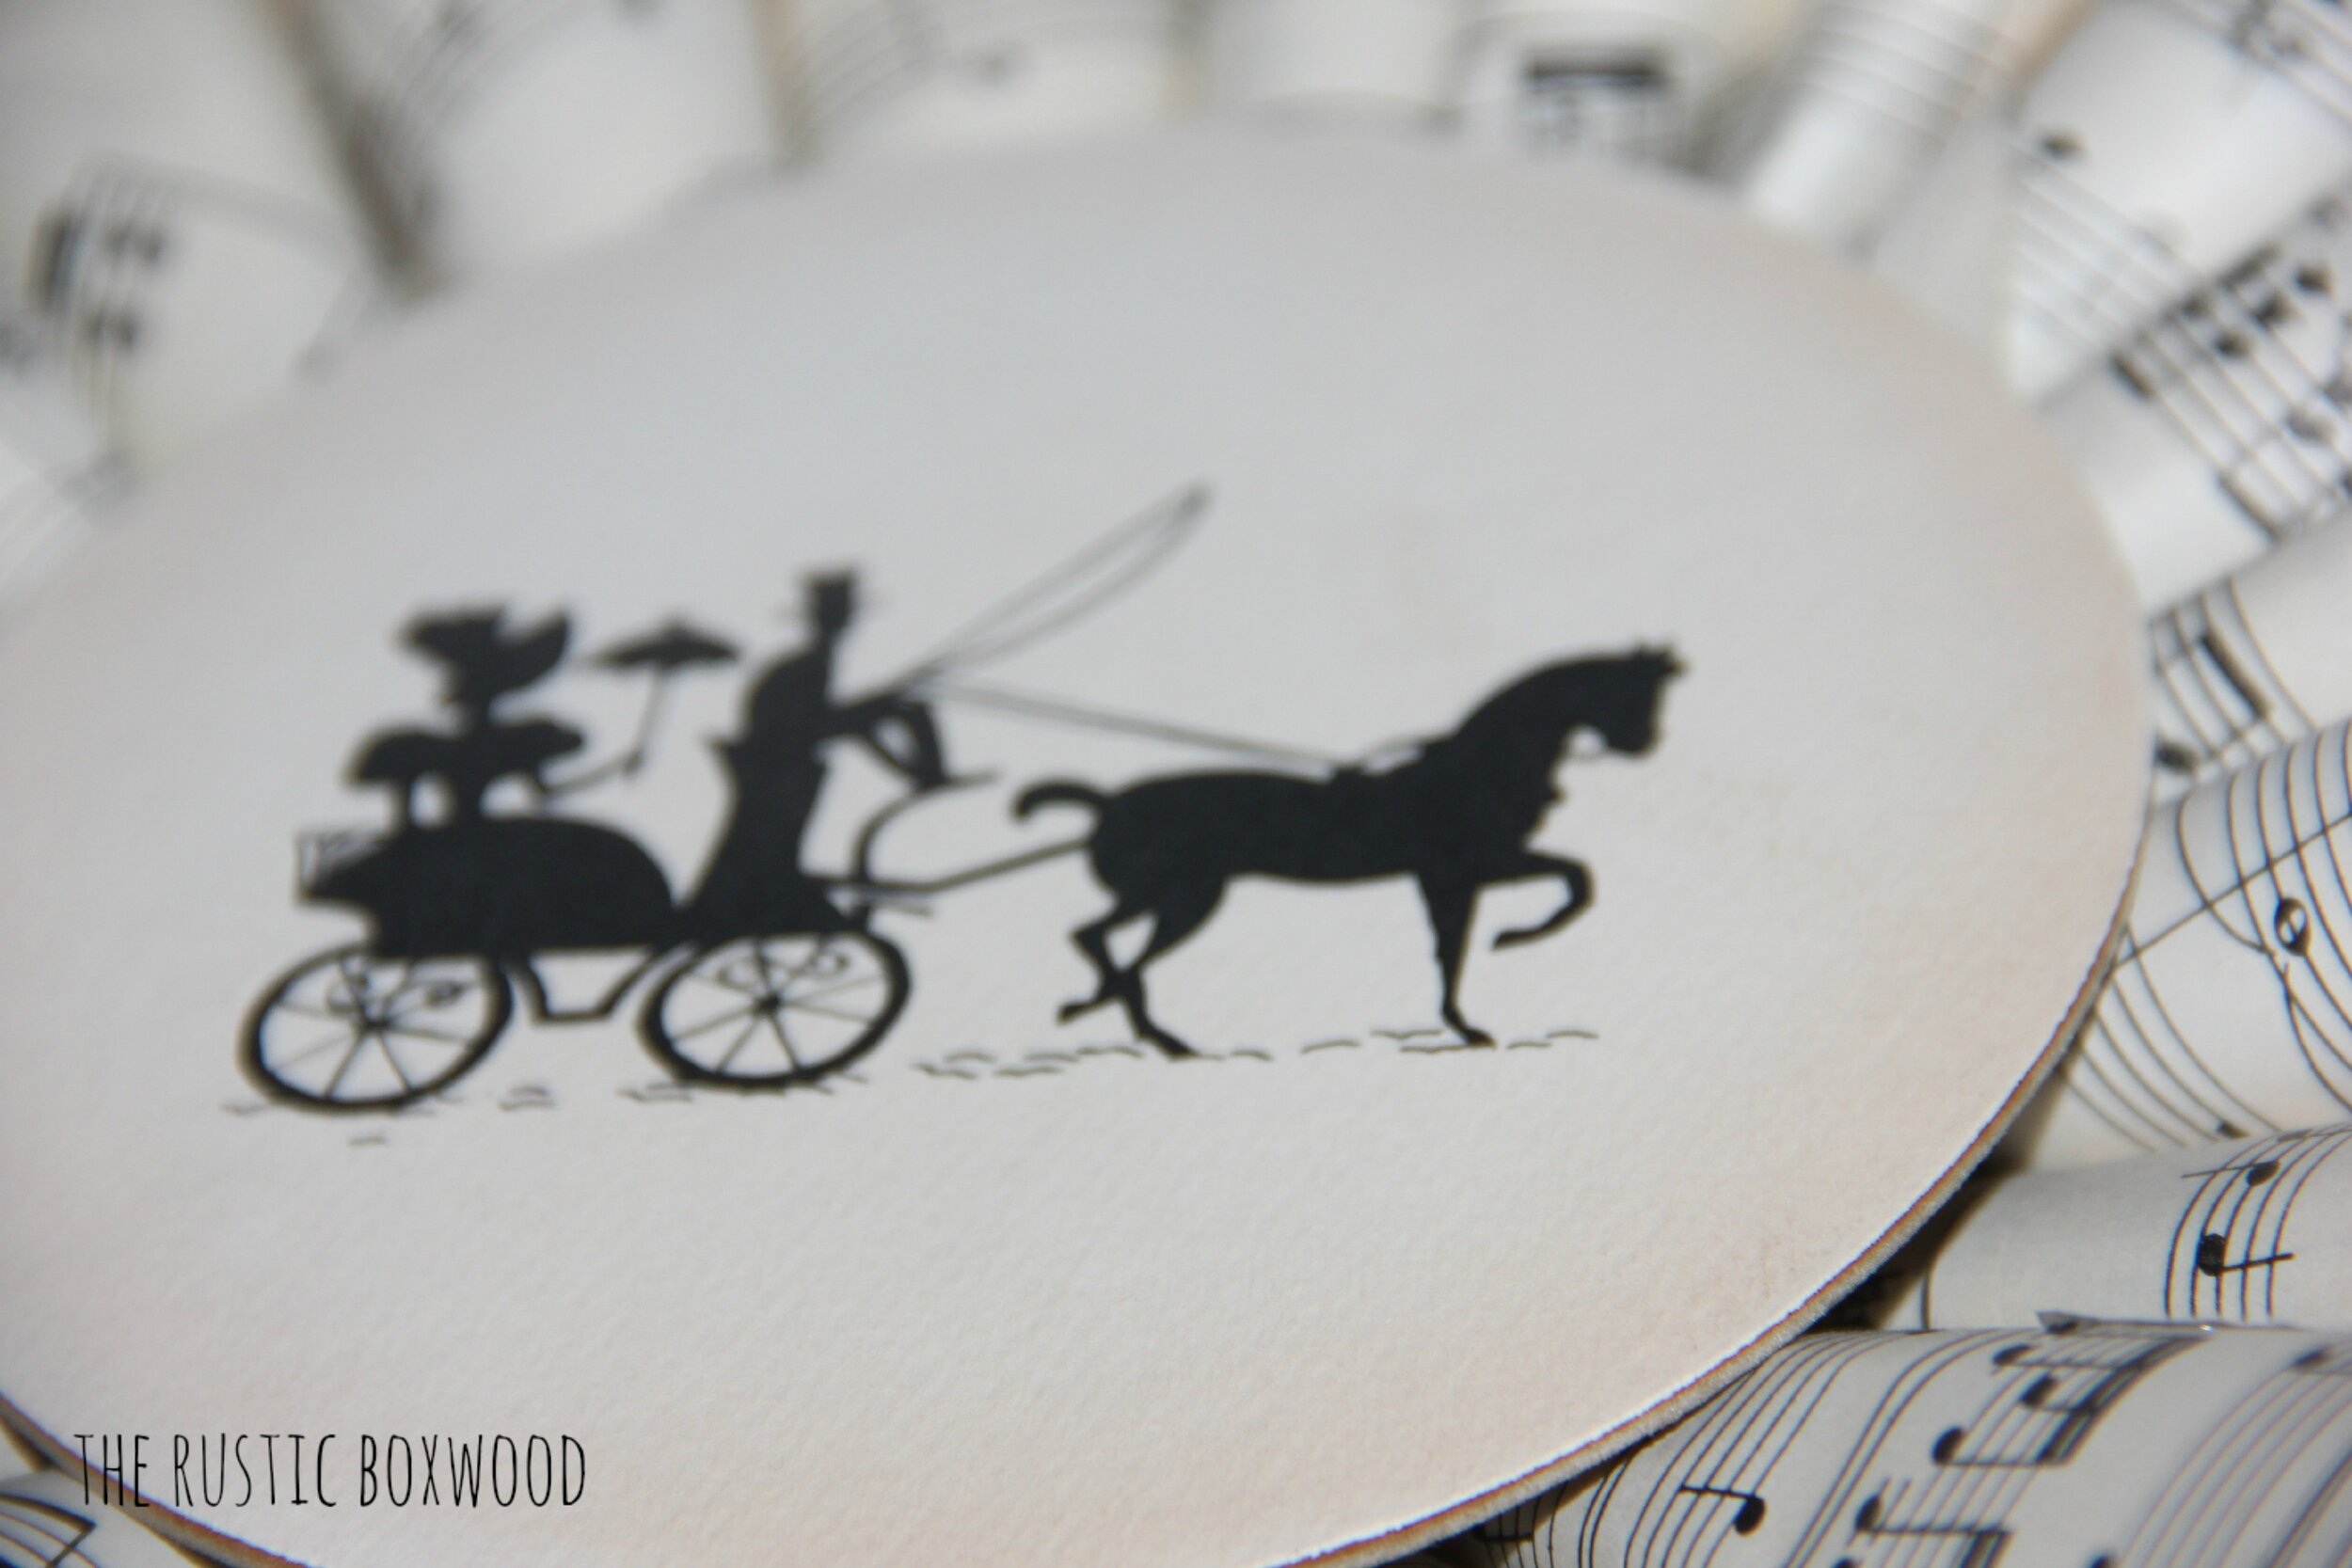
And you'll want to cover the middle of the wreath with some type of embellishment, such as what I picked out in the pic below. It was a vintage, framed silhouette that I bought at an antique store. I simply took the frame off, attached the silhouette to the cardboard backing using glue dots, and then hot-glued the silhouette to the wreath. Easy peasy!
I wish I'd remembered to take pics of the finished product before taking it to the auction. I'd have hung it in a pretty spot for you all to see. :) But these pics will have to do!
To hang your wreath, you can choose some pretty and wide ribbon, hot glue it to the back of your cake plate, and then hang it wherever you'd like!
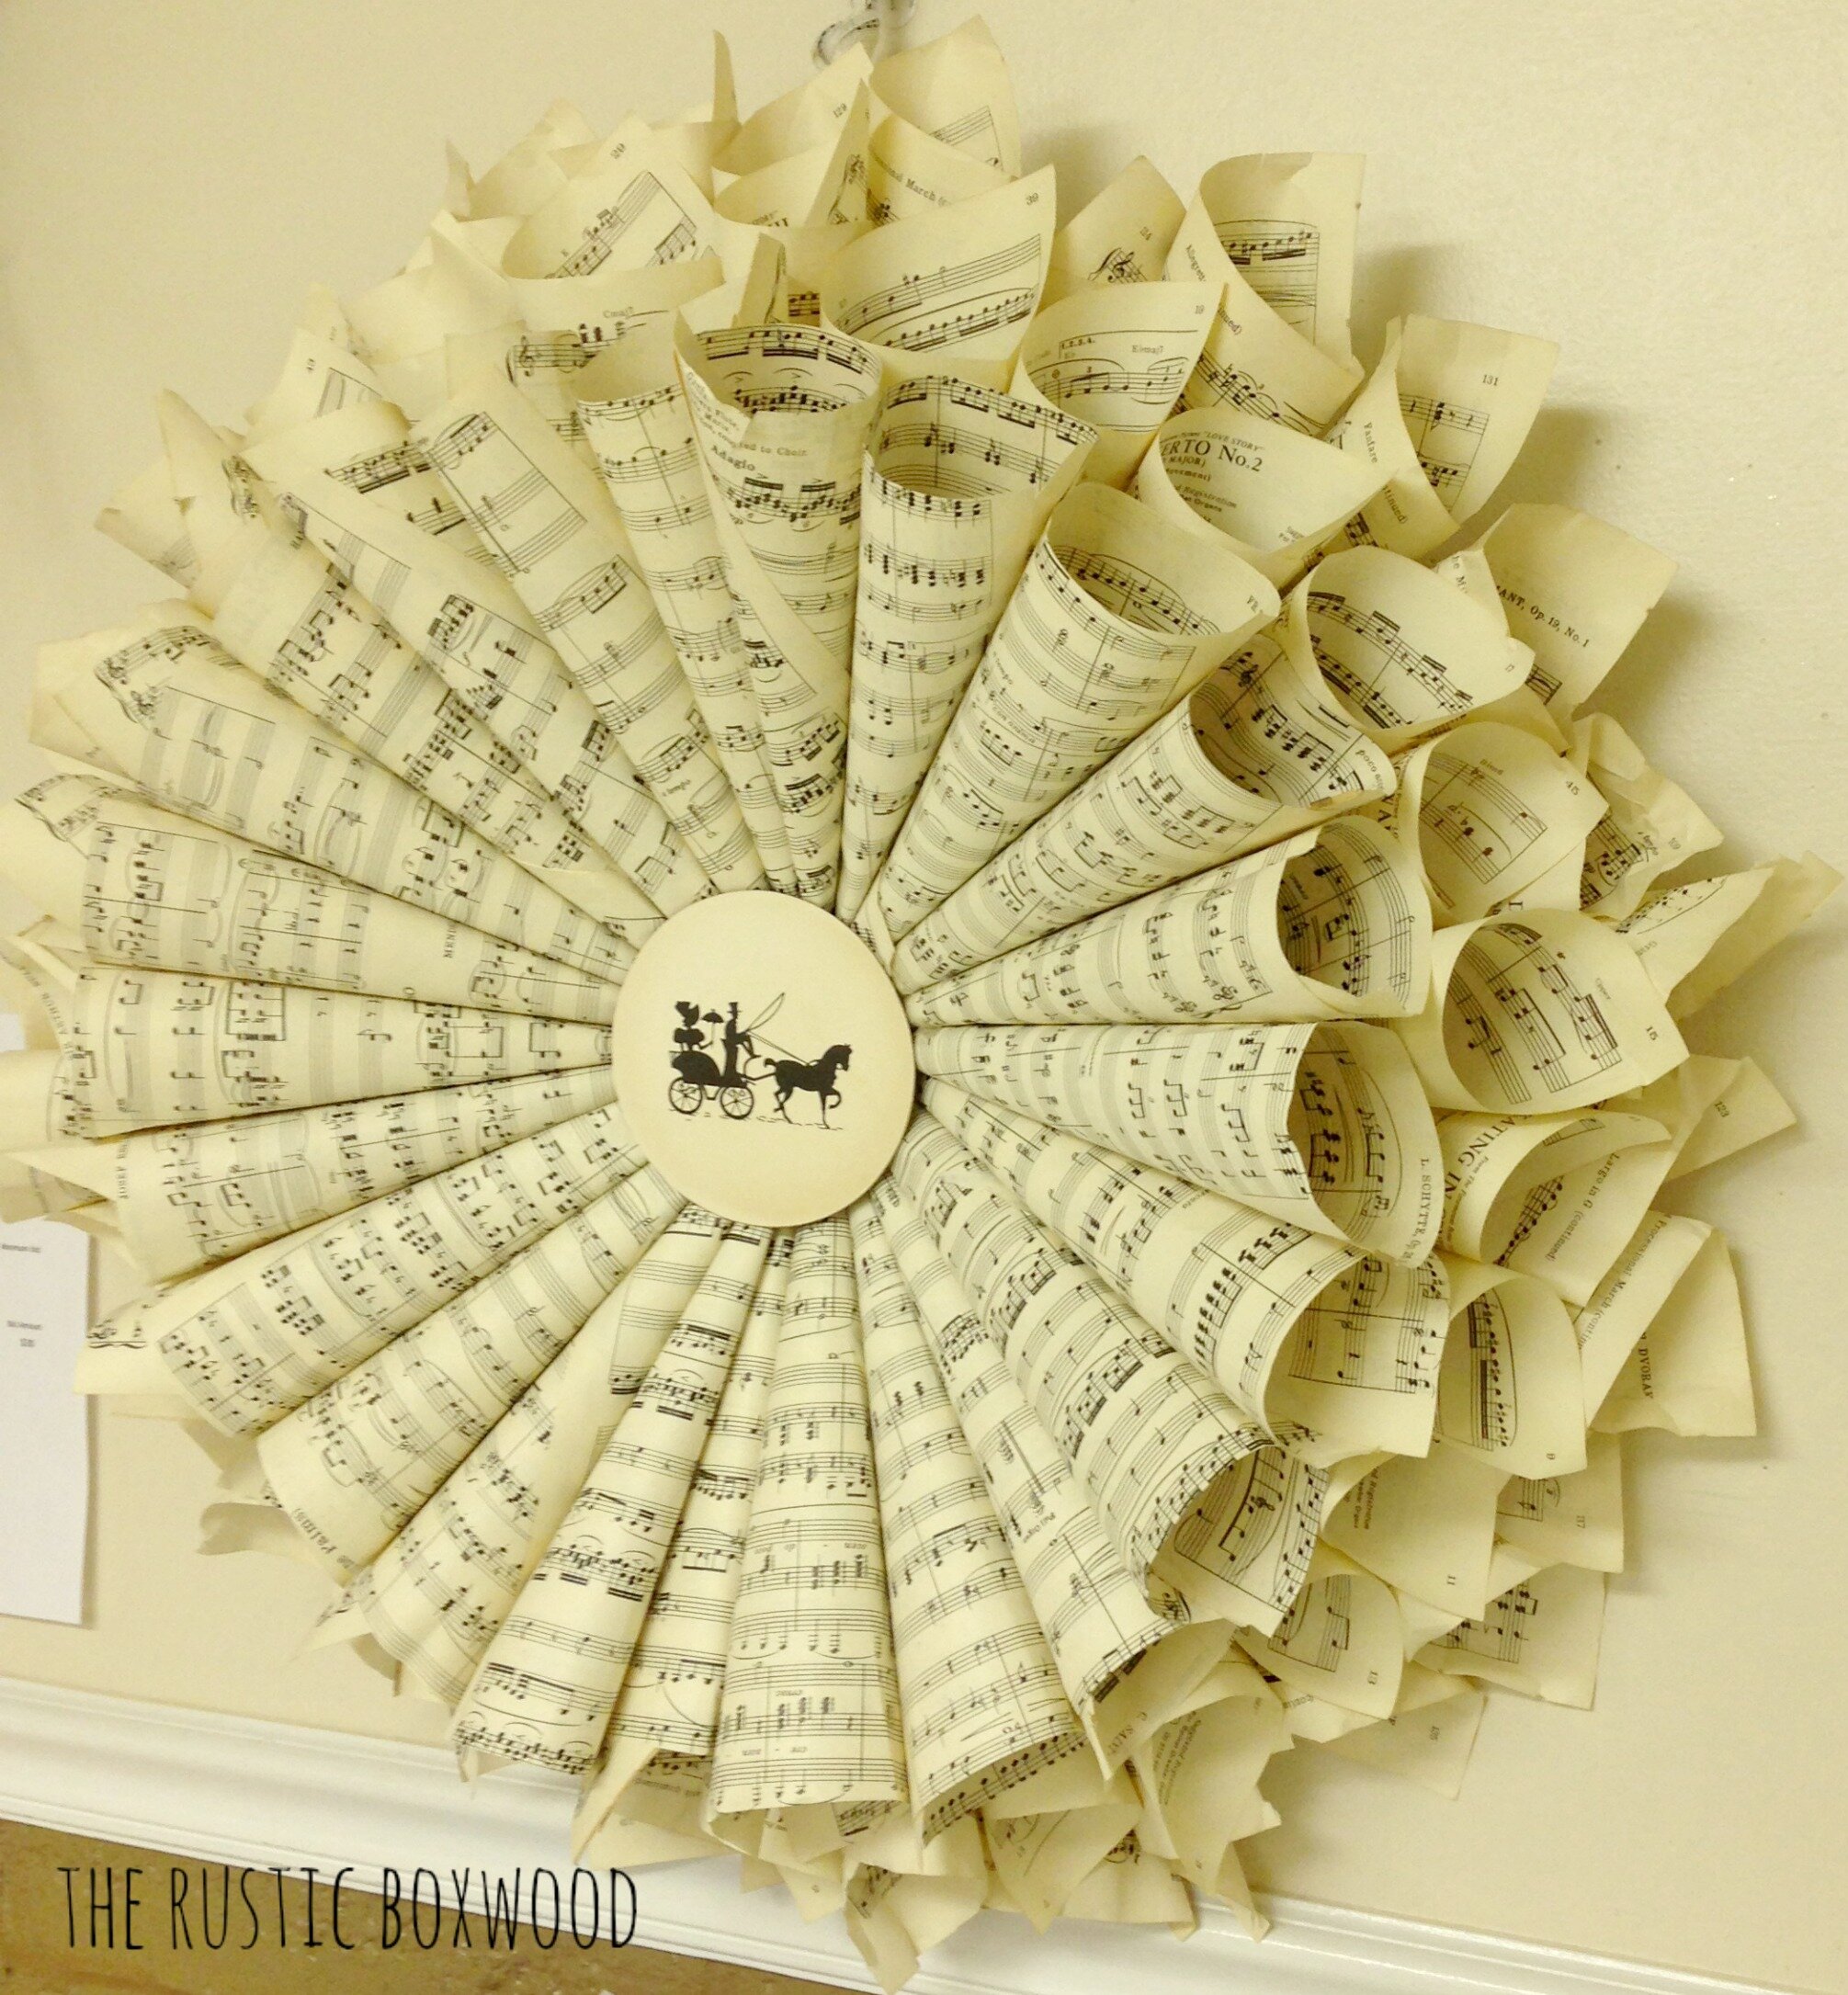
And there you have it! A beautiful, inexpensive wreath that takes just a few hours of your time and is a great conversation piece! Have you ever put together a handmade wreath? If so, what does it look like, and where have you hung yours? I'd love to hear about it! Comment below, or stop by and say hey on Pinterest, Instagram, Twitter and Facebook. It always makes my day to hear from my sweet readers!
You might also like: