
EASY DIY STRING ART TUTORIAL, WRITTEN BY MY 10-YEAR-OLD DAUGHTER!
Hey y'all, and thanks for stopping by today! On this blog post, I've asked my sweet daughter to write about diy string art! She is such a cutie and is a wonderful blessing to her daddy and me and her mischievous brother! So, without further adieu, here she is! :)
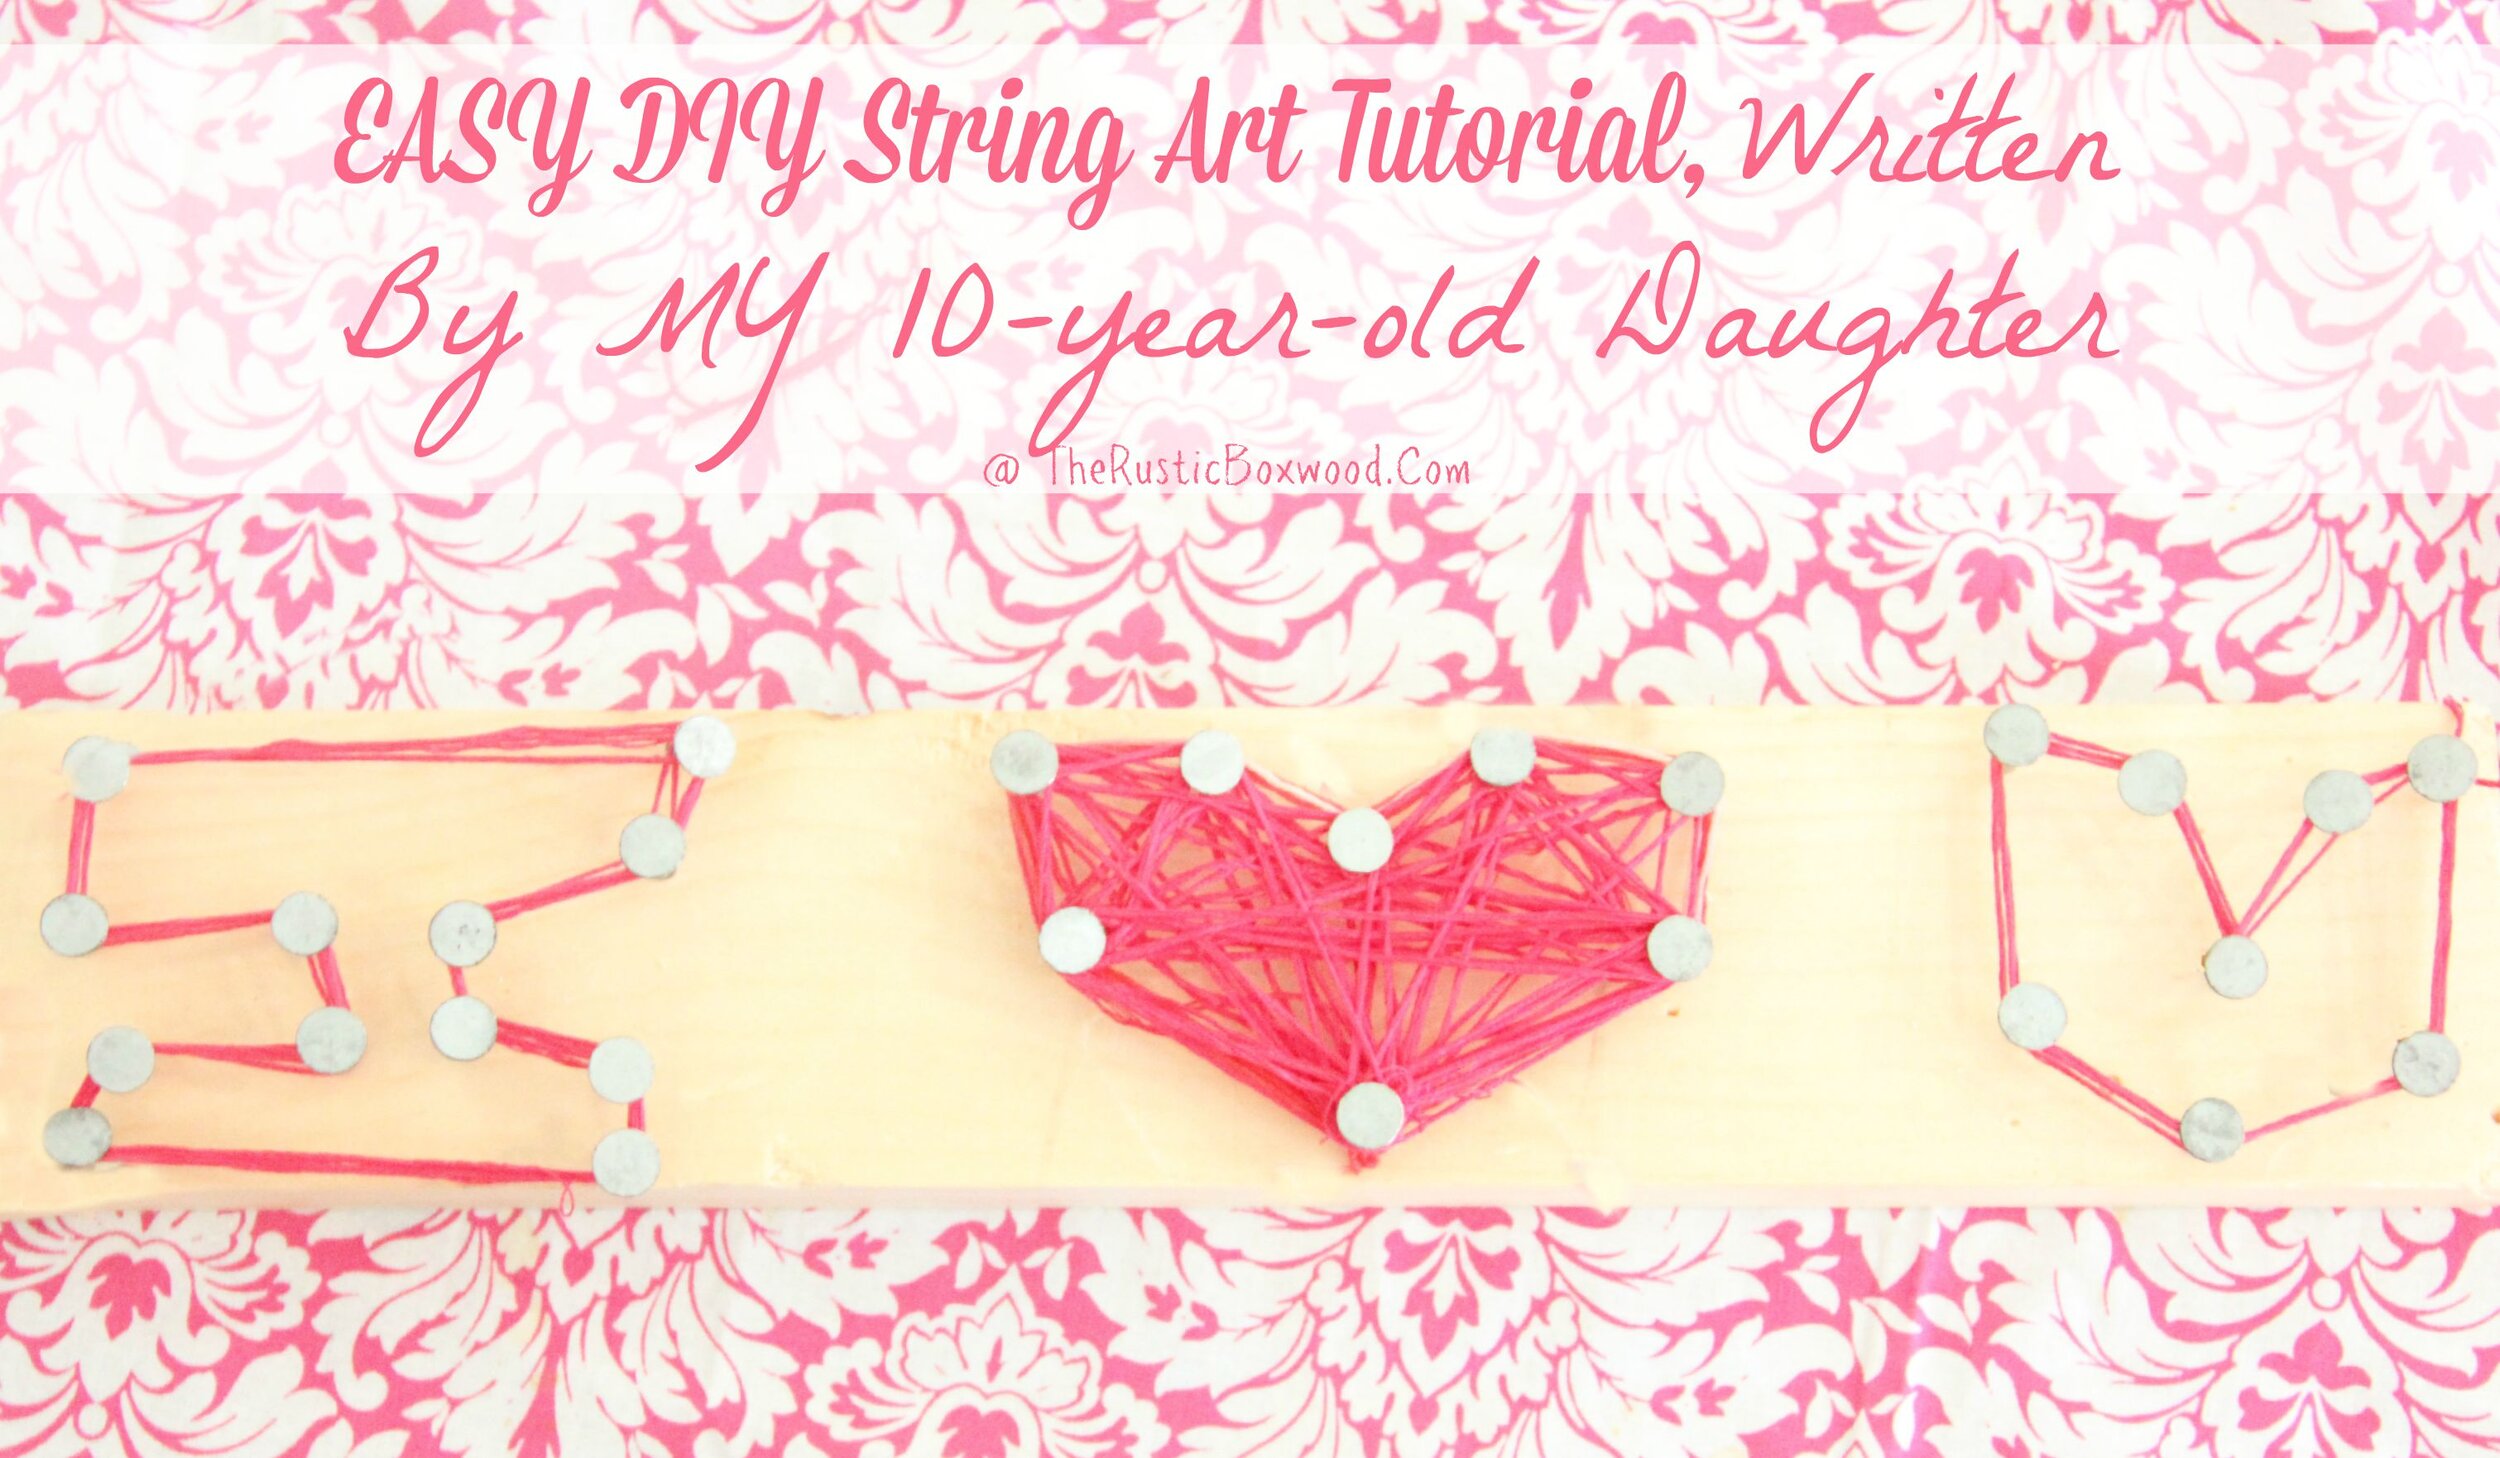
Hello, I'm The Rustic Boxwood's 10-year-old daughter, and my mom has asked me to do a guest post! I love dancing, reading, writing, and especially doing DIY crafts! Today, I'd like to share with you how to make an easy DIY string art sign!
Here are the materials I used....
friendship thread
over 1 inch nails ( Try to buy them without grooves. )
a hammer
a piece of wood

Here are some tips to get you started......
Start the knot closest to the end of the nail.
Don't use any nails that have grooves.
Don't use nails under 1".
Try to start at the bottom of the nails and work your way up.
First, nail in your nails. Do NOT nail the nail all the way in!!! Leave enough space for your string to wrap around about 15 to 20 times.

Second, string your thread around the nails. Wrap it around the nail the same way everytime you go around that figure.
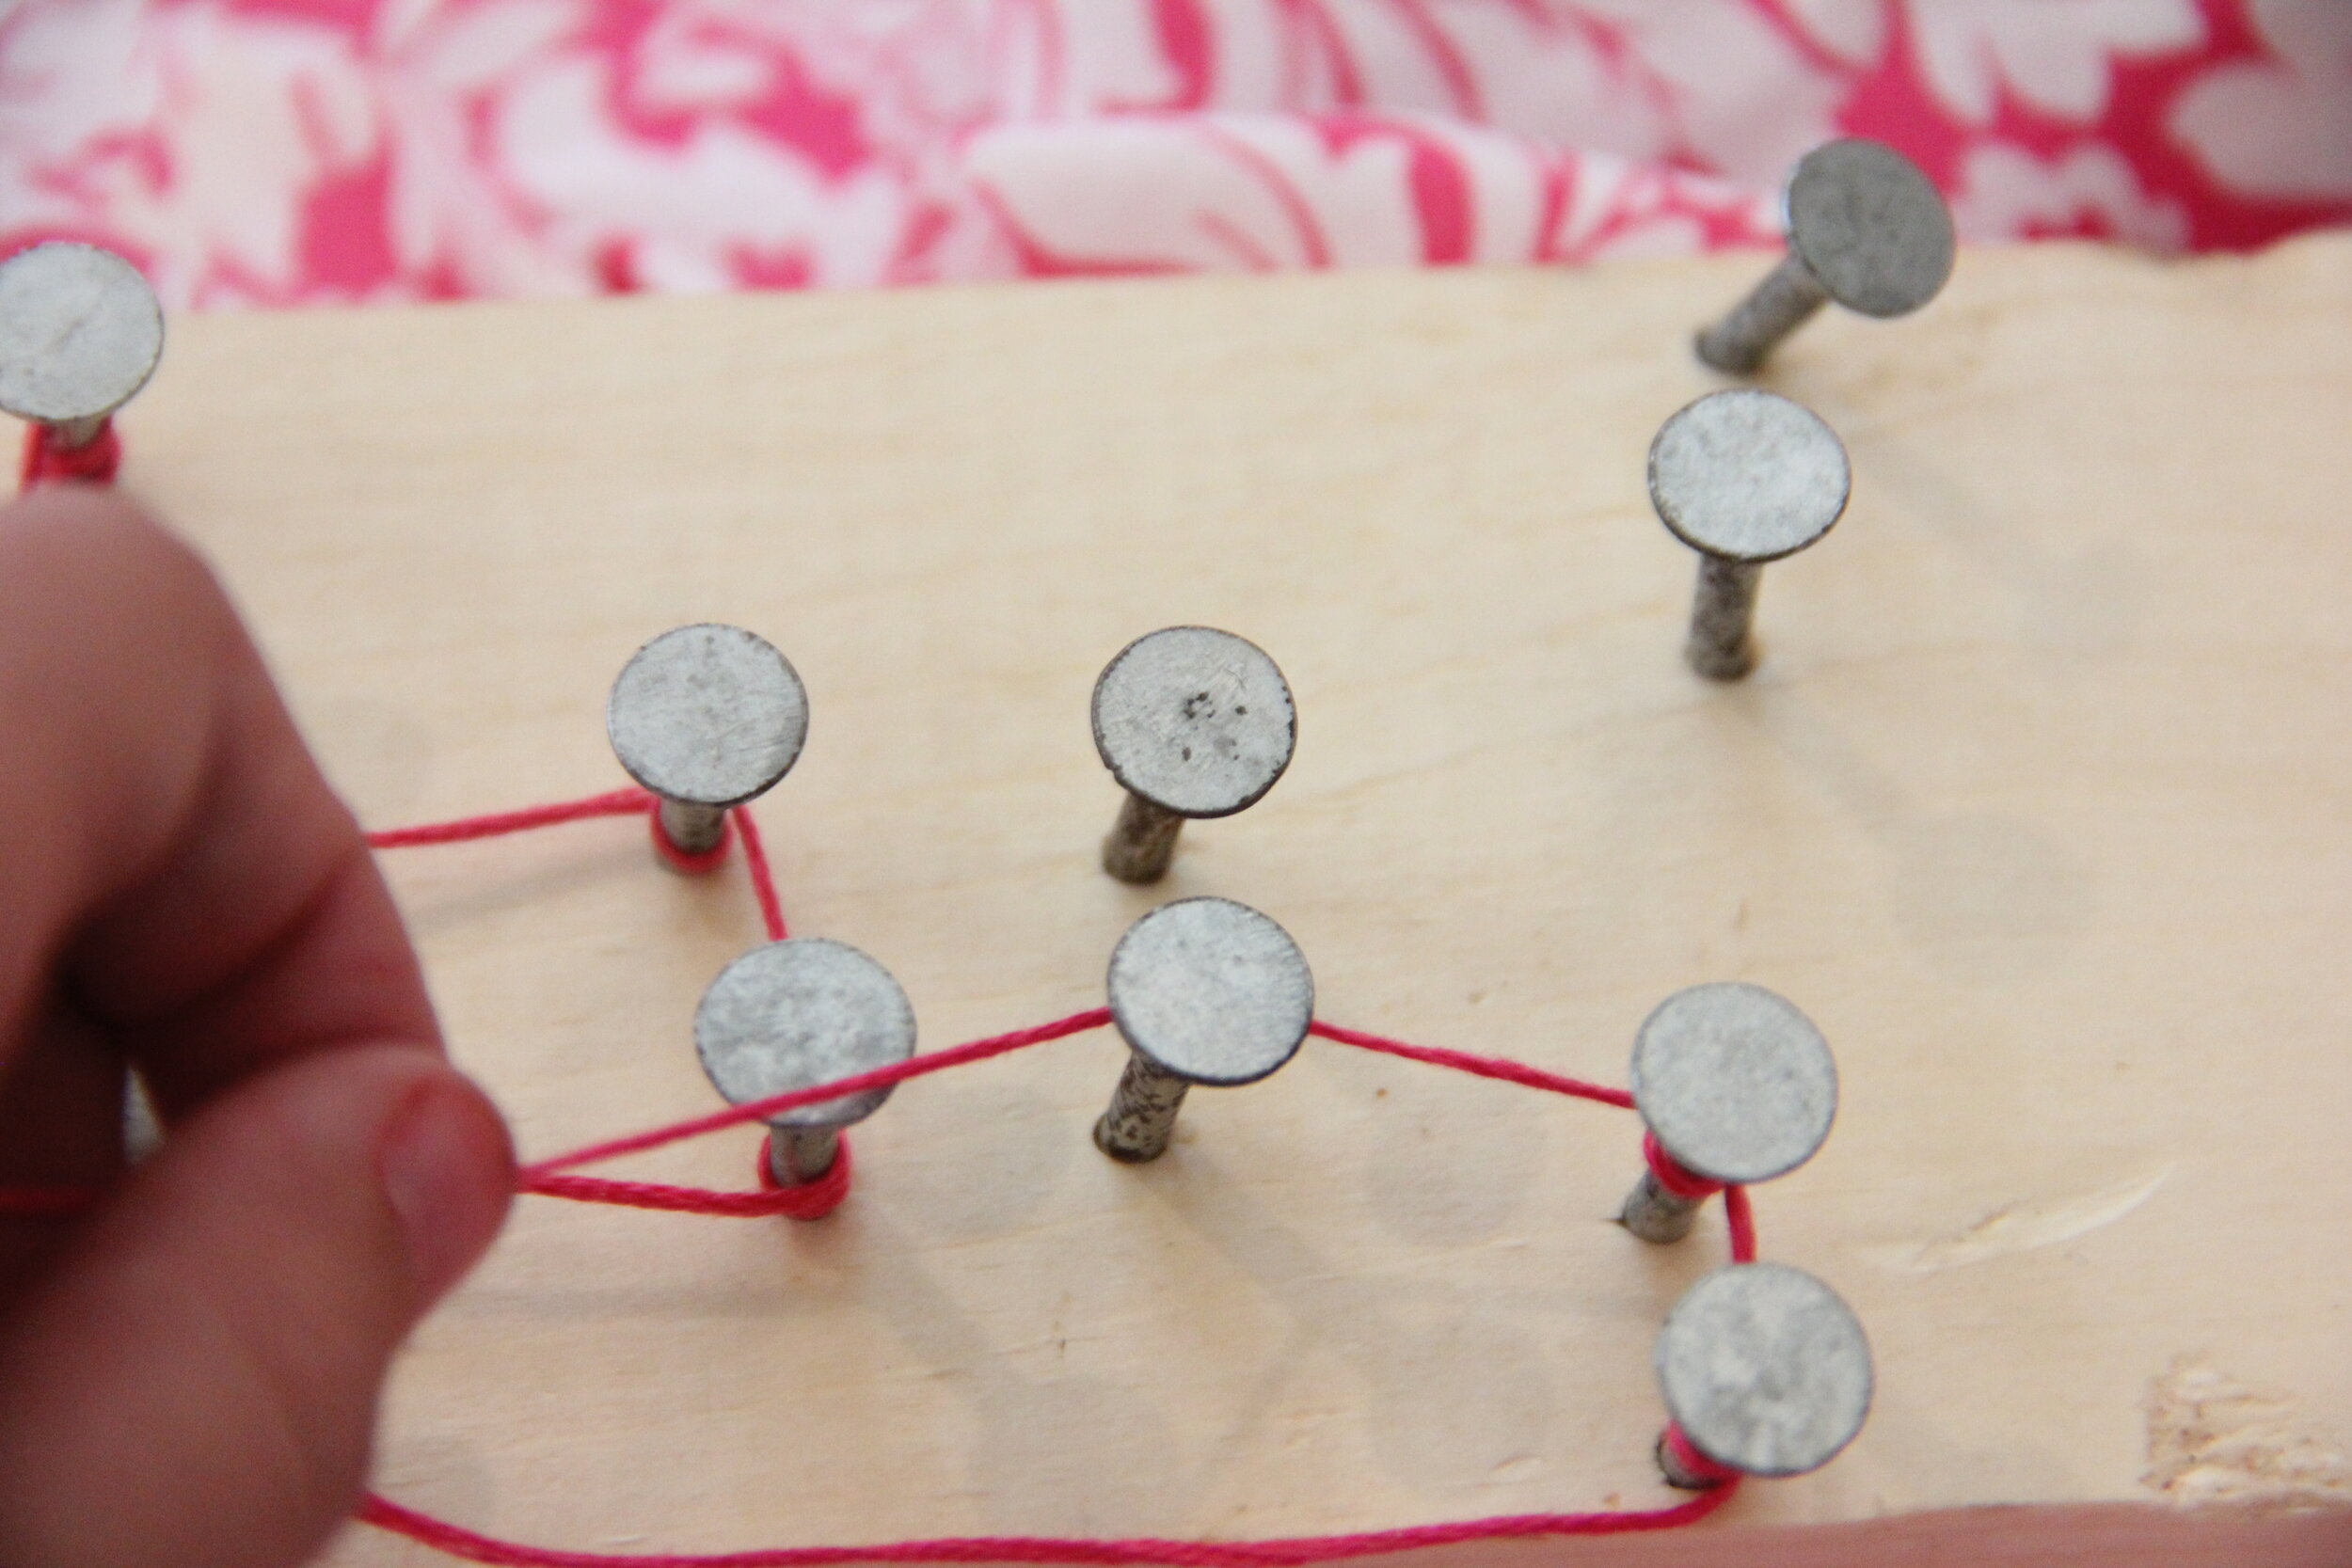
Lastly, after you have strung the figure to your hearts content, tie the knot.

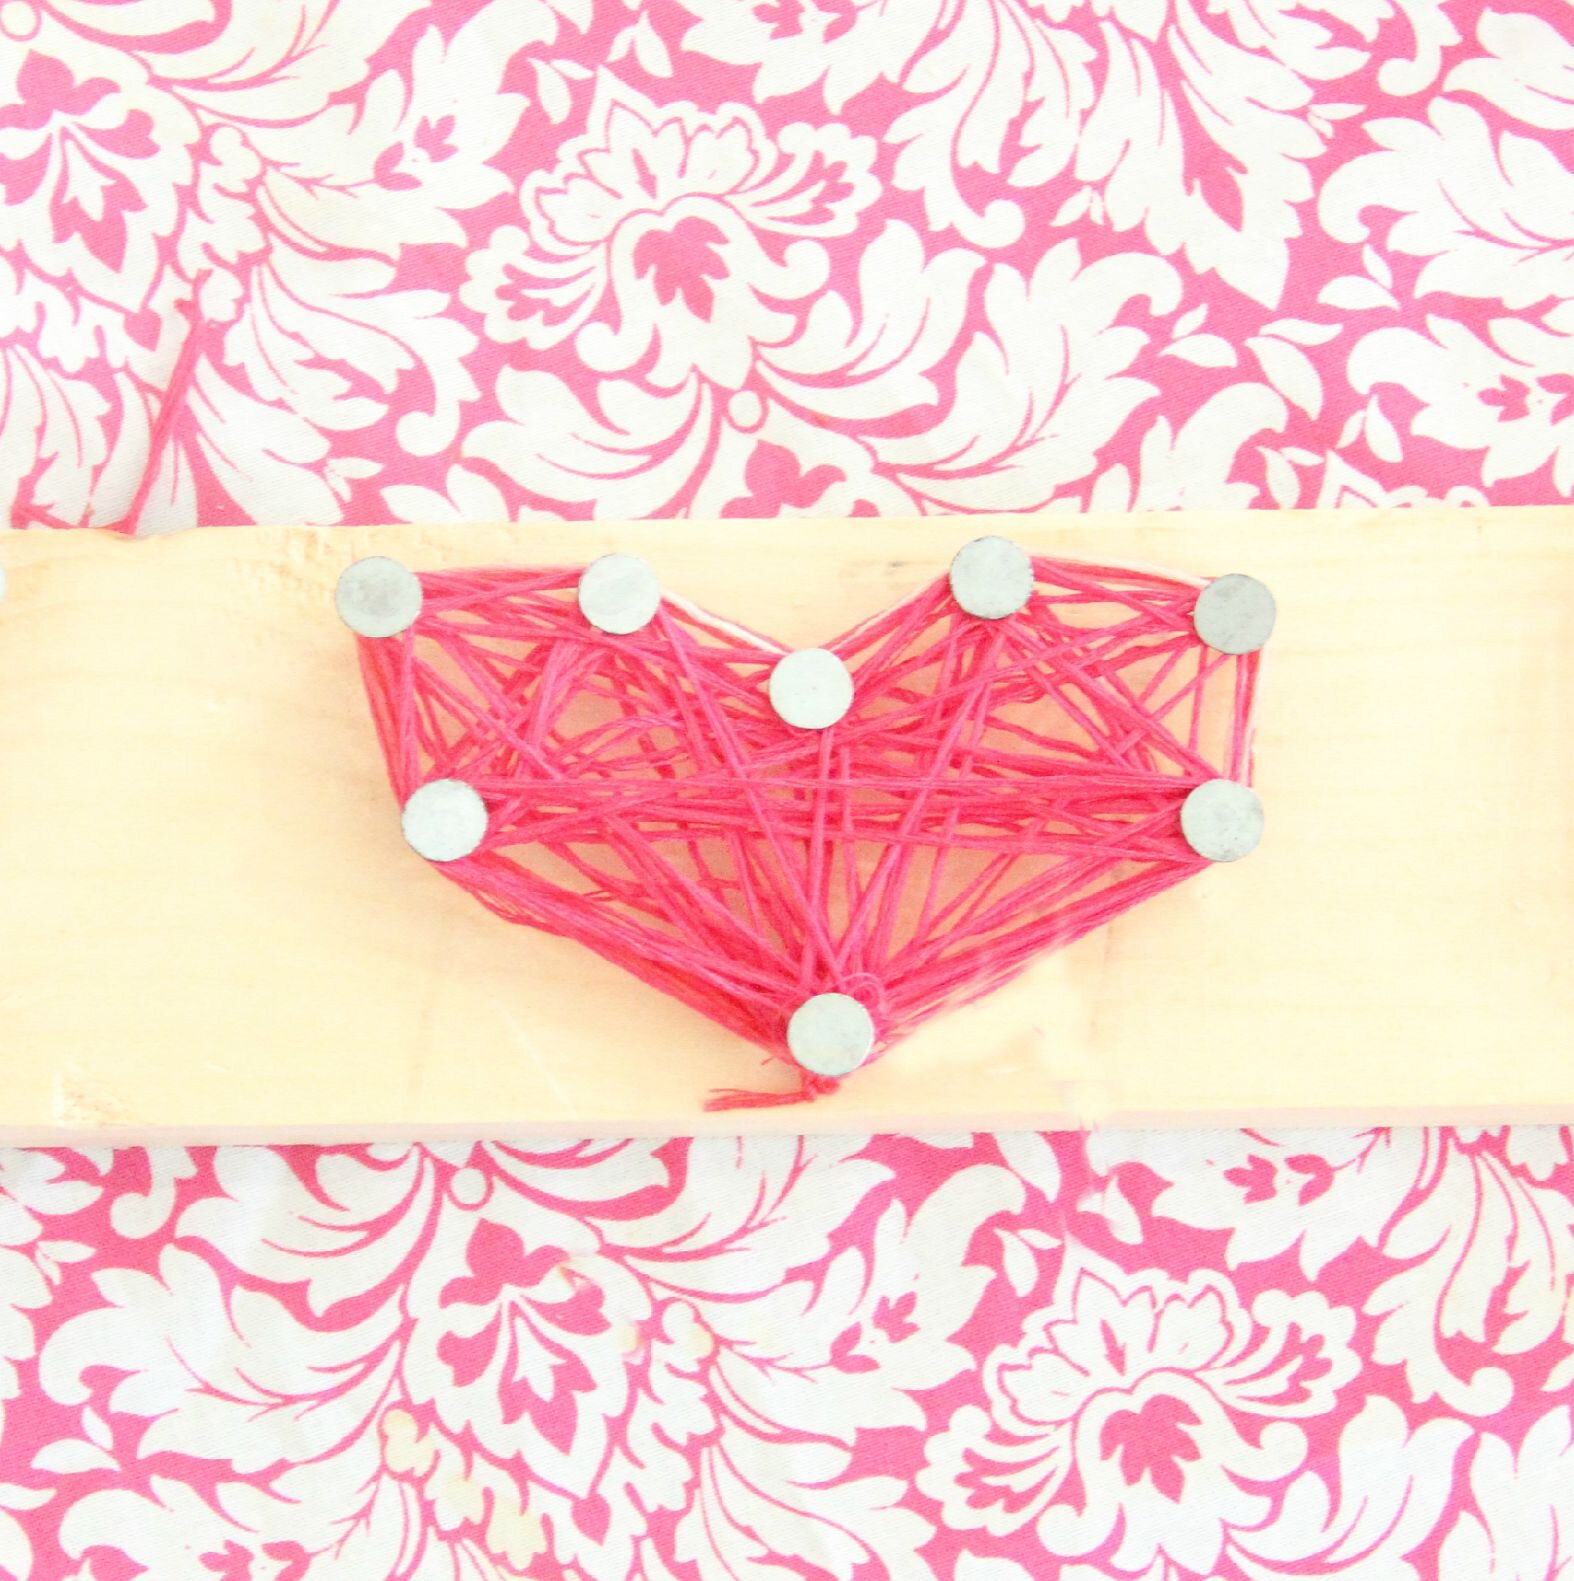
If you want to fill in the figure, go all around the nails in different directions. Then tie a knot.
I hope you enjoyed my tutorial on string art, and found it as easy as I did!!!

Photo credits: By my daughter! :)