Our DIY, Farmhouse-Styled Bathroom Makeover
Update: Since this post went live in late Summer of 2015, our bathroom remodel has received some pretty awesome attention! I'm excited and honored to say that it's been shared on a couple of my absolute favorite magazines....First, in May of 2016, Country Living shared all about our bathroom on their website. (Please click here to read that post.) Second, it's also been published in the Winter/Spring 2017 issue of American Farmhouse Style magazine. I'm over the moon with excitement and still can't believe our home has gotten this kind of attention from some of the most respected sources out there! Also, if you’re here from our recent steel-frame farmhouse build, click this link to see all about our new home!
On another note, I wanted to remind you to follow along with me on Pinterest, Instagram, Twitter, HomeTalk and Facebook, so that you don't miss another post. Plus, it makes my day to hear from my sweet readers!
************************************
Hey friends! Today, I want to share with you all about our bathroom makeover and a few of our sources, which you'll see at the bottom of this post! This particular space has needed a total overhaul since the time we moved into our home, which was a very long time ago! :)

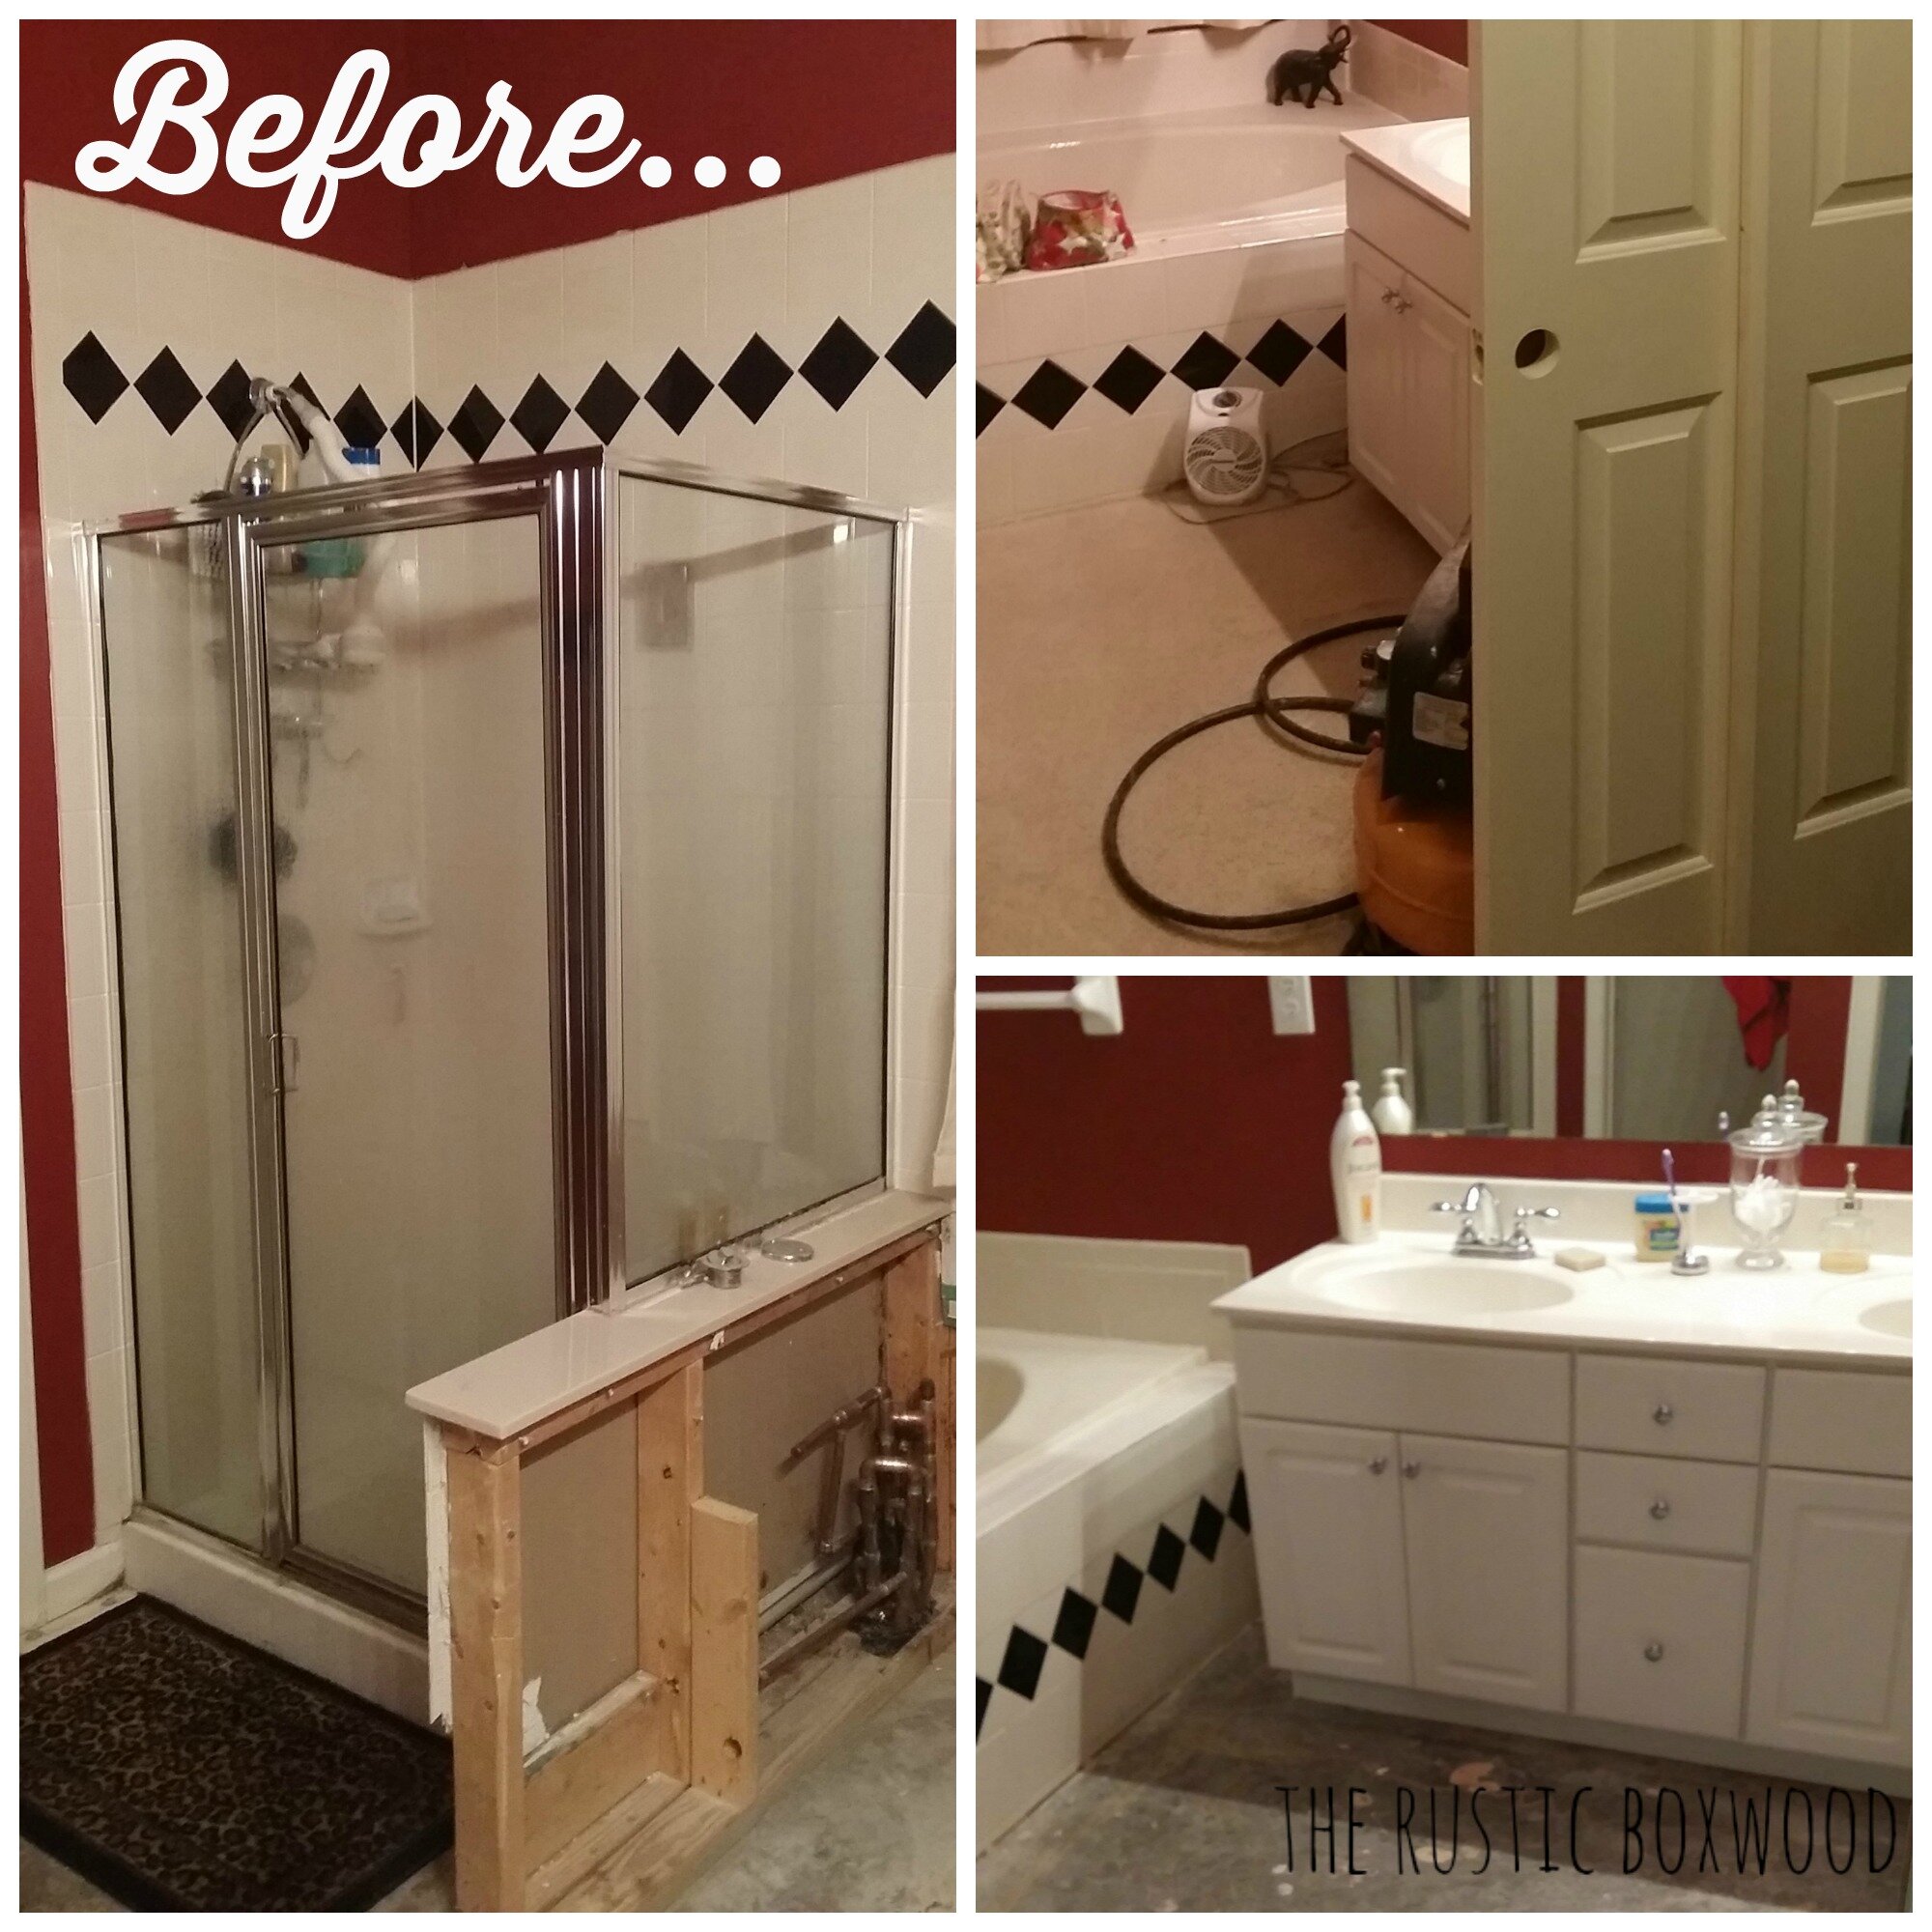
But first, I need to show you these "before" photos. I cringe to even post them, but RELUCTANTLY I must, in order to show you how far we've come!
Before the reno, our bathroom was complete with red walls, builder-grade counters, a garden tub, and diamond-styled, cream-colored tiles that'll knock your socks off! And the worst part about it??? The builder placed carpet, yes CARPET, in our bathroom. Yuck! Who does that?! I also need to mention that the photos below are a mix of before and mid-process pics. So, here she is -- in all her glory!
But, alas! Because of our hard work and frugal efforts, we have finally given ourselves the bathroom of our dreams! And due to our small bathroom, every decision we made was centered around how to maximize our space.
And when I say "frugal efforts," I mean that we did all the work ourselves (i.e. except the shower)! More specifically, my sweet honey did the manual labor, and I did the decorating. :)
Here's a complete list of everything we did to create our dream bathroom! It was quite an undertaking!
1. Flooring. To save money, we removed the carpet ourselves and didn't add any special flooring. But rather, we painted our concrete floors with a gorgeous white paint (please see details of the the paint in the sources list at the bottom of this post). It's wonderful, and it brightens up our room like you wouldn't believe!

2. Tub. We bought a 56" acrylic tub that had "slight imperfections," yet was brand new. This route helped us to save oodles of money. And with three sides of the tub hidden, the imperfections are covered as well! Also, I love my husband's idea about where to place the faucet handle, as seen in the pic below. That way, we don't have to reach over the tub when it needs to be turned on! (And nevermind my reflection in the tub. 😀)

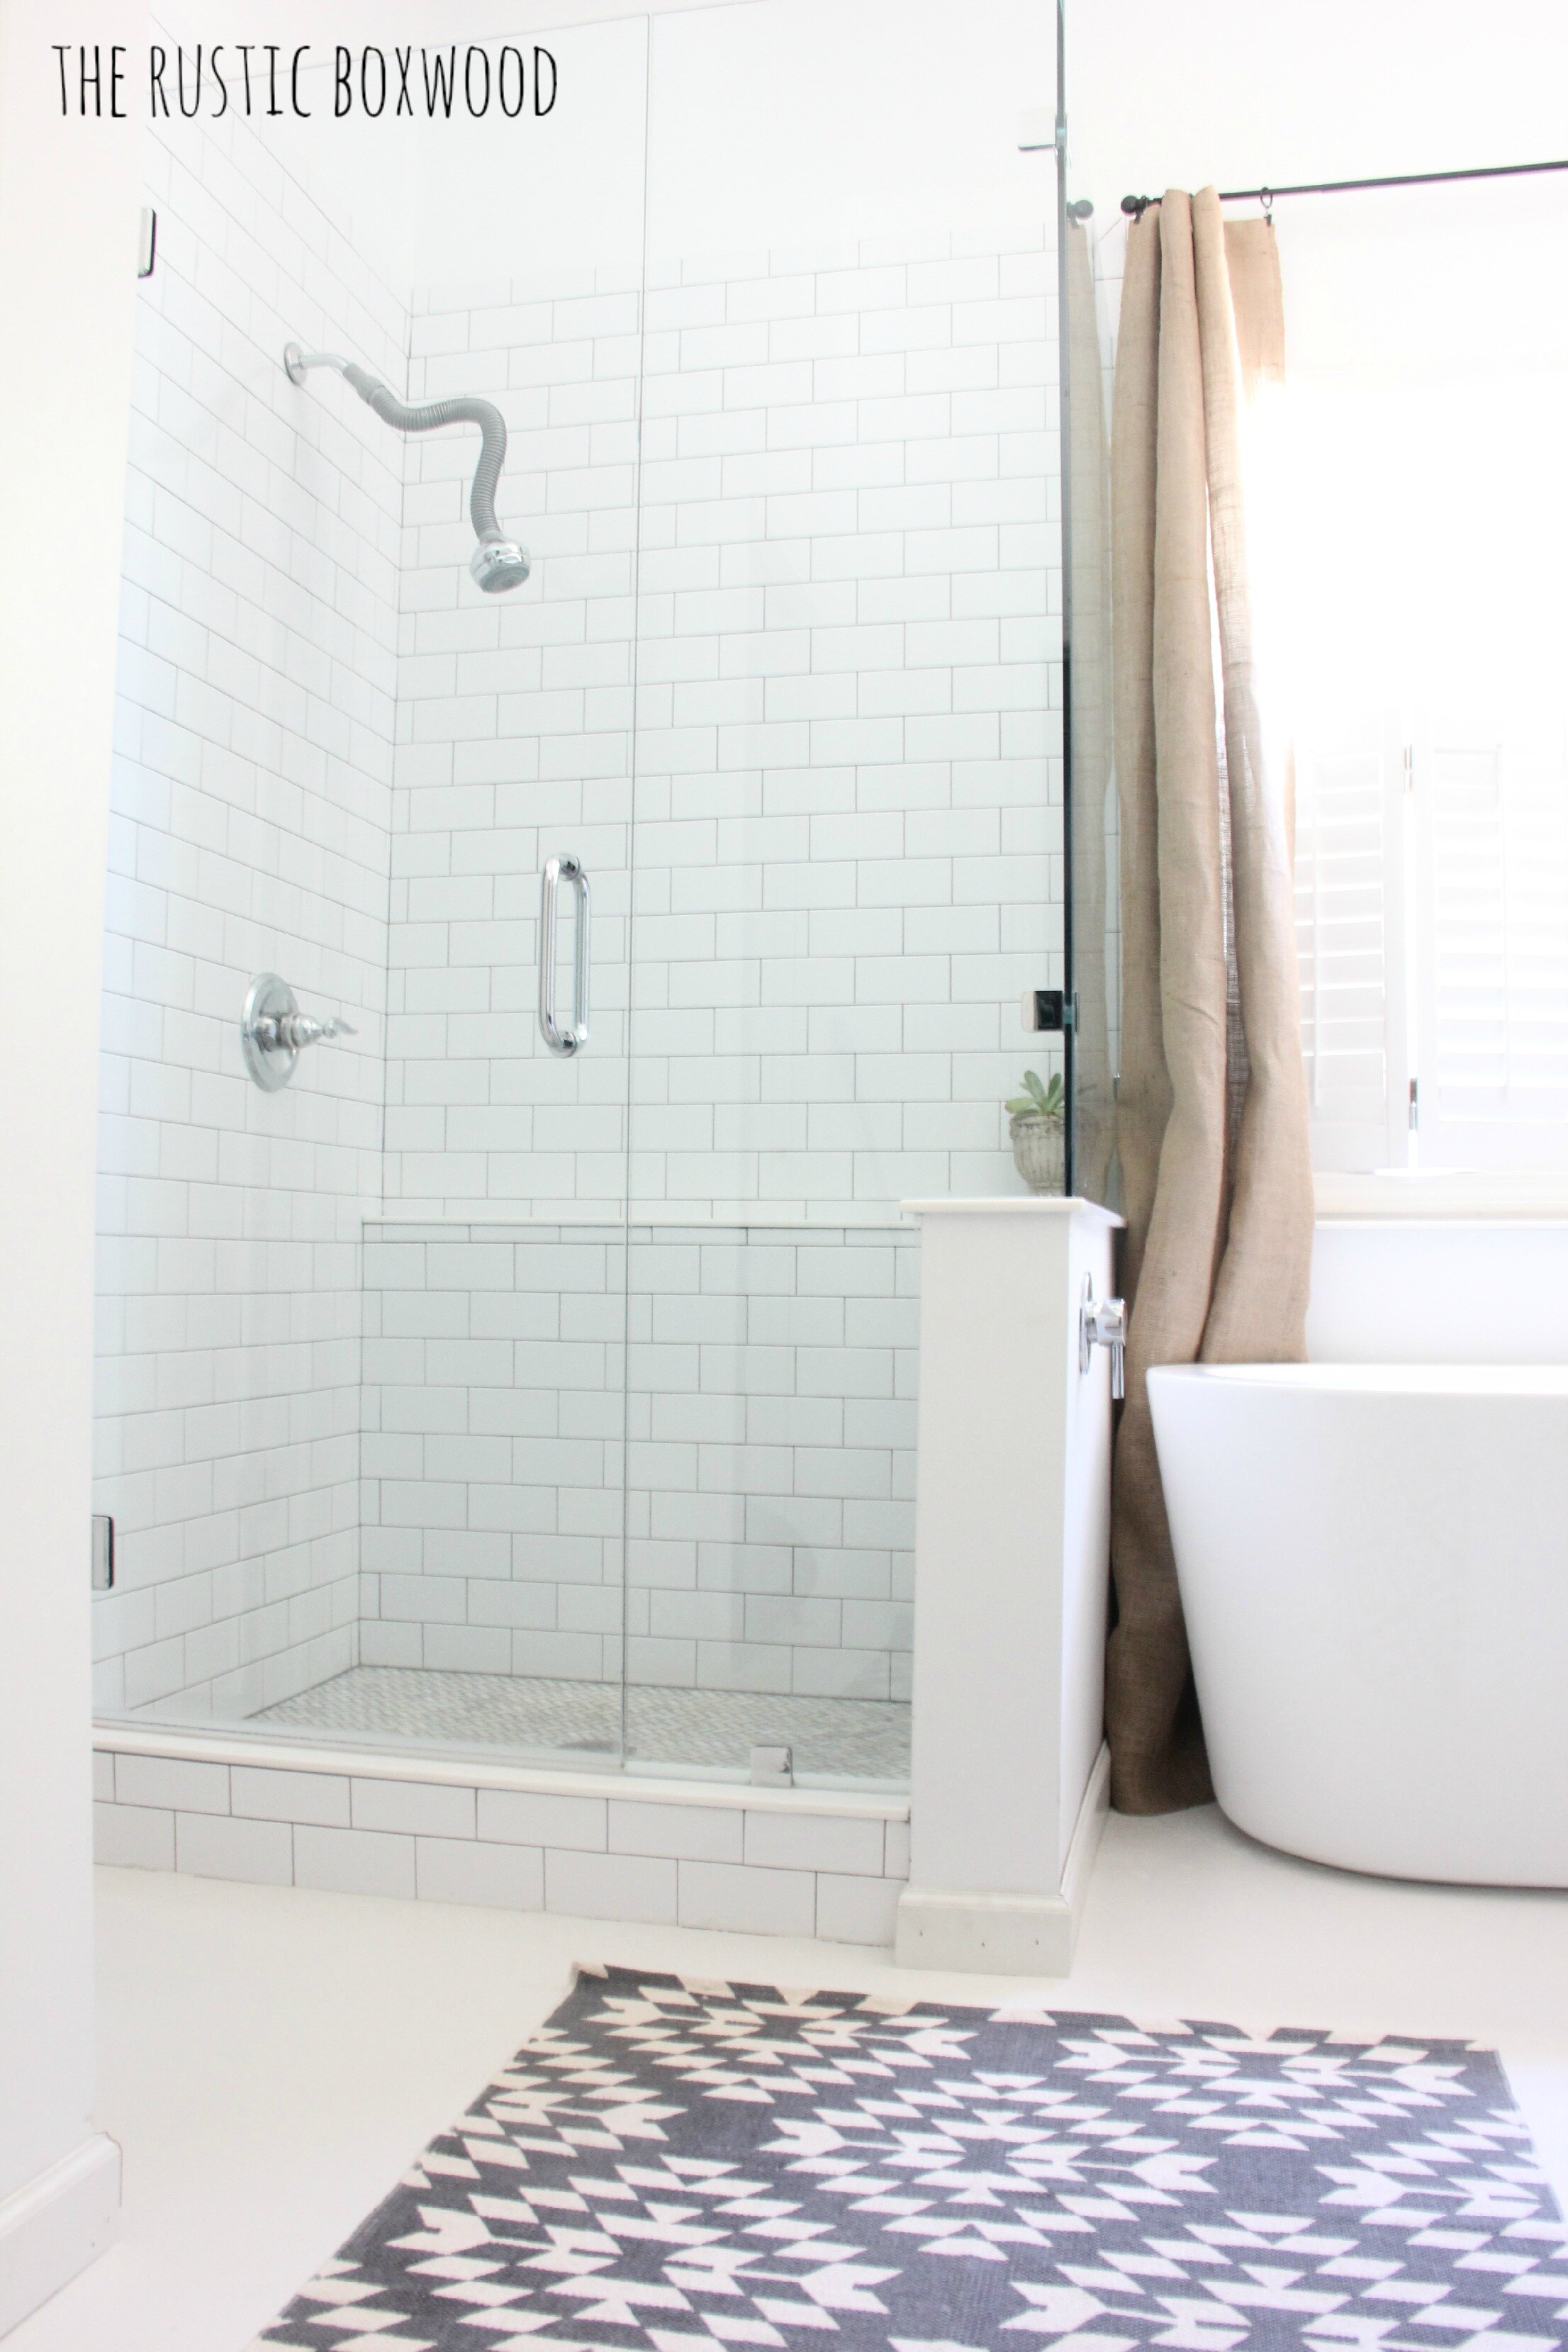
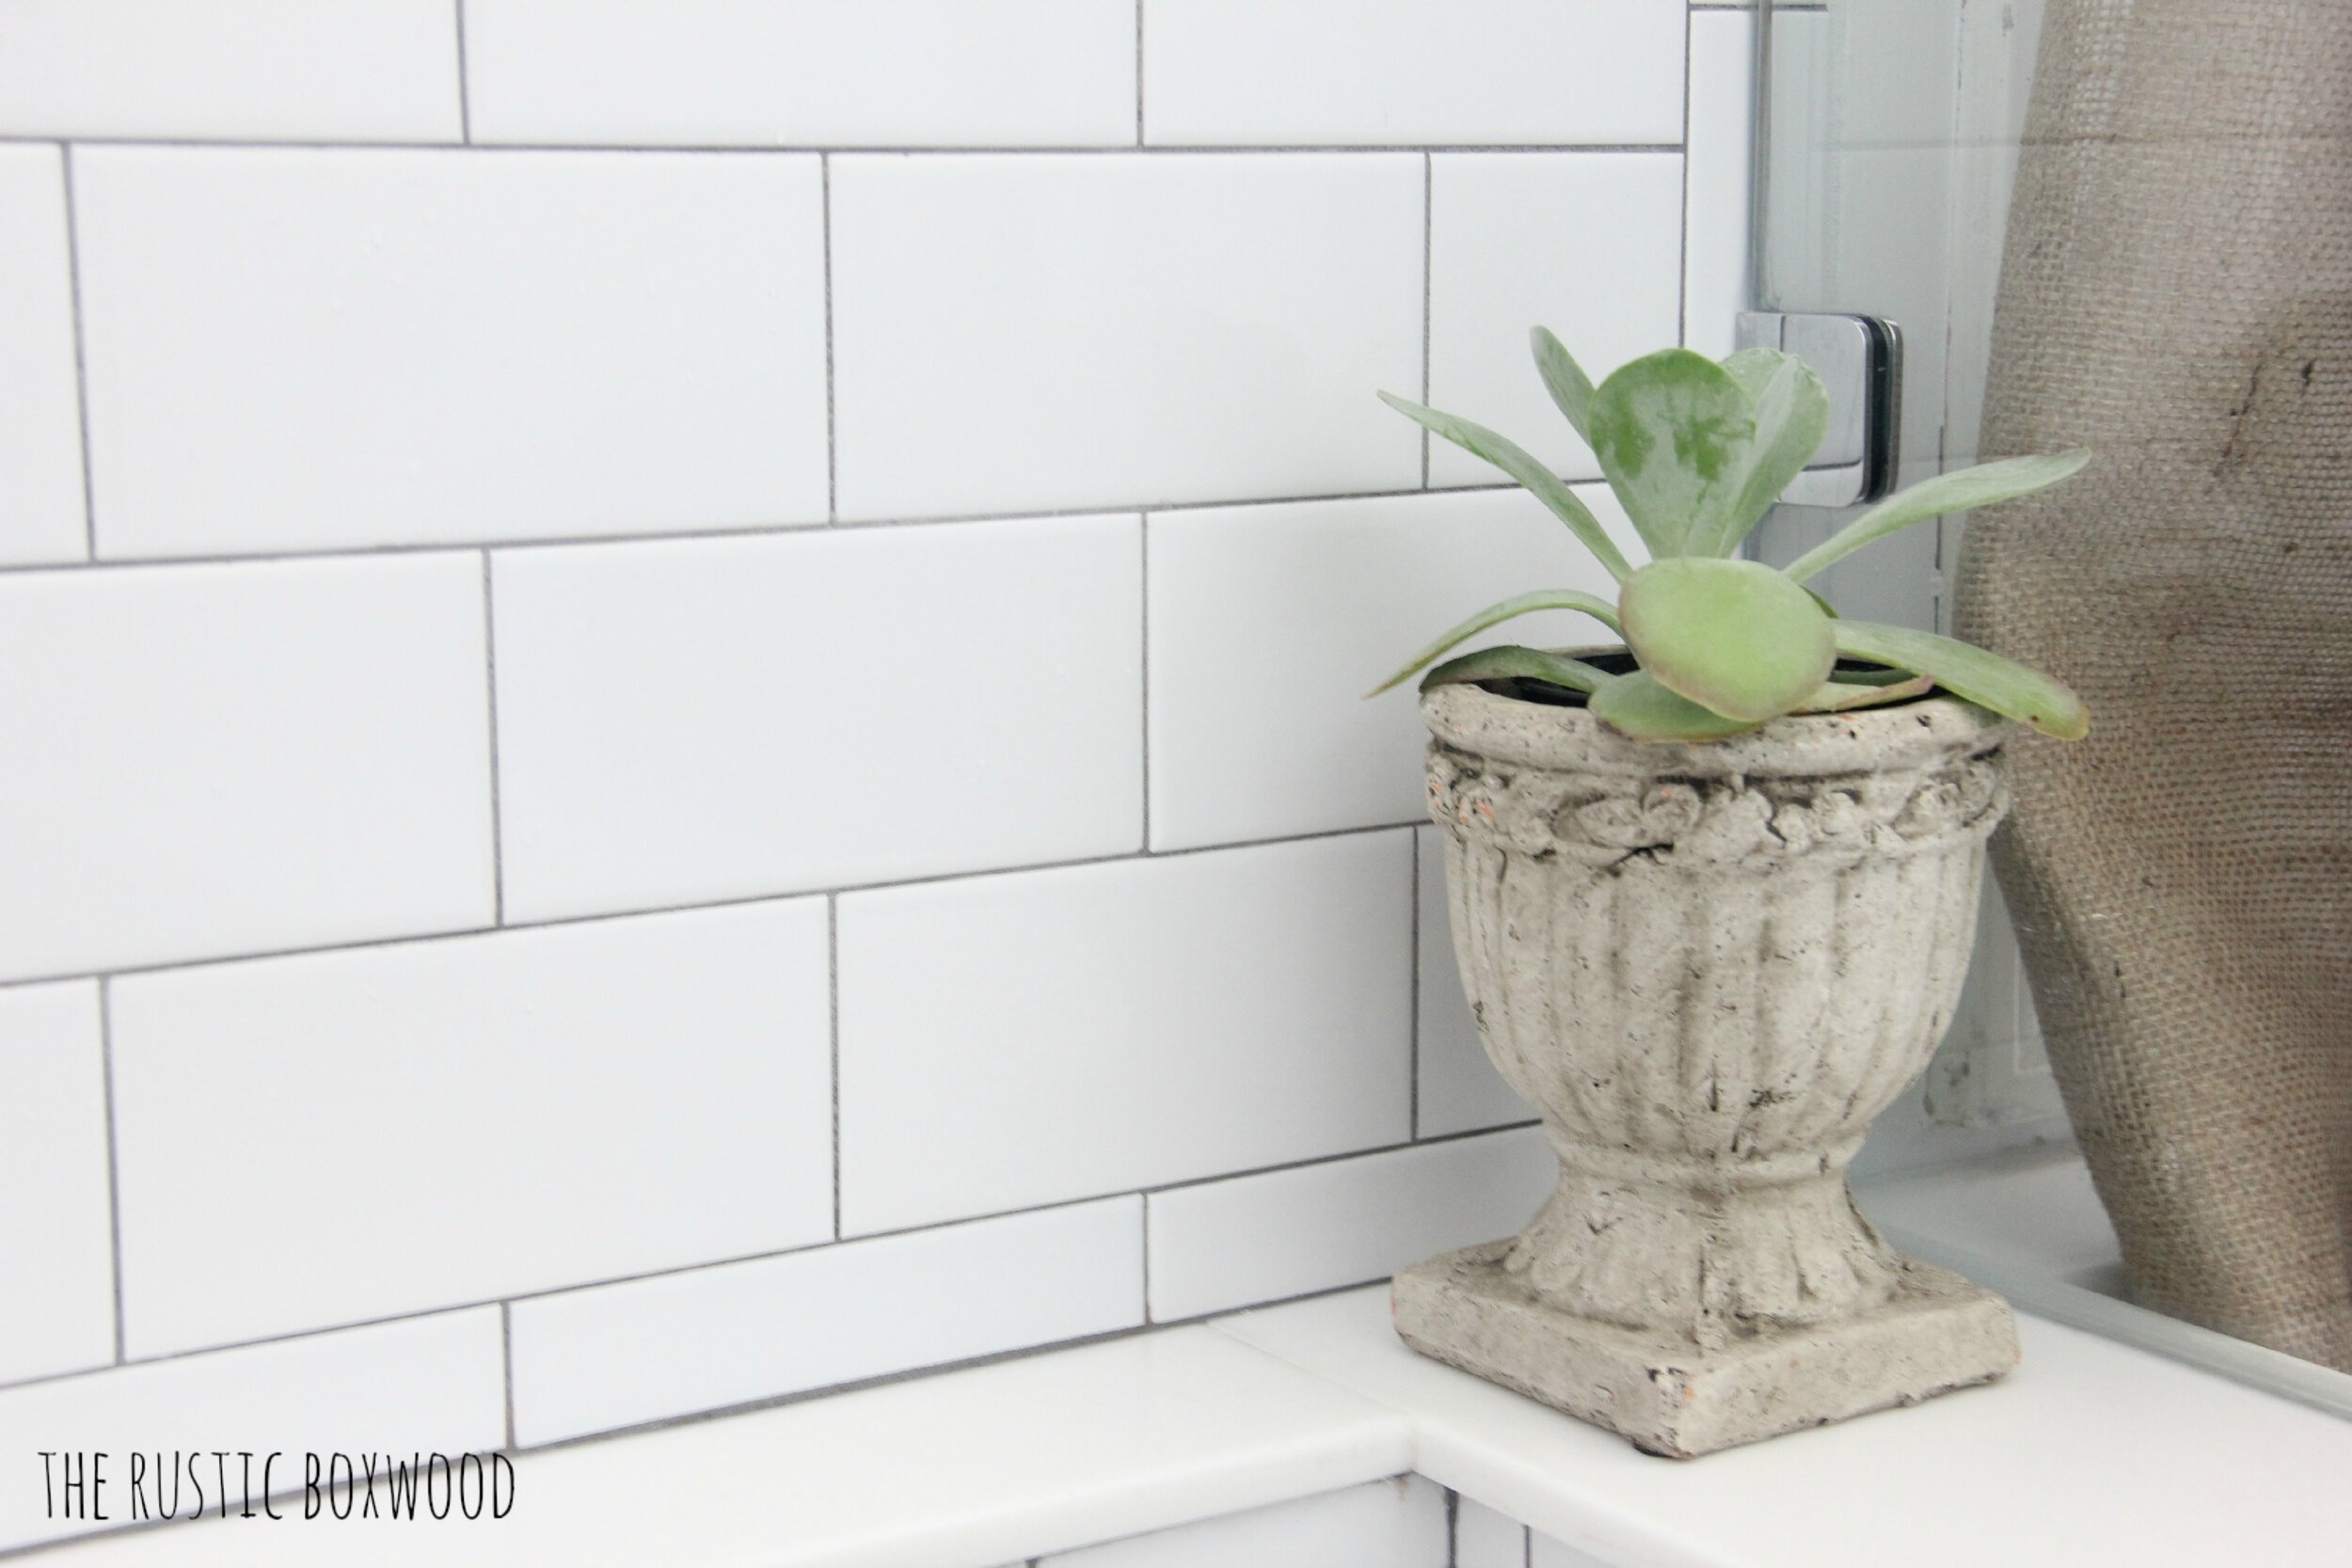
3. Shower. Professionals were hired to install the subway tile and seamless shower glass. For the tile, we chose 3" x 6" white subway tile and a dark-gray grout, and the shower floor is a herringbone tile with the same dark grout. The shelf is a man-made material called Staron. (We love this "counter" in our shower, and it cleans very easily. So far, I've had no problems with staining.) To save money, we ordered a remnant piece of the Staron, instead of ordering a complete slab!
Our showerhead is my absolute favorite! We've tried other brands and styles, but this one fits the bill to a tee! I love the "snake" neck, so that I can easily move the showerhead around when I'm cleaning, and it has several massage settings. I highly recommend it!
And don't you just love this seamless shower enclosure?! It's fabulous!

This fun, antique pot came from an awesome antique warehouse in Atlanta, and I found this succulent at my local grocery store for half-off!
4. Shiplap. To add some fun rustic, farmhouse vibes, we chose to install a shiplap wall. I love, love, LOVE how it turned out!!
5. Light Fixtures. What do you think about these sconces? They're actually outdoor lanterns, but who says you can't bring them inside?! And at $30 each, you can't beat that price!

6. DIY Draperies. This burlap fabric for our draperies is beautiful, super-inexpensive, and gives the perfect textural element! To cut costs, I used my craft-store 50% off coupon and bought 6 yards of burlap. Once I got home, I cut it in half (you only get one "fabric cut" with the coupon). Next, I folded over the top edges about 1/4" and then used drapery clips to keep the edges in place. To line these rustic curtains, I grabbed two white, twin-sized flat sheets, folded the extra fabric in and clipped it with the burlap. Easy peasy! And it looks amazing! Instead of spending big bucks on finished drapes, I handled it my way and only spent a fraction of the cost. At $12 total, you can't beat that price!

7. Vanity. We really wanted Carrara marble and a 70" vanity, but we also wanted the best bargain we could find. After searching Amazon, eBay and local sites, we finally found THE one on Craigslist! She just needed a little Annie Sloan Chalk Paint and then, she was golden! You can find out how I transformed this beauty here.

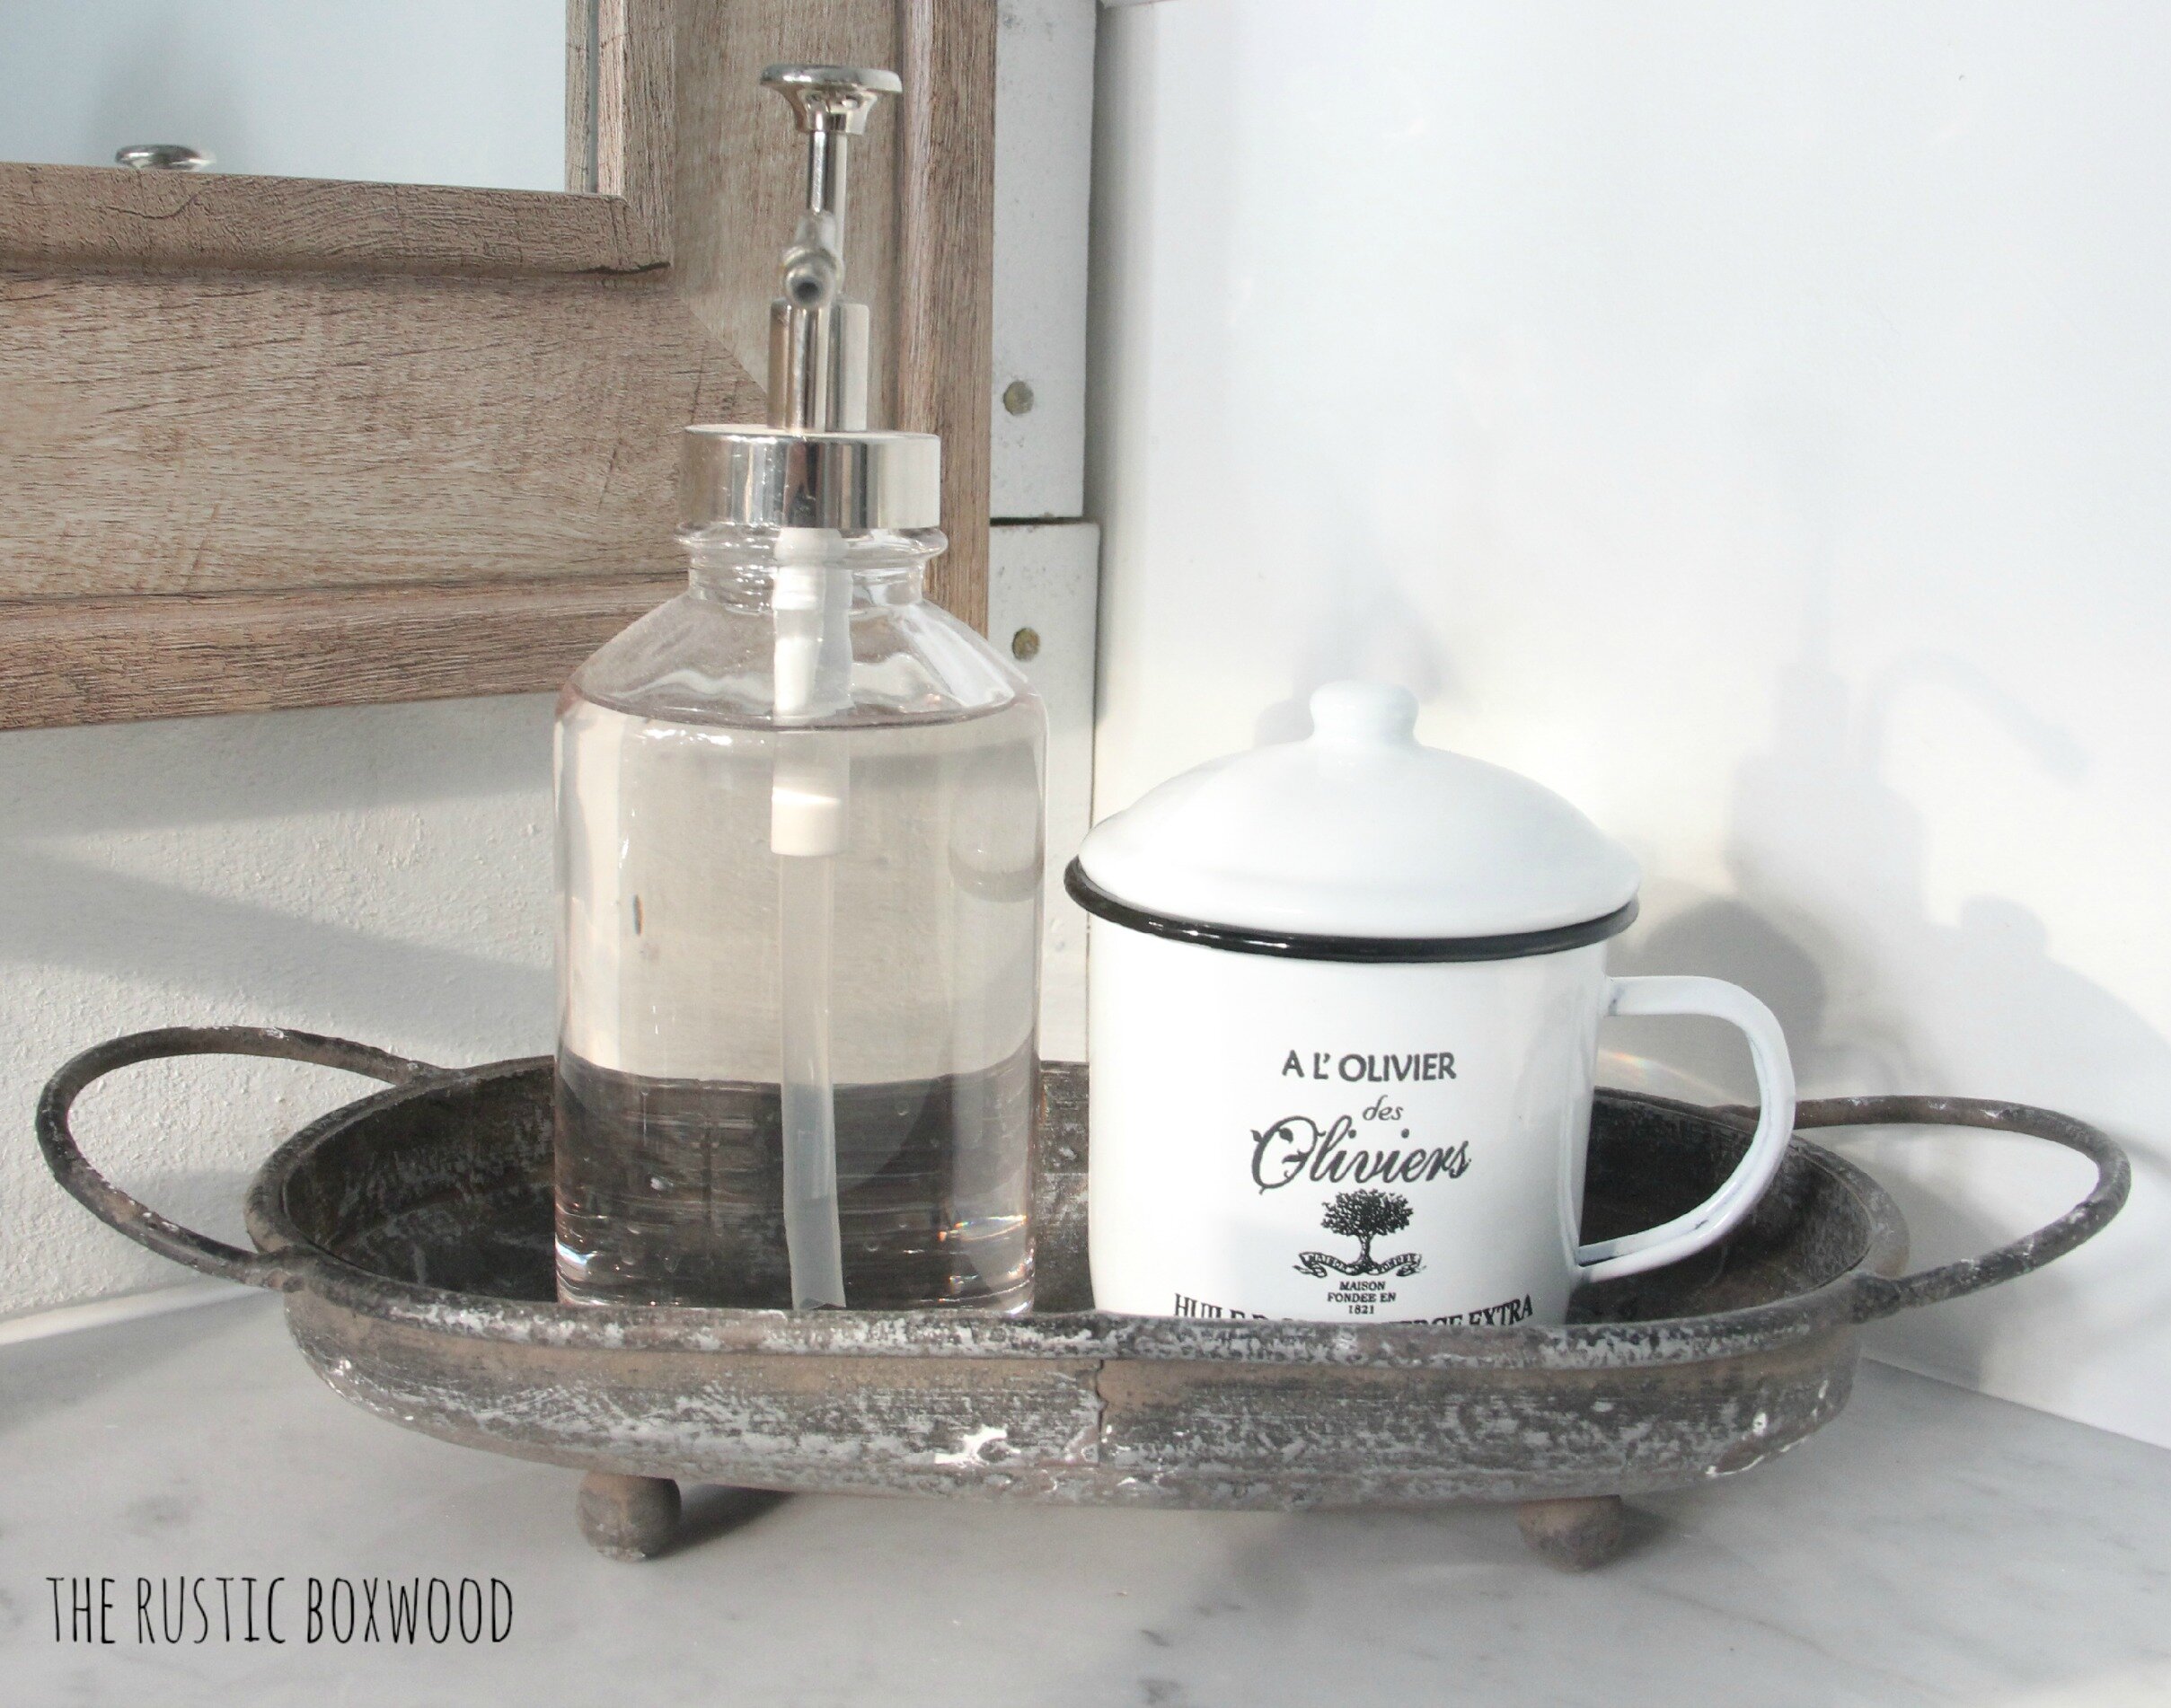
8. Accessories. Lastly, once we were finished with the bones of the room, it was time for the fun part: the accessorizing. Heh-heh-heh. :) I really love to accessorize! Picking out items that "make" the room are so exciting to me! From the black faux "fruit" crate to the galvanized candle to the metal wall baskets to the vintage clasp jar....I just love the hunt for beautiful decor on the cheap!


Interested in the sources list? Below are a few of the items we used and where we found them.
SourcES List
Paint tools -- Purdy 2-1/2 in. XL Brush, Wagner 9” Extension Pole, Wagner Roller Cover, paint roller tray, tray liners
Paint on floors -- KILZ Premium 5-gal. White Paint Water-Based Interior/Exterior Primer, Sealer and Stain-Blocker (My absolute favorite paint!)
Vanity -- Craigslist (To find out more about this vanity, check out this post.)
Acrylic Tub -- This exact model is no longer available, but here's a similar model to the tub we chose....Acrylic Freestanding Flatbottom Non-Whirlpool Bathtub in White.
Tub faucet -- Vigo Olus Single Lever Single-Handle Wall Mount Bathroom Faucet in Chrome (Grey)
Black sconces — Home Depot
Sink faucet -- Home Depot
White Subway Tile --Home Depot (3x6 tiles)
Gray Grout -- Home Depot
Light Fixtures -- Home Depot
So, there you have it -- our complete reno and a few of our sources. Overall, we spent about $6,000 for the total makeover. Our initial budget was $5,000, but once we decided to hire out professional help for the tile and shower glass, the budget was increased slightly.
We are so pleased with the results of our bathroom! What do you think of our fresh space? I'd love to hear your thoughts! And if you have any questions, please don't hesitate to shoot me an email at TheRusticBoxwood@gmail.com, or stop by and say "hey" on Instagram, Facebook, Twitter or Pinterest. And of course, I always love to hear from my sweet readers in the comments below! :)
You might also like:
Room Reveal, Part 1 (Video Tour): Master Bedroom/Master Bathroom


DIY: How to Turn a New Chicken Feeder into an "Aged" Plate Rack | You'll be amazed at how easy this project is...and how pretty the plate rack looks! | The Rustic Boxwood