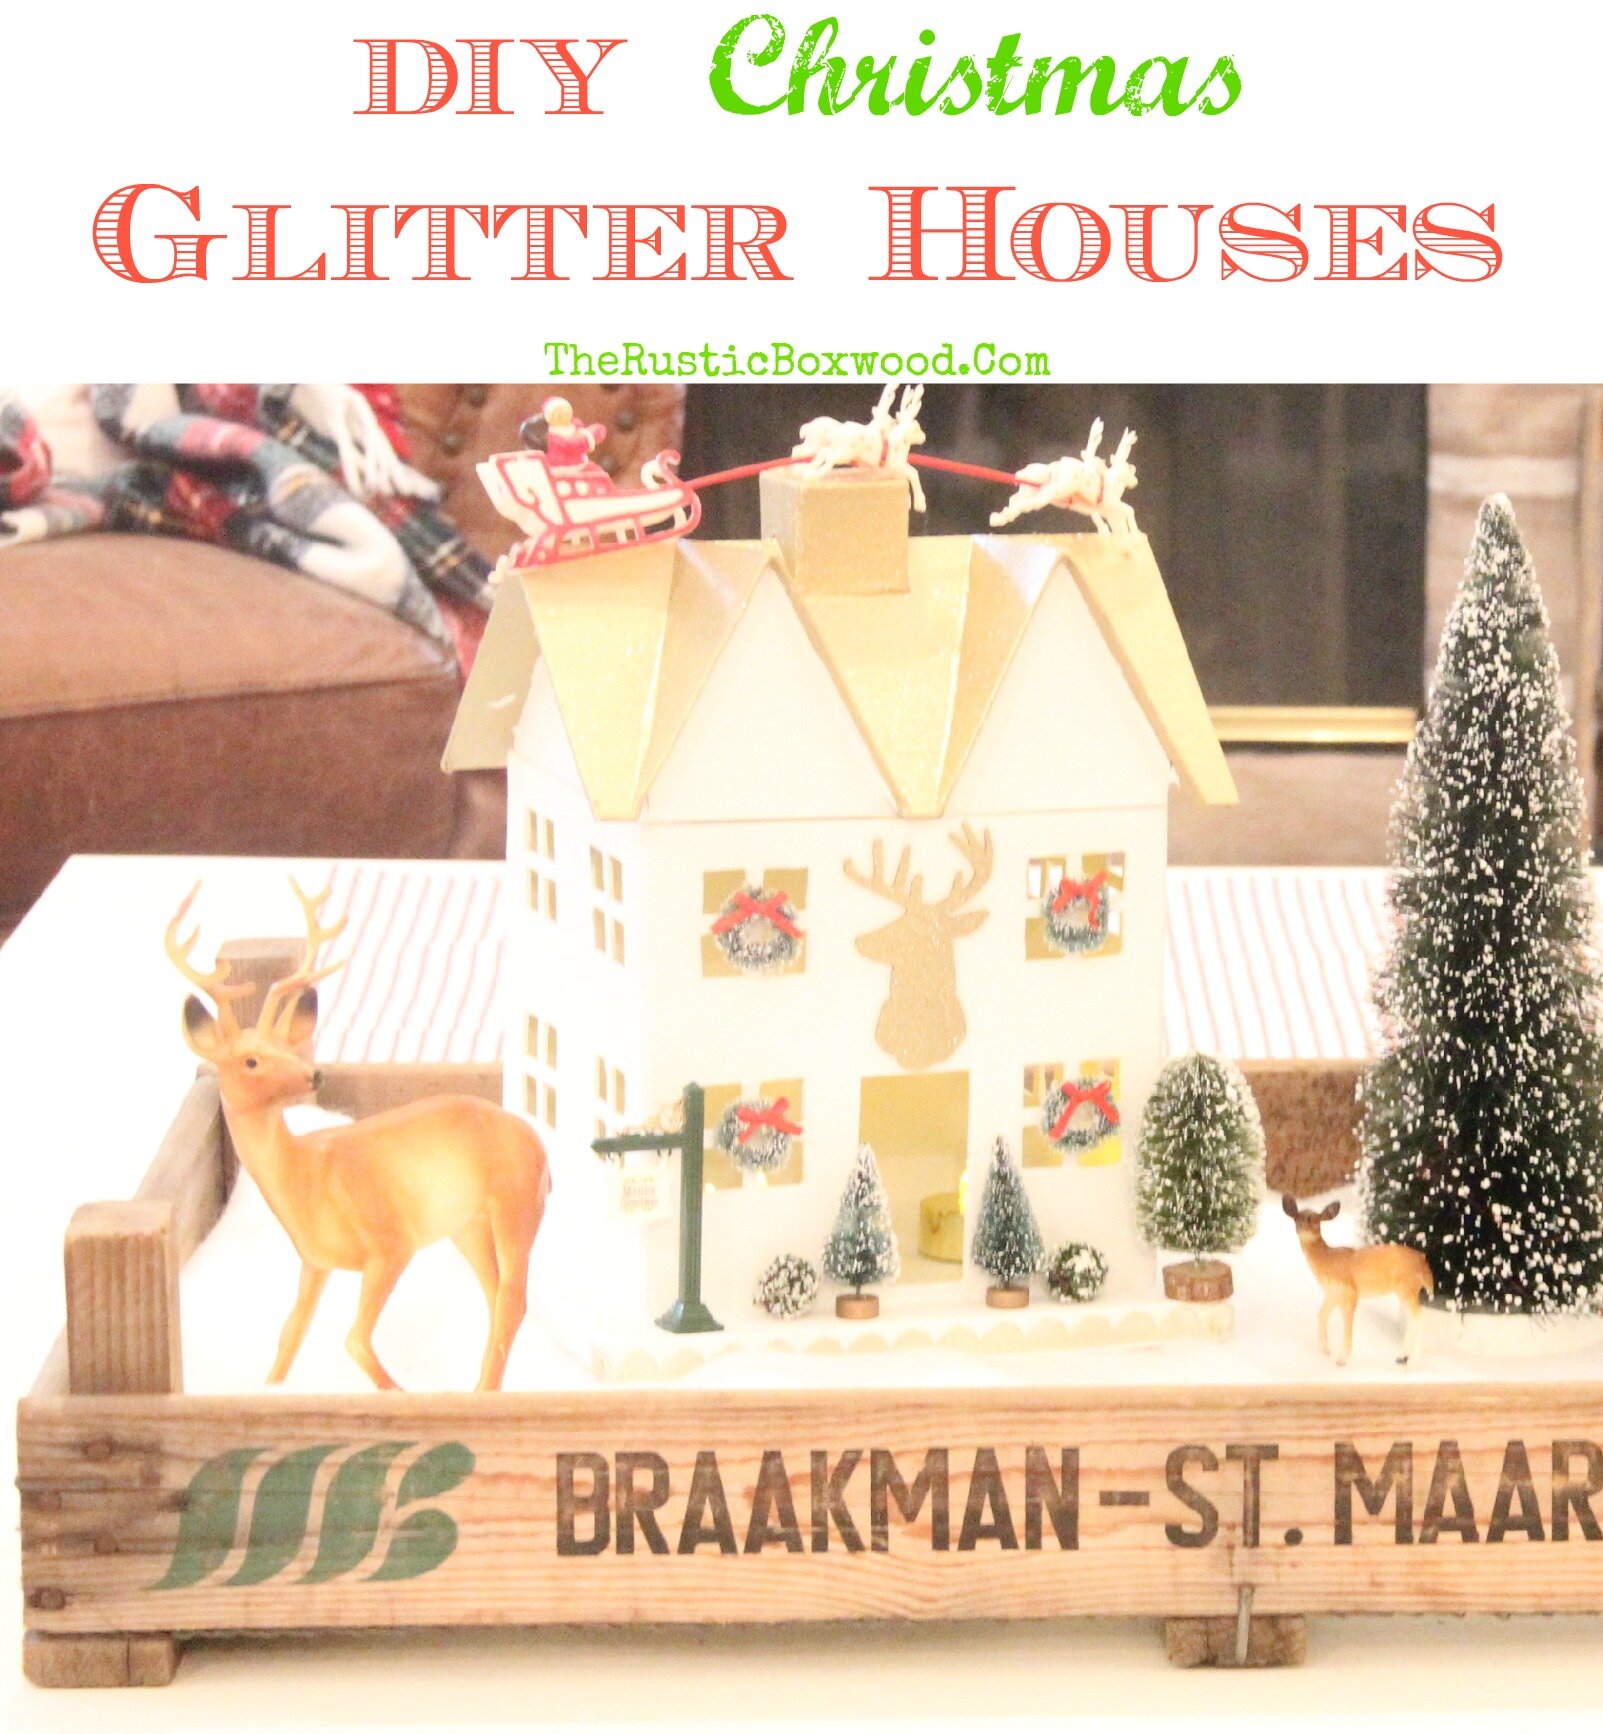
DIY Christmas Glitter Houses
<<<Hey friends! Before we start, I wanted to share with you a fresh post on glitter houses! Click here for some creative ideas!!!>>>
I'm loving the very fun glitter houses lately. If you google the words "glitter houses," you'll come up with all sorts of inspiring photos...from the vintage Putz houses to the brand-new, German glitter houses at Pottery Barn. So pretty, and they make for some beautiful Christmas decor...whether you use just one or a whole bunch of them placed together! So, when I received a few cans of "golden glow" glitter spray paint and "18-kt metallic gold" spray paint from Krylon to test out, I knew exactly what I wanted to do with them -- make some DIY glitter houses, of course! ;)
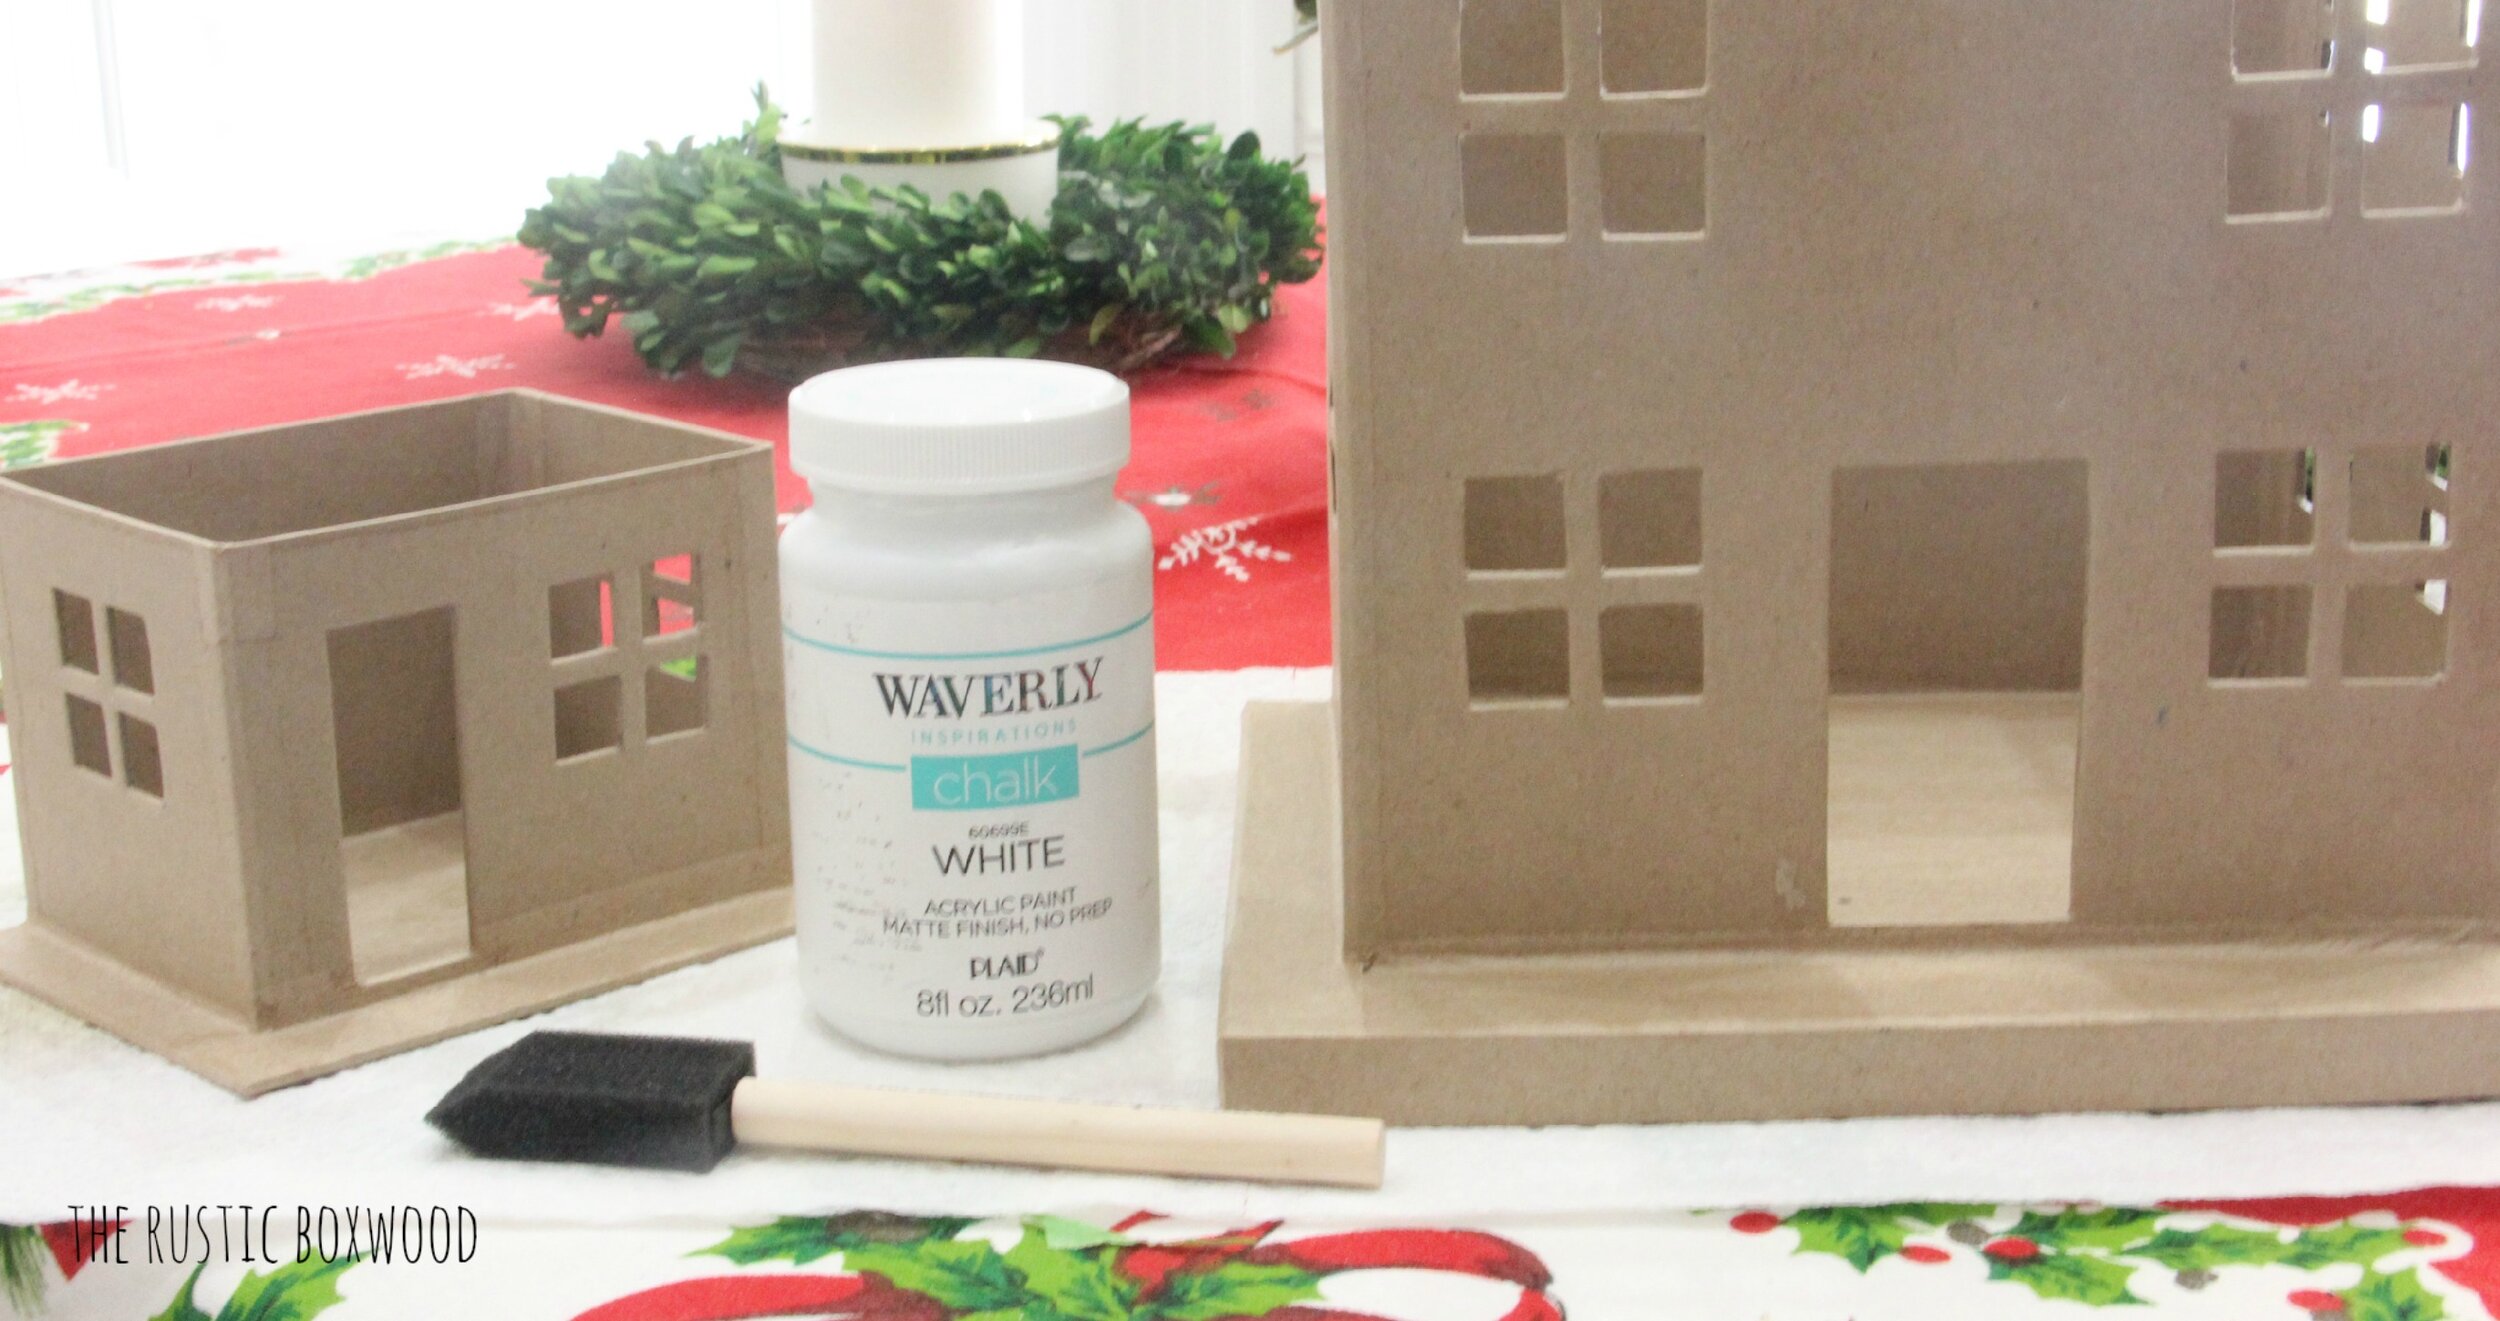
I bought some paper mache houses at Hobby Lobby when they were half off recently. The small house was about $2, and the large house was about $3! Not bad, huh? You can actually buy them online as a set of 3, and when they're half-off for the set, you can get an even better bargain. But because I bought my houses in the store, they were sold separately.
Here's what you'll need:
white chalk paint (or whatever color you wish)
foam brushes (from the dollar store or any craft store)
paper mache houses
gold glitter spray paint (I used Krylon.)
metallic gold spray paint (I used the Krylon 18-kt gold spray paint.)
accessories, such as cotton balls (for fake smoke coming out of the chimney), bottle-brush Christmas trees, toy deer, gold pipe cleaners (from the dollar store), mini wreaths, fake snow or white batting from any craft or fabric store
battery-operated votives (can purchase at the dollar store or in the dollar section at Target)
painter's tape
hot glue gun
First, using my painter's tape, I taped off the roof line of both houses. Then, I took them to a well-ventilated area and sprayed two good coats of the metallic gold spray paint onto and underneath the rooftops.
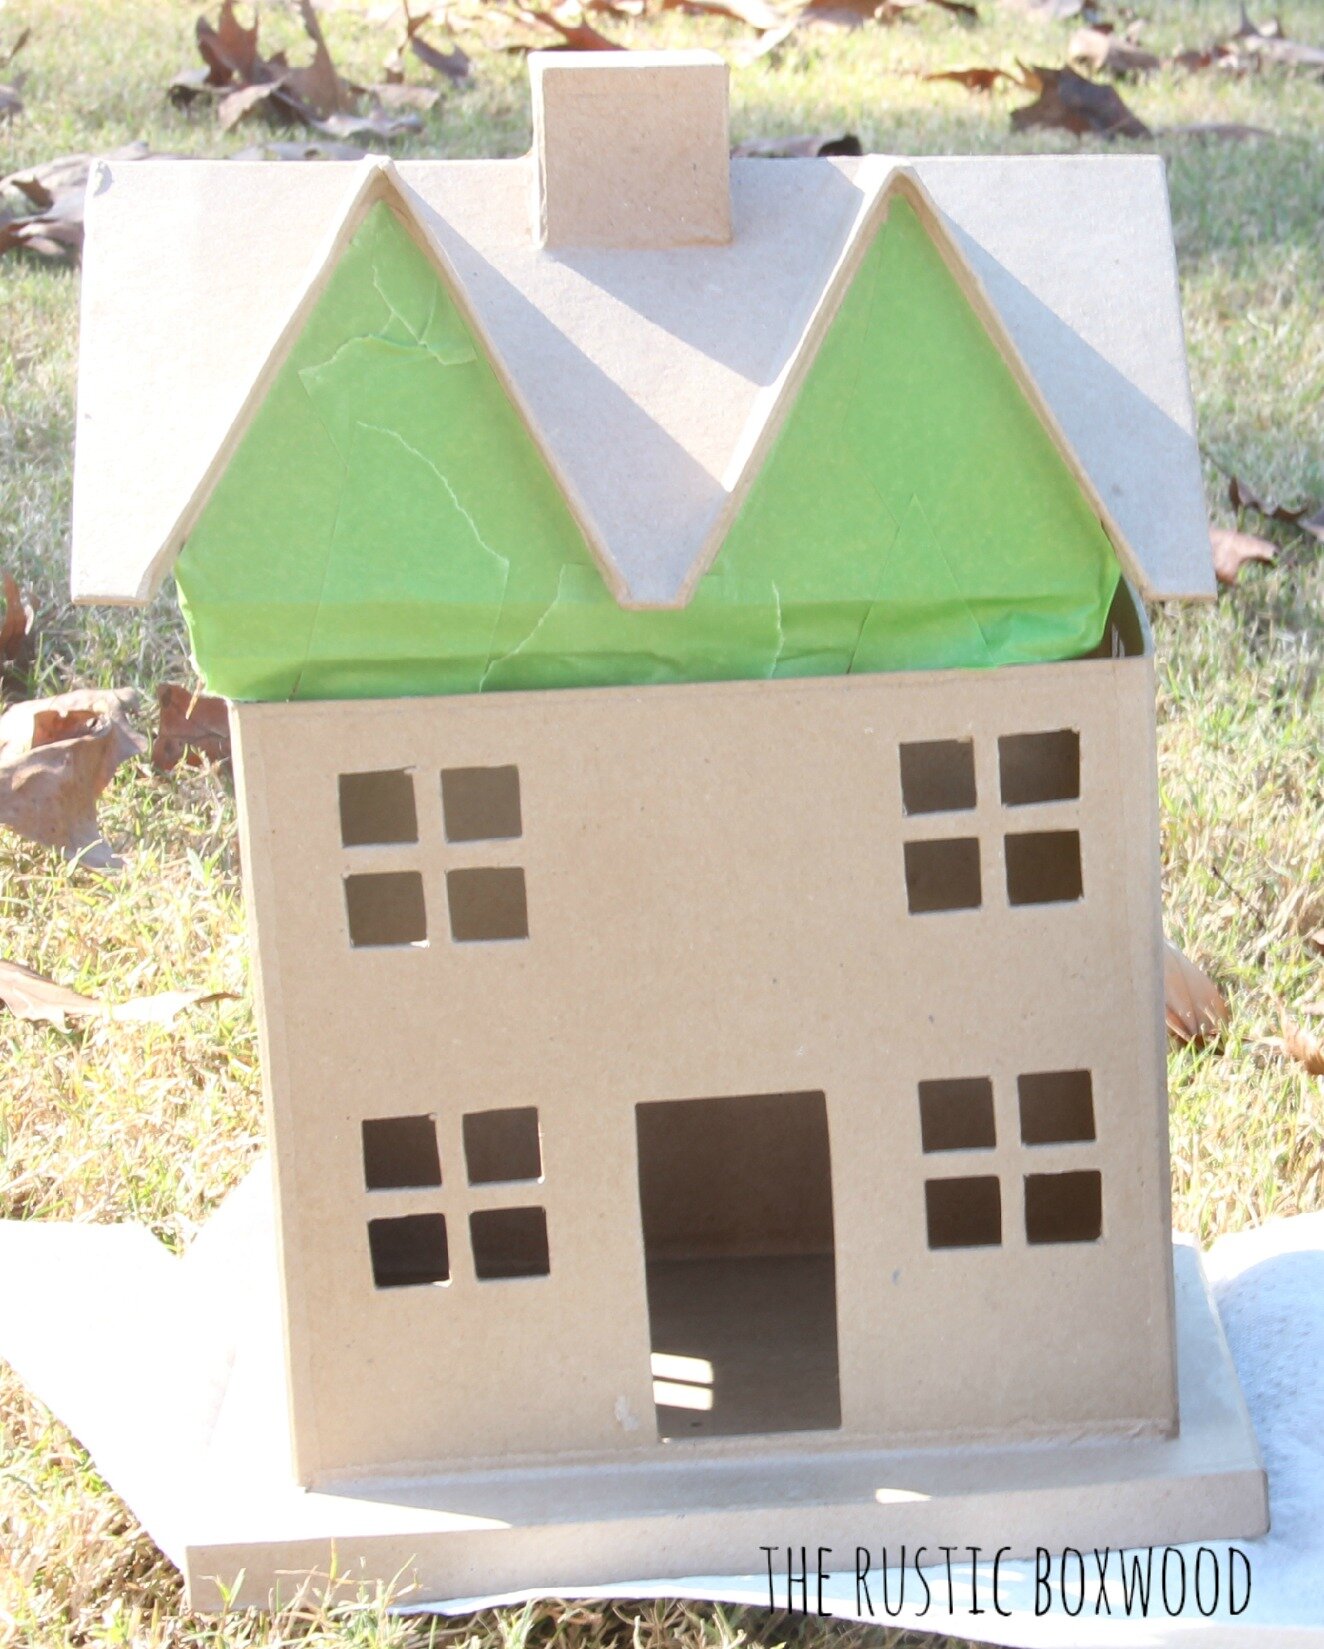

Next, I sprayed the glitter blast paint onto the roofs.

These pictures don't do these spray paint cans any justice! I LOVED using both of these paints for a couple of reasons...the glitter doesn't shed hardly at all, and both of the paints go on so smoothly and evenly. Krylon is, by far, my fave spray-paint brand! (Yes, Krylon sent these products to me for testing, but I was not monetarily compensated, and all opinions are my own.) :)
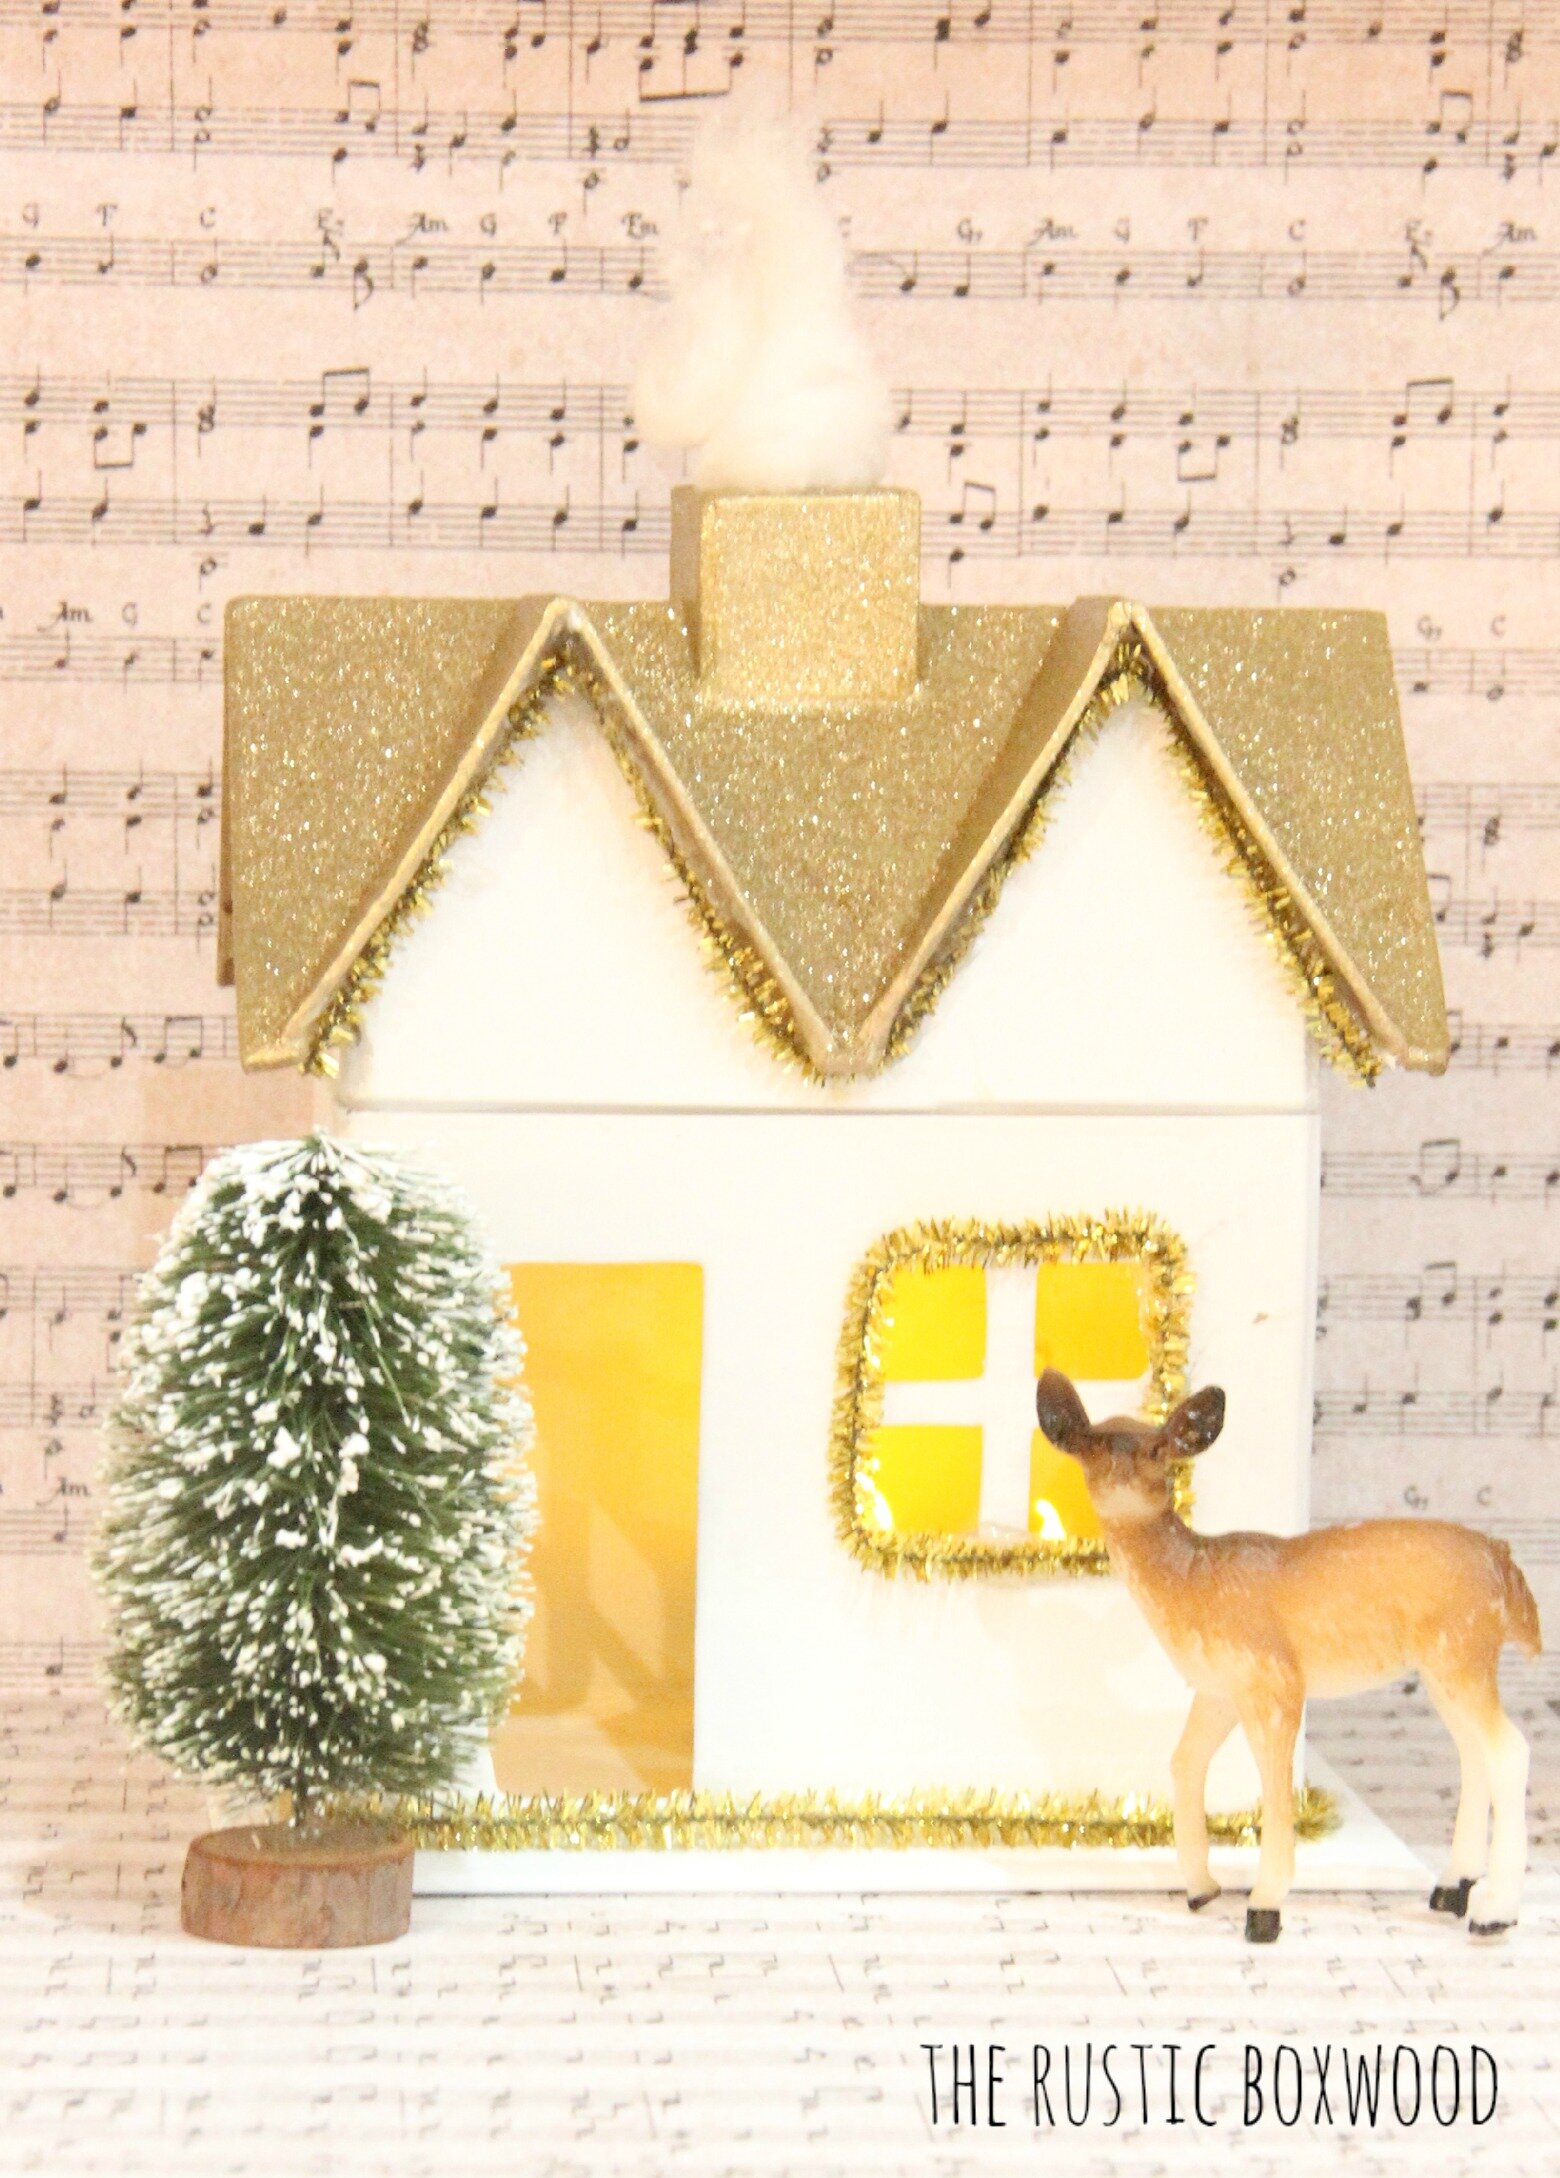
After spraying the rooftops, I grabbed my handy foam brush and chalk paint, turned on some Christmas music and got to work. I painted both the inside and outside of the houses with the white chalk paint. The time went by so quickly, and the paint dried in a jiffy!
After I completely finished the painting, it was time for the fun part -- adding the accessories! On one of the houses, I hot-glued gold pipe cleaners around the roof and window edges. And then I hot-glued half of a cotton ball (stretched ever so slightly) onto the chimney to give that cozy feel. ;)
And now onto the larger house....
Something I did differently with the large house was that I hot-glued the mini wreaths to all the windows. :) Also, I bought a pack of 4 die-cut stags from Hobby Lobby at half-off, and I think they were only $1. All I did was apply my trusty glitter blast spray paint to the stag and then hot-glued it to the house. It sparkles beautifully!
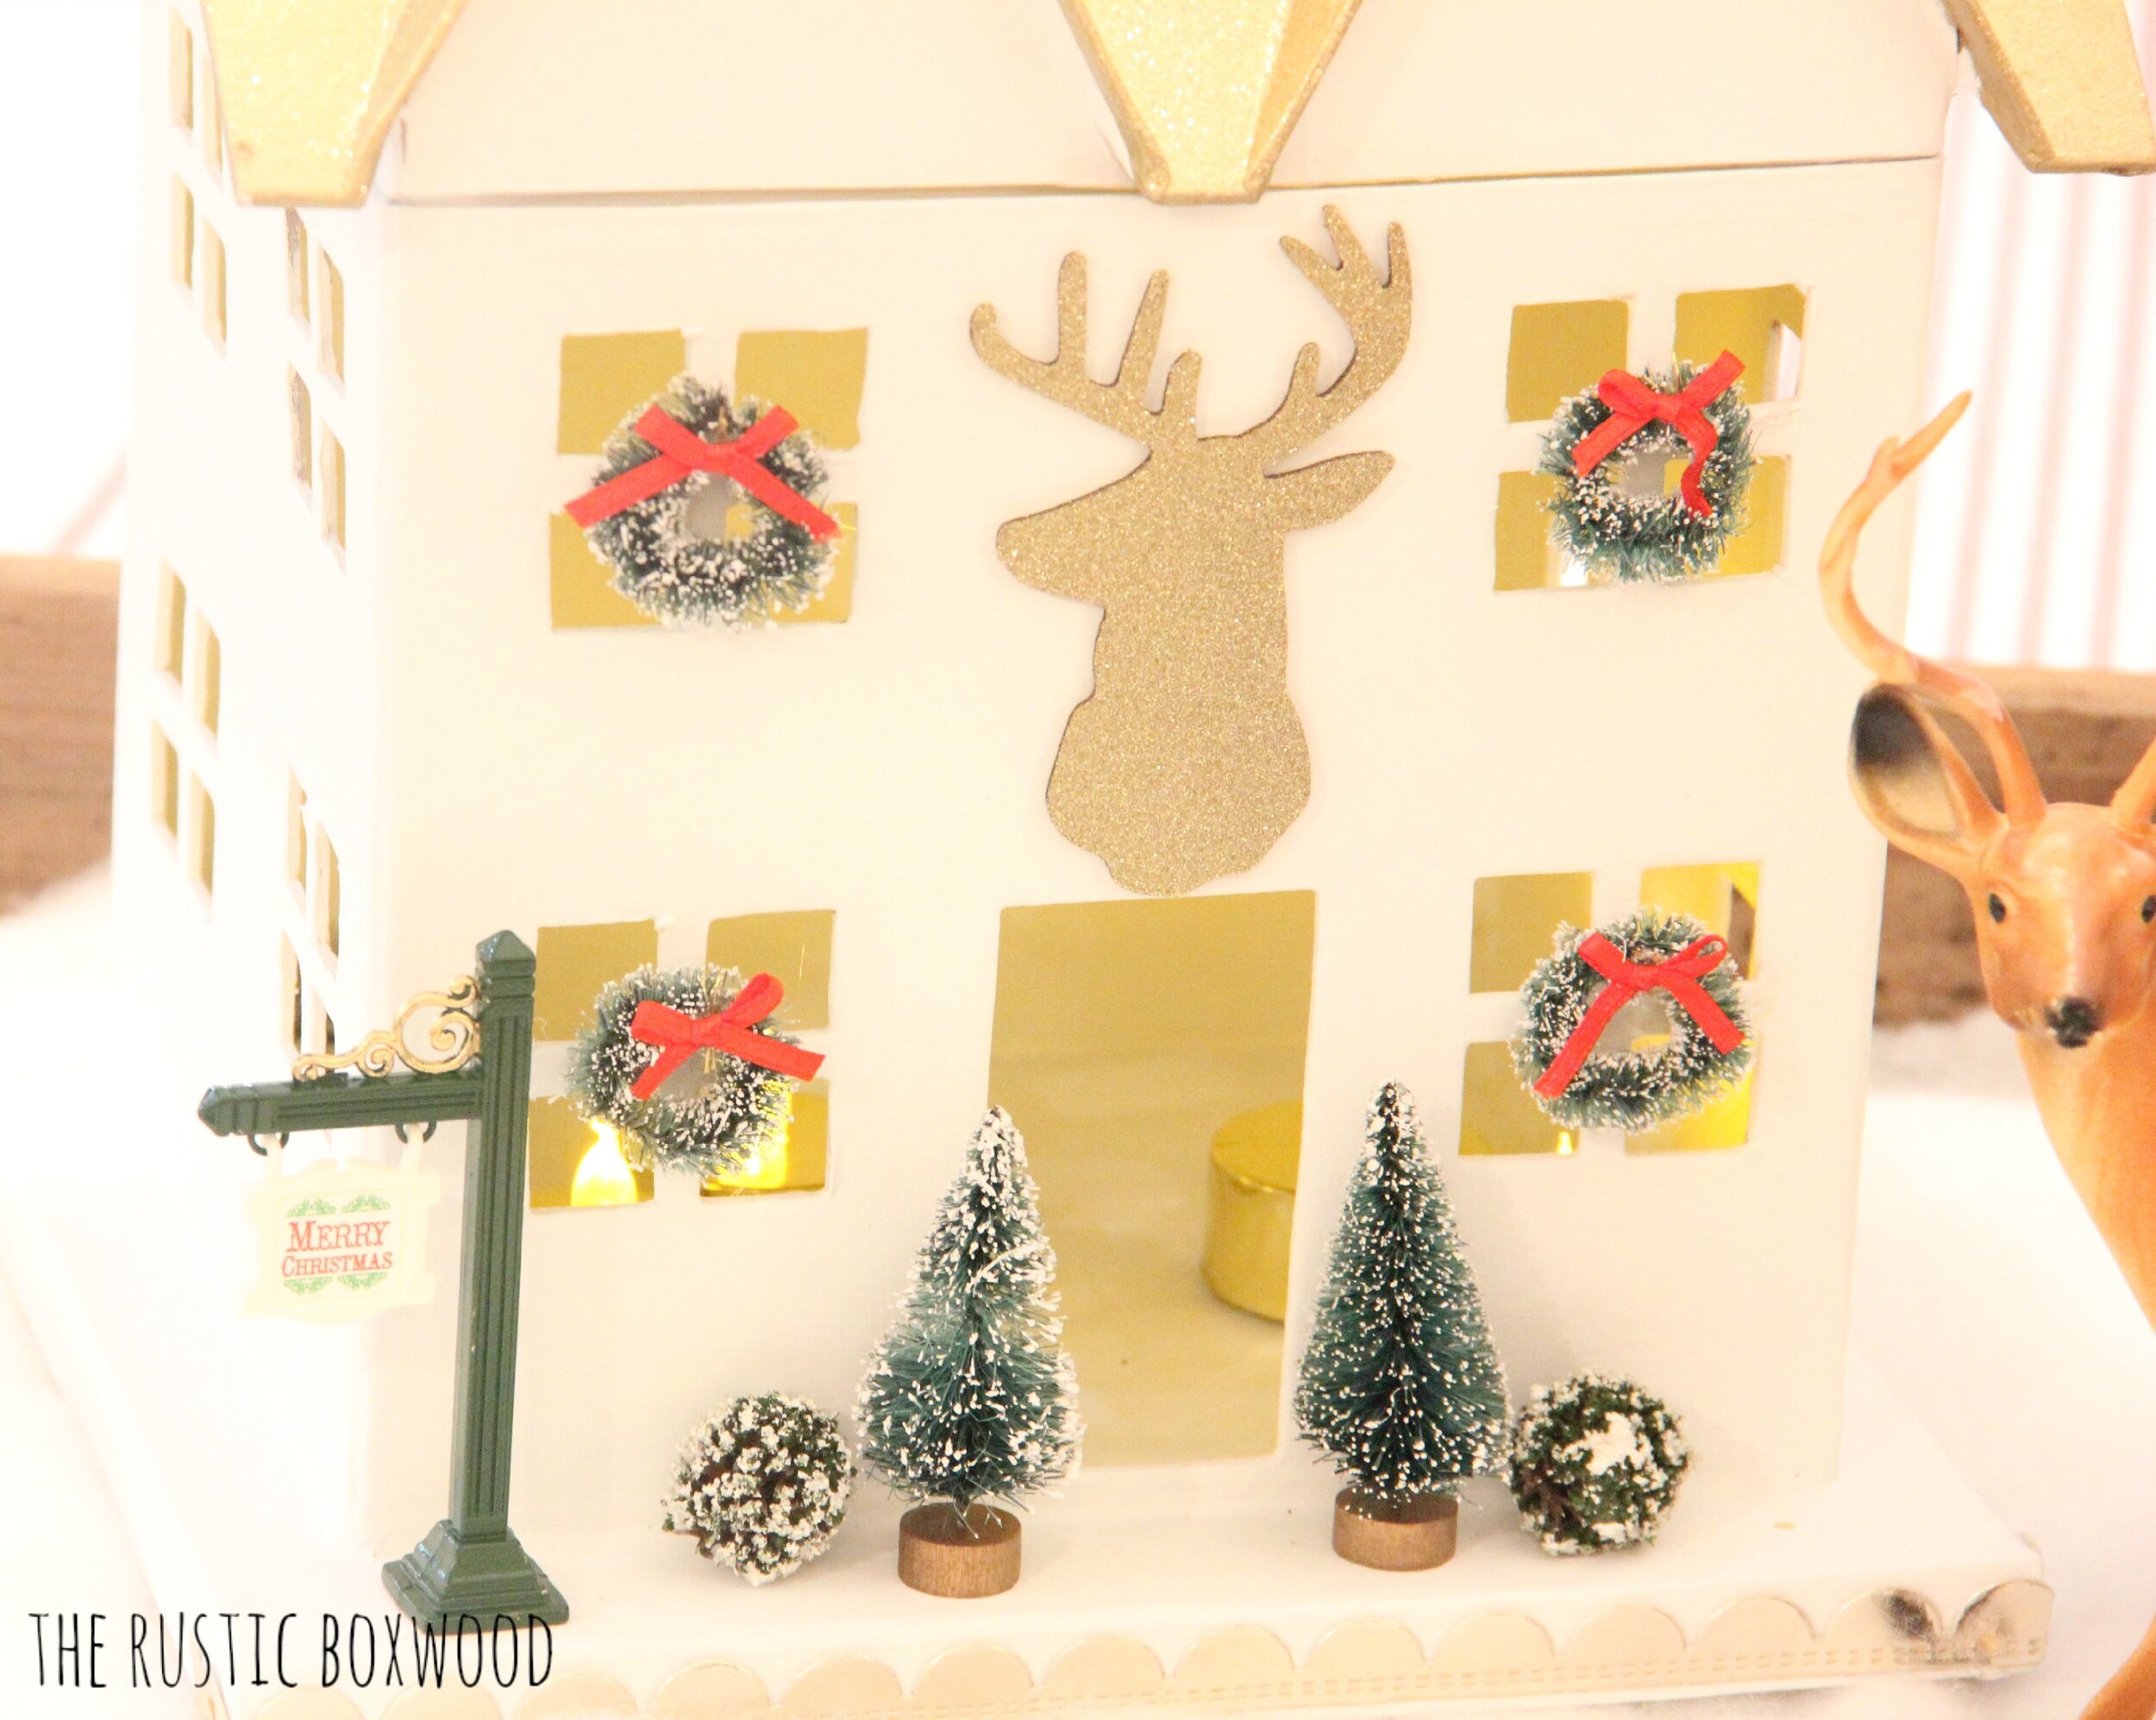
The gold scalloped trim (in the pic above) came from the dollar section at Target. I just hot-glued either end of the trim to the house. Isn't the hot-glue gun one of the best inventions of all time?! I love that tool!
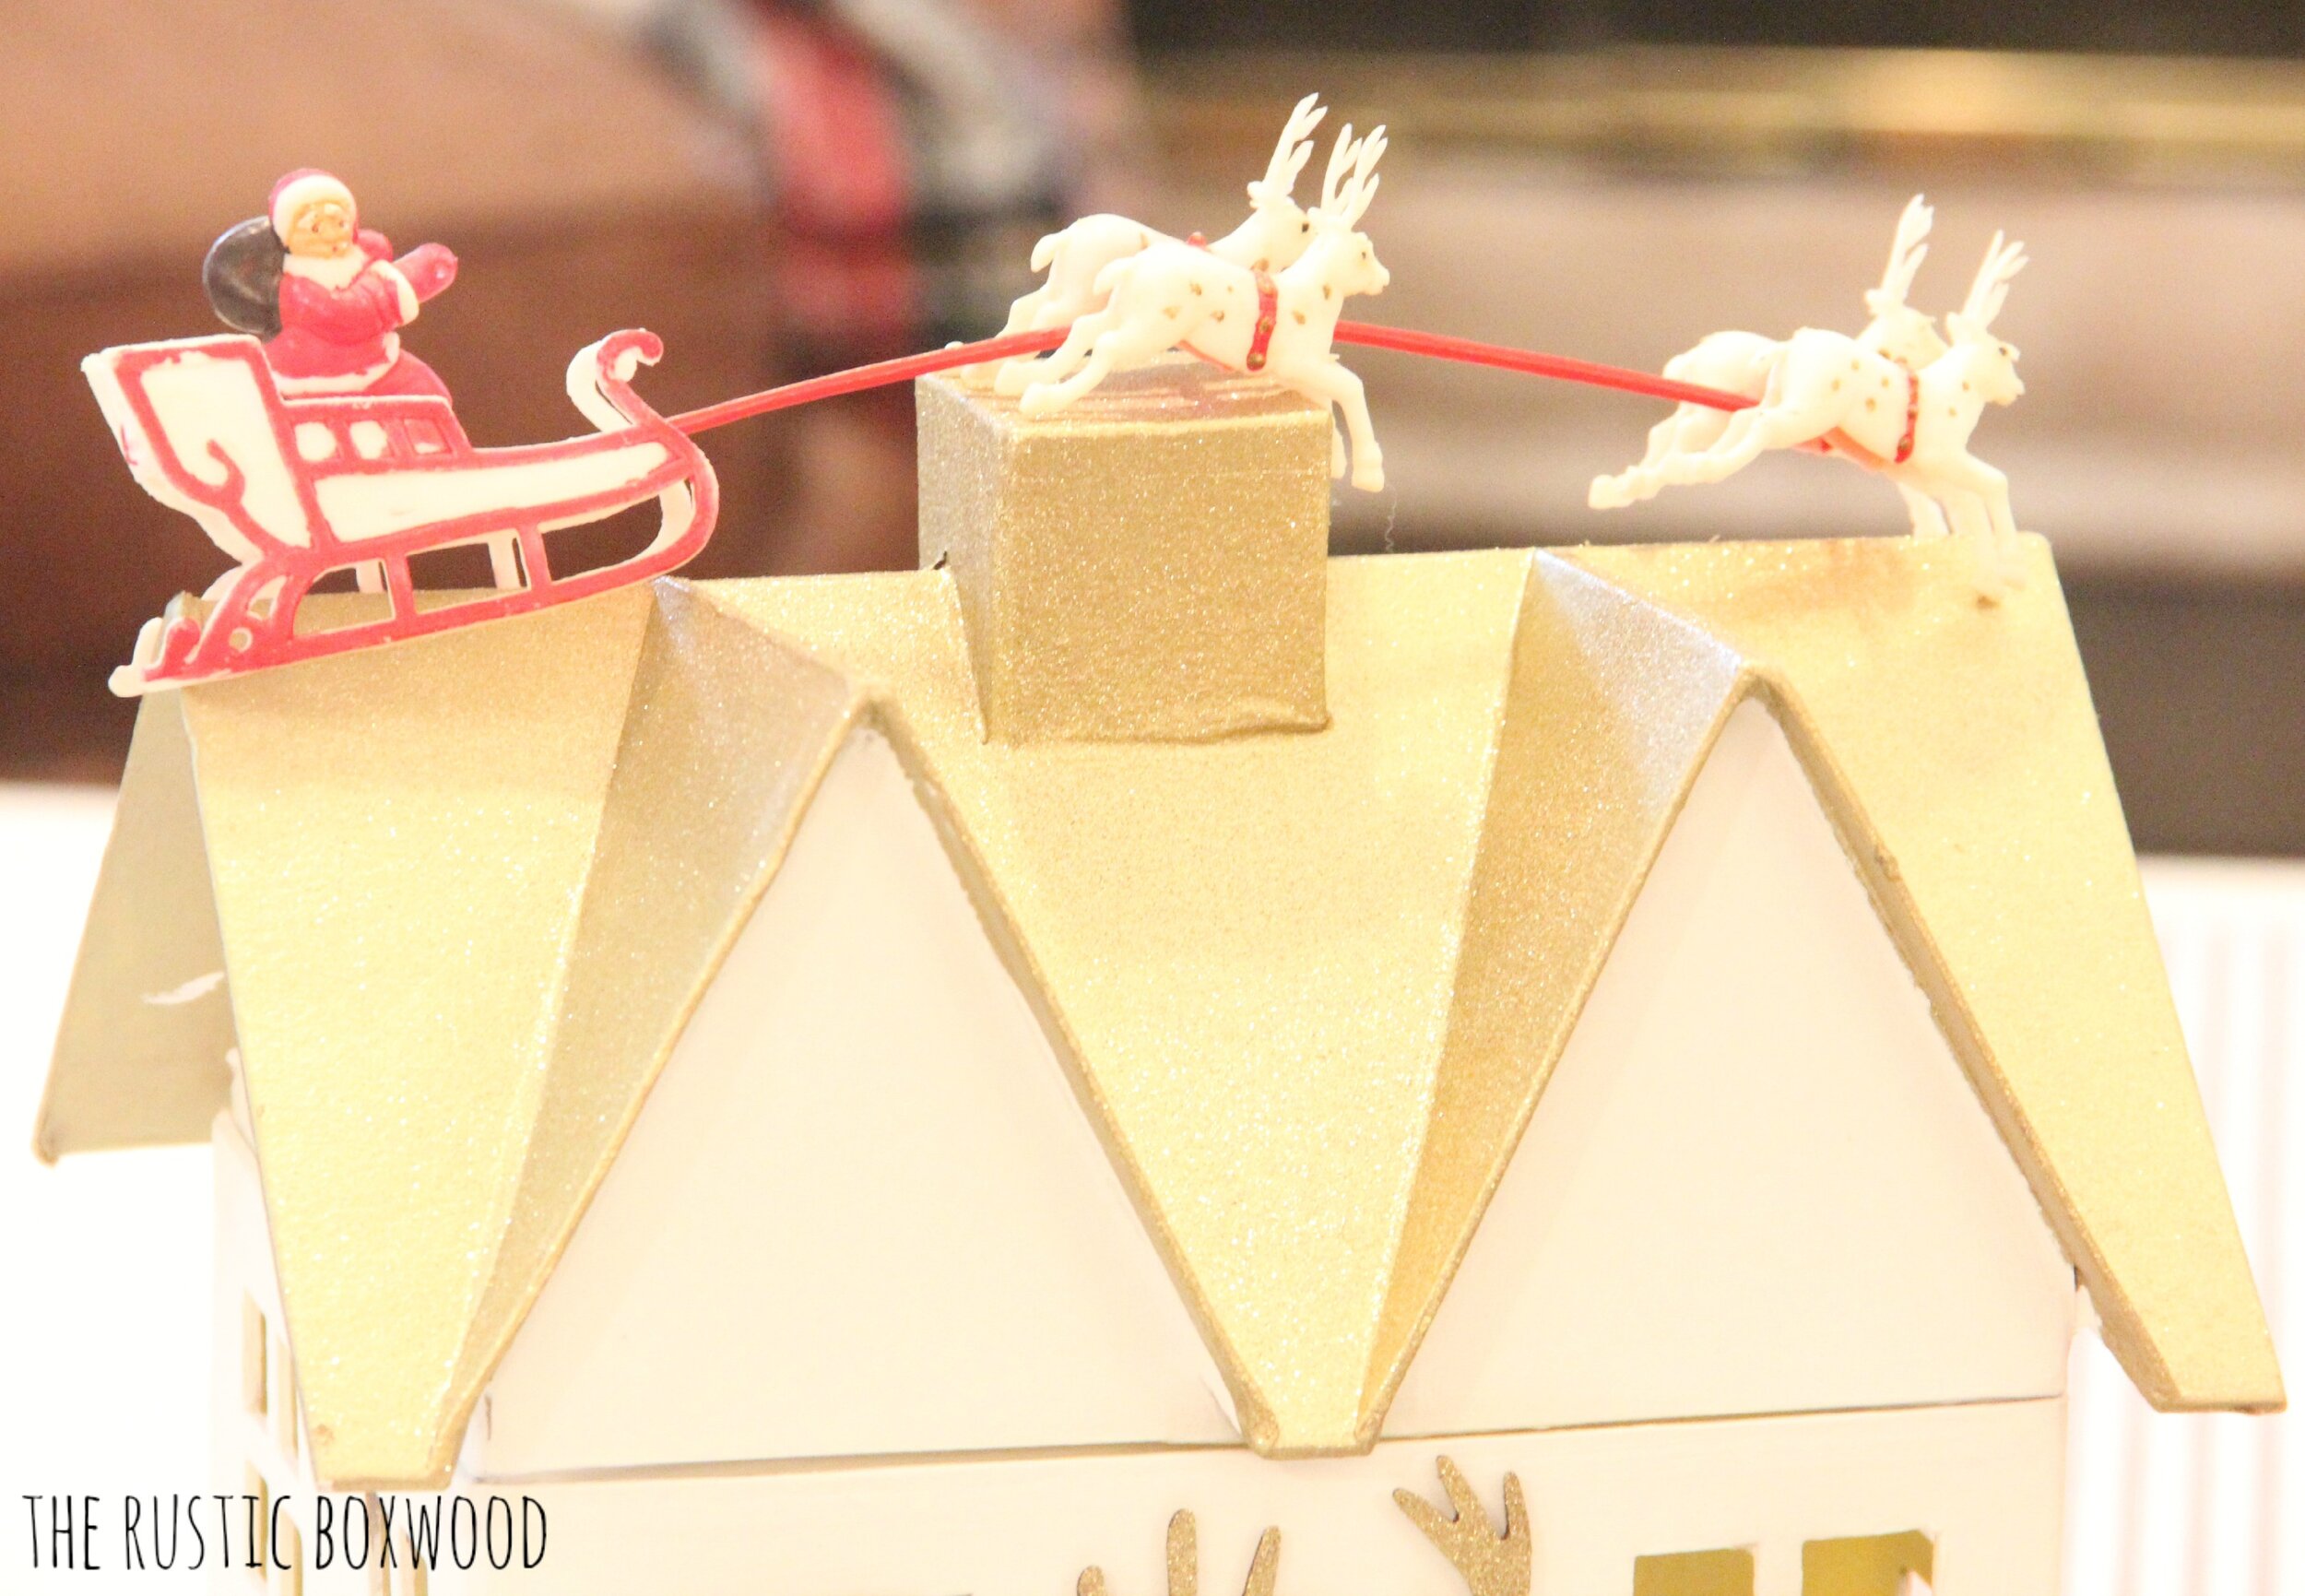
And I love this vintage santa and his reindeer! Found this set at an antiques' store last month. ;)
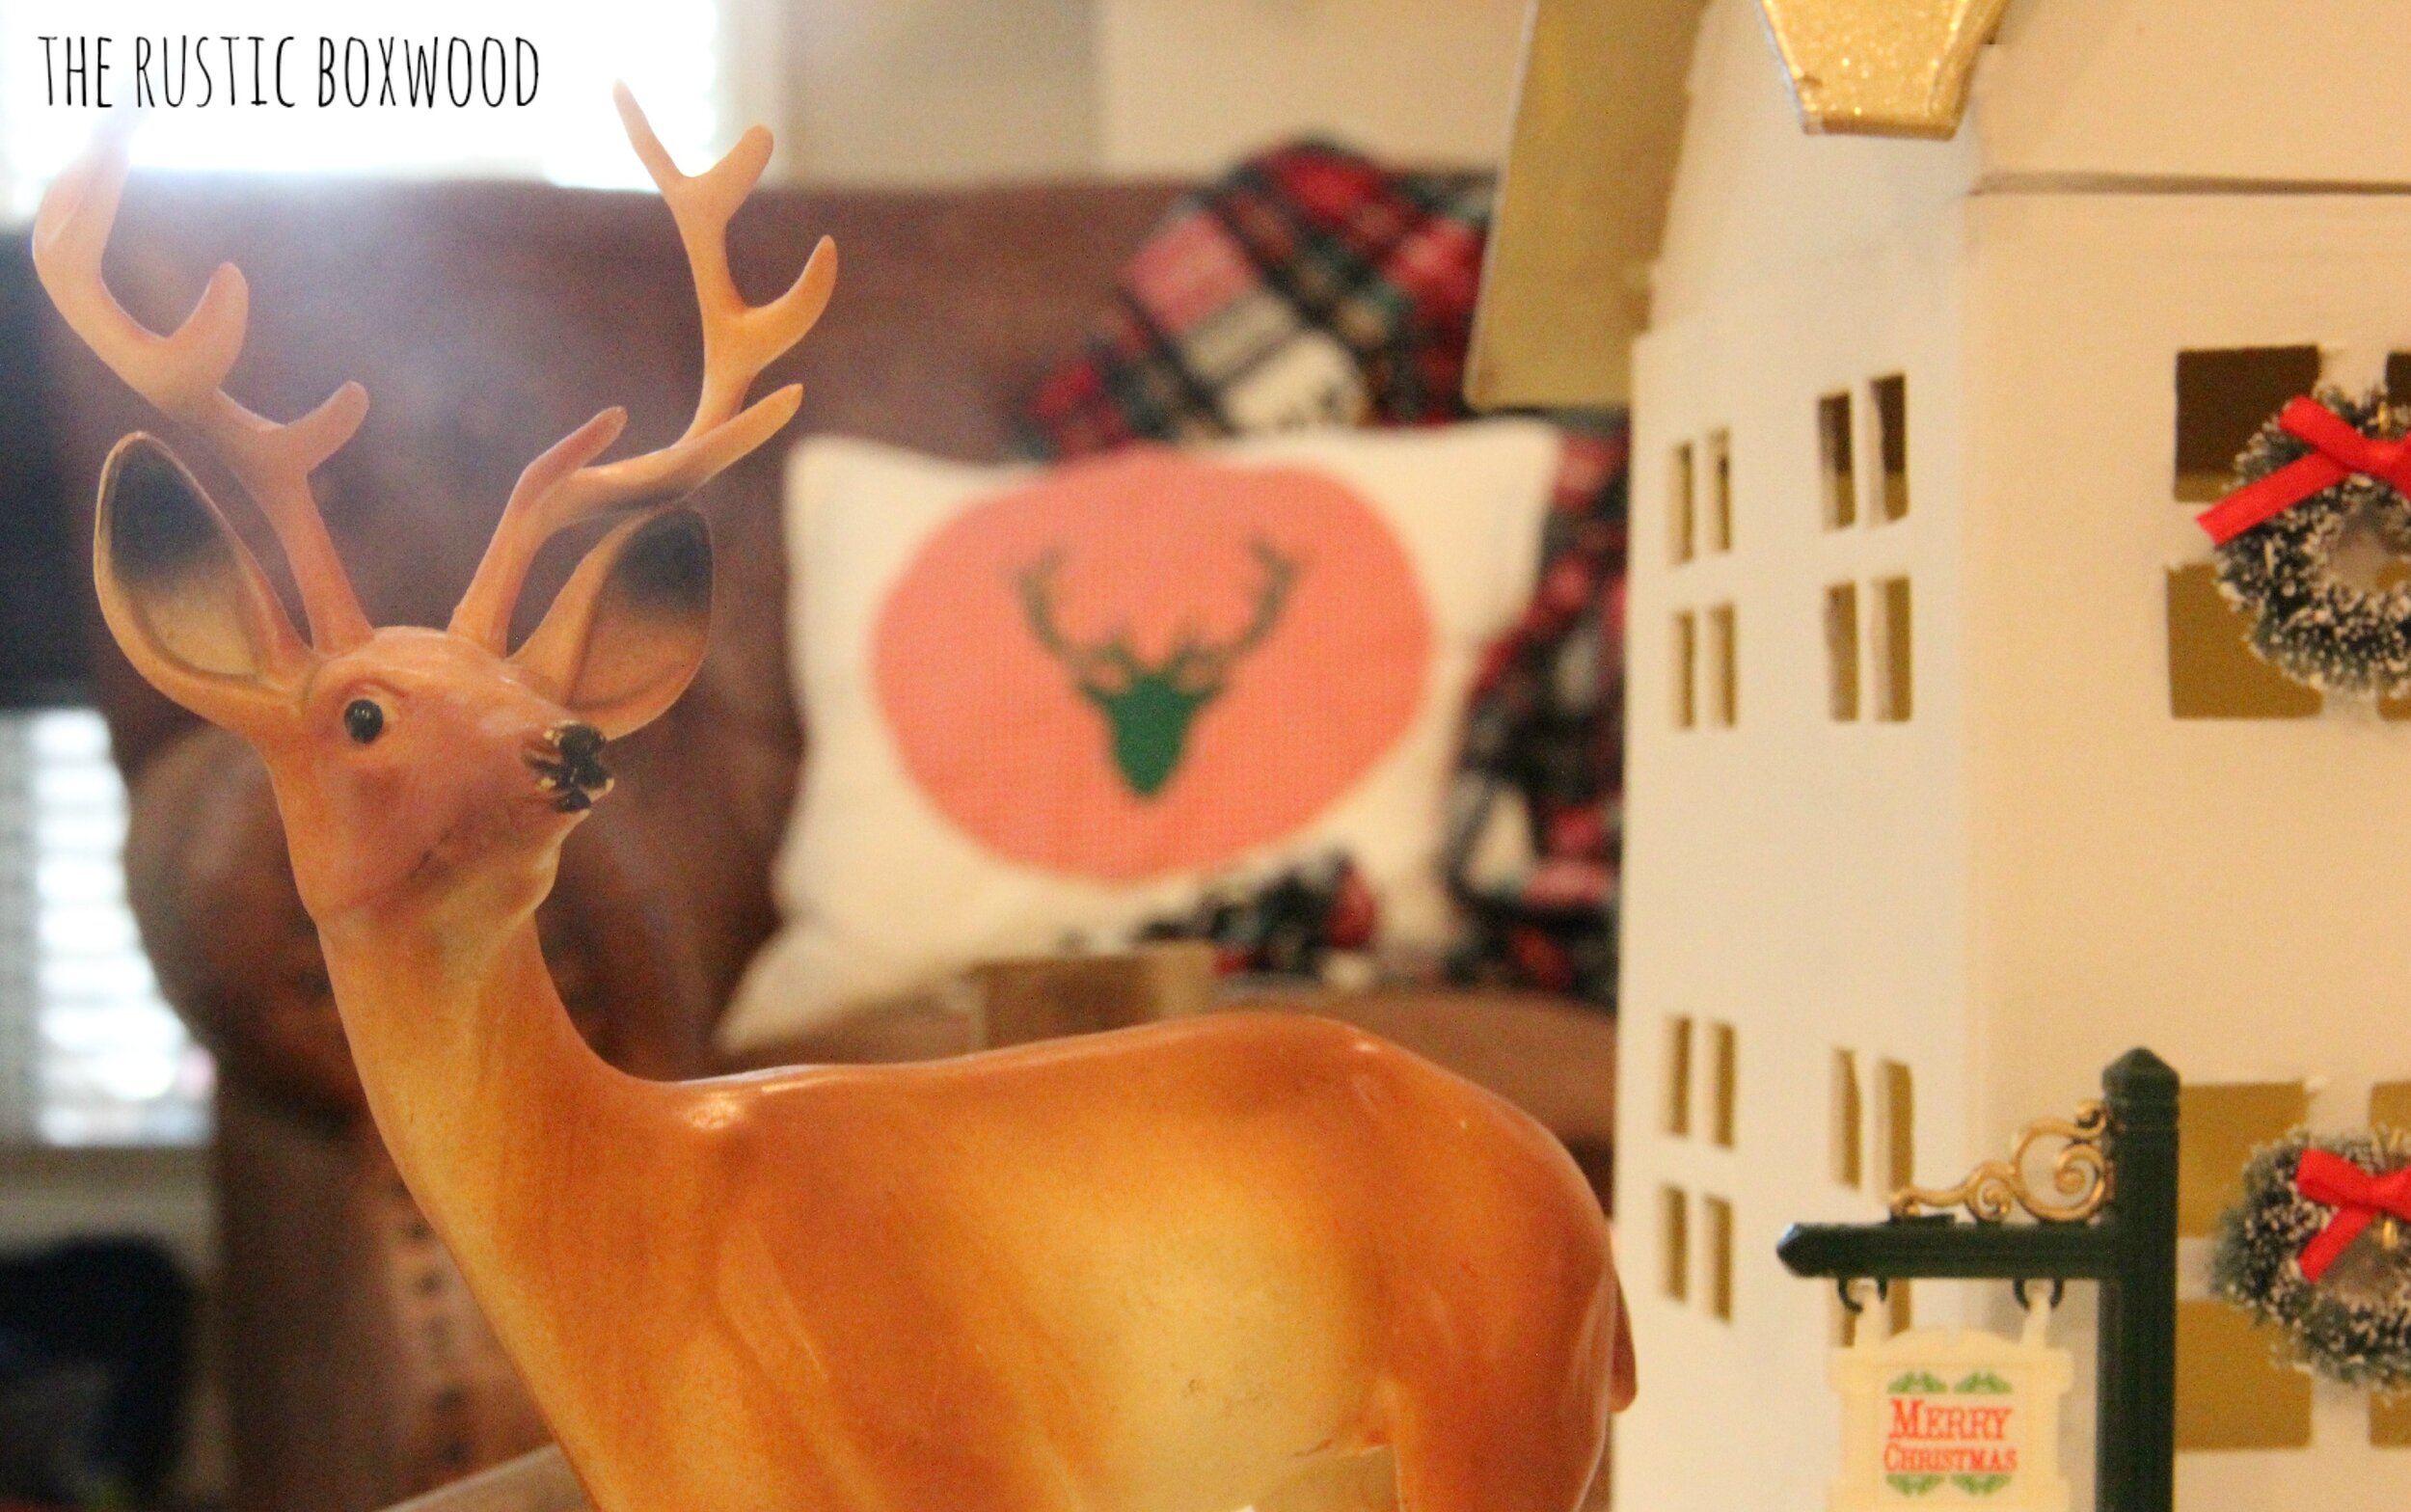
I know my giant toy deer is definitely not "to scale," but I love it anyways. ;)
And I bought this vintage fruit crate at one of the beautiful booths at the Country Living Fair this past Fall. I know it's hard to tell in the picture, but it's truly humongous!

Isn't this little "Merry Christmas" sign just adorable? Michael's had them 60% off on Black Friday. Yes, I know....I can't believe I braved the crowds and went shopping on the busiest day of the year!
The little bushes and mini trees also came from Michael's that day.
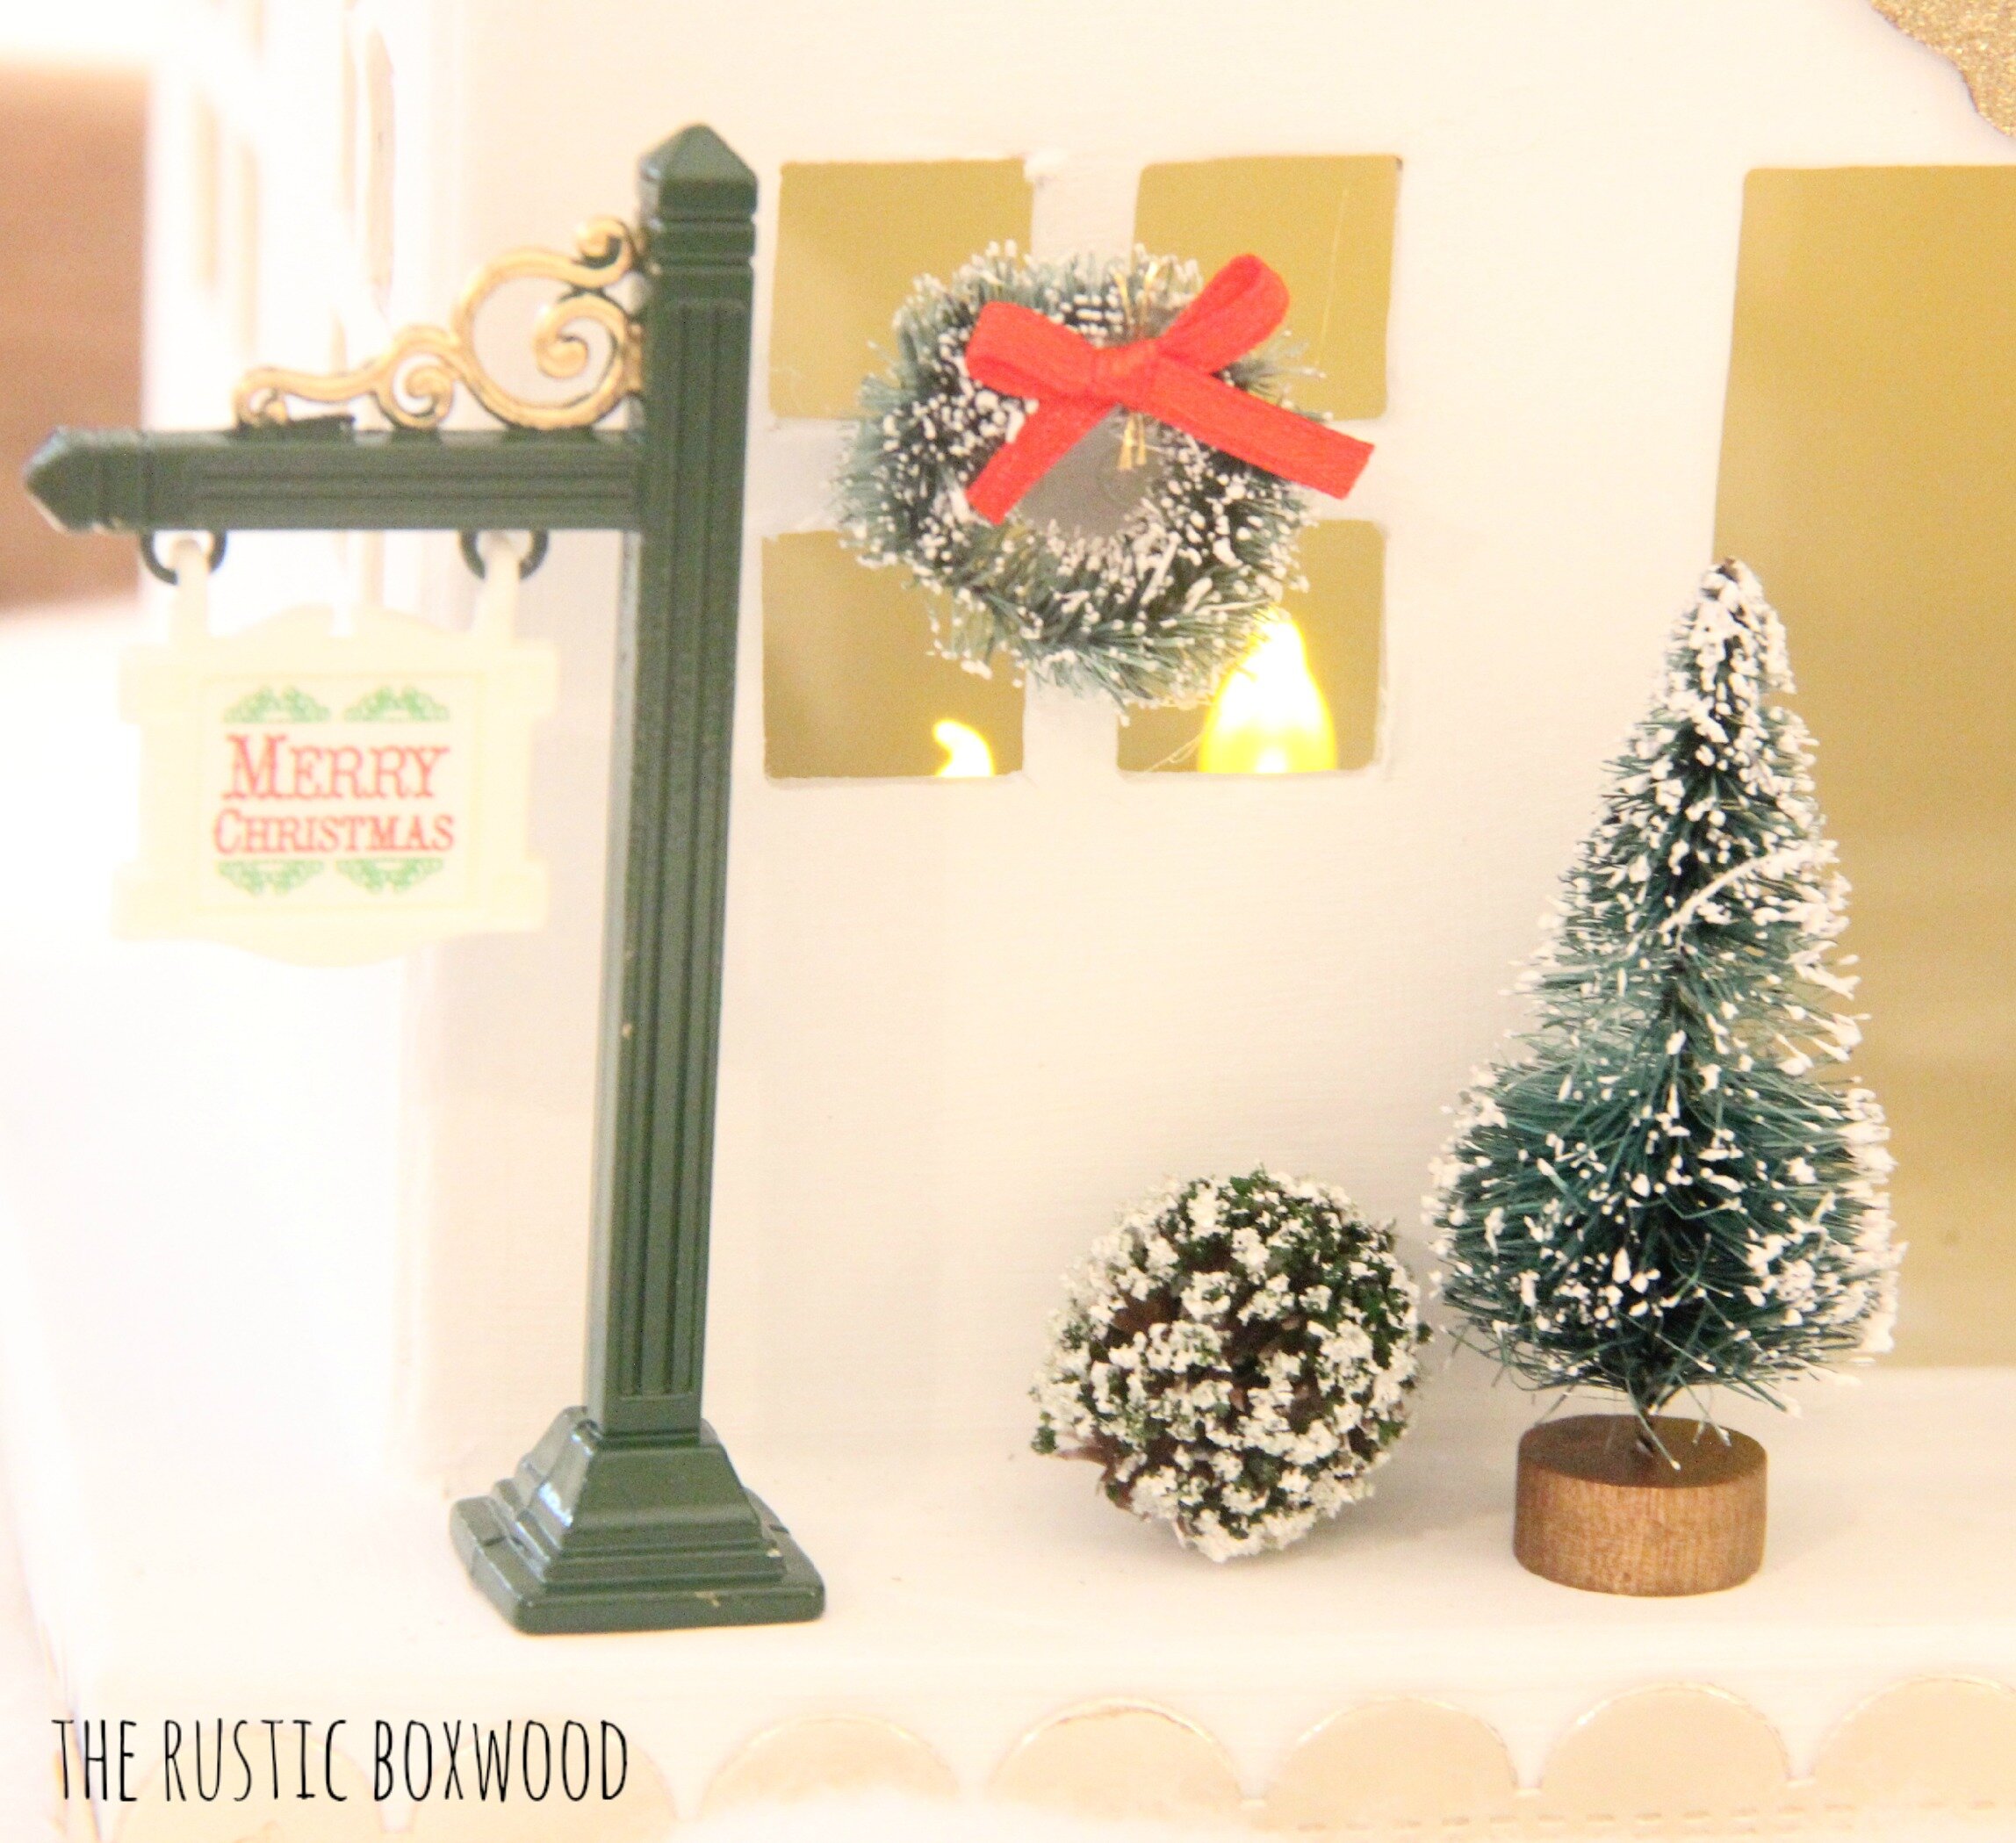


And I wanted to be sure to mention that the layer of "snow" is actually just a large piece of batting that I folded under on the edges. So easy!
Once your houses are all done, all you have to do now is insert a few of your pre-lit tea lights into the houses, put the rooftop back on, and admire your beautiful creation. :)
This project would be perfect for a girls' night, for spending time with your kiddos, or just to relax and do it all yourself. It's an easy and quick diy activity that you'll really enjoy!
So what are your creative ideas for making glitter houses? Have you made any before? I'd love to hear all about it! Comment below, or stop by and say hey on Instagram, Pinterest, Twitter, and Facebook. I always love to hear from my readers!
*****************************************
You might also like: