DIY: How to Transform a New Chicken Feeder into an "Aged" Plate Rack
Hey y'all! Thanks so much for stopping by today! I'd like to share with you how I turned a brand new chicken feeder into a rustic, "aged" plate rack!

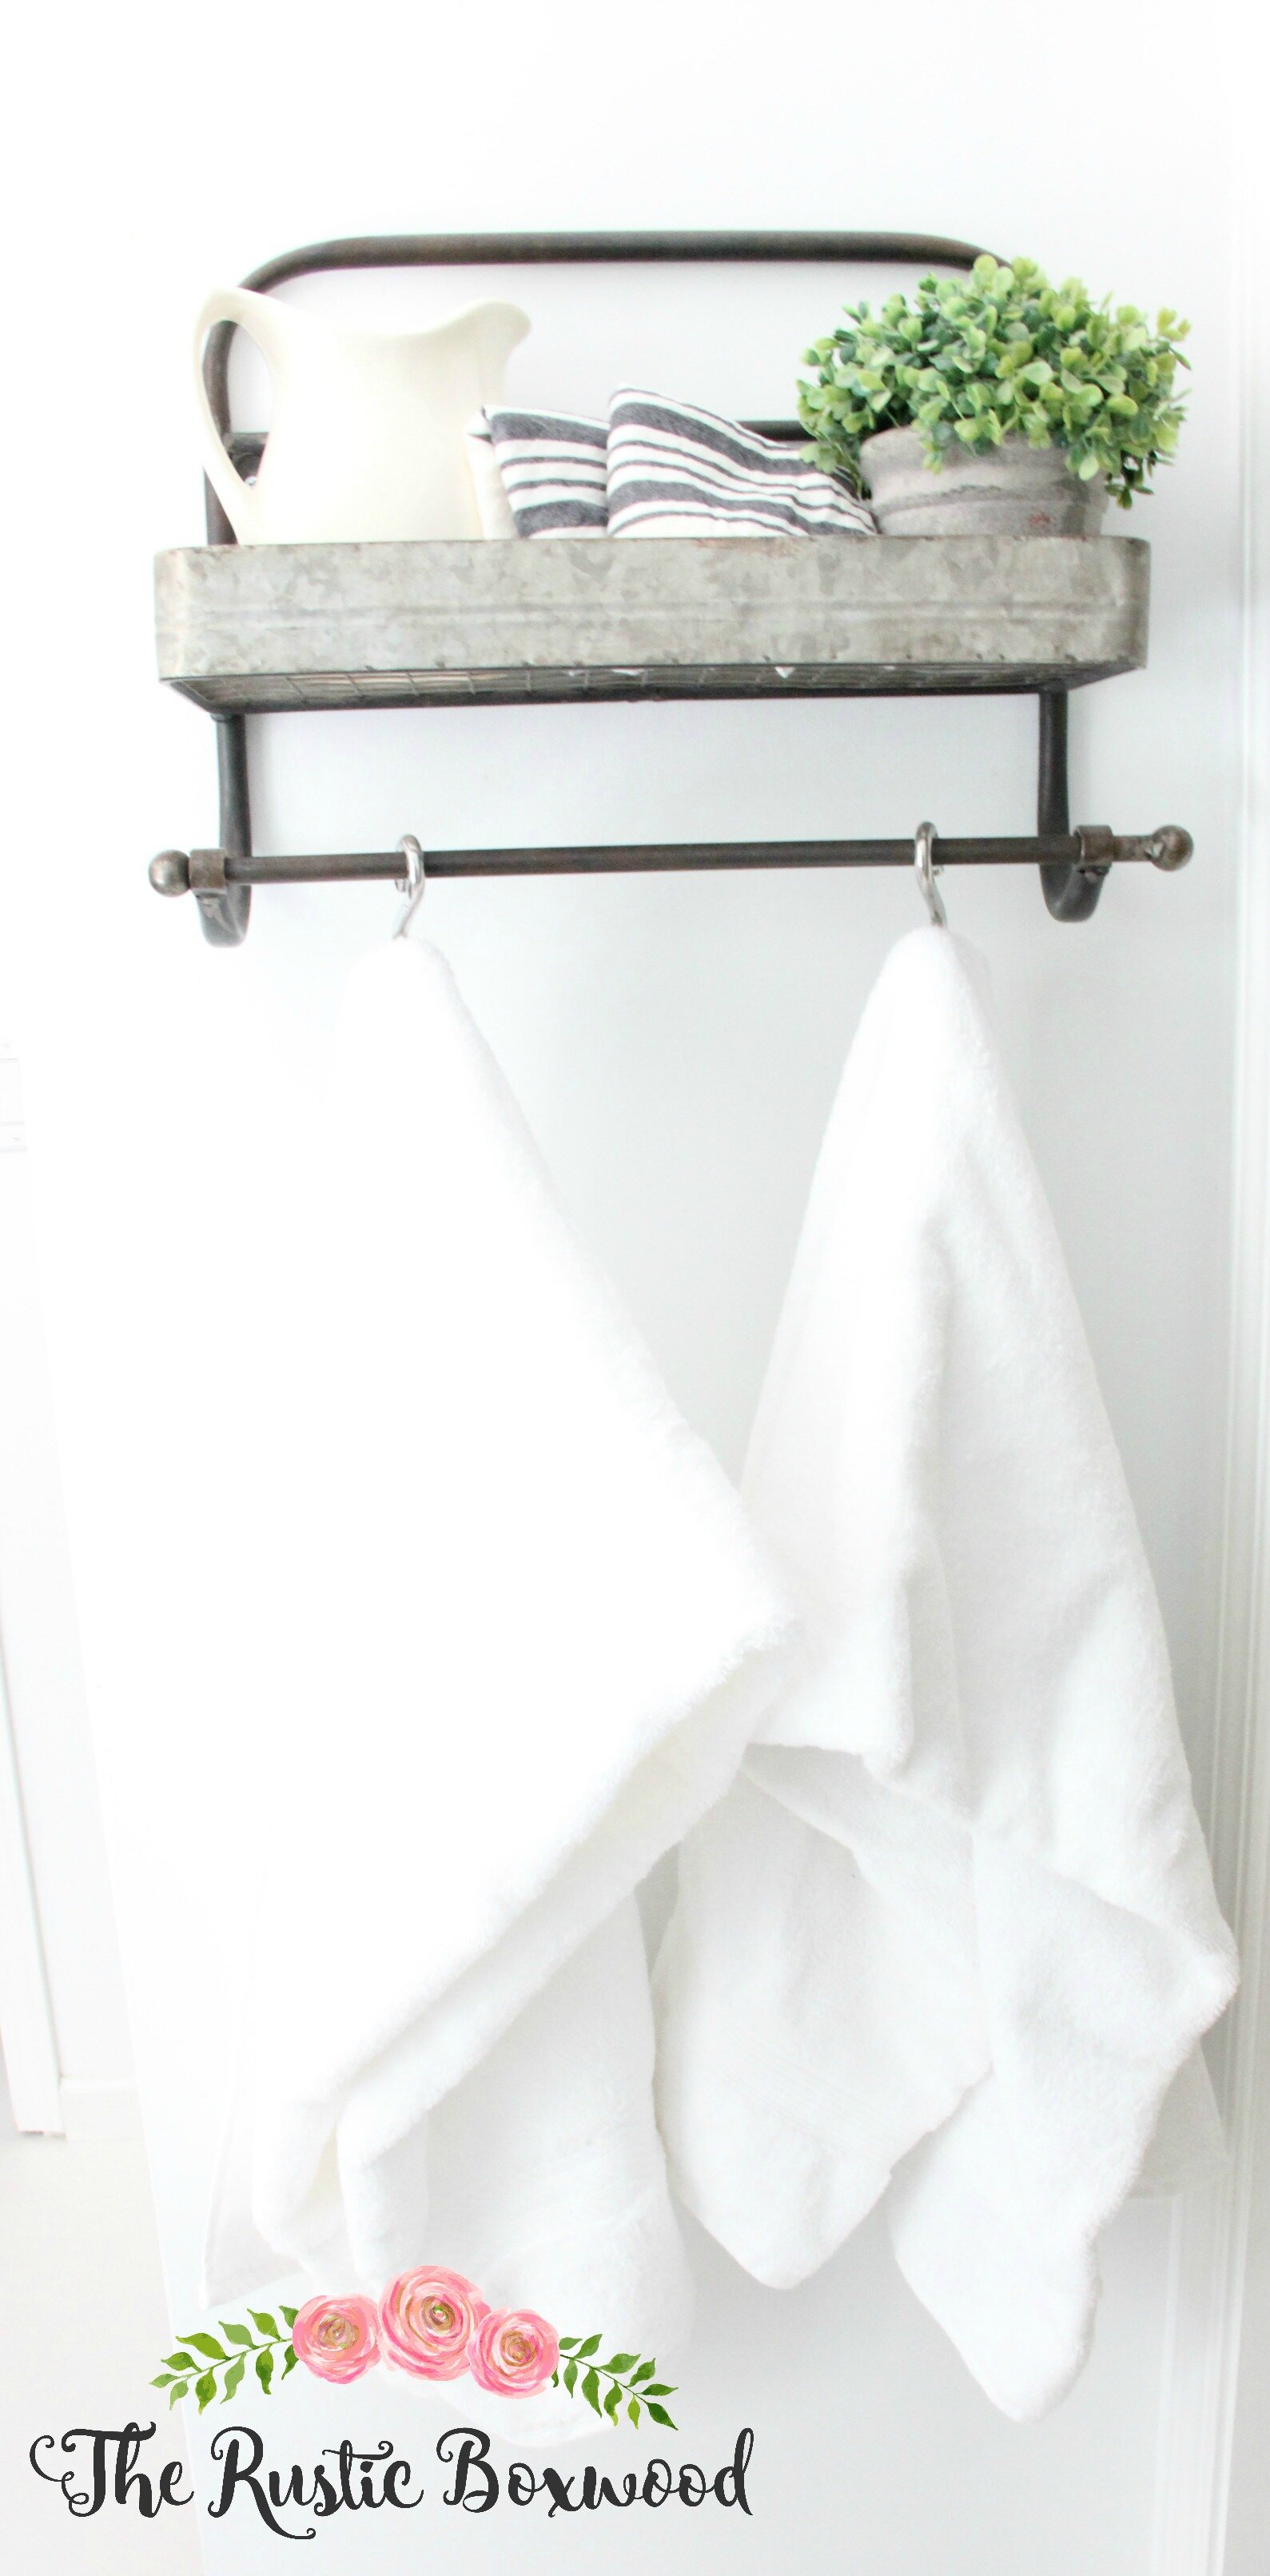
DIY: How to Turn a New Chicken Feeder into an "Aged" Plate Rack | You'll be amazed at how easy this project is...and how pretty the plate rack looks! | The Rustic Boxwood
Have you ever searched for a plate rack with the perfect patina, only to discover that they're so expensive?? Well, I have...and I just couldn't bring myself to buy something that costs an arm and a leg when I could at least try to do it myself!
So, after much research on how to make a rustic display for my fun dishes, I embarked on this project with my fingers crossed! ;)
(Let me begin by saying that I'm by no means an expert on this topic, so if you think you might have a better way to do this project, go for it! When it comes to projects, I'm usually a wing-it-as-you-go type of girl, so these instructions are just for you to learn from me and take from this experience as you wish.)
Here's what you'll need:
Chicken Feeder from any farm supplies store (I bought mine here.)
A plastic bin or a narrow mopping bucket to hold the feeder while it rusts
A couple of large rubberbands
A few garbage bags
Distilled White Vinegar (Depending on how narrow your bucket is, you might need about 2-3 containers of vinegar. I used 2 containers.)
Clear Polyurethane Spray

Let's get started!
First, take all your supplies outside or to a well-ventilated area, where you'll leave your chicken feeder for a few weeks. (I left mine in the garage, in a tightly-sealed trash bag. If you do leave yours in your garage, make sure your bag is closed up well so that fumes don't leak out.)
Next, place your chicken feeder into the trash bag and then into the bucket...as in the picture below.

DIY: How to turn a chicken feeder into an aged plate rack!
Pour all the vinegar around the feeder, trying to splash the vinegar all over the feeder as you pour. Use a couple of rubberbands to seal the bag tightly.
Most of the how-tos on Pinterest for this project weren't exactly accurate on the length of time it takes to age a chicken feeder -- The process took a lot longer than just one week. Well, really, it just depends on how much "aging" you want to give your plate rack. I actually let mine sit in the vinegar for about 3 weeks, flipping it from top to bottom about once a week.
Once you've pulled your chicken-feeder-turned-plate-rack out of the trash bag, take it outside and wipe it down GENTLY real well. If you're rough with wiping it down, you'll remove some of the faux "aging" off the chicken feeder. Trust me....I had to learn the hard way. ;) After removing all the loose remnants, give it a good all-over spray with your can of clear poly. This will seal up the rust and keep it from getting on your dishes. ;)
Let me clarify that this project is so, very easy....It just takes a little patience. You'll be so happy with the results!


Here's a comparison of the before and after. What do you think about this diy project?

Also, you might have seen the plate rack (styled below in our china hutch) in our kitchen remodel blog post. (If you'd like, you can click here for that post.) ;)