Spray-Painted Pumpkins

This year, I wanted to decorate for Fall completely differently. I was just ready for a change! Have you ever been there? I decided that I wanted my accessories neutral -- a mix of whites, off-whites, ivory, and natural colors. But, I didn't have ANY neutral pumpkins. They were all various shades of ORANGE. So, that meant one thing -- I had to go shopping for some neutral pumpkins. But after scouring my favorite stores for Fall decor, I found that not only were most mini pumpkins $1-$3/each, most of them weren't even a neutral color! I was NOT going to pay an arm and leg for Fall accessories! That meant I had to get creative. So, I chose to spray-paint all of my pumpkins...all of the ones I already had and then search all my local thrift stores for more!
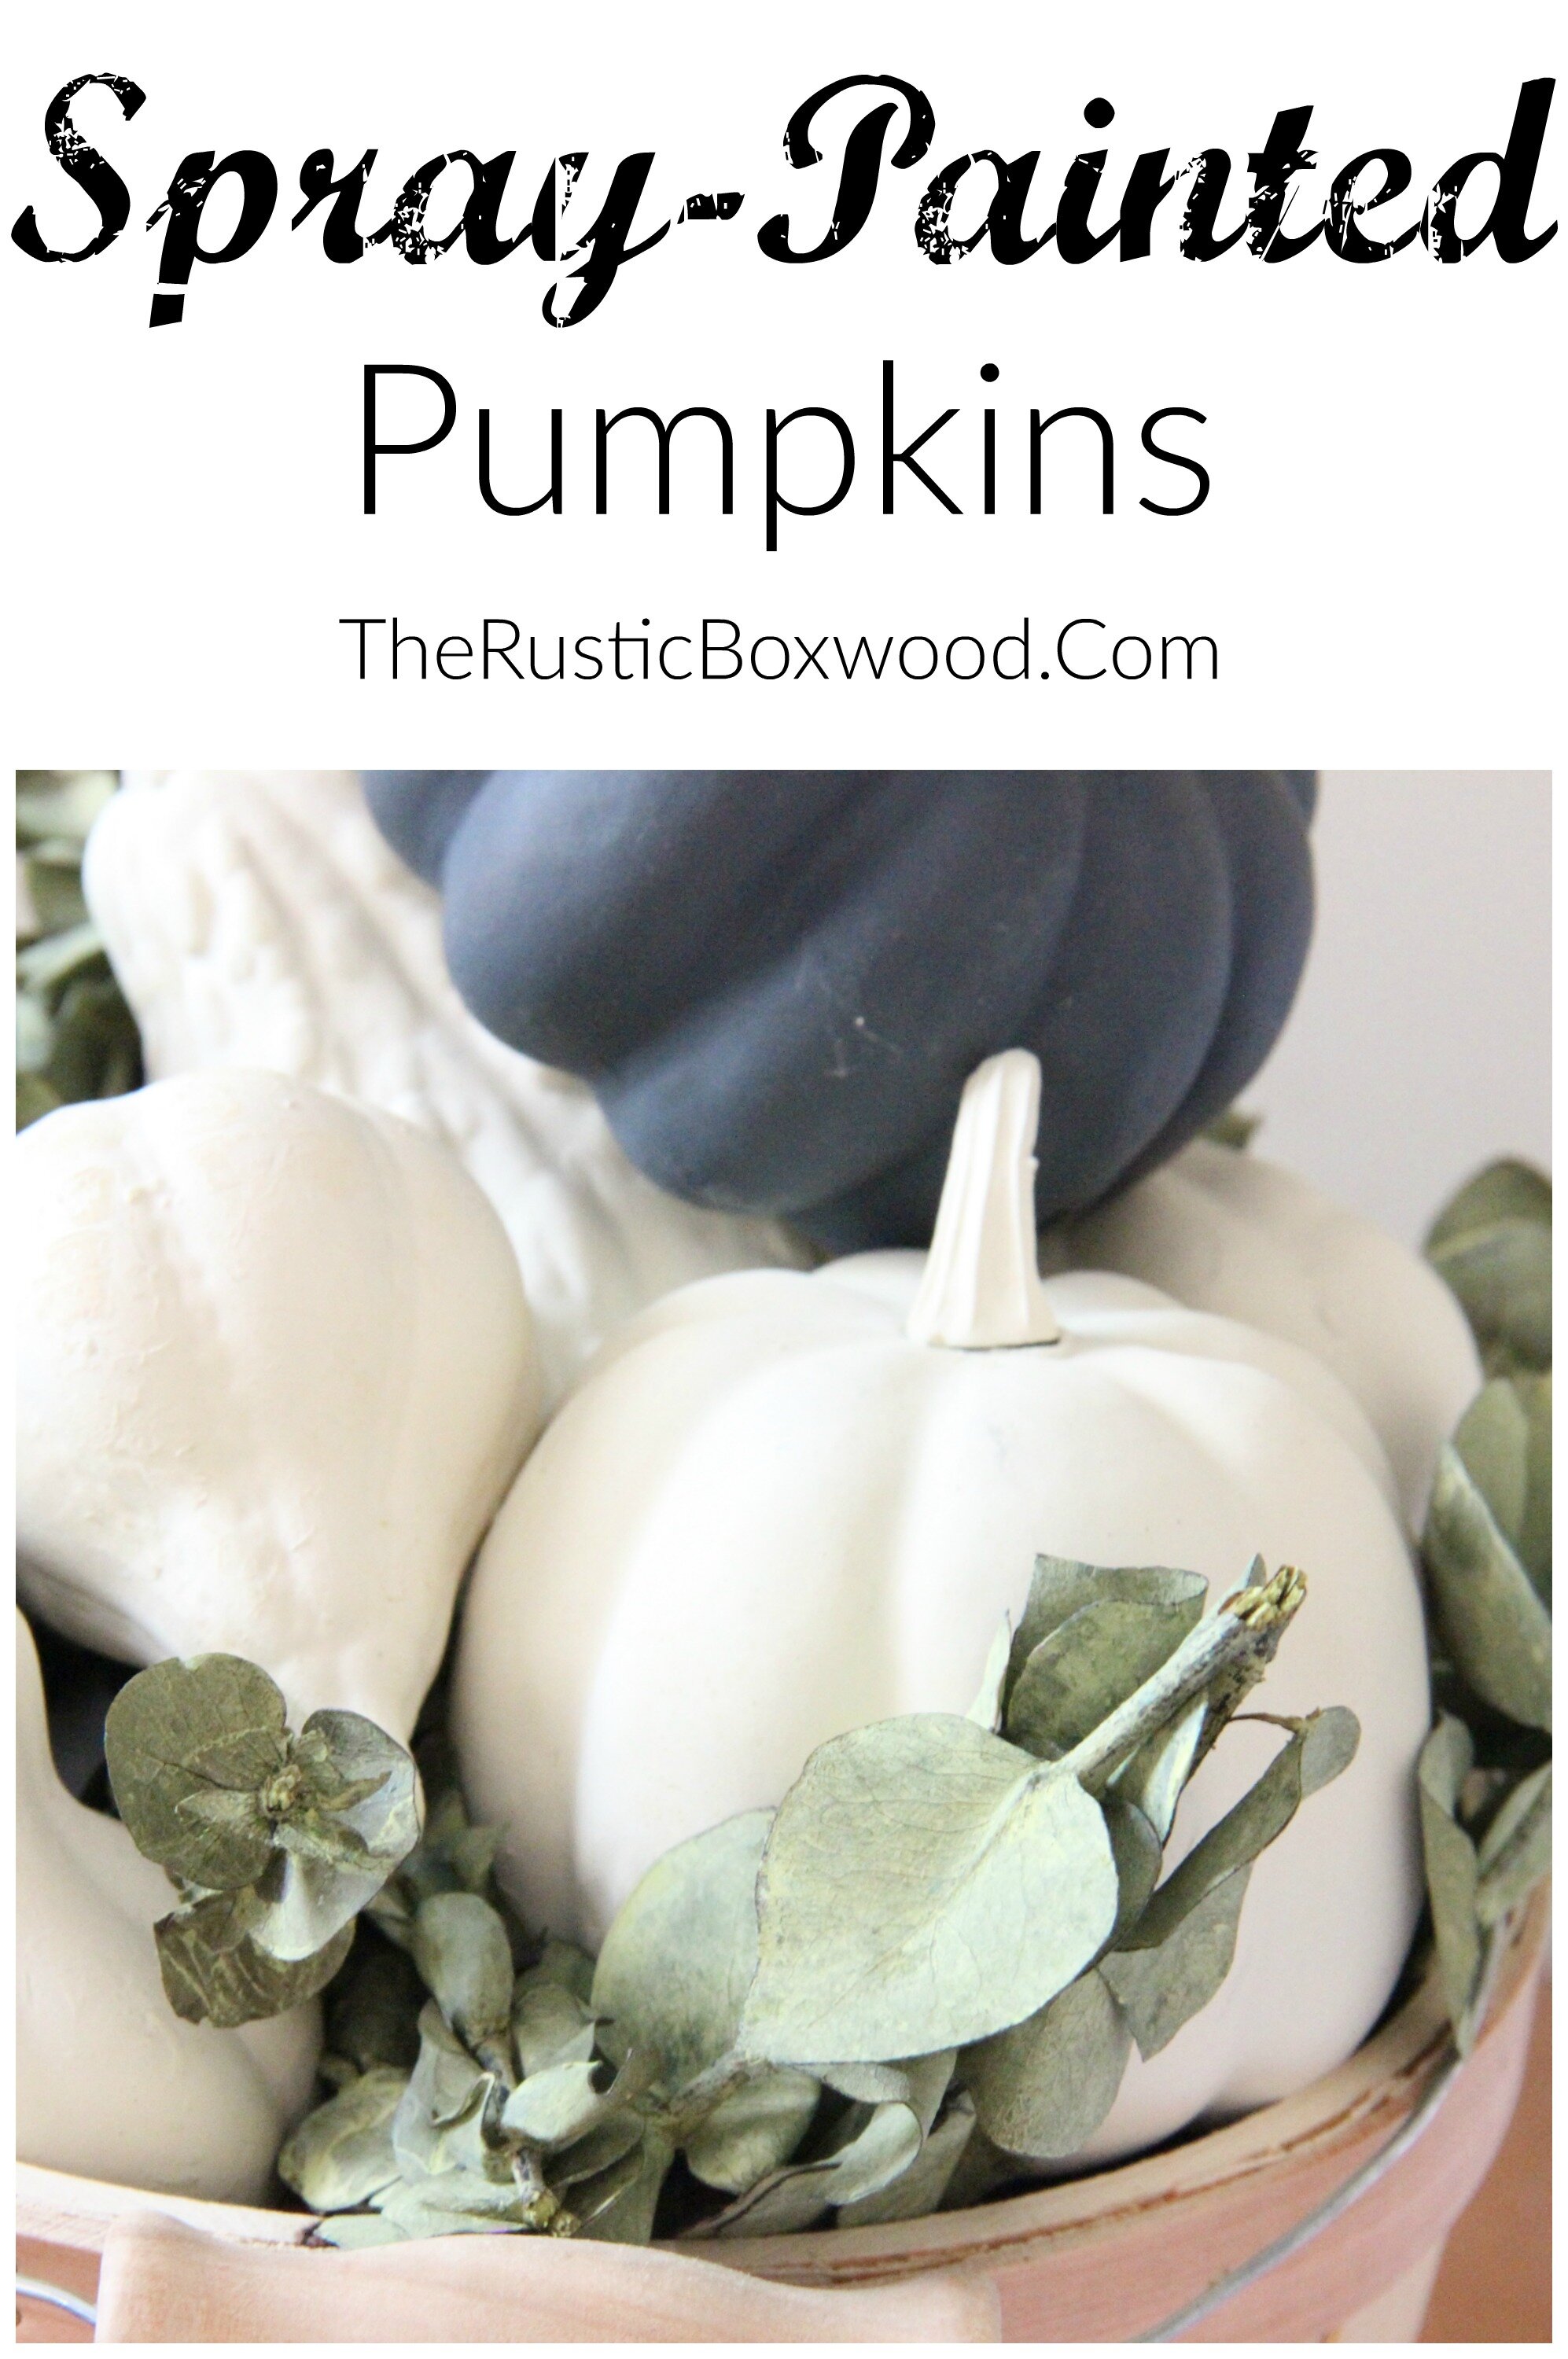
Spray-painting is a great choice. It's easy, and it dries within minutes! But I didn't want mine to all look the same, so I chose a variety of spray paints to use. I already had most of the spray-paint cans, but I still had to have an off-white chalky spray paint. So, I used my half-off coupon at our local crafts' store and bought it!
Here are the paints I used:
Krylon ColorMaster in White (satin finish)
Krylon ColorMaster in Ivory (gloss finish)
Krylon Chalky Finish in Colonial Ivory
Krylon Chalky Finish in Anvil Gray
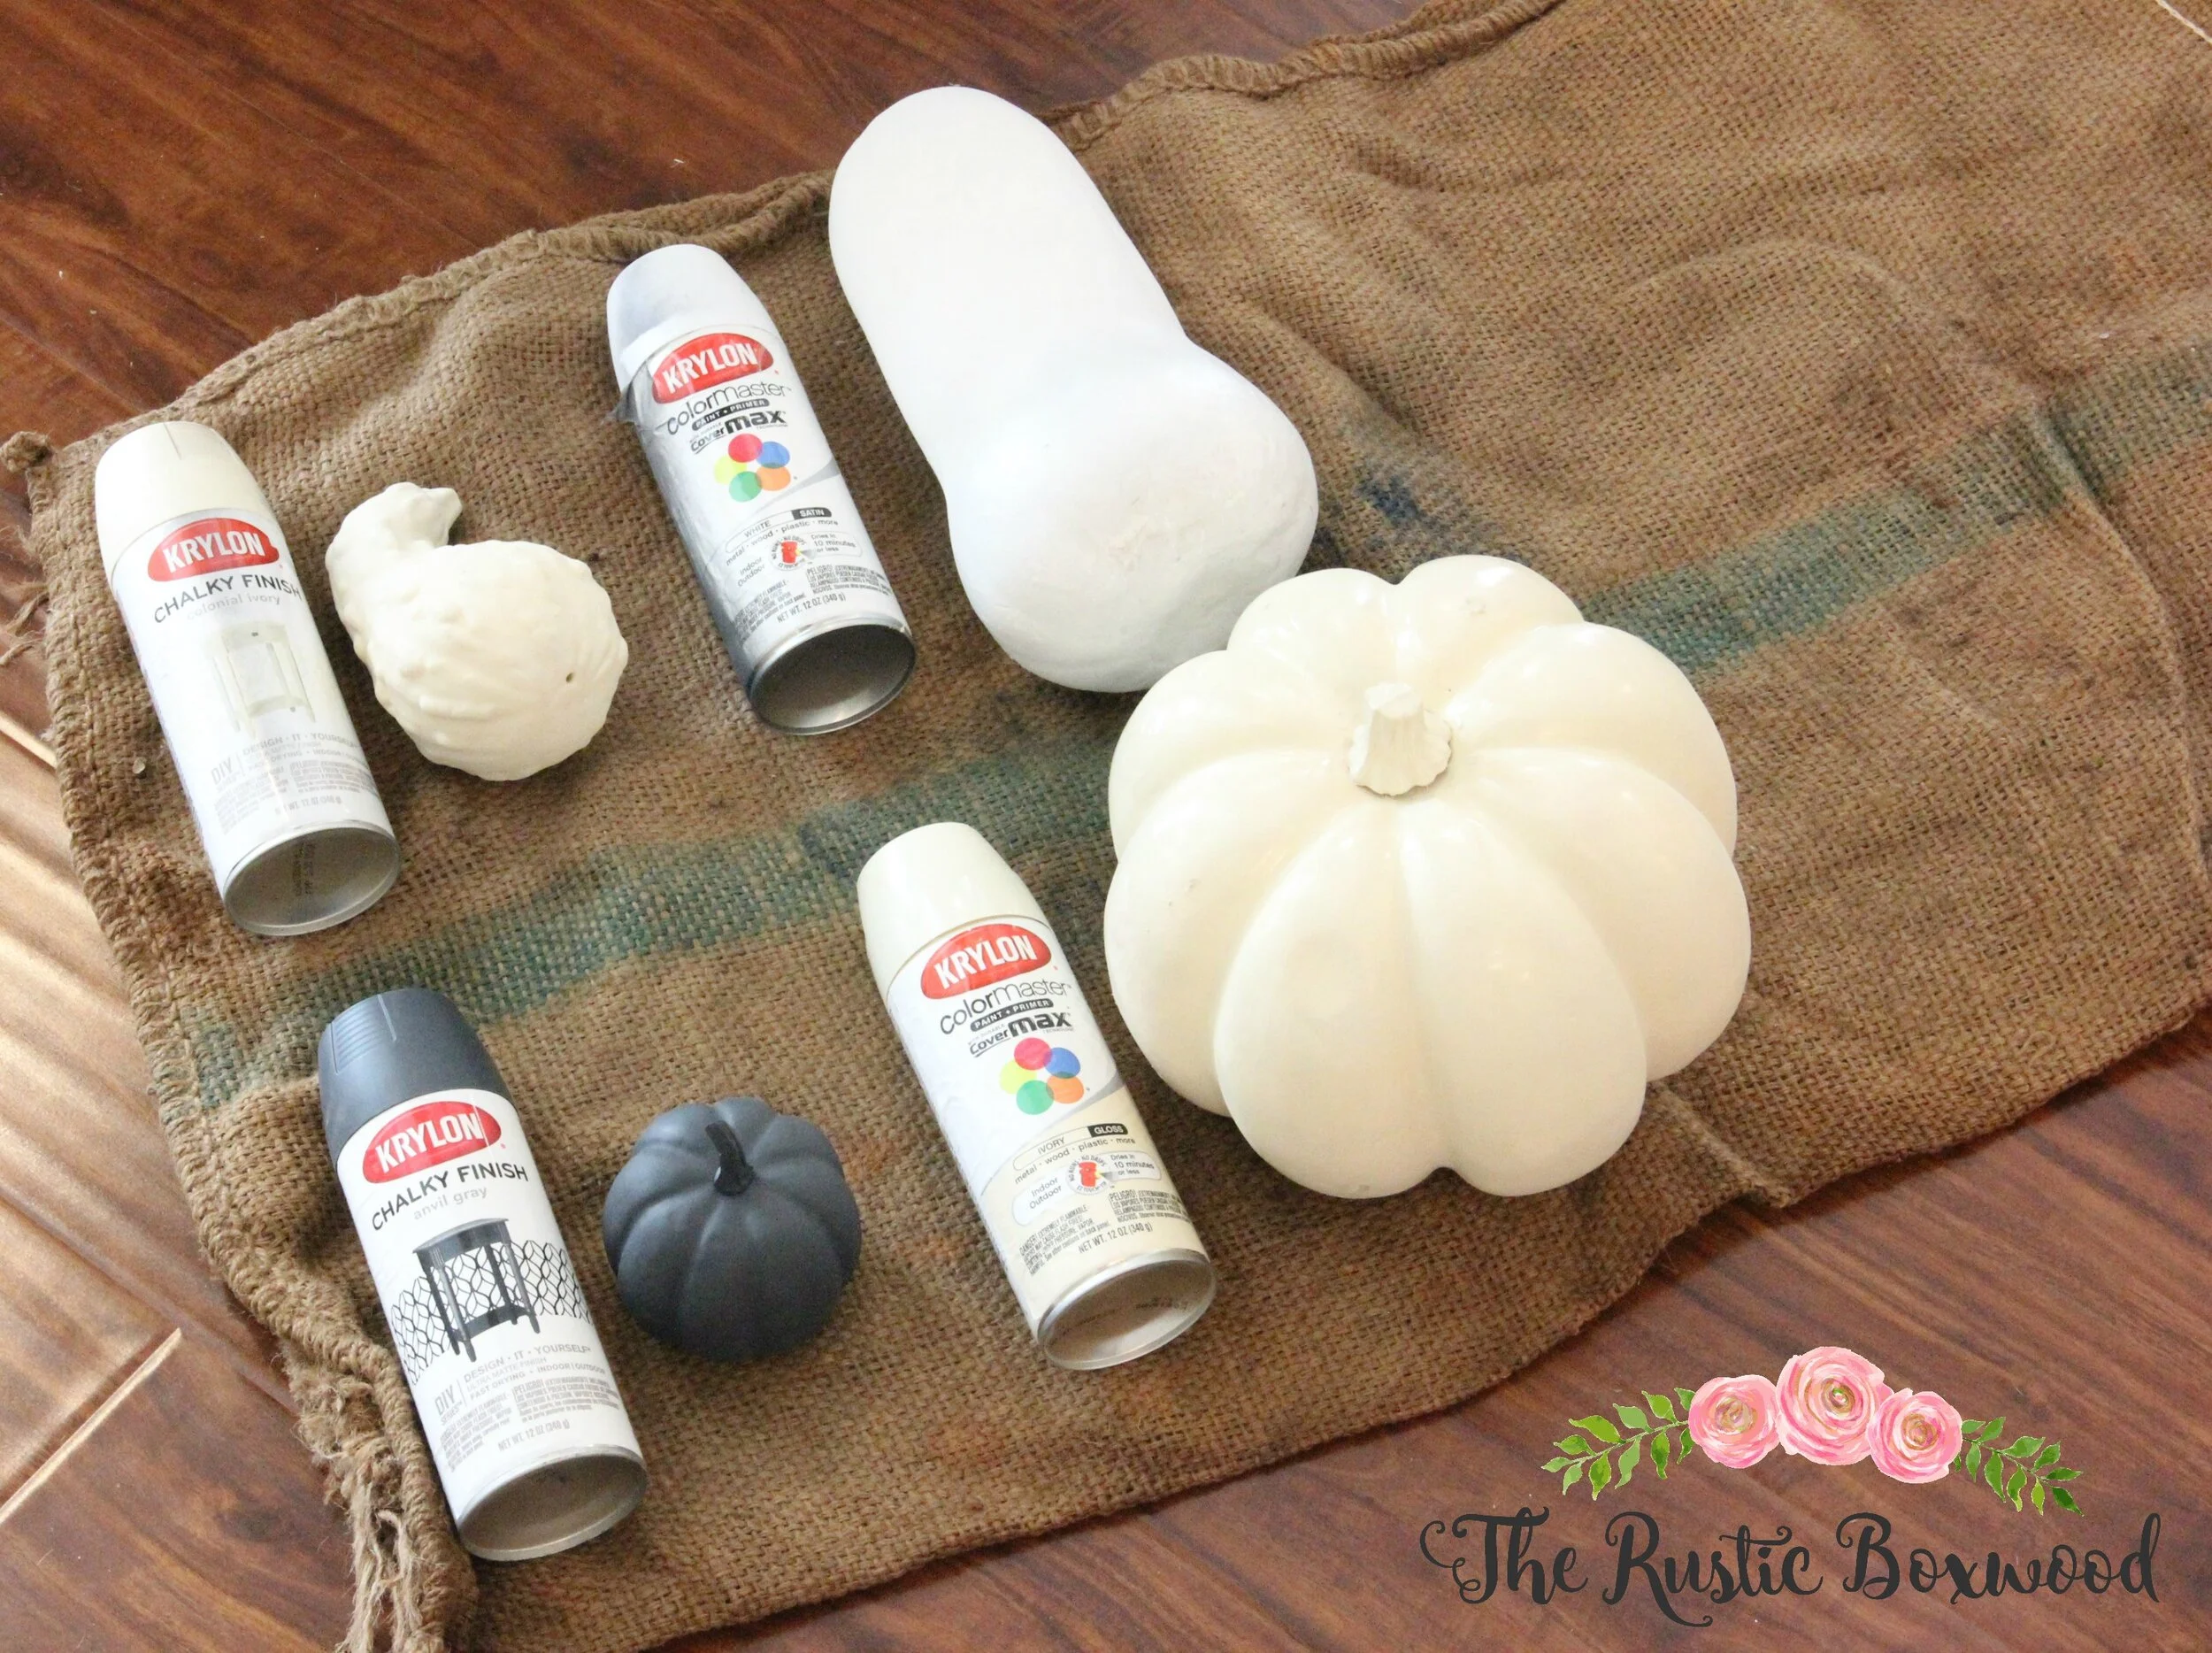
To prevent your decor from looking flat or dull, spray your pumpkins a few different, neutral colors.
A spray-paint accessory that I absolutely LOVE is called the "Comfort Grip" by Rustoleum. (Thank you, Rustoleum, for my new fave tool!) Have you ever used one of these fine products?! They're fabulous! First, you don't end up getting any spray paint on your index finger (those of you who have ever spray-painted something know exactly what I'm talking about!), and your finger doesn't end up hurting from pushing on the trigger for so long! So, if you don't have life saver in your arsenal, be sure to grab one the next time you purchase your spray paint. ;)
Anyways, back to my pumpkins. Here's how they looked before....The pink one was only 70 cents at a local thrift store! ;)


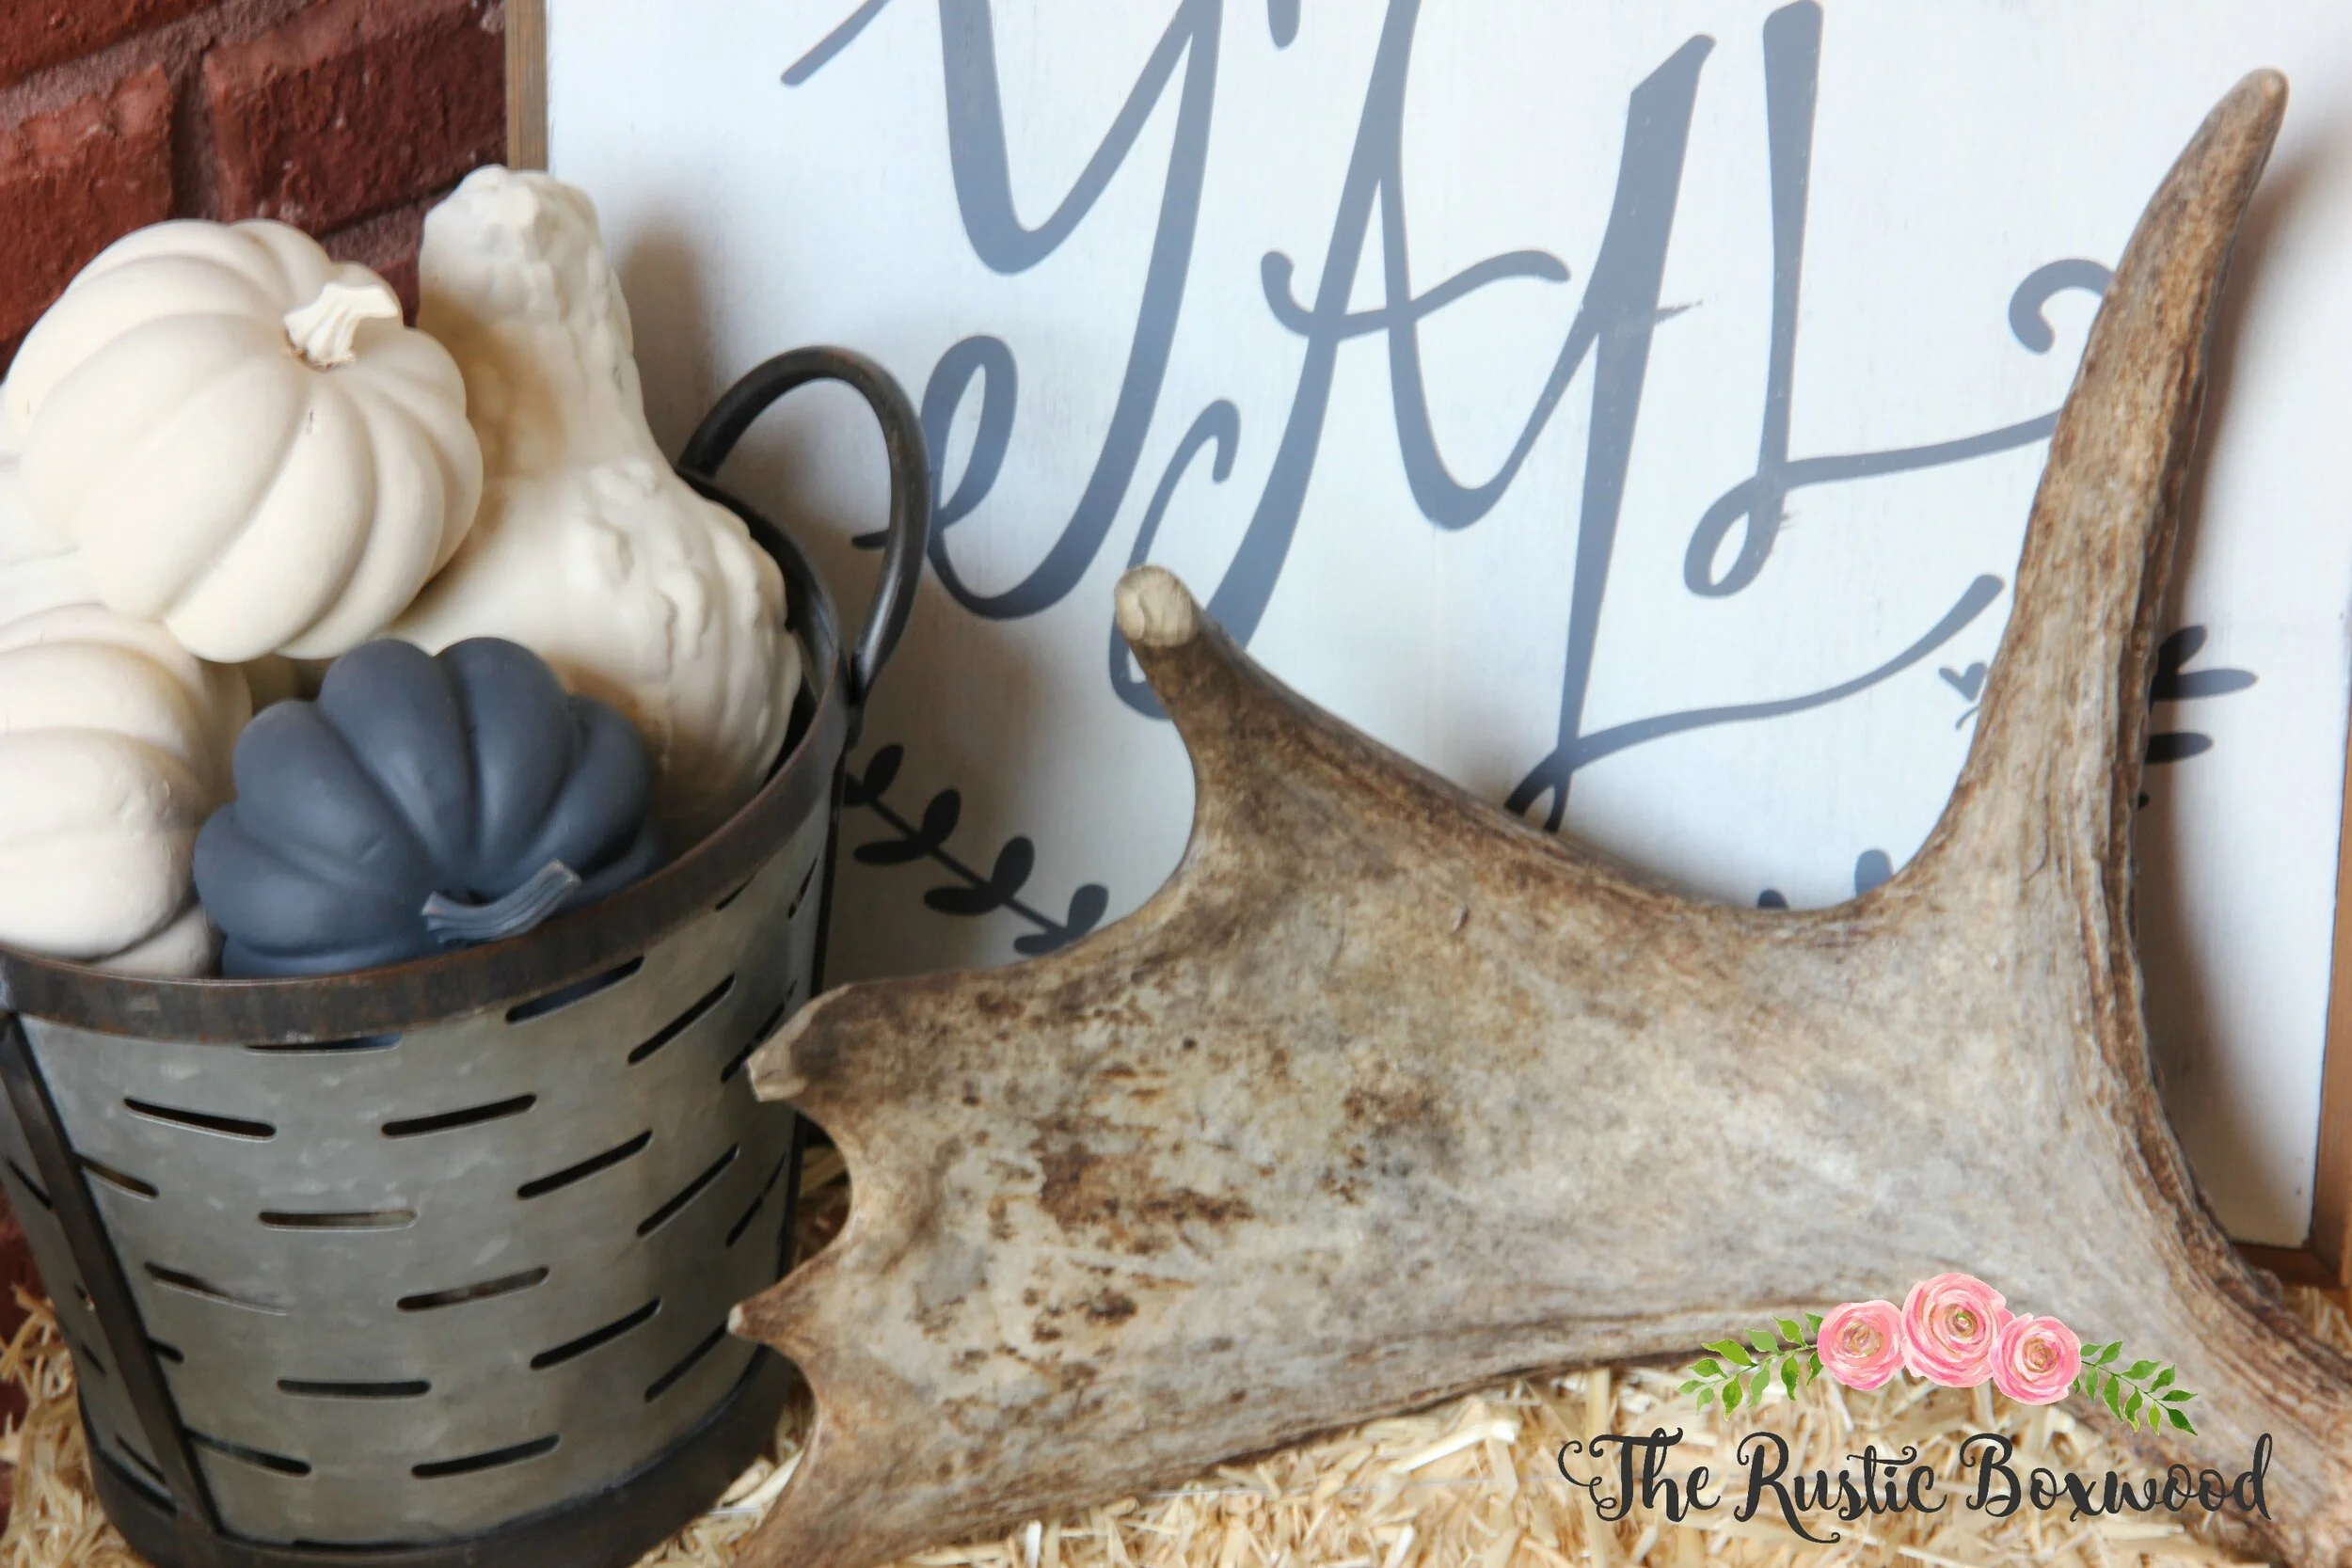
And here's how they look now....I have some piled high in a fun, olive bucket at our front door...
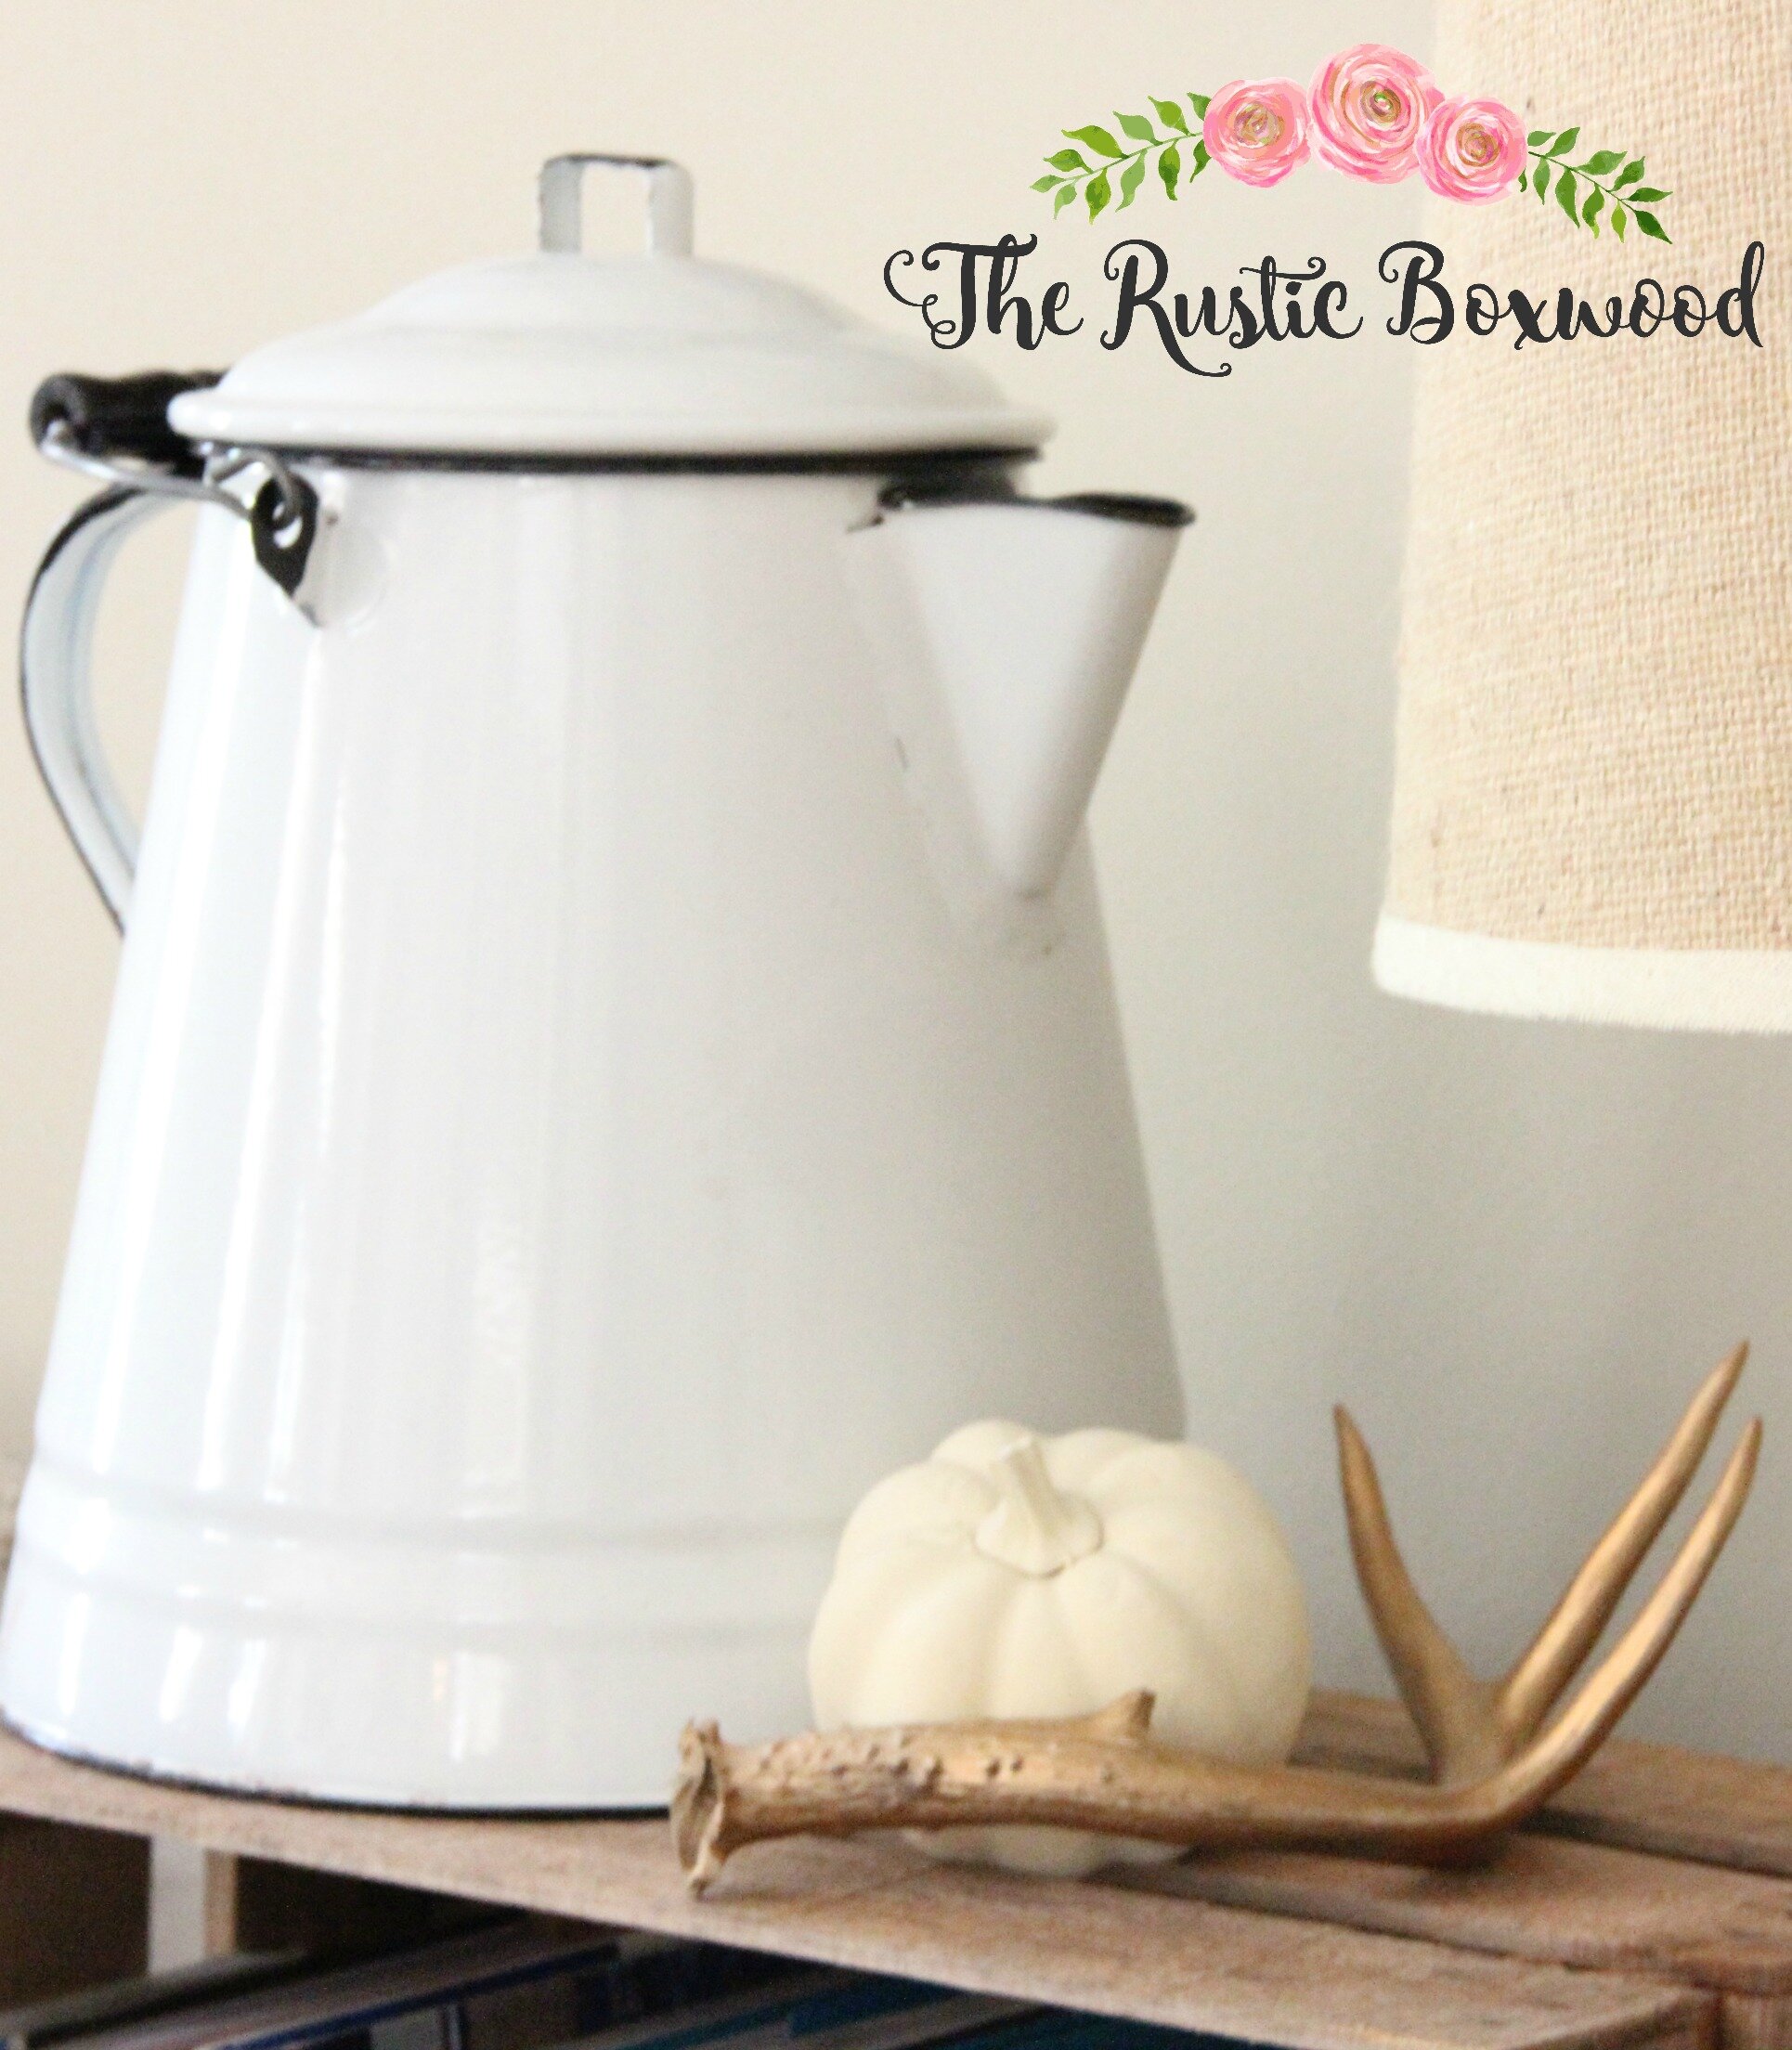
And I have one on our coffee table...

And more of these little beauties are piled up in an apple crate. ;)

And here's another little pumpkin...
I love their fresh look! They have new life, and I'll plan to keep these for seasons to come!
So, the next time you see some orange pumpkins (or some ugly pumpkins for that matter!), look past their delapidated state and think about what they could become...a collection of gorgeous and fresh Fall decor!
Thanks so much for stopping by, and I hope you've been encouraged to transform some dull pumpkins of your own...or at least I hope to have stirred your own creativity!
Have any questions or comments? Comment below, or stop by and say hello on Pinterest, Instagram, Twitter and Facebook. I always LOVE to hear from my readers! Have a wonderful day!