DIY Christmas Glitter House
Hey friends! Thanks for stopping by today! And for those of you who watched the live video tutorial on this very project, thank you! My sweet honey and I had a blast doing this together! ;) (Please click here for the live video tutorial.)
I don't know about you, but I'm all about saving money by making home decor myself, and this project is no exception. It's easy to make, and it's the perfect project for girls' night or family night! The great thing is that it doesn't have to be perfect, and you can let your creativity go wild!
Last year, I made both a large and small glitter house and shared all about it on the blog. (Click here.) I promise....They really are a fun project!
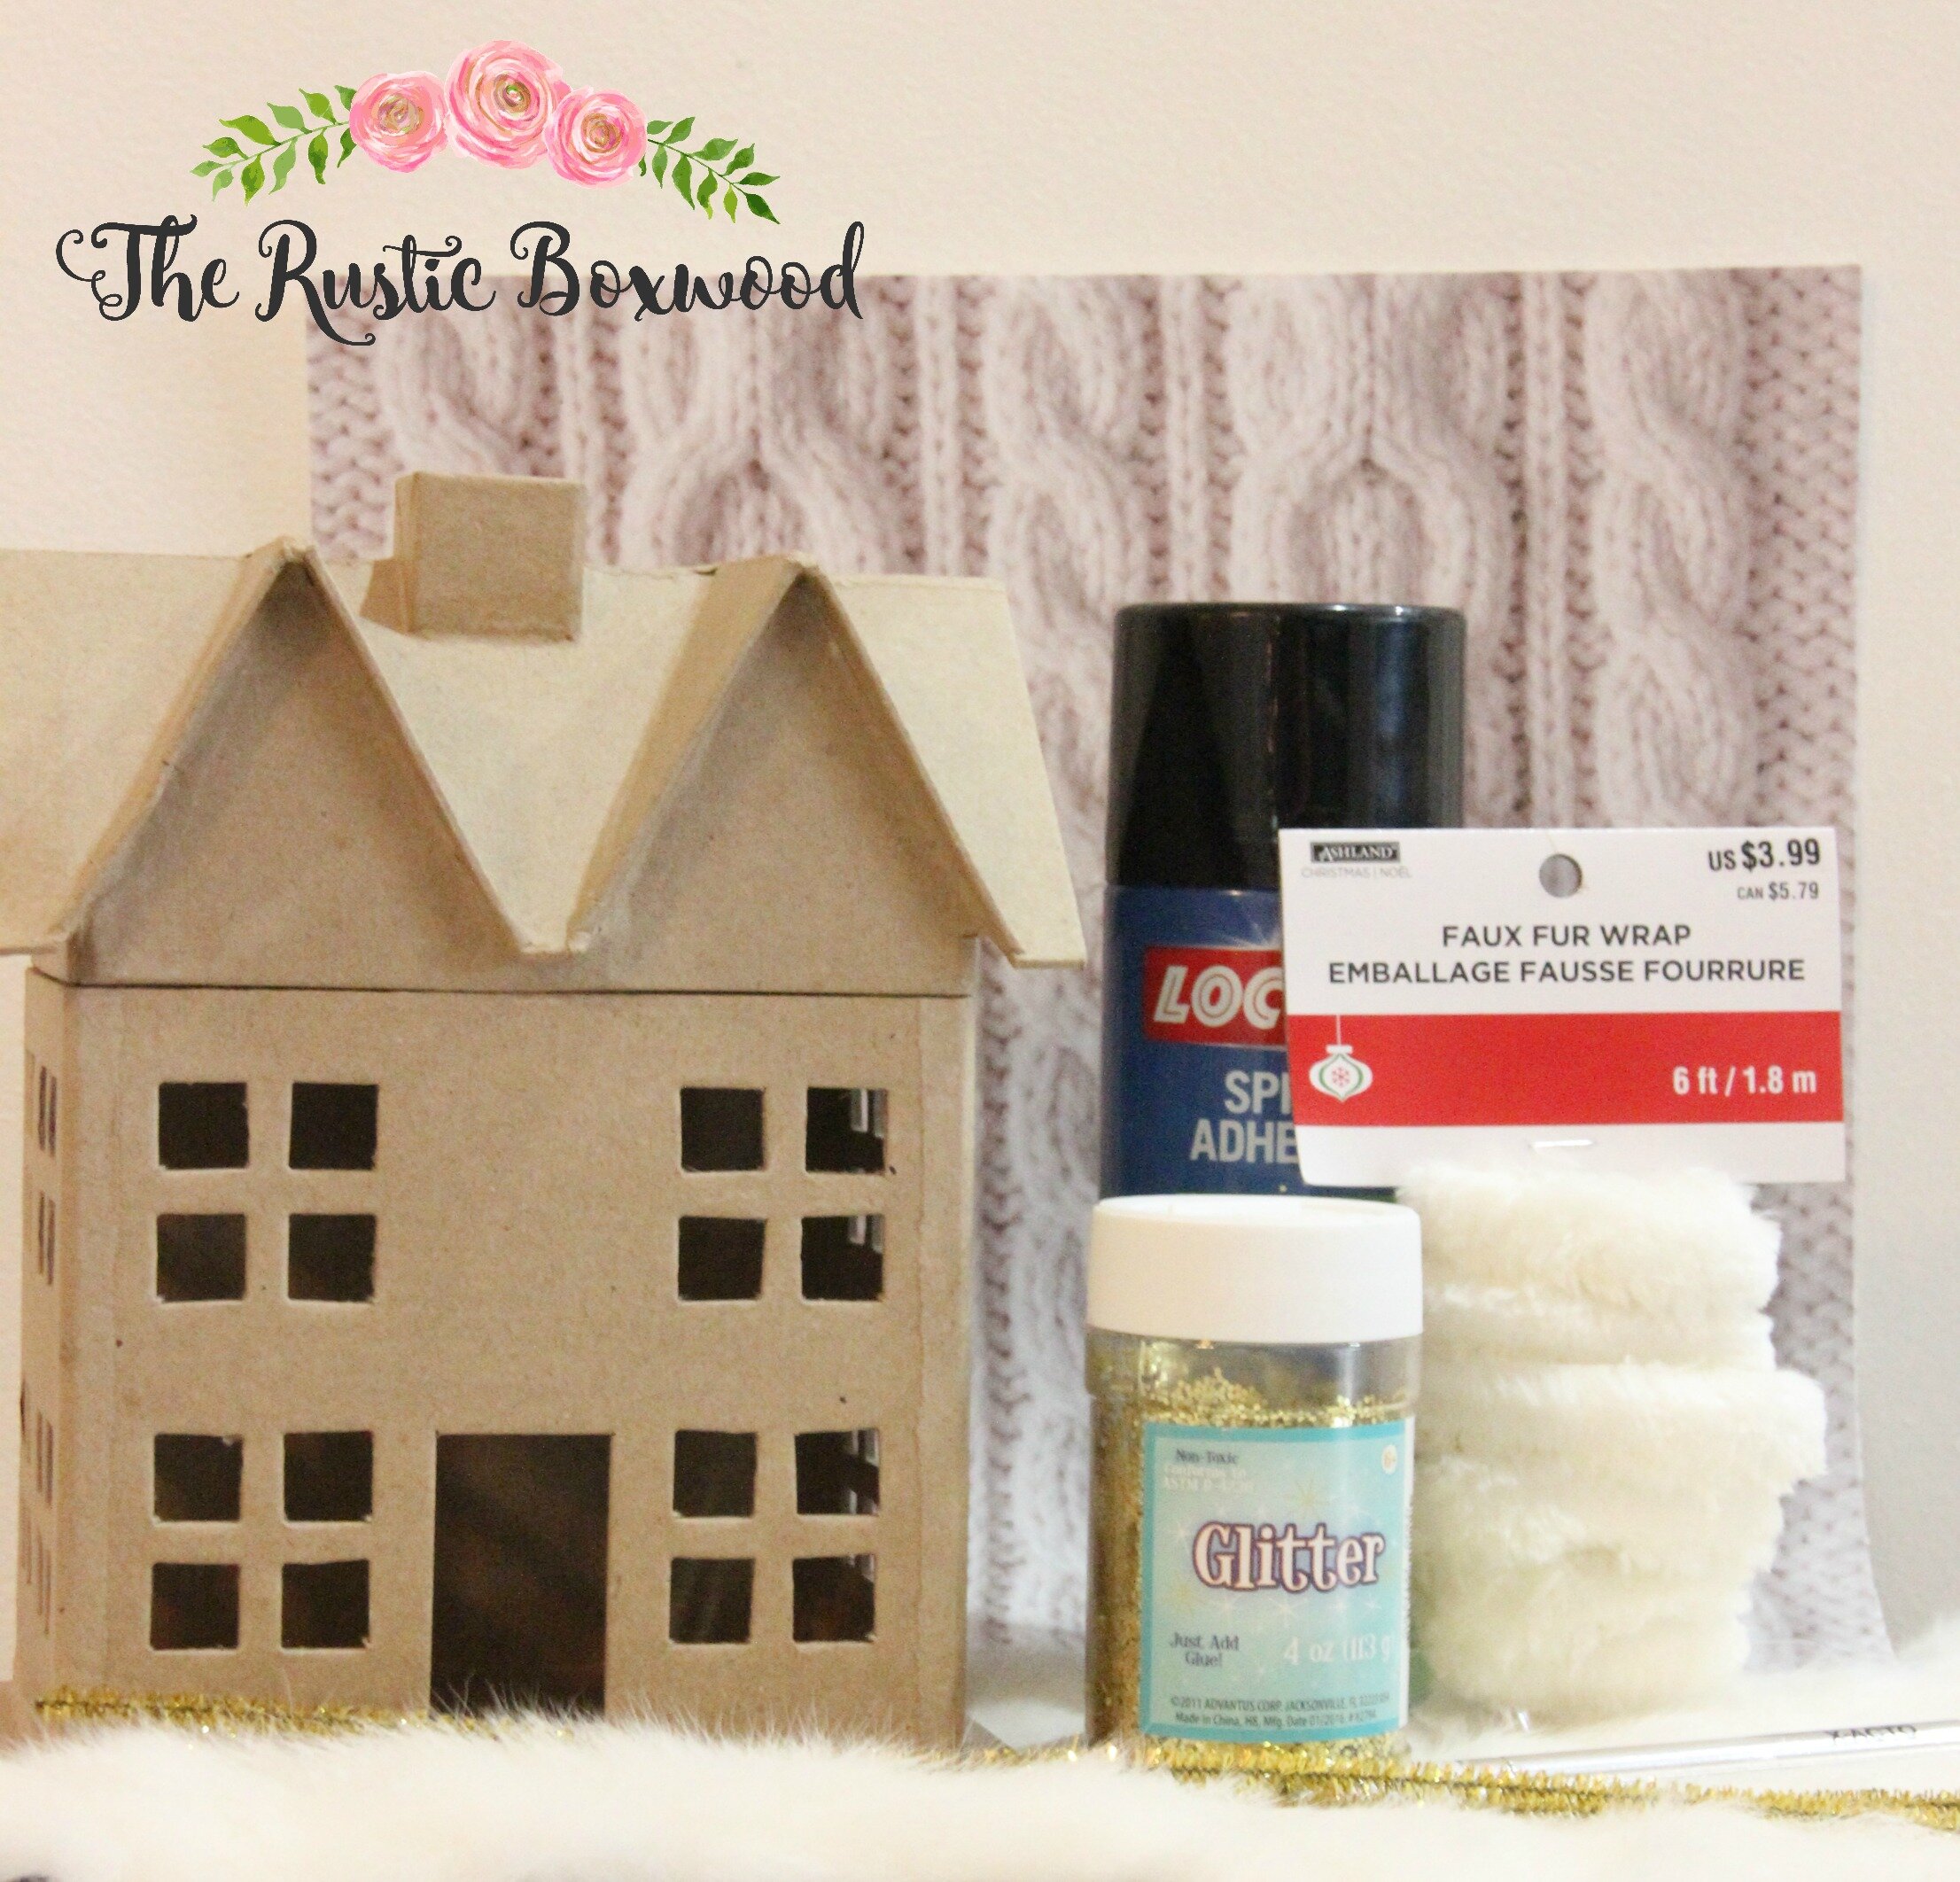
Here's what you'll need:
spray adhesive
paper mache house
glitter (preferably the chunky glitter)
pipe cleaners (preferably the color that matches the color of your glitter)
X-acto knife
hot glue gun and glue stick
faux fir
trash bag (optional)
scrapbook paper (1-2 sheets of your choice -- I chose a "sweater" pattern.)
HomeRight 2.9 x 2.5 White Polyester Small Spray Shelter, White/Blue (optional) (See blue bag in image below.)
First, if you have your small spray shelter from HomeRight, go ahead and set it up. (For specific details, please see link in supplies' list.) If not, you'll definitely need to protect your surface...maybe with a drop cloth or a few trash bags.
(I'd like to give a special shoutout to HomeRight for providing this awesome product! This is not a paid or sponsored post, but I just wanted to show my appreciation to HomeRight for sending me this wonderful spray shelter. I love it! If it's raining or windy outside, or if the weather is too hot or too cold, I pull out my handy tent for any of my projects that require going outdoors! It's small enough to place on top of our kitchen table, yet large enough to spray paint a small chair. In addition to that, this tent folds flat and fits into a small carrying bag. It's definitely something that's become a staple in our home! Thanks again, HomeRight!)
Second, set up the roof of your paper mache house inside a garbage bag (in order to have easy cleanup of the glitter). Spray your adhesive all around the outside of your roof, a portion at a time. Immediately after, sprinkle the glitter all over the sprayed portion. Repeat these steps until you have the desired amount. Let it sit for a few minutes while drying in your trash bag.
Next, spray your adhesive onto the "body" of your house, a portion at a time. Immediately after spraying the glue, carefully place a sheet of the scrapbook paper onto the house, pushing out the air bubbles as you go and covering the windows.
But before you spray your house with the adhesive, do a "practice run" with your paper to ensure you line up your pattern correctly onto the house.
(Do all of these instructions make sense? I hope they do! To be honest, it's a little difficult to explain some of the steps, so if you'd like to watch my tutorial on this project, plus see a few other diy glitter houses, please click here for the direct link. And afterwards, let me know what you think! I love hearing from y'all!)
Now that you've completely covered your house with the pretty paper, take your x-acto knife and carefully cut an "X" in the door and in each window. Fold the cut edges back, and glue the door and window edges against the inside walls of the house.
Using a hot glue gun, glue the pipe cleaners (that you previously cut) around the door and windows of your house to give it a finished look.
Last, hot glue some faux fir onto the outside floor of your house and add a few accessories, such as bottle brush Christmas trees, or some mini lanterns, or even some mini string lights (my favorite!)!
Do you have any suggestions as to decorating your mini glitter houses? Or are you inspired to create your own? I'd love to hear about it! Comment below, or stop by and say hey on Pinterest, Instagram, Twitter, HomeTalk and Facebook. It always makes my day to hear from y'all!
You might also like:


