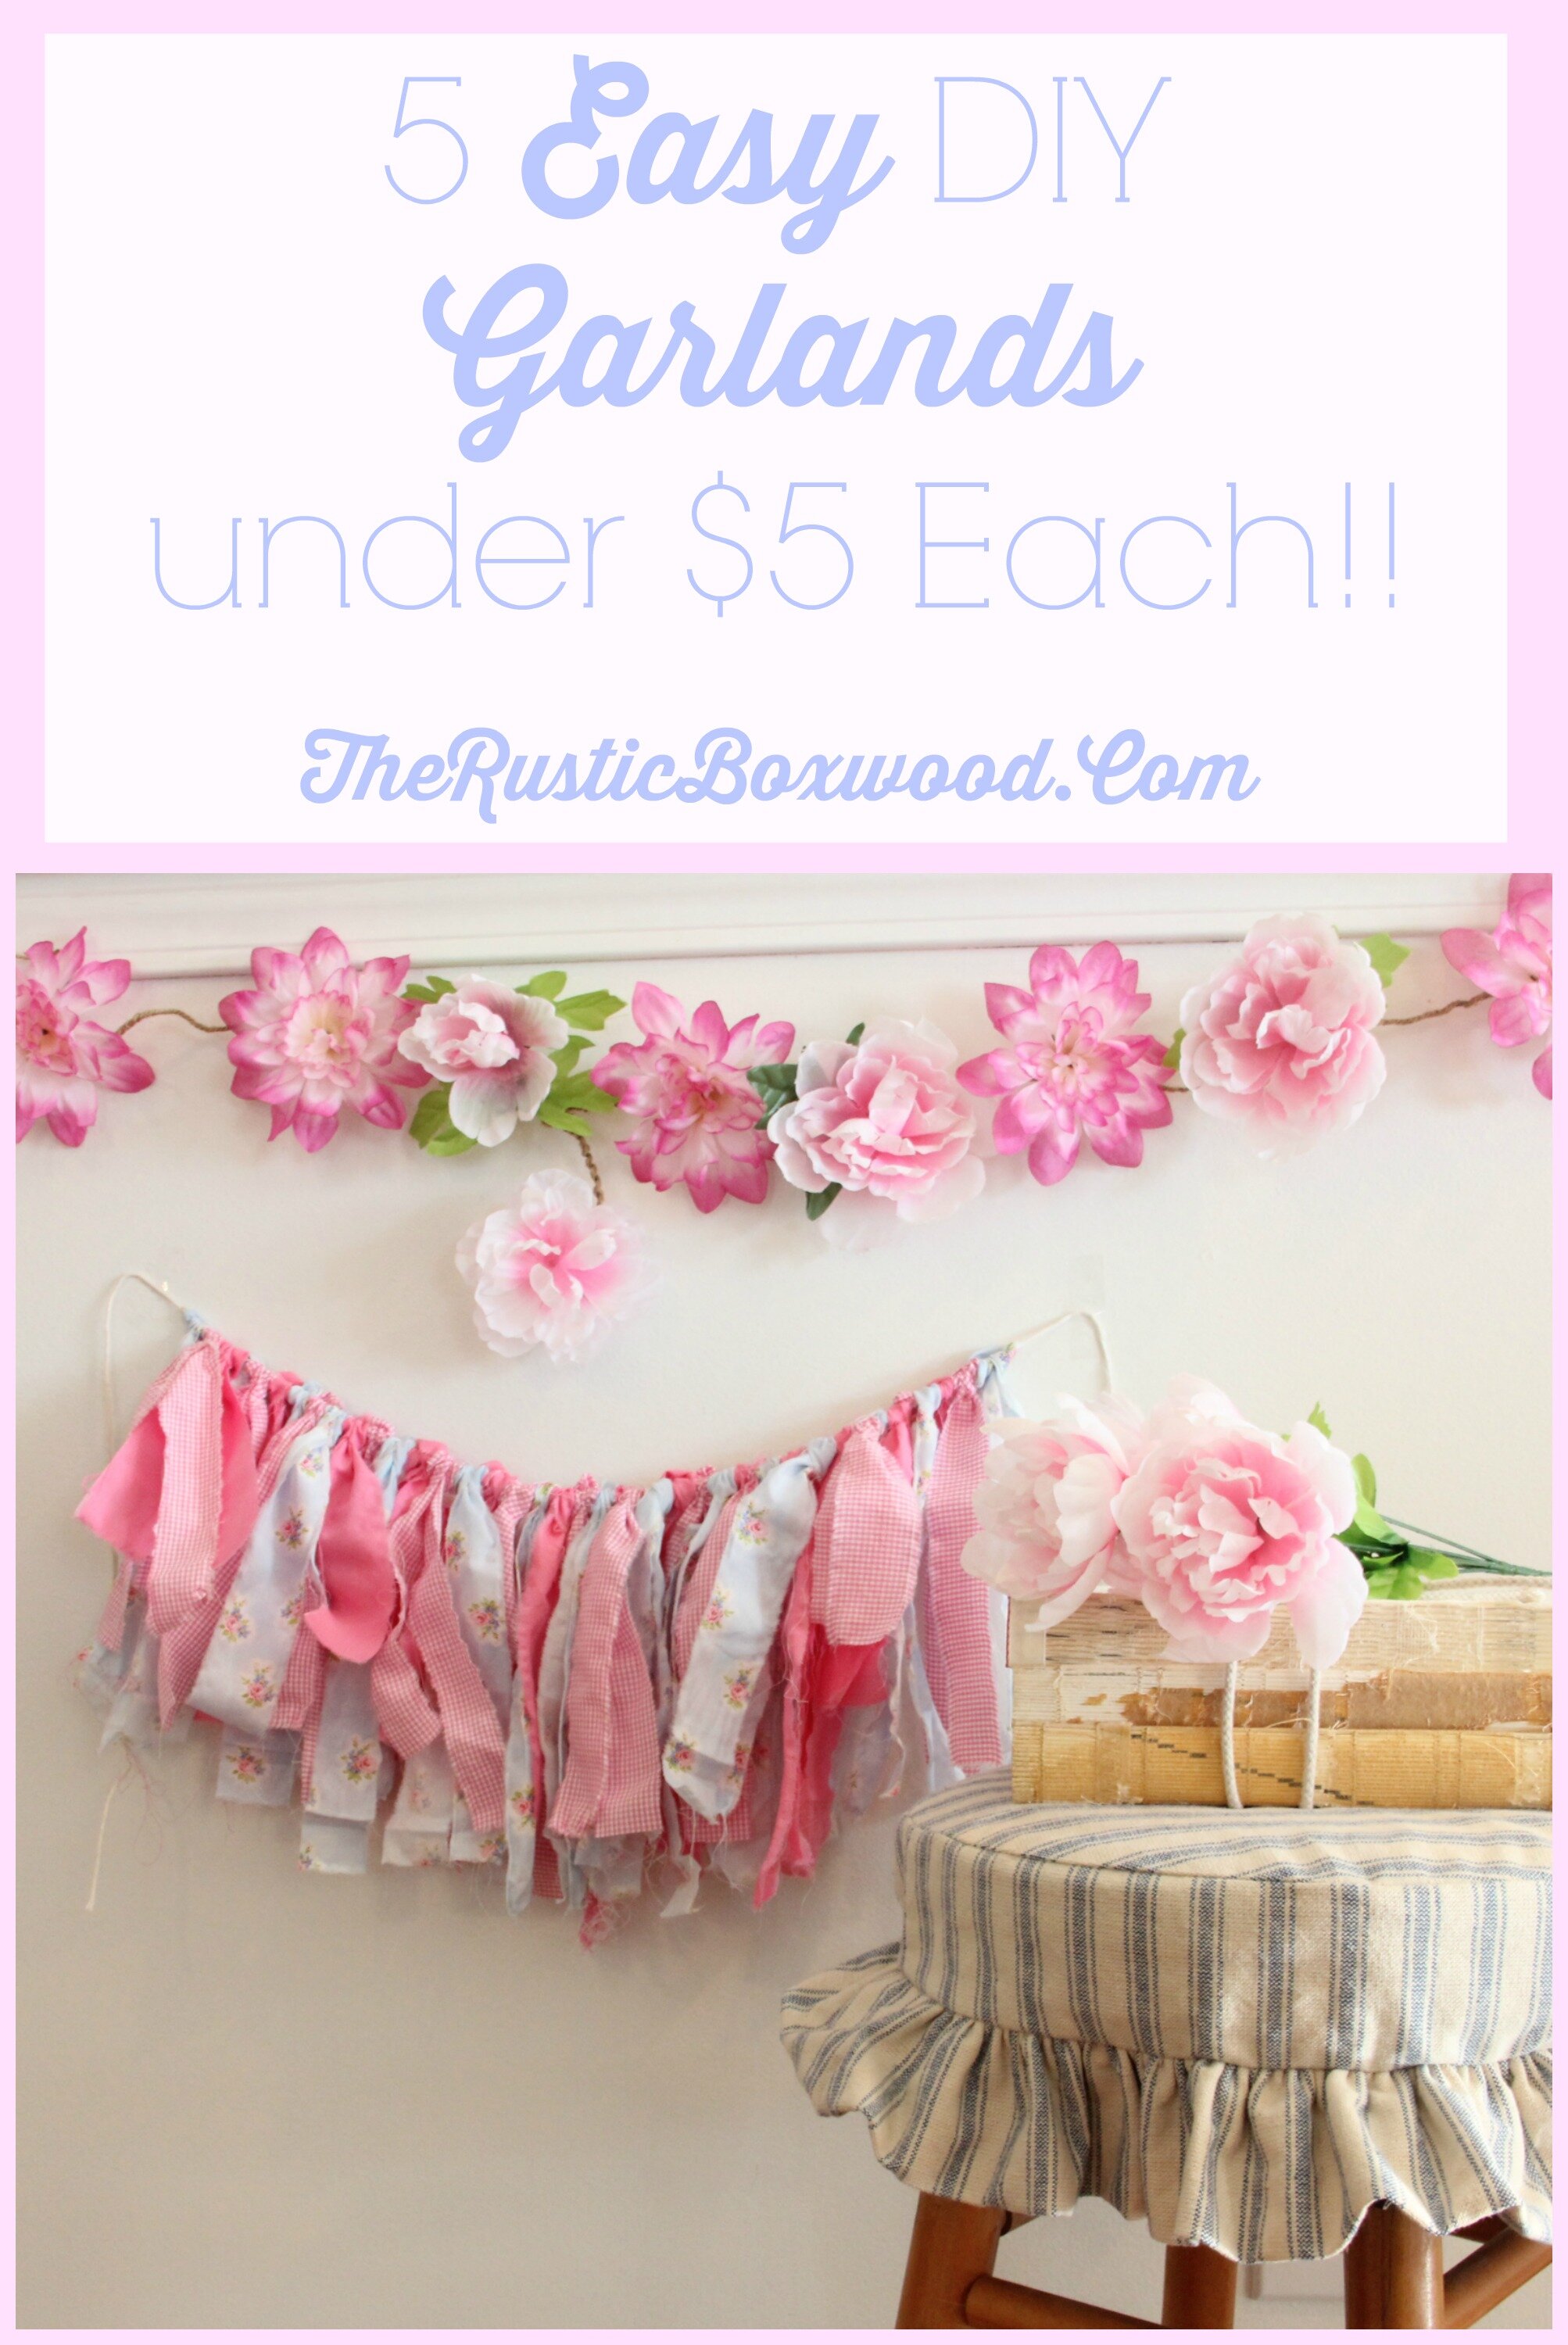
5 DIY Garlands under $5!!

Hey y'all, and thanks so much for stopping by! Today, I'm going to share with you all about a variety of garlands, and they're all under $5!! But before we begin, I wanted to remind you to follow along with me on Pinterest, Instagram, Twitter, HomeTalk and Facebook, so you don't miss another post! Also, if you'd like to see the live video I did on HomeTalk's Facebook page regarding these exact garlands, please click this direct link. I hope you enjoy them! There's an explanation on how to make each garland! ;)
Okay, let's get started!
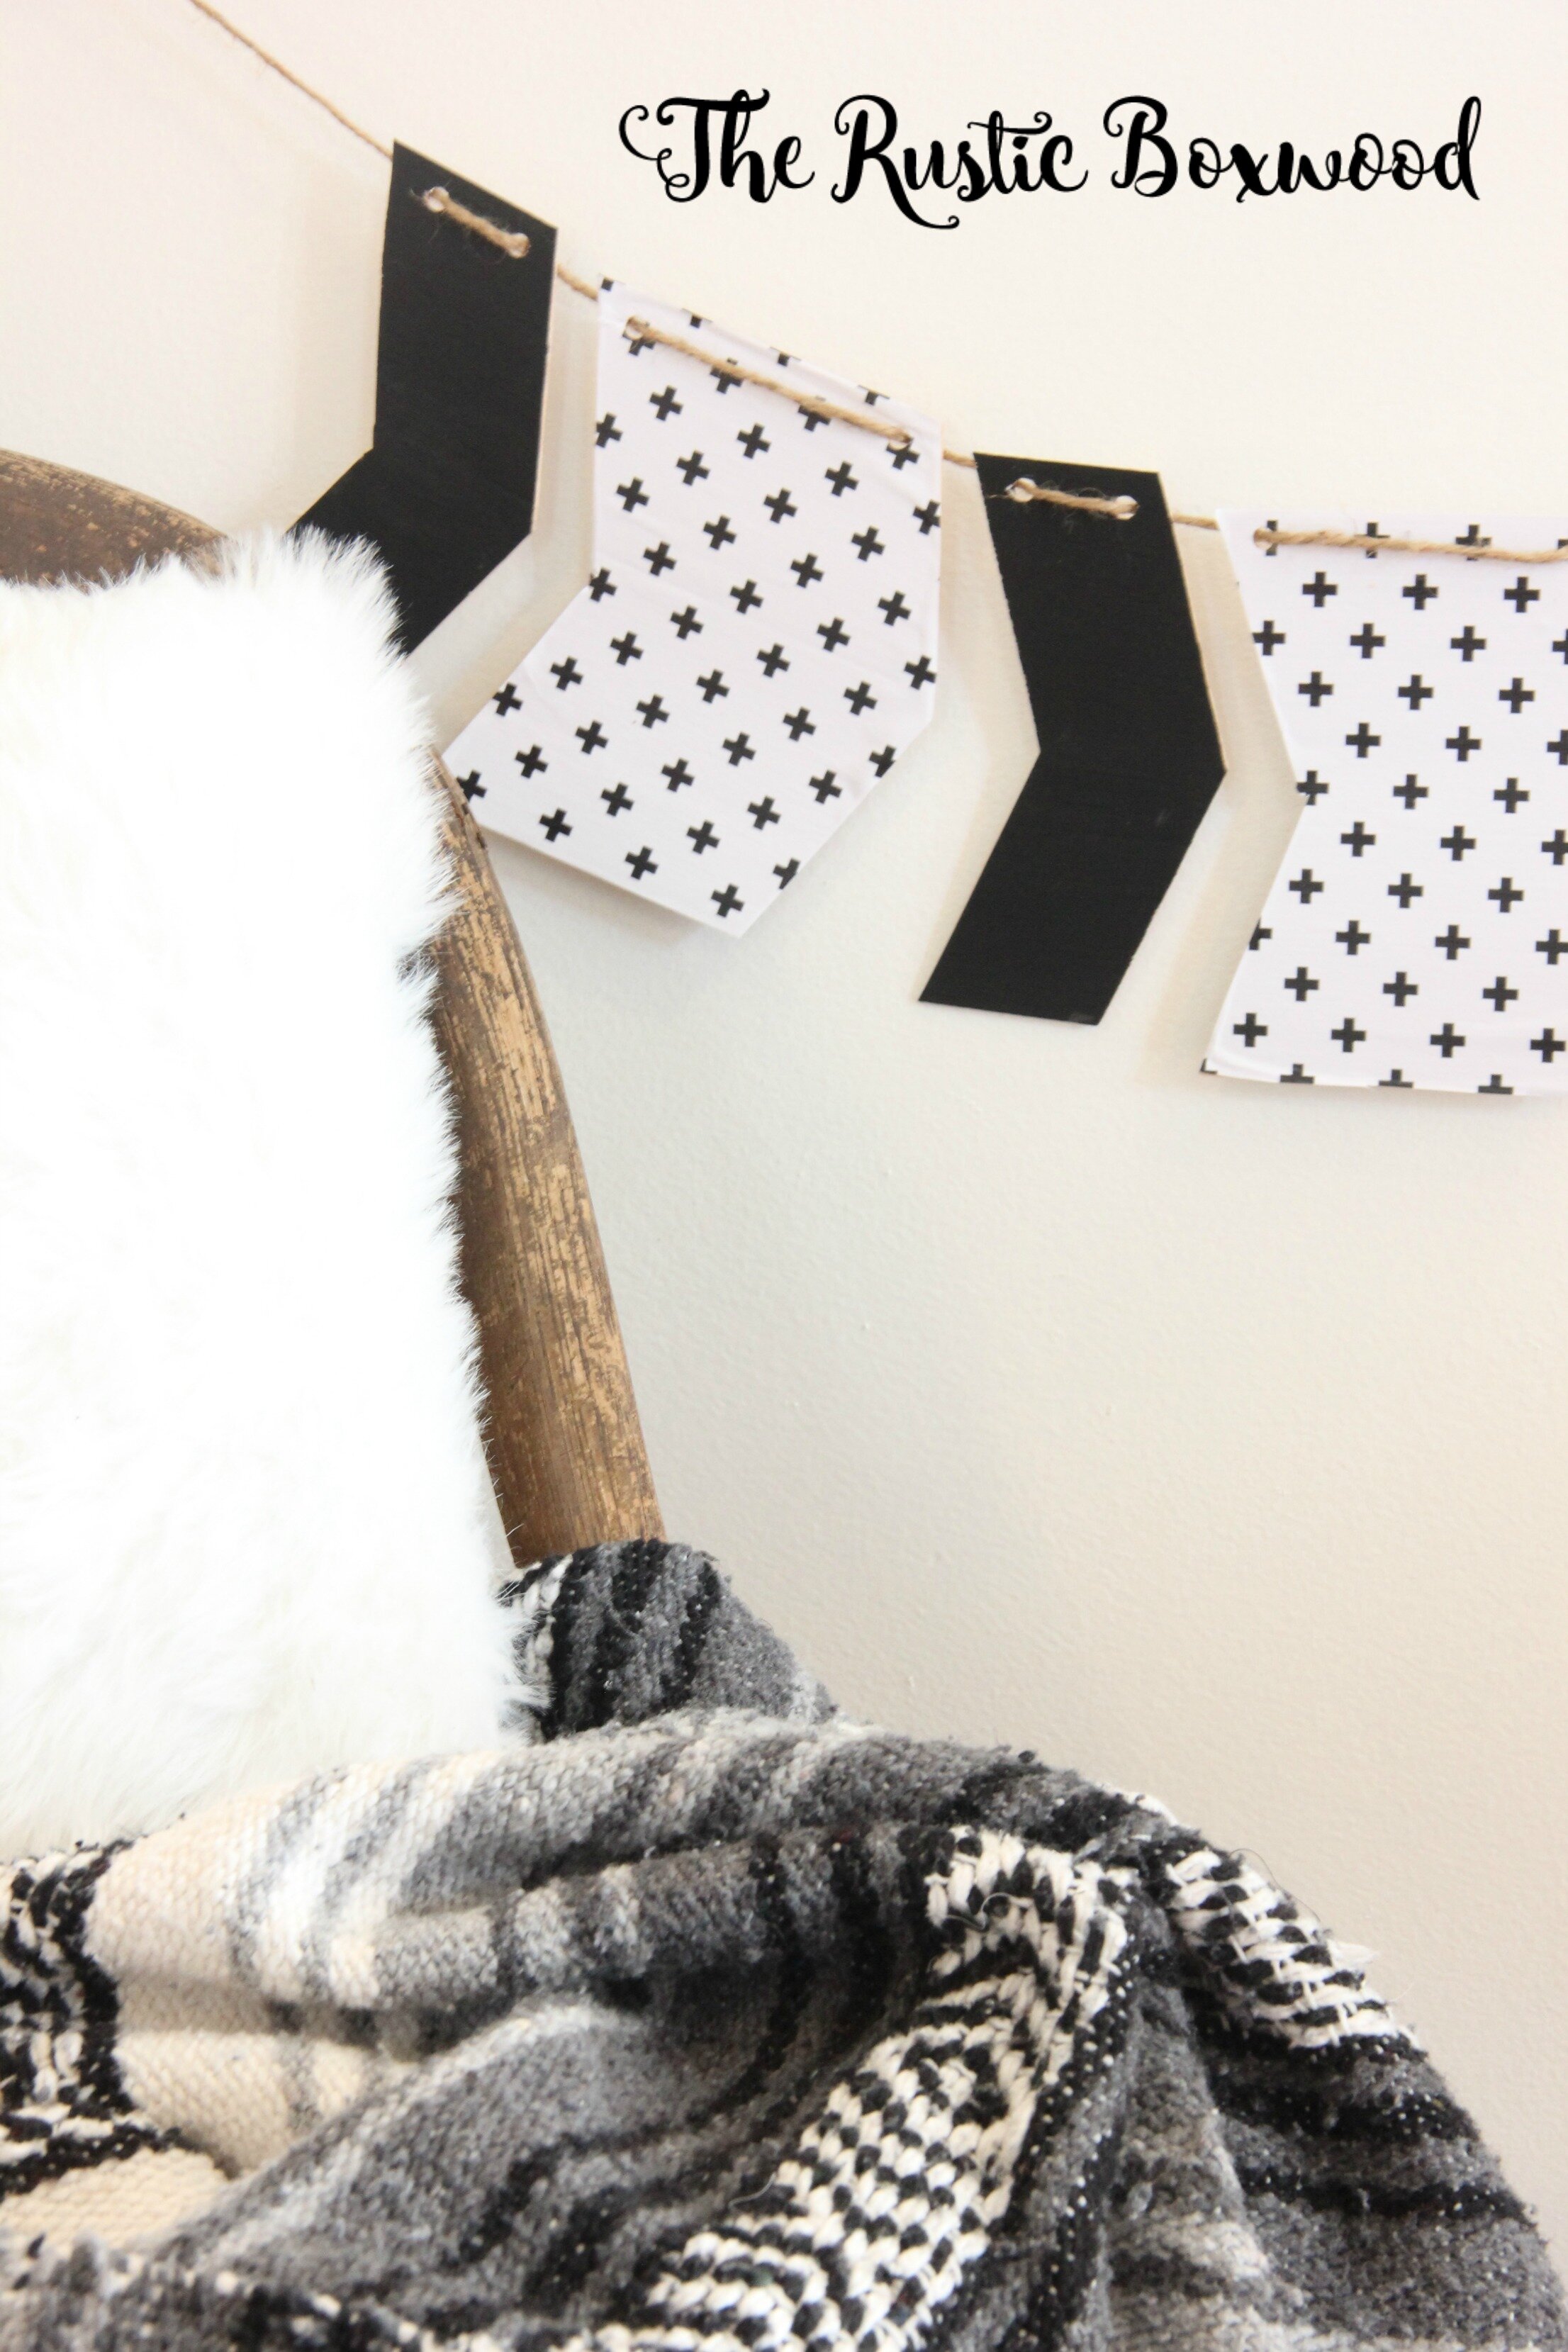
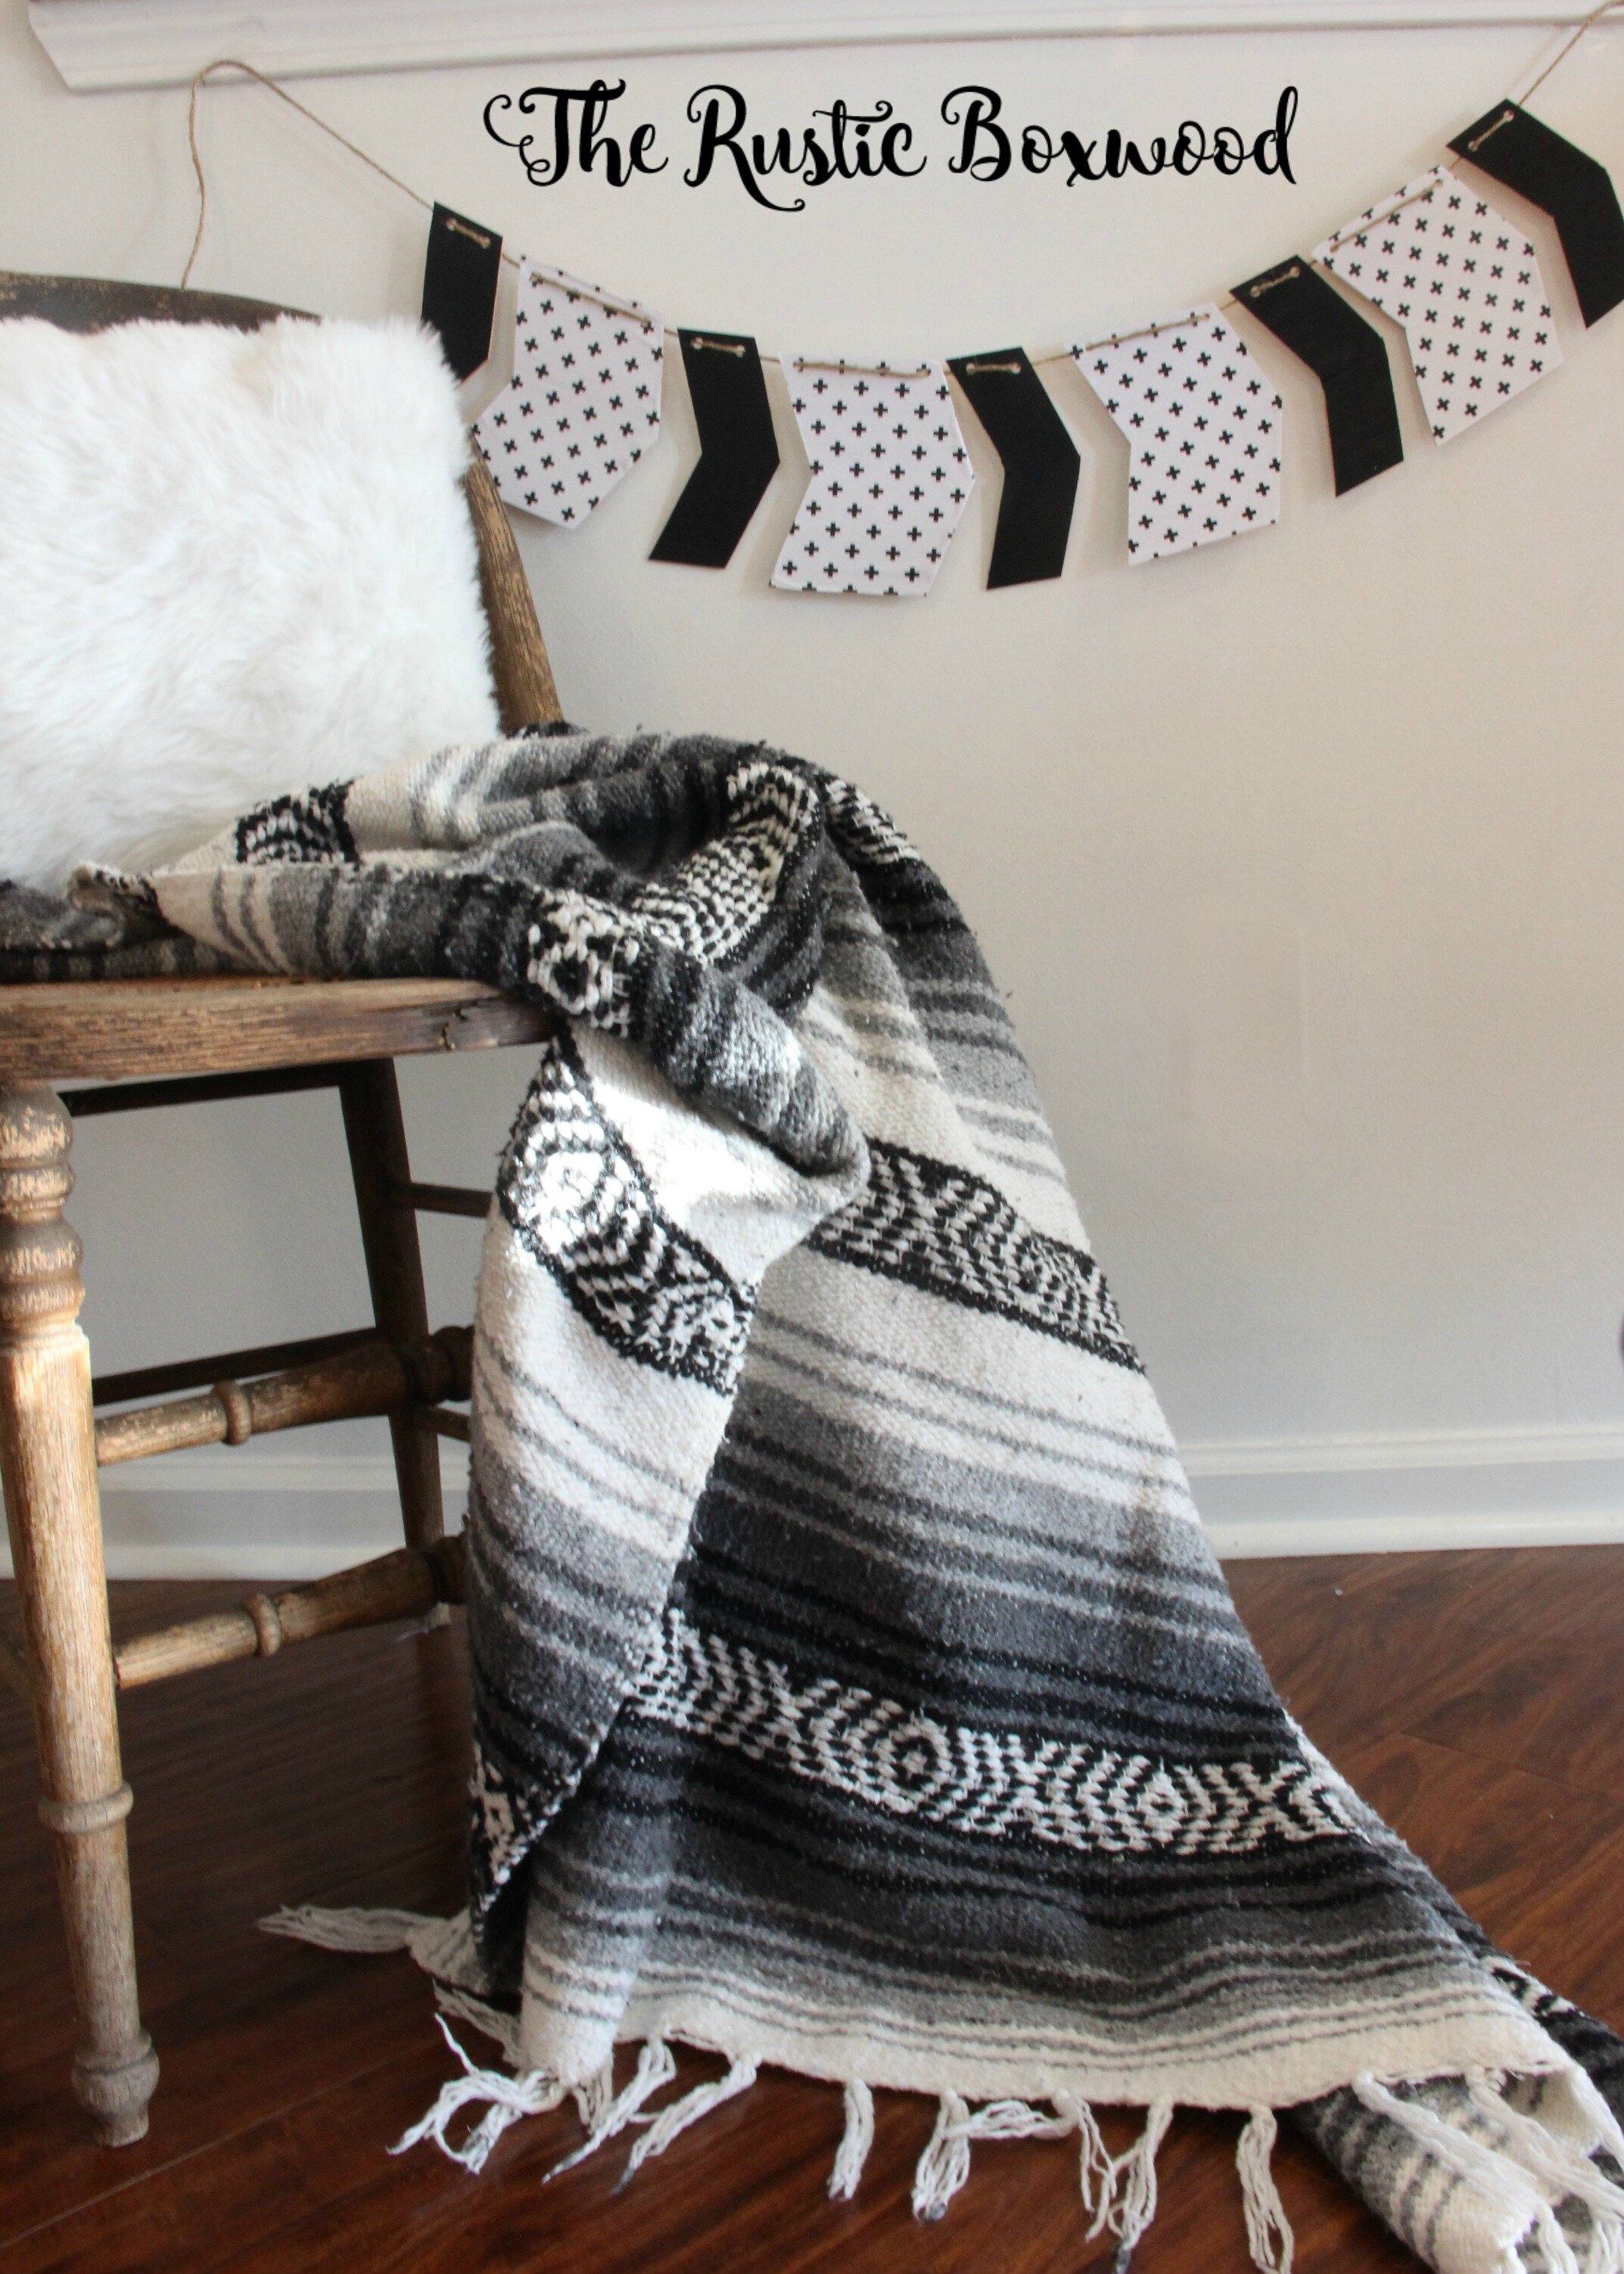
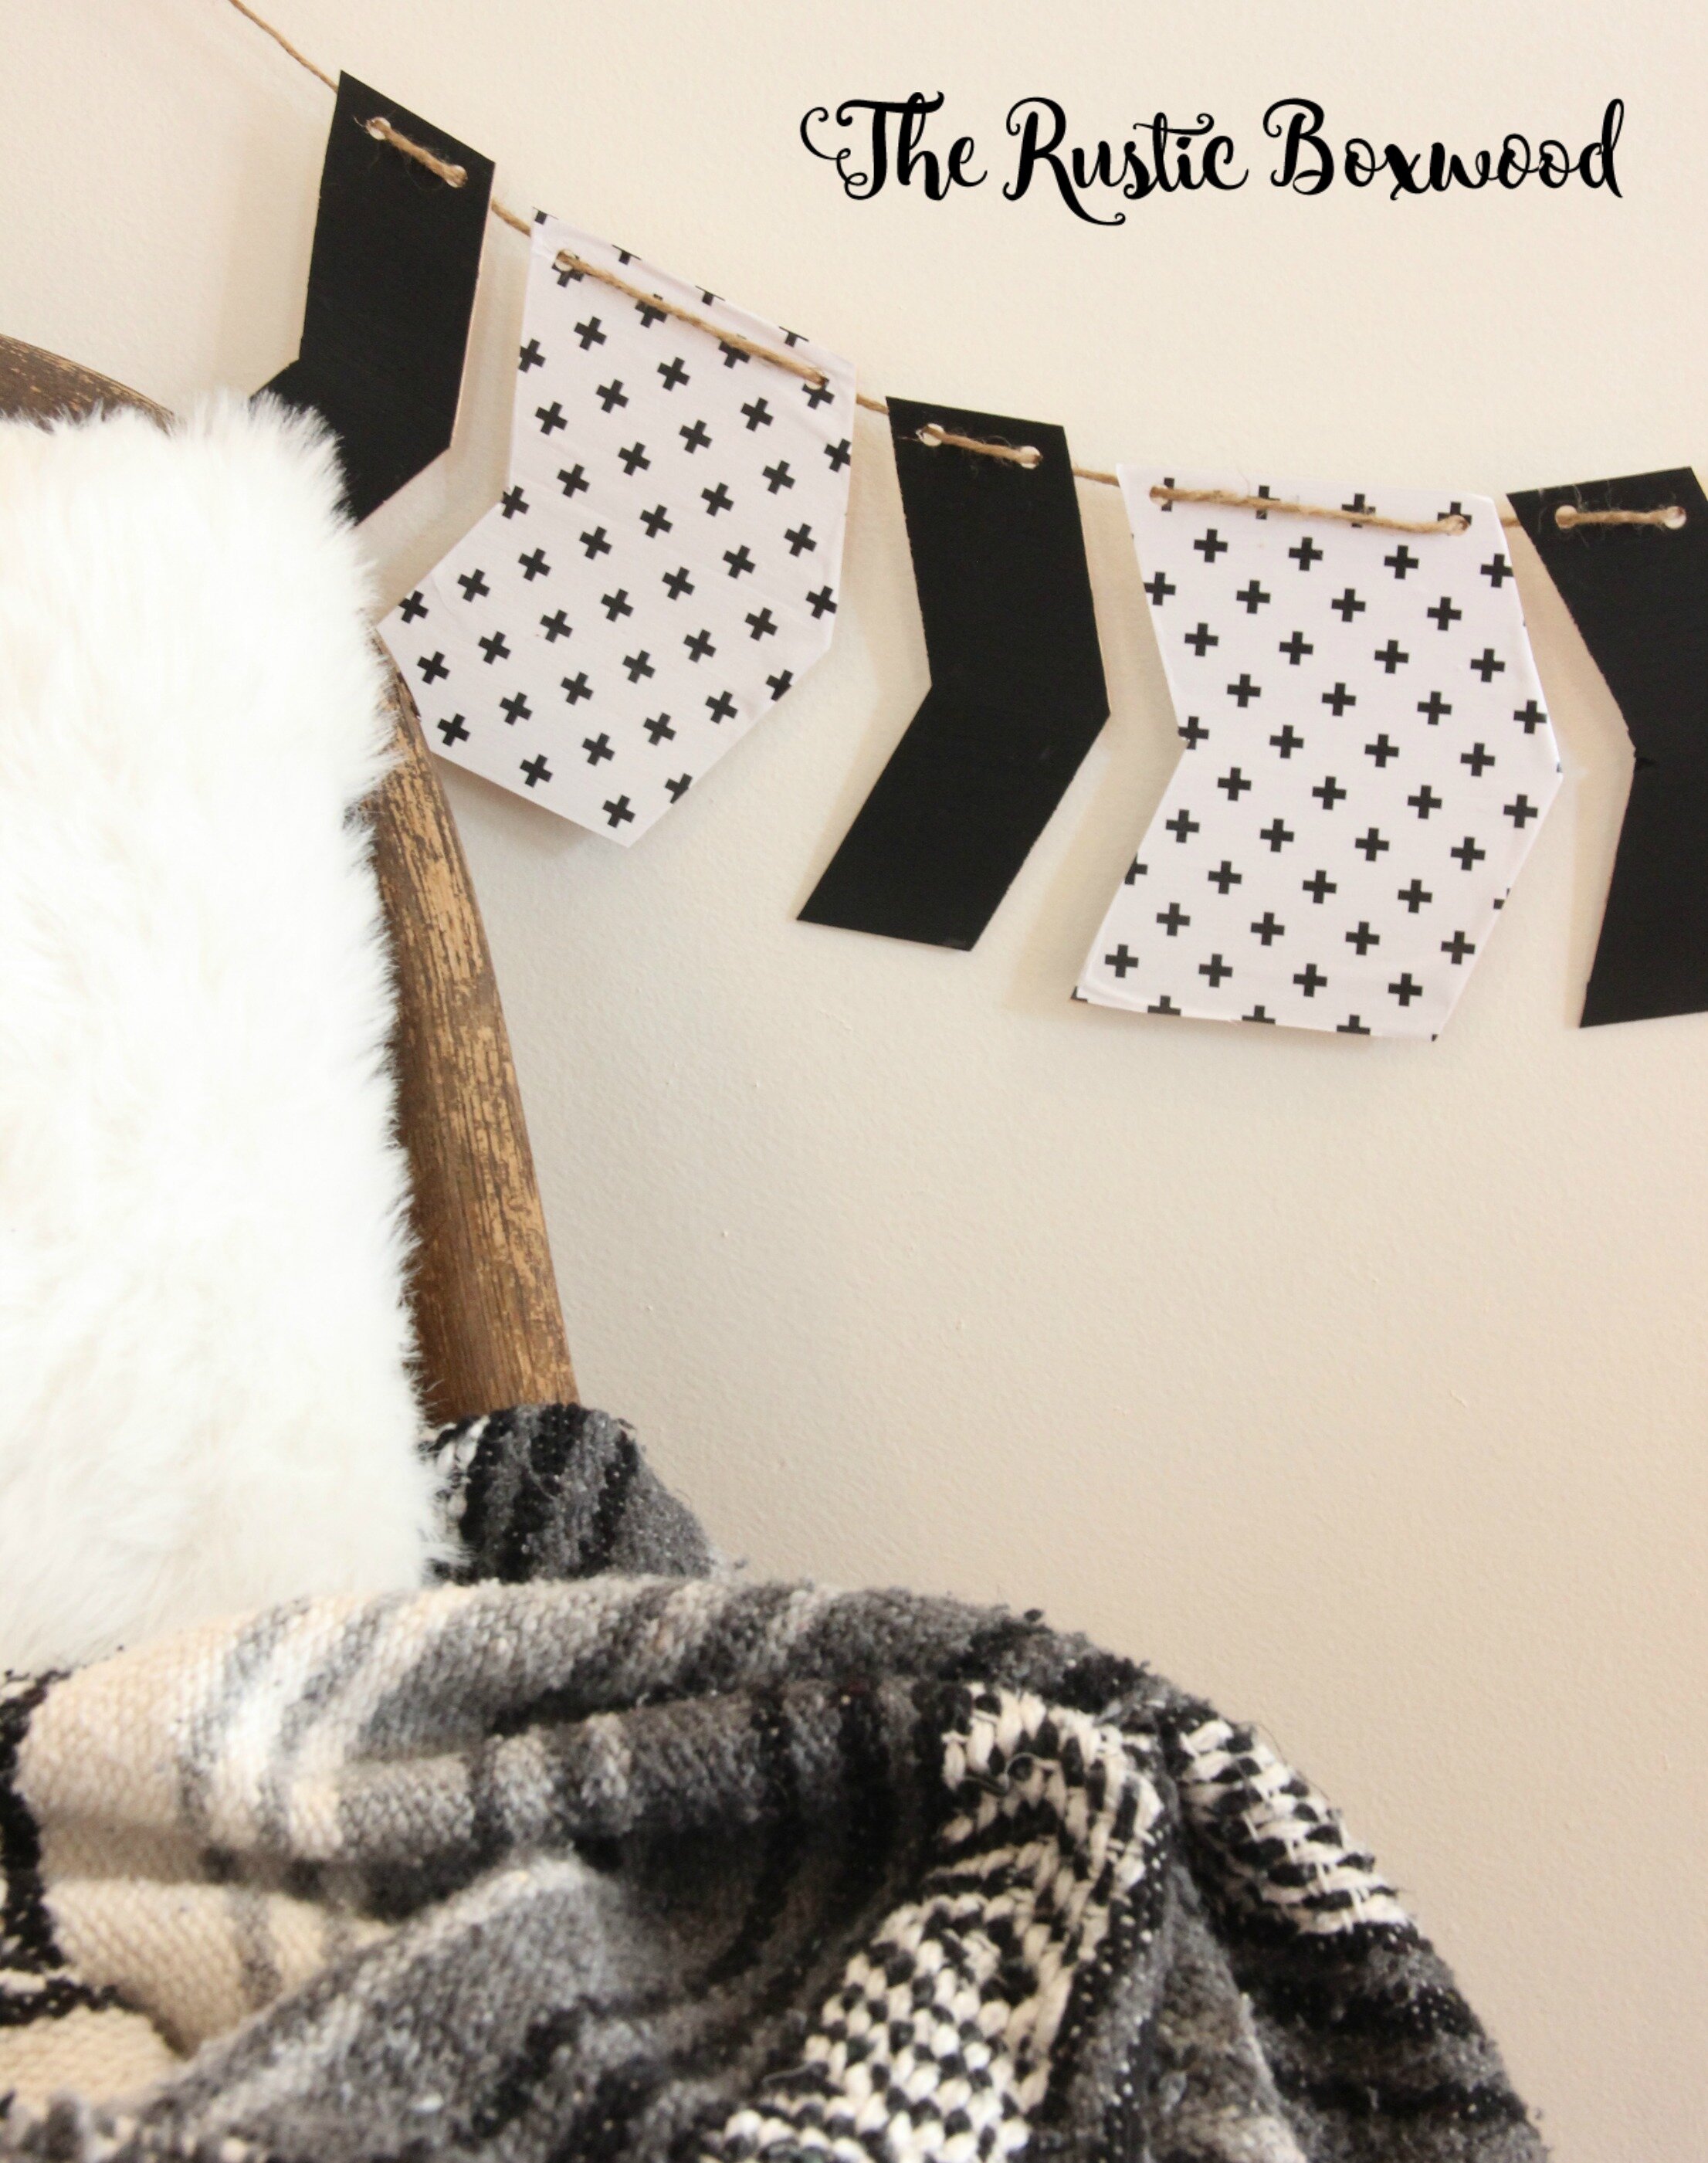
Garland #1: Arrow Garland
Supplies
1 strip of balsa wood (found at most craft stores and use your coupon!) (size: 3/32 x 6 x 36)
black chalk paint (DecoArt)
Decoupage (DecoArt) (I used the outdoor decoupage so that I can hang mine outside.)
small sponge brush
pretty scrap paper
hole punch
jute twine

So, I used my awesome self-healing cutting mat from Hayneedle (thanks so much, Hayneedle!!), but of course, if you don't have a cutting mat, you can get creative and do it all by hand. Using a pencil, I measured my small arrows to be 2" wide and my large arrows 4" wide on the balsa wood. This type of wood is SUPER easy to cut! Then, I painted each small arrow with the black paint. I used one large piece of scrap paper, and using the decoupage, I painted a thin layer on each piece of large arrow and immediately placed them on the paper, ensuring that they're lined up evenly. Afterwards, I spread a thin layer on top of the paper to add a protective layer of sealant. I let all the arrows dry over night, and then cut the arrows that are covered with paper the next morning. One important thing to note is that the arrows want to curl ever so slightly when you paint the mod podge on, so to help flatten them, I placed each arrow under something heavy to help straighten the wood (once they were dry, of course). ;) Once you've cut the paper around the arrow edges, punch holes through the wood and then slide some twine through the holes for hanging.

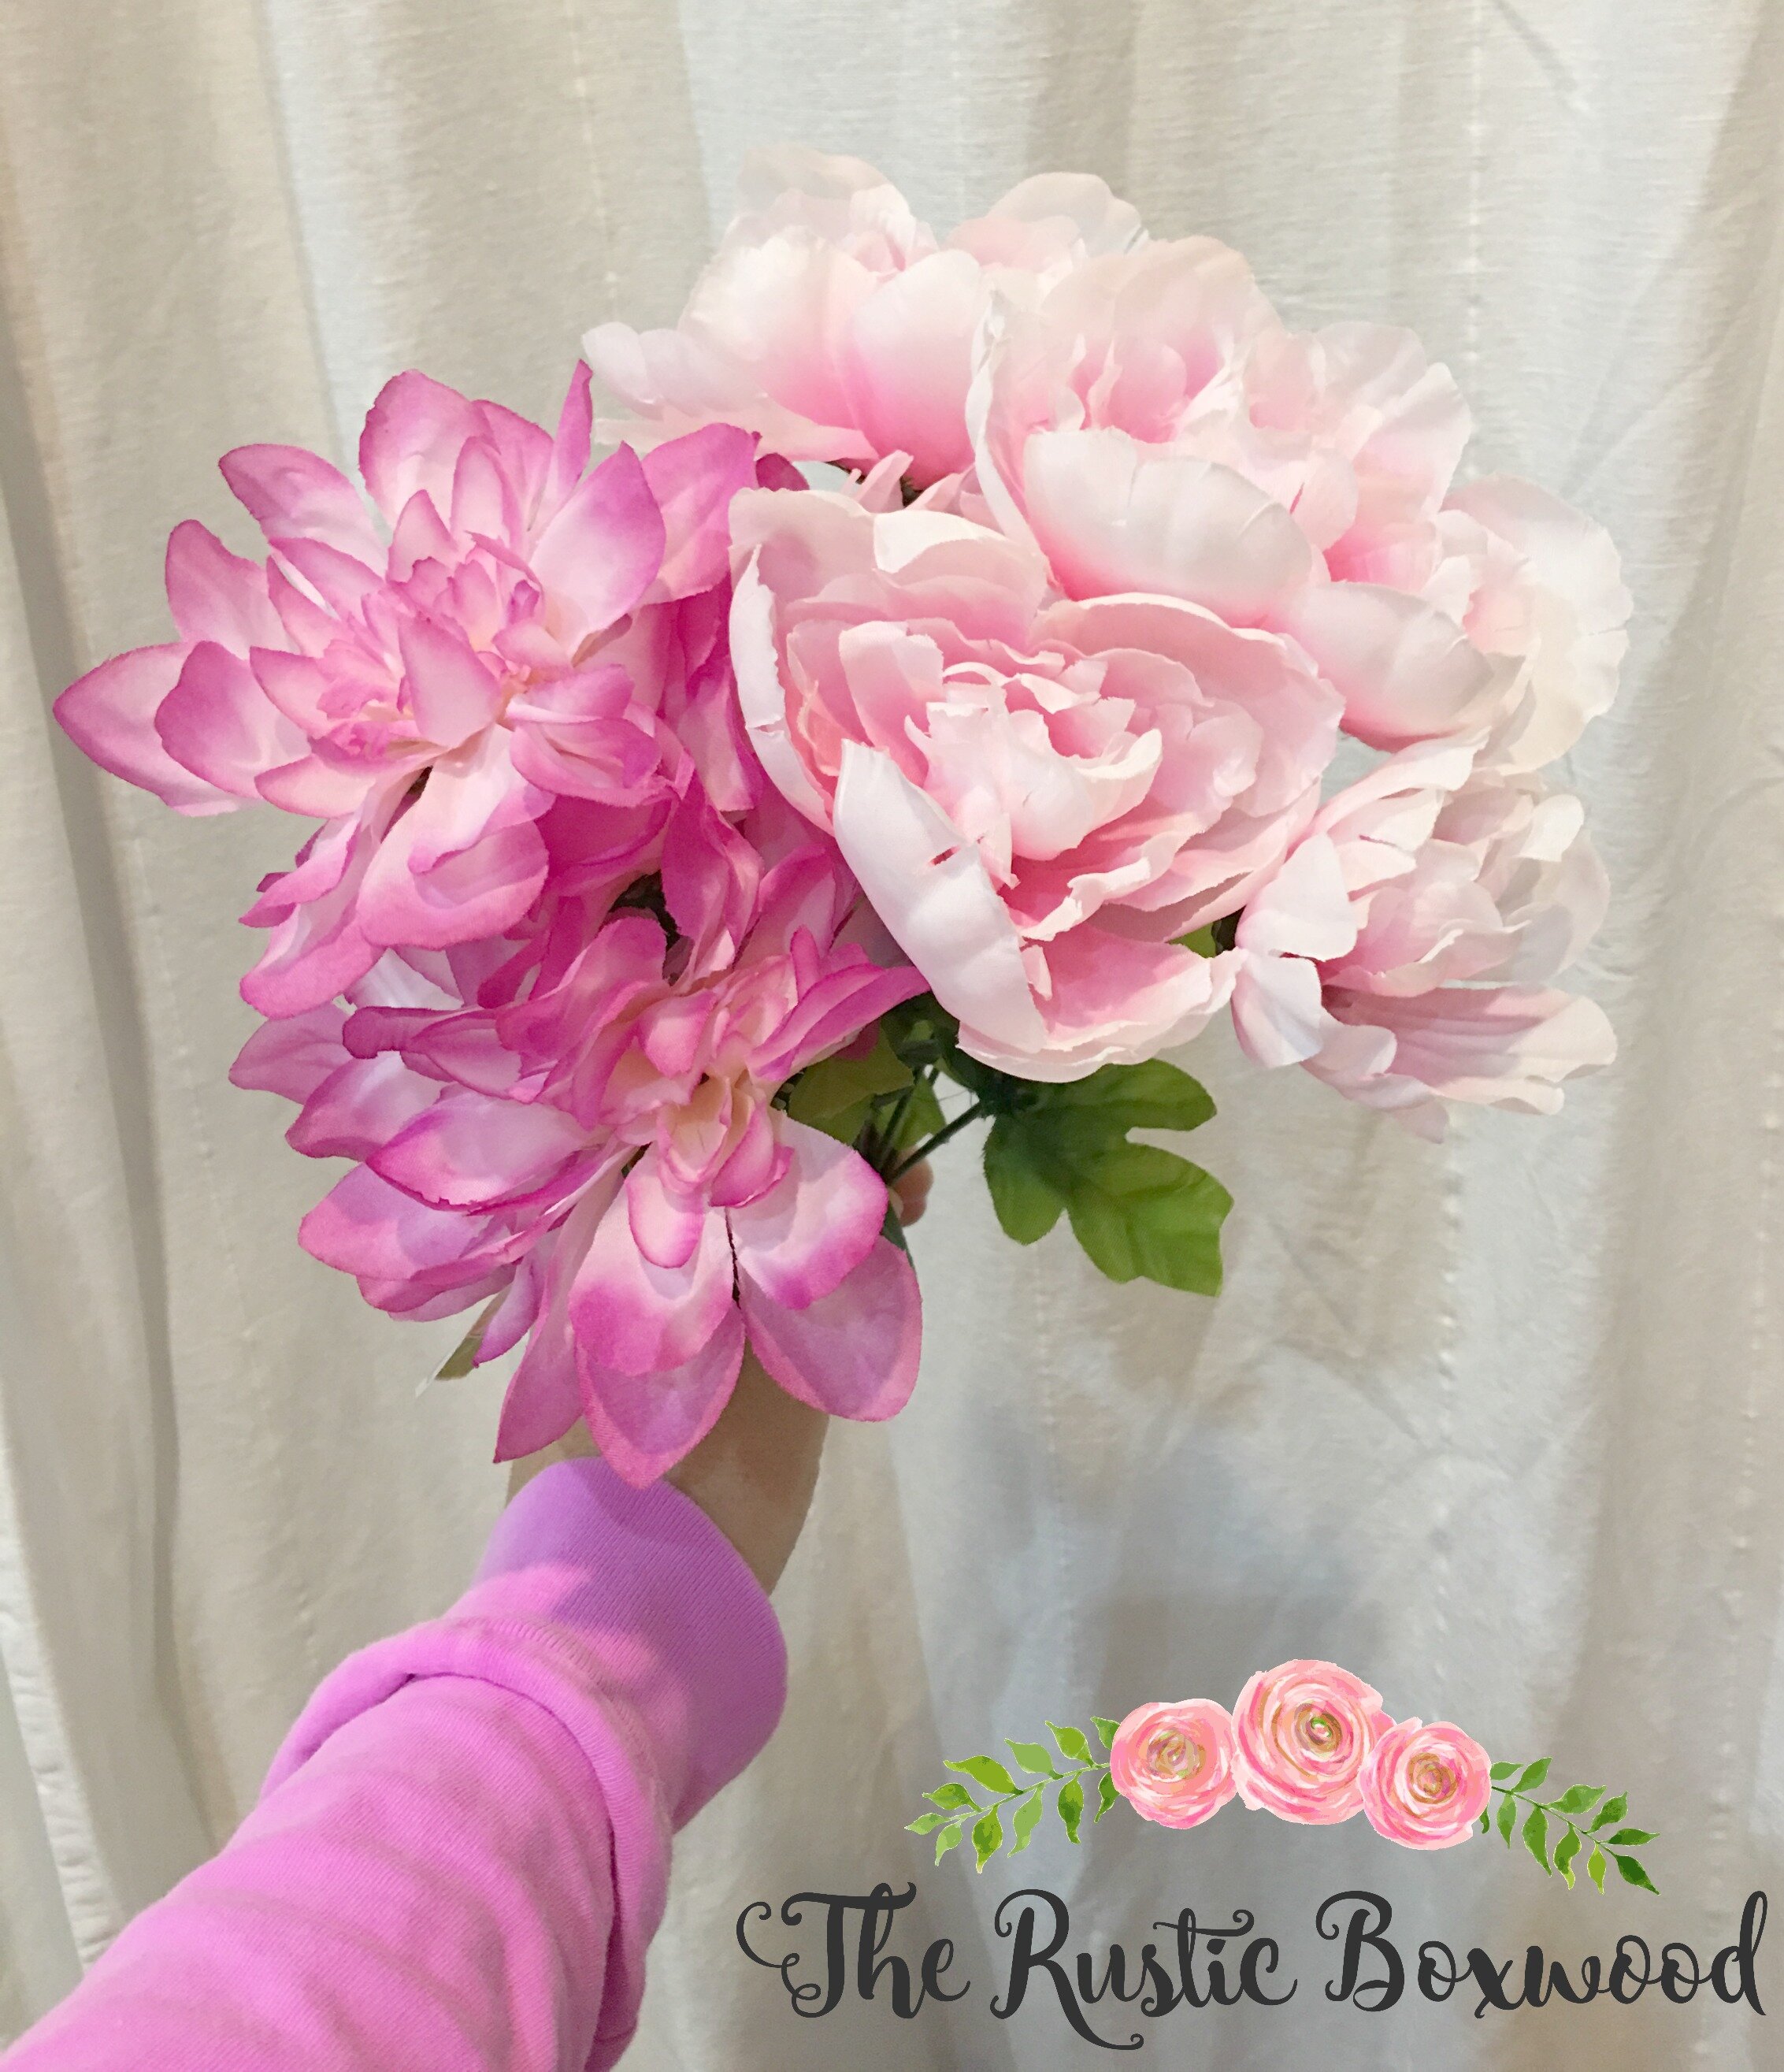
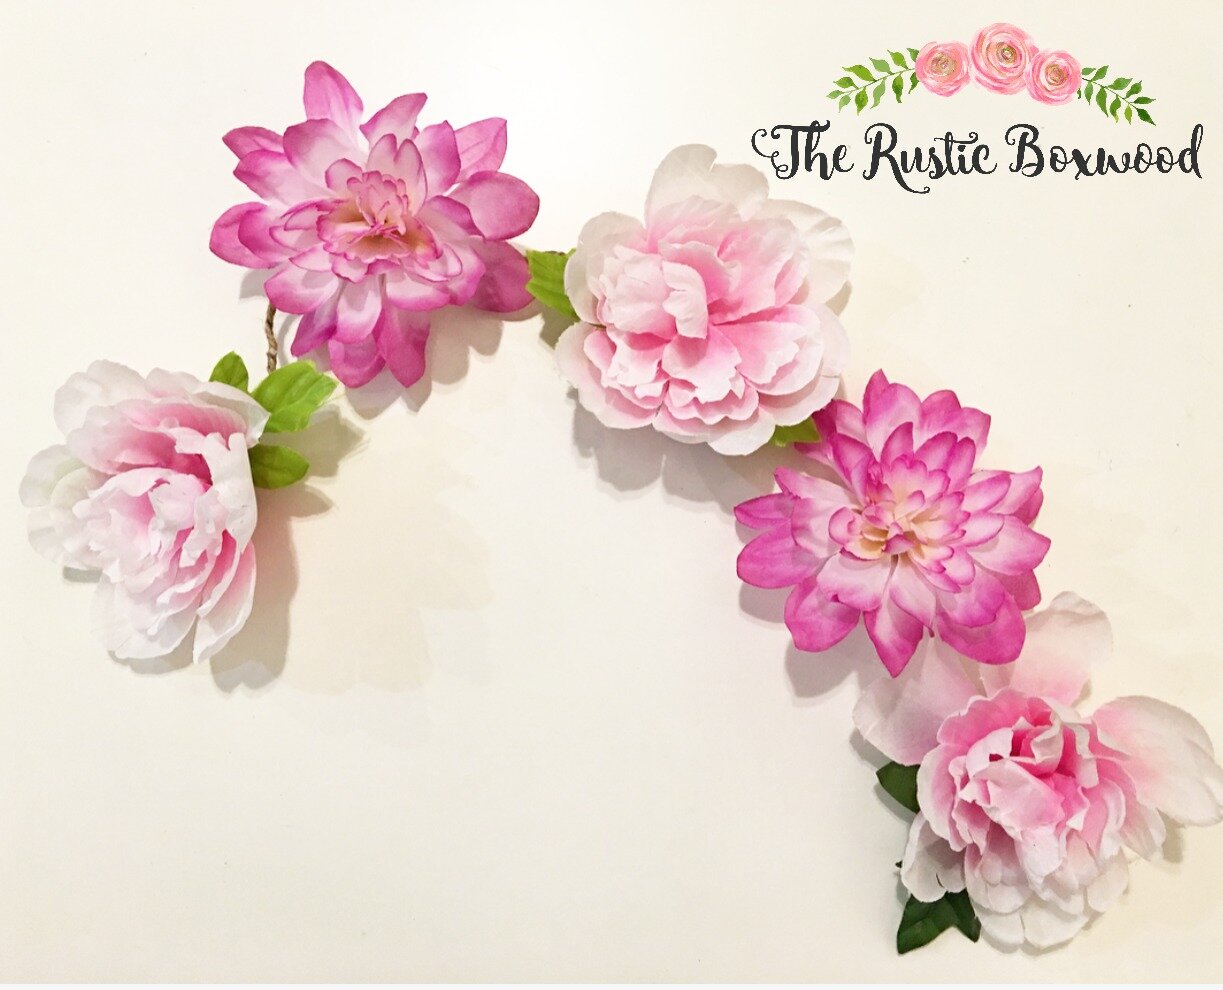
Garland #2: Floral Garland
Supplies
faux flowers from Dollar Tree
jute twine
floral wire
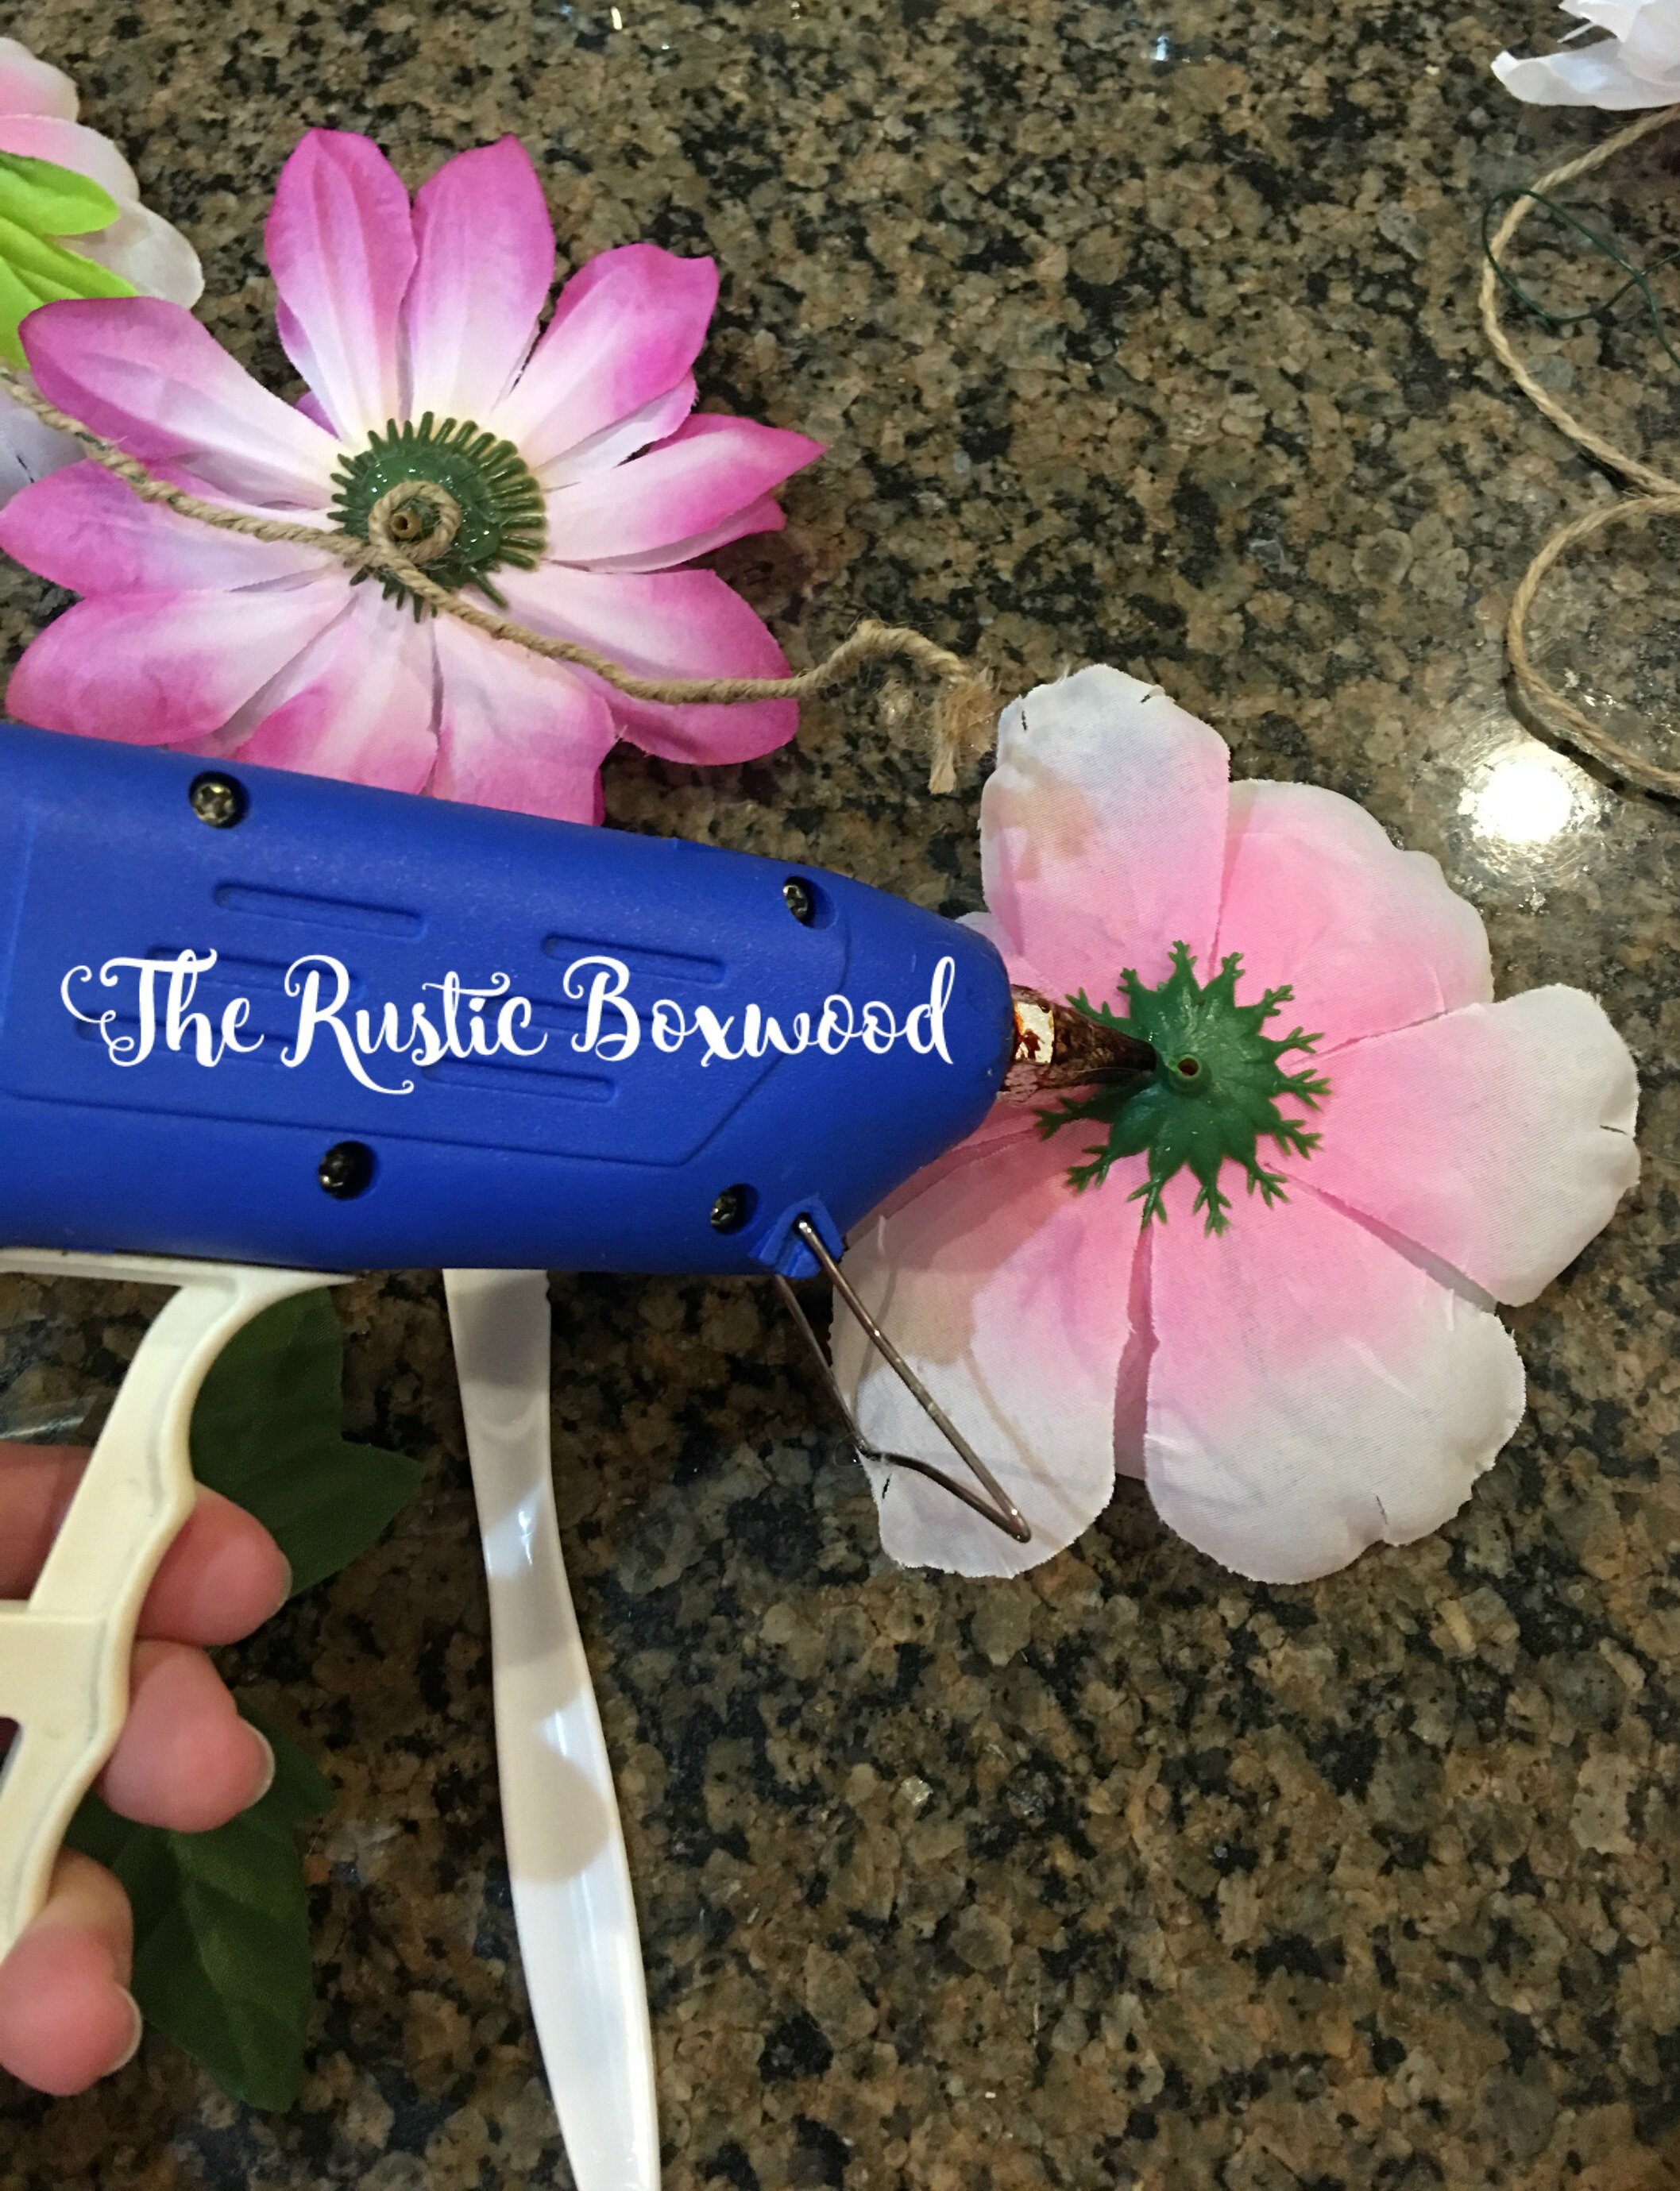
First, hot glue some twine around and around...and around...your floral wire to make it look like a brown stem and to add a sort of grip for the flowers to stick to. Pop flowers off the stems and then hot glue them to the twine/floral wire. Continue this process until you've reached the length you'd like to have.
The floral one in the pic below is at the top, and the fabric garland (which you'll learn how to make next) is underneath.
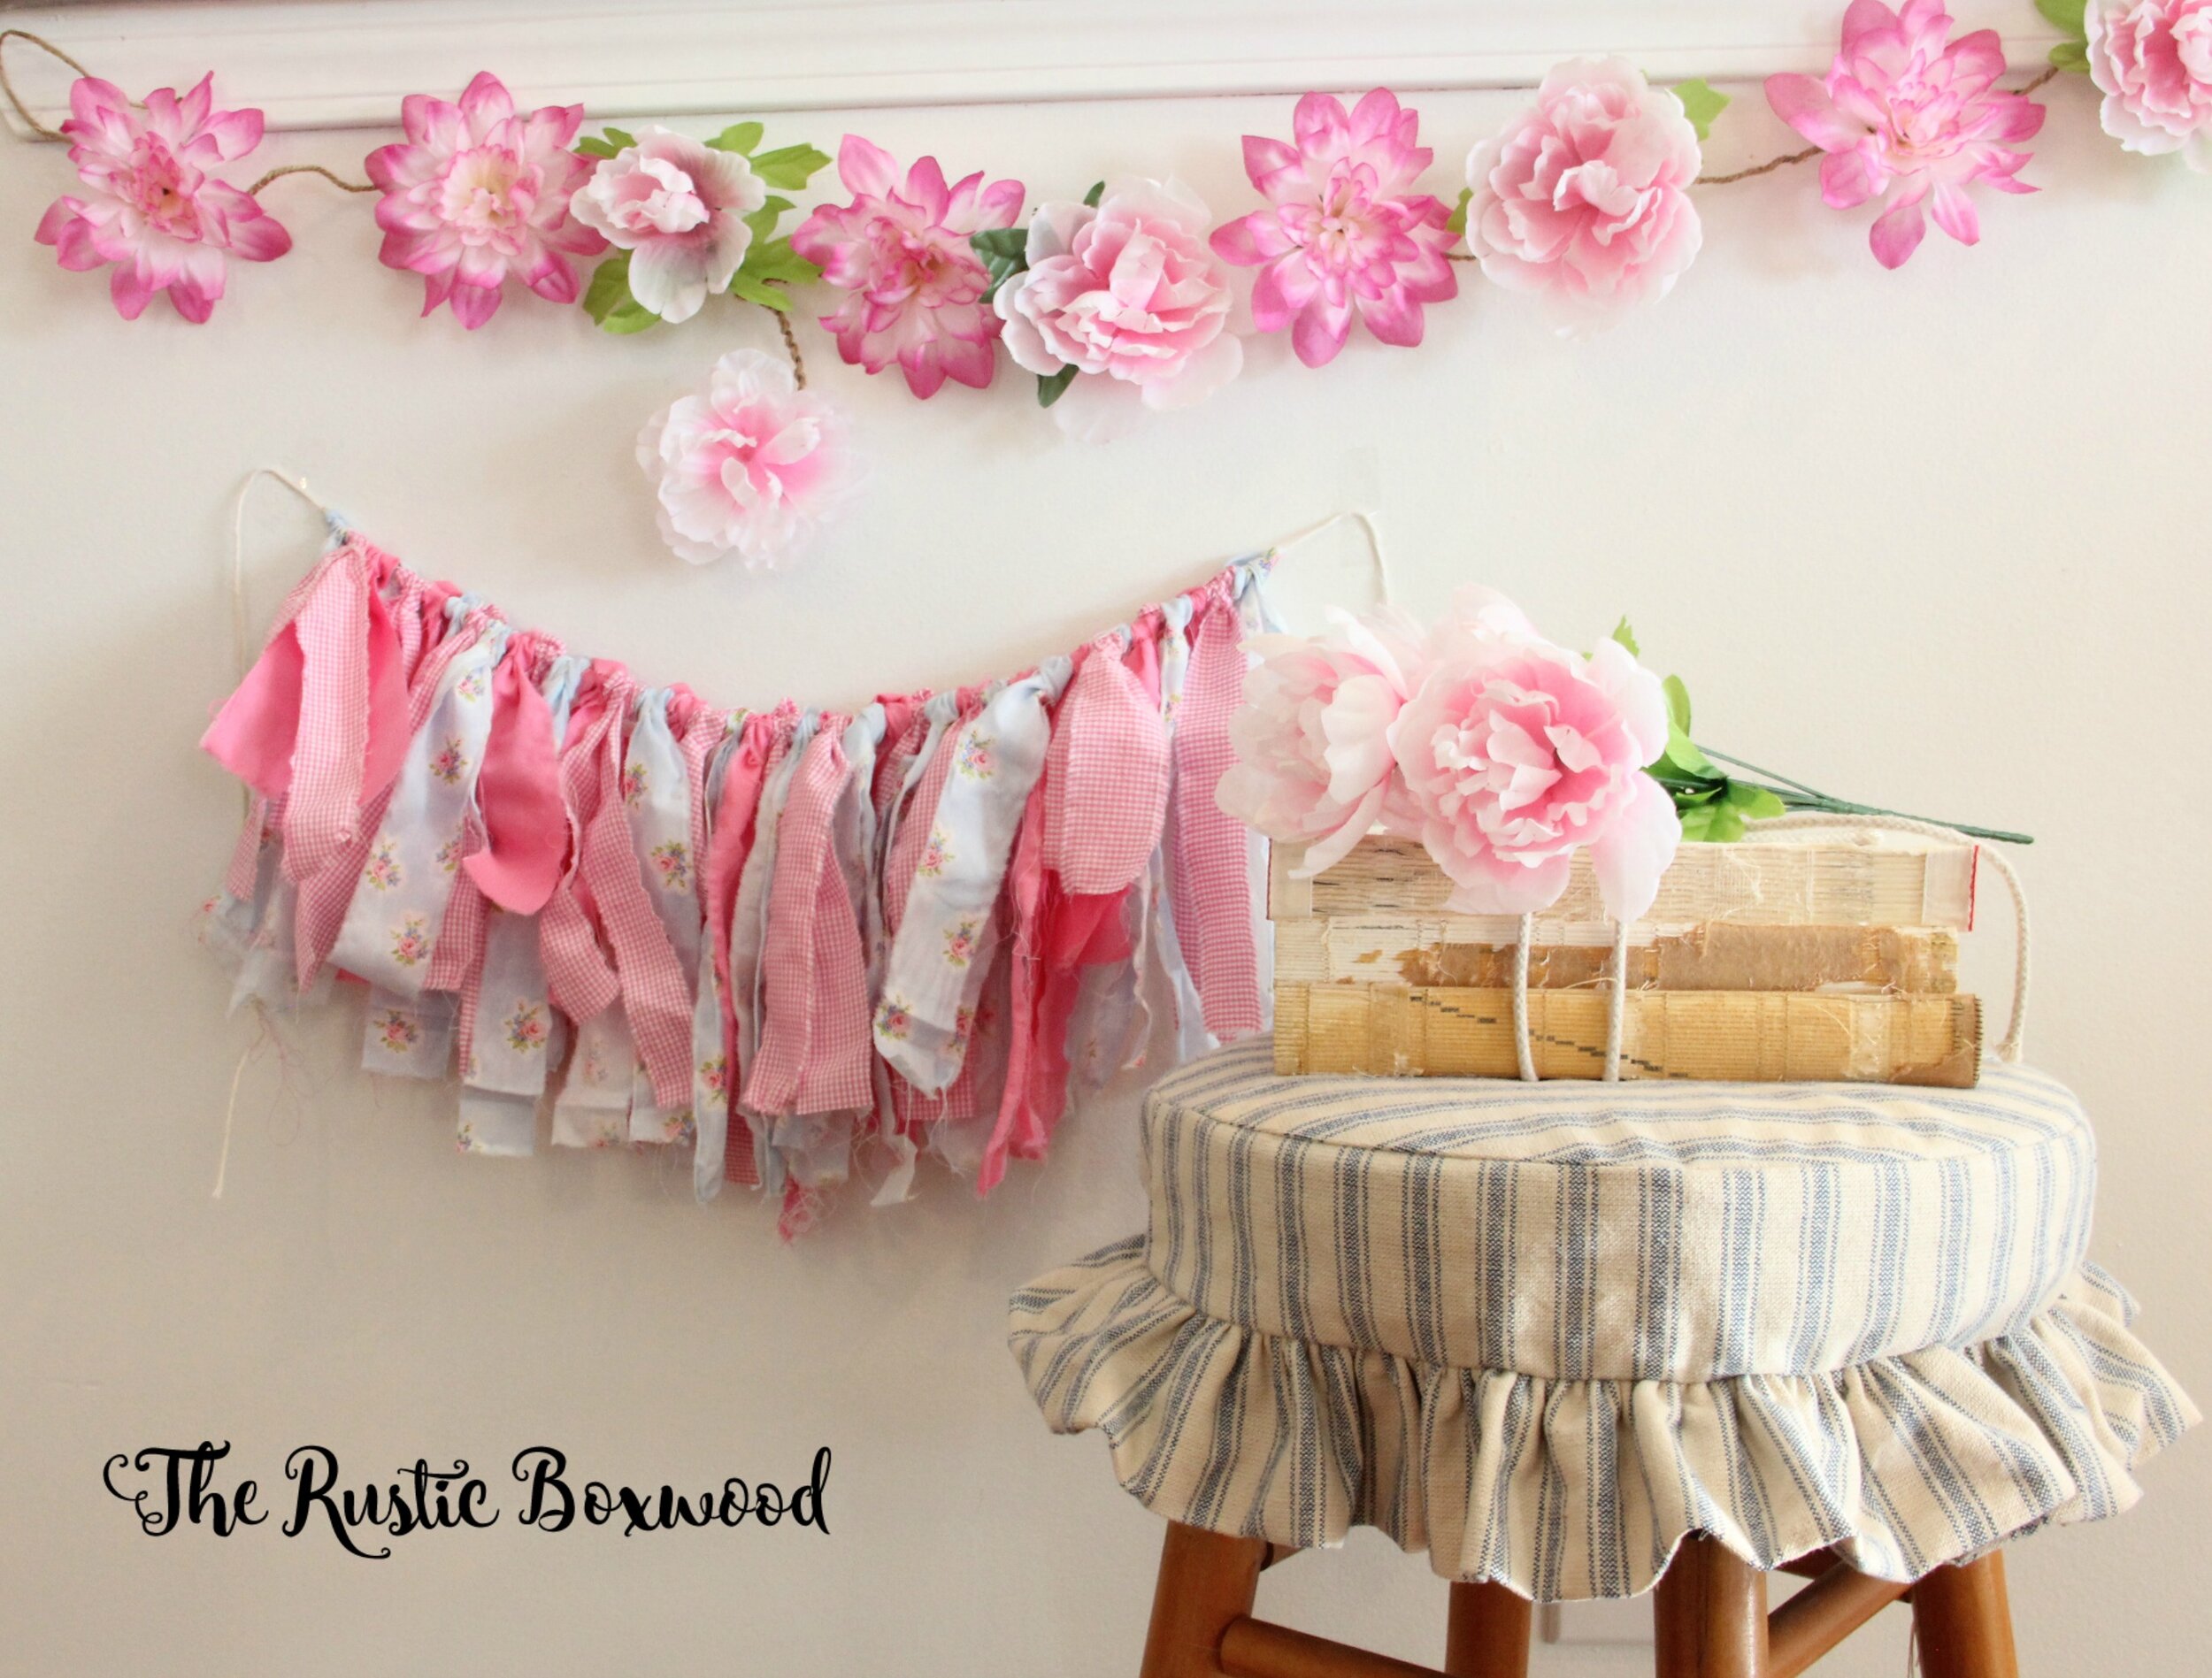
Garland #3: Fabric Garland
Supplies
variety of light-weight fabric (i.e. a variety of colors and/or prints)
coordinating yarn color
First, tear about 1" strips of your fabric. Then, fold each strip in half, and place under string. Bring ends of fabric up and over the string and through the fabric hole at the top. Pull tight and slide each strip closely together to add fullness to your garland.
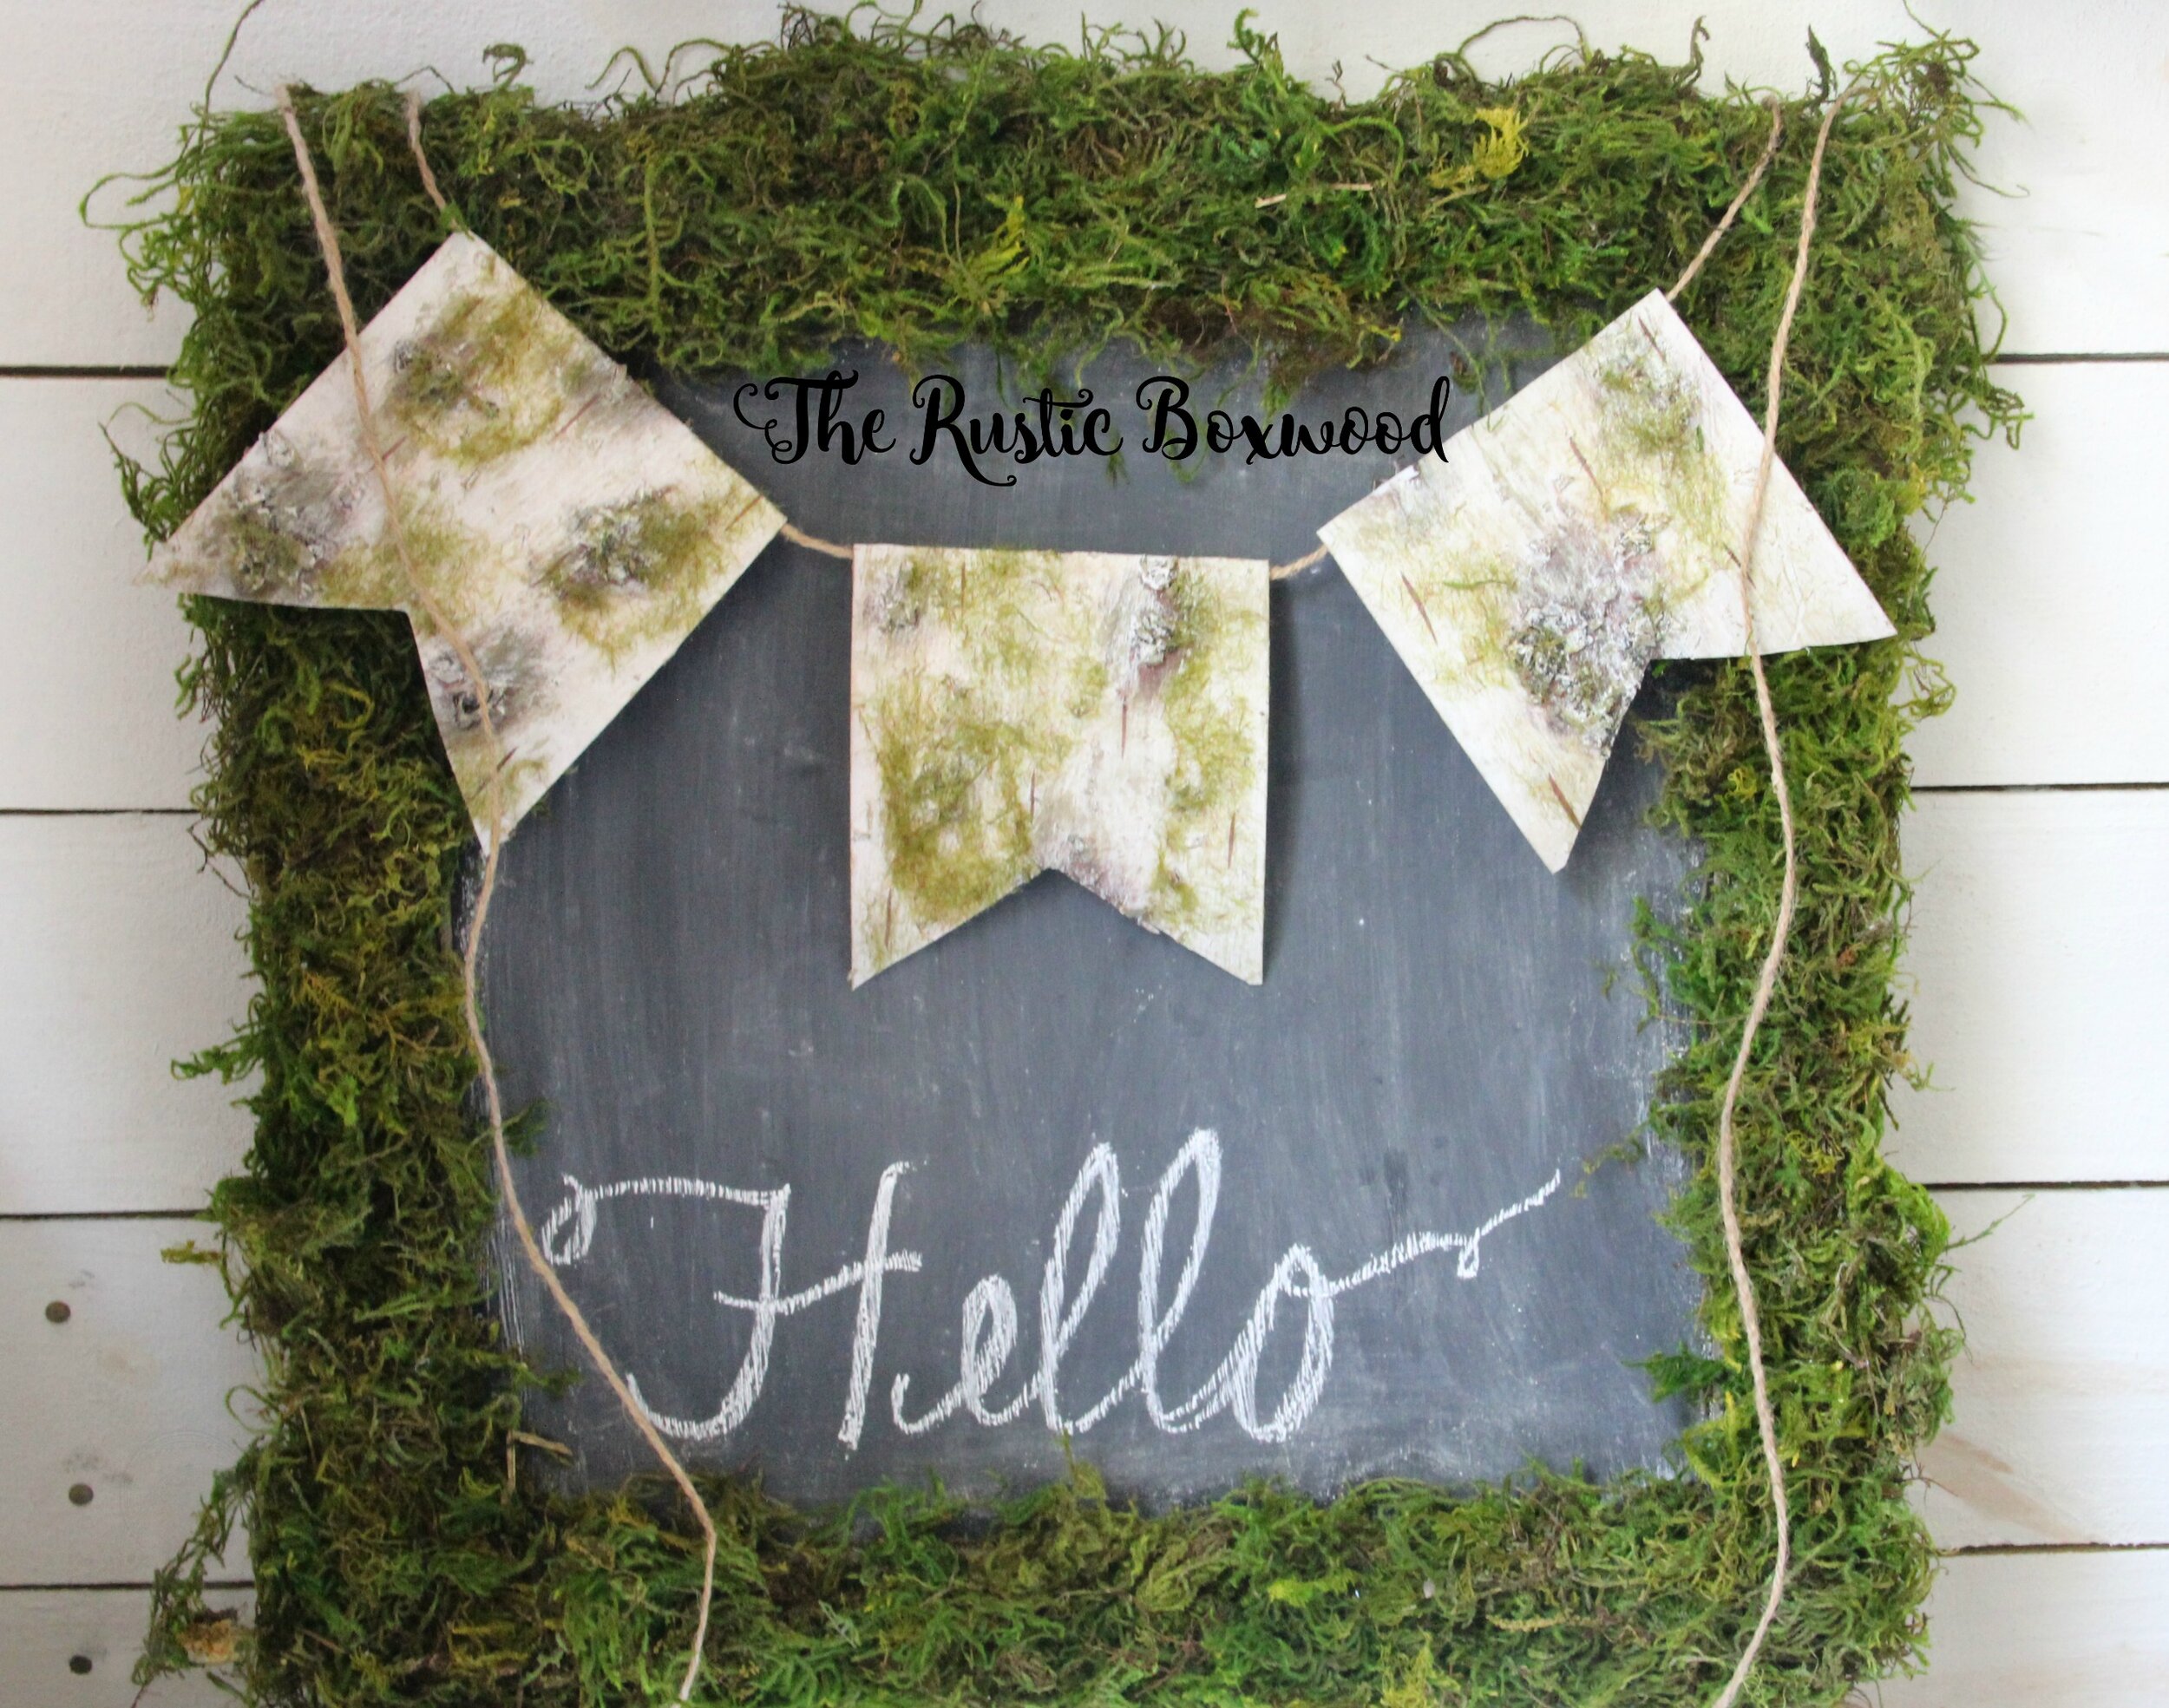
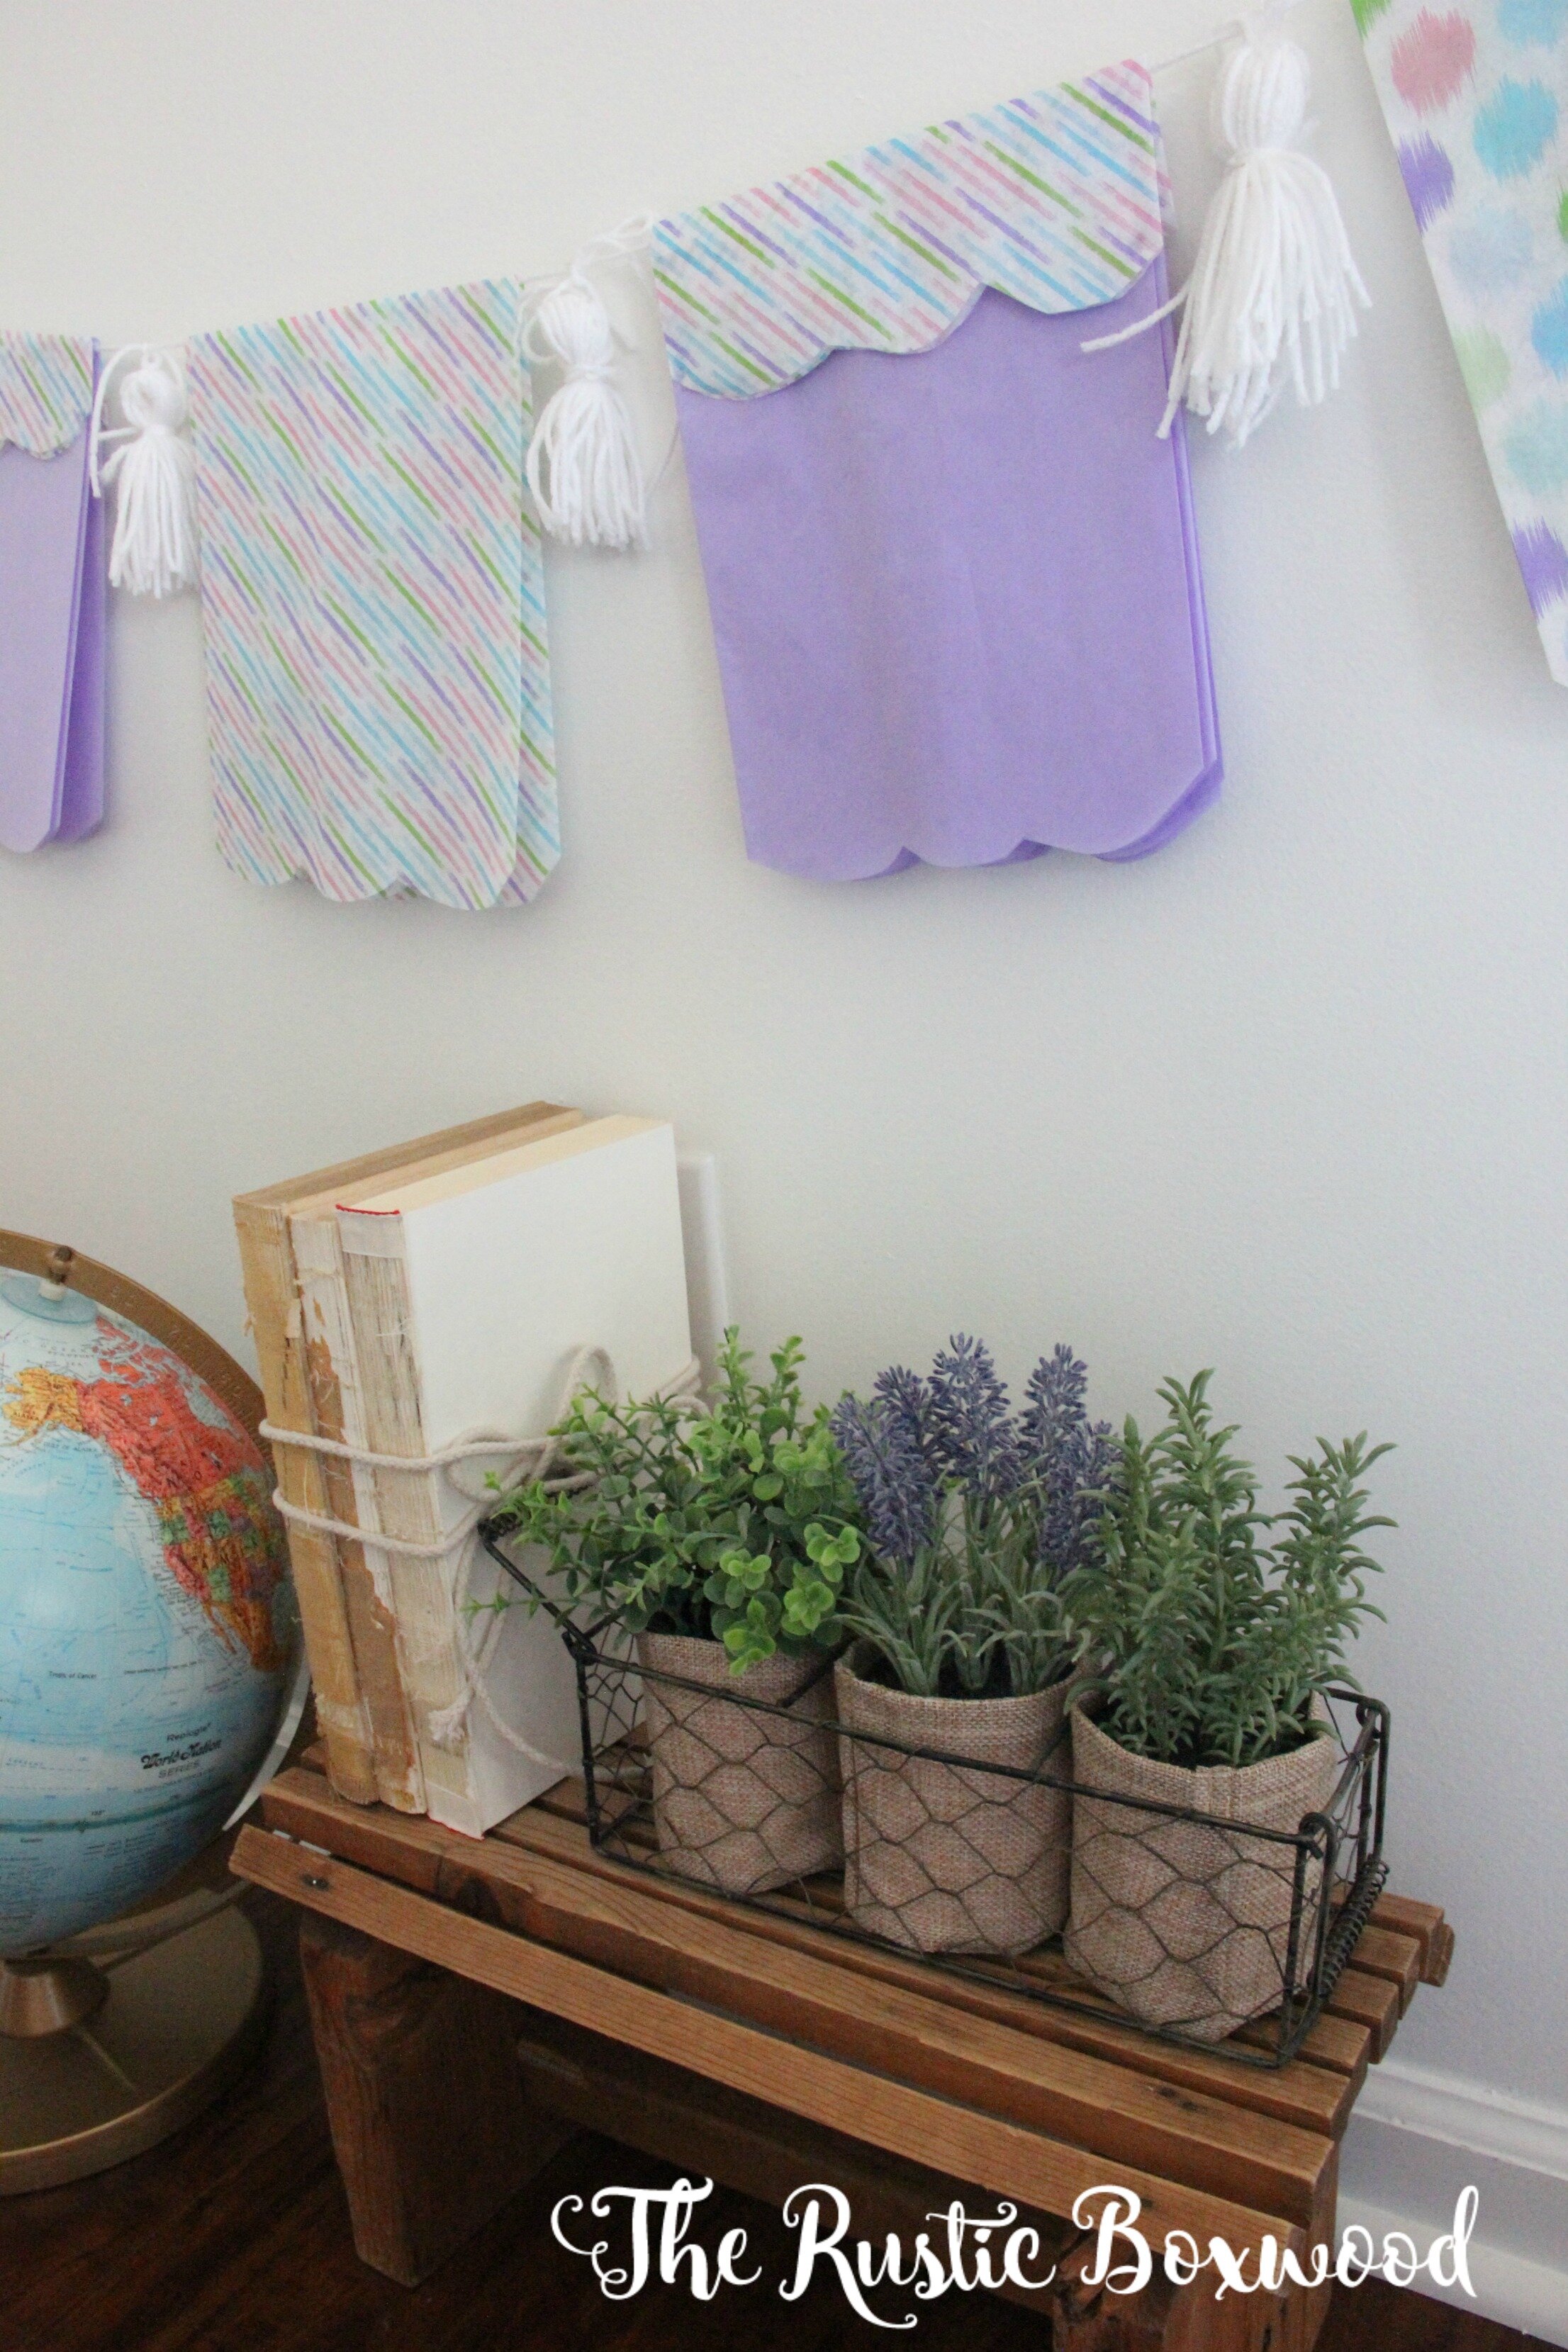
Garland #4: Wrapping Paper Garland
Supplies
roll of wrapping paper
balsa wood
pretty trim
hot glue gun
scissors
DecoArt matte decoupage
First, measure and cut the wood to form your preferred size of each pennant. Next, paint mod podge onto each strip of wood. Immediately place the glued side of the wood on the inside of your paper. Then, brush a thin layer of mod podge over the outside of your paper, which will act as a sealant. Lastly, hot glue a coordinating trim to the top of your pennants to form a beautiful garland!
Garland #5: Tissue Paper Garland
Supplies
pretty tissue paper (I got a set of 8 sheets at the dollar tree.)
coordinating color of yarn
hot glue gun
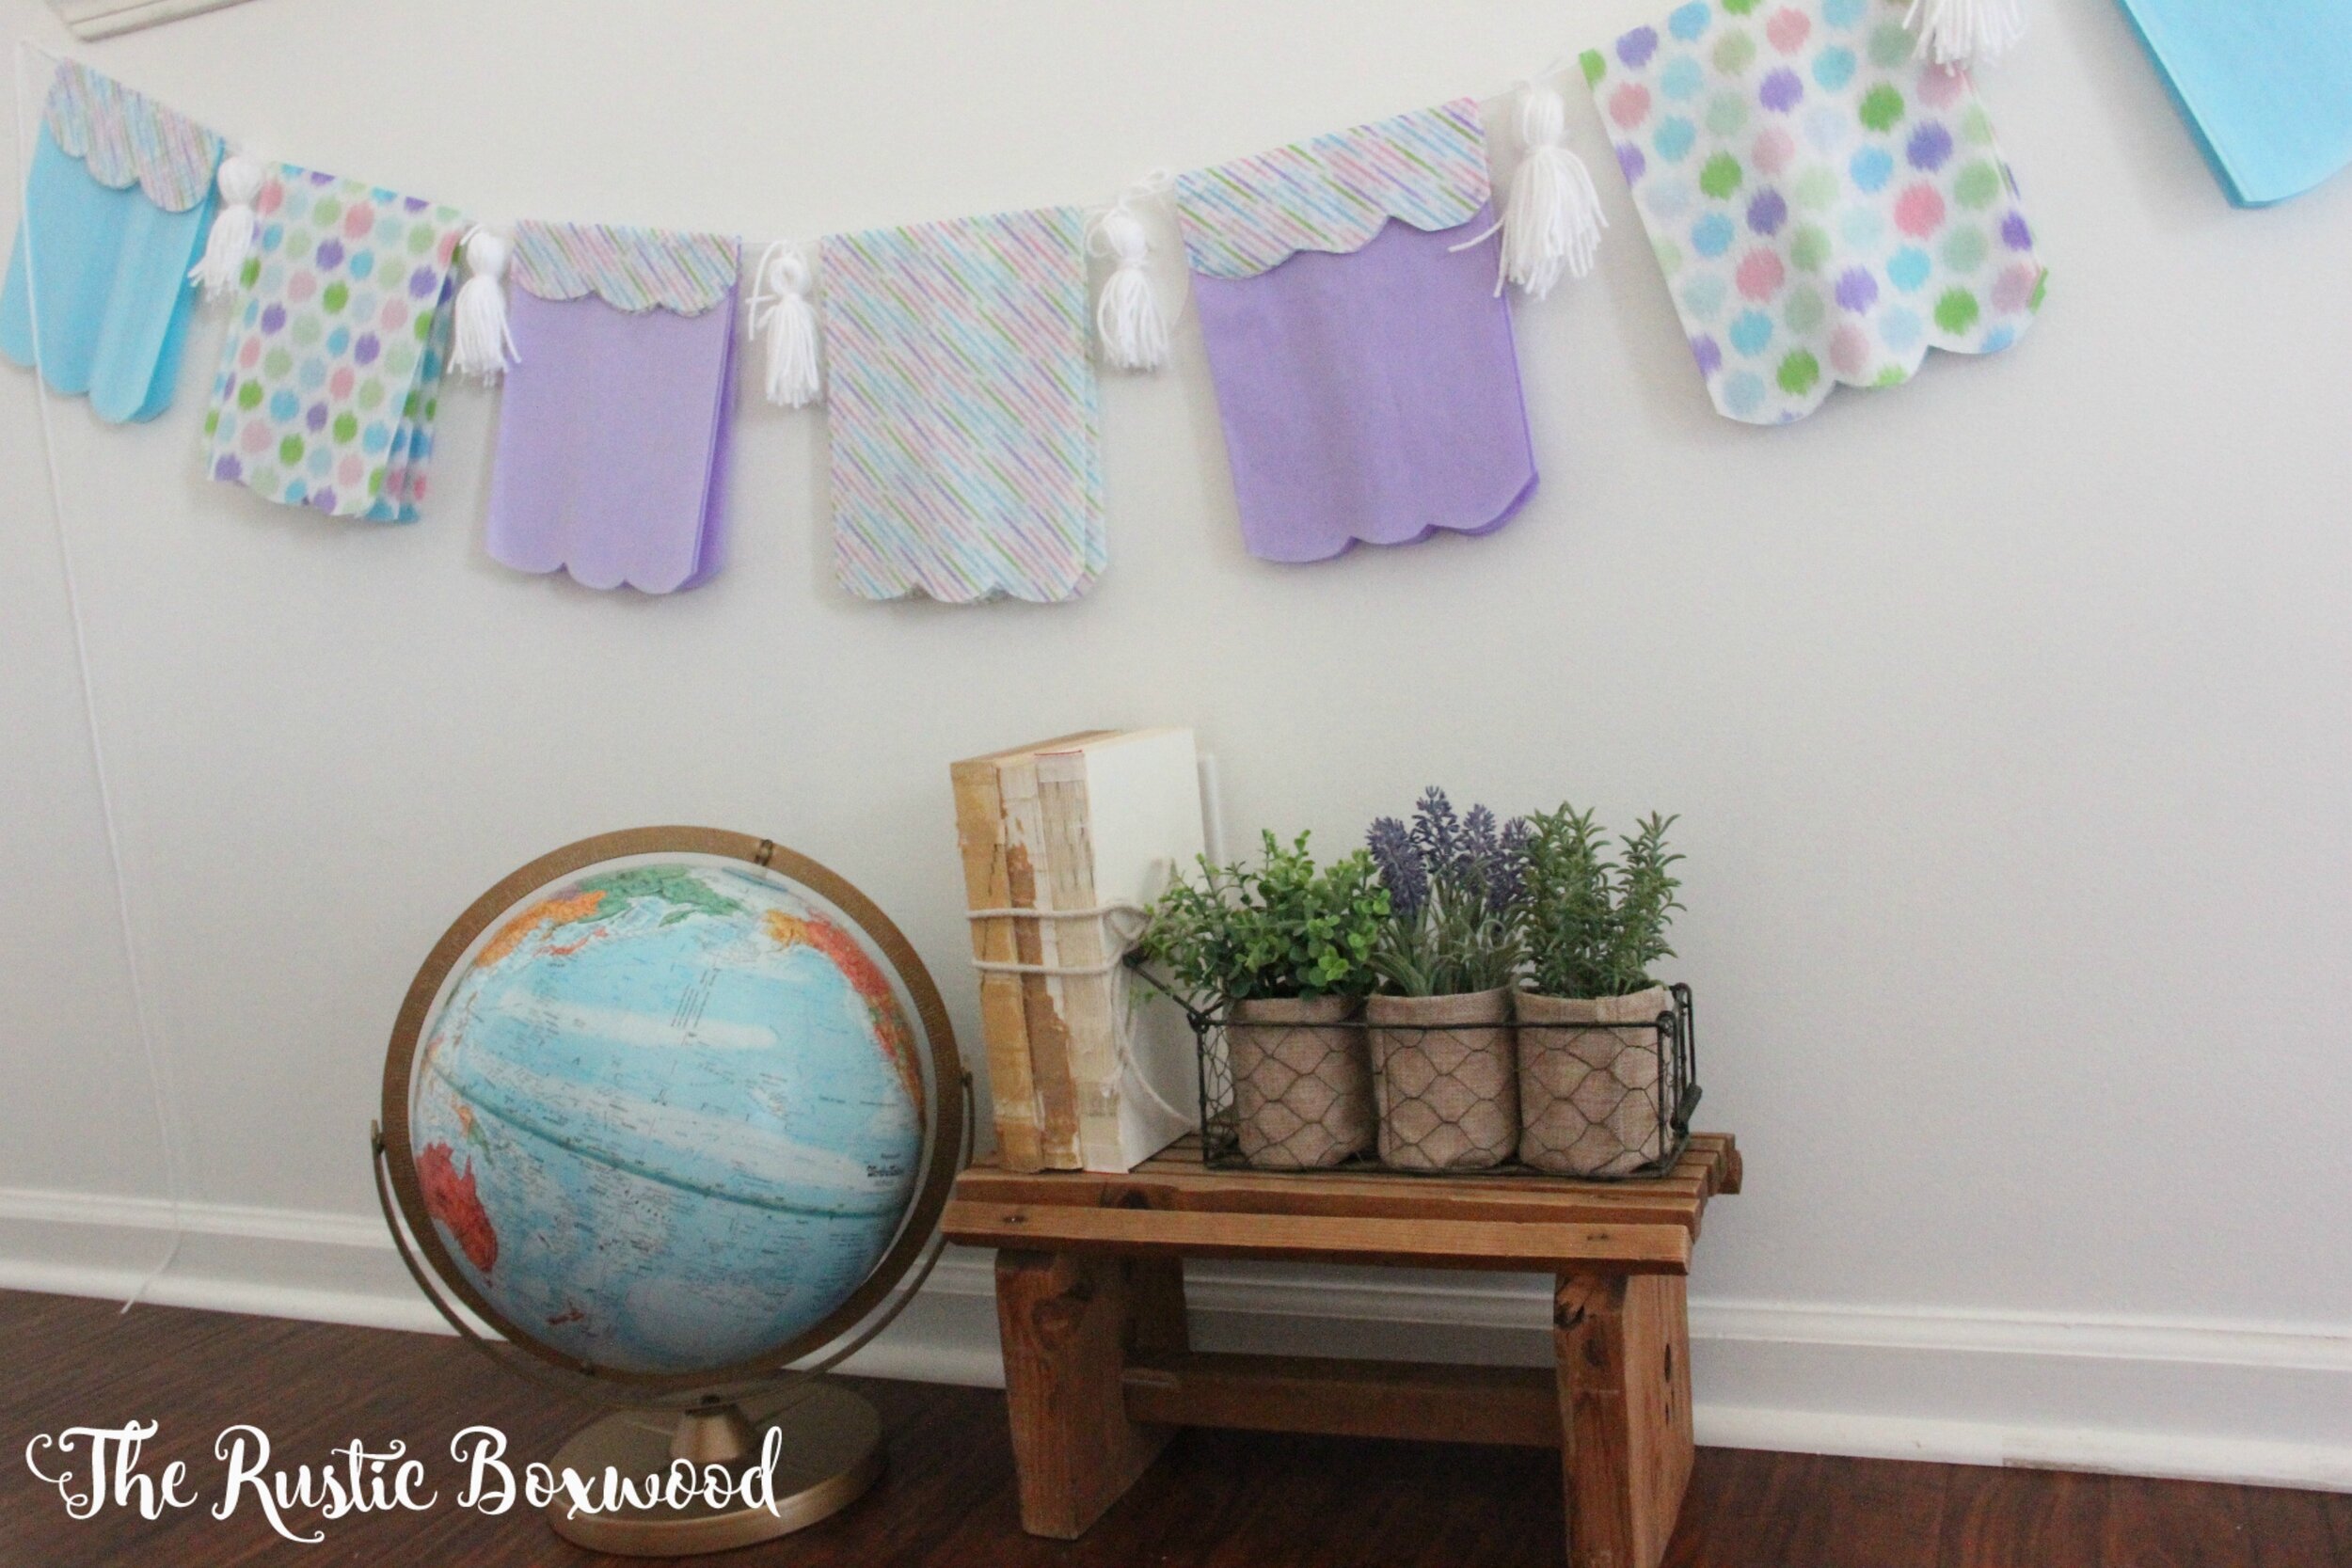
Lay out your tissue paper in the order you'd like it to hang. If you don't have time to iron the creases (like me!), use those folded edges to your advantage! Fold the tissue paper along those edges to form your pennants, and then lightly hot glue the inside of each one to the yarn. SO easy! And if you'd like to take an additional step, make some yarn tassels to go in between each pennant! (You'll learn how to make them in my live video.)
I hope you've gained some inspiration for making your own garlands! These all were under $5 for me....Some were just pennies! Please don't hesitate to reach out via email at TheRusticBoxwood@gmail.com if you have any questions, or you can comment below. Also, stop by and say hey on Pinterest, Instagram, Twitter, HomeTalk and Facebook. It always makes my day to hear from my sweet readers! Have a wonderful day!
You might also like: