DIY OFFICE CHAIR MAKEOVER
Hey friends! Don’t forget to follow along with me on Pinterest, Instagram, Twitter, HomeTalk and Facebook, so you don’t miss another post! I'm so excited to share with you about my recent office chair makeover!
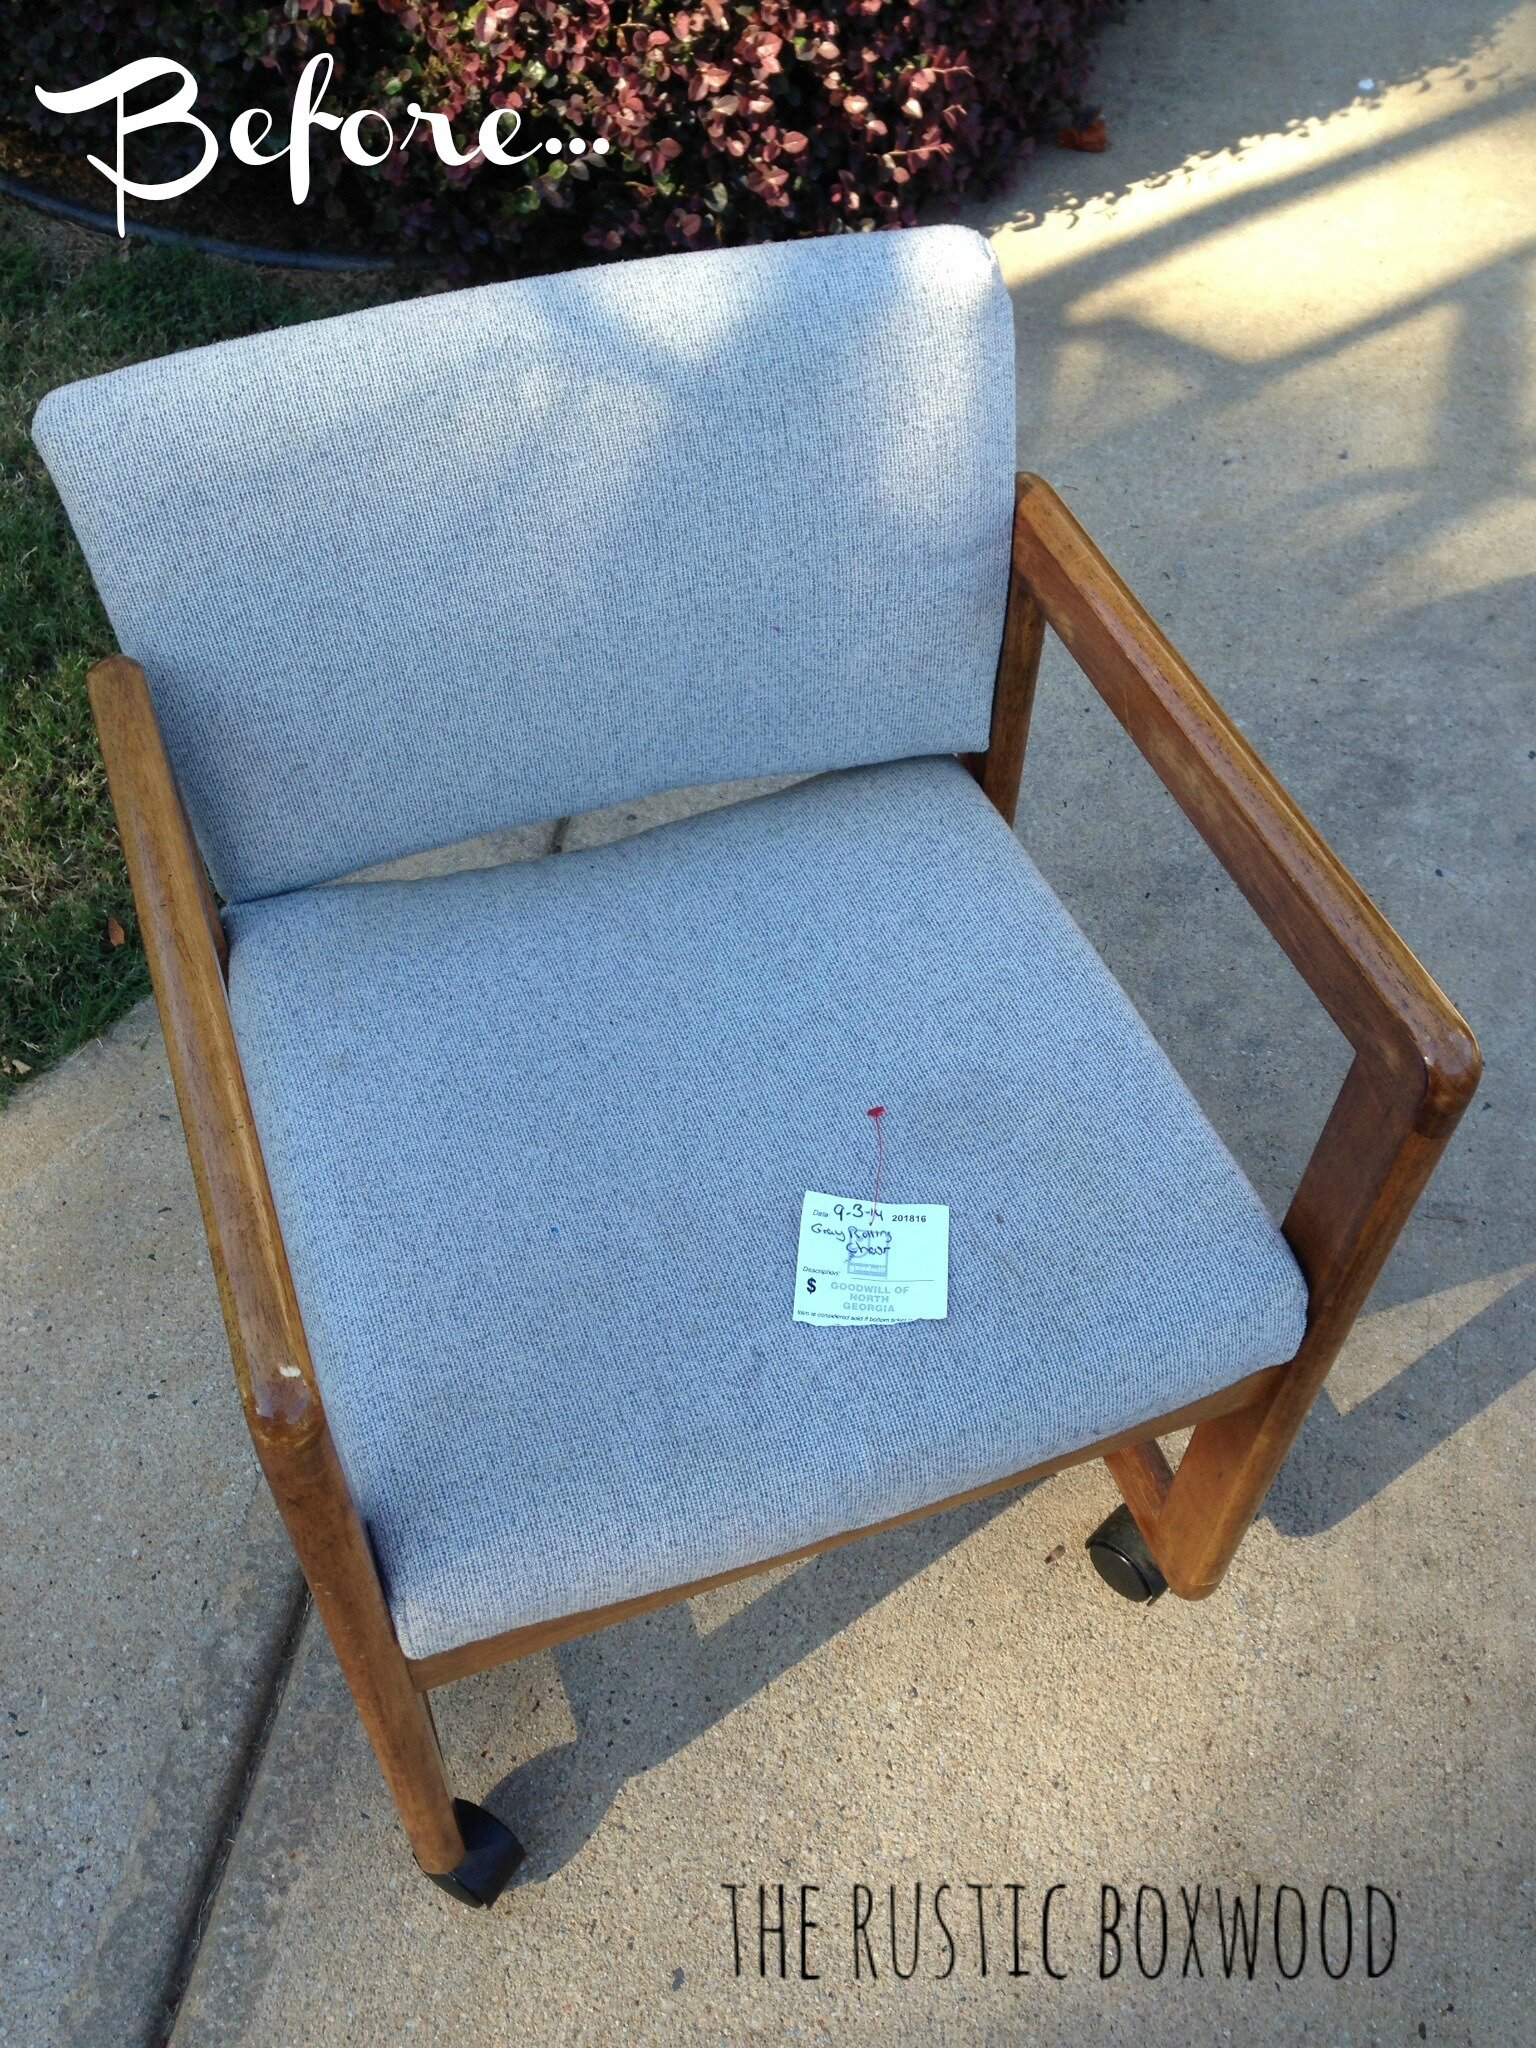
I found this dilapidated and outdated mess at our local Goodwill for only $5! The seat back was broken on one side, and the fabric was from the 80's. It was anything BUT pretty! Since it was that cheap, I figured that if I made it worse after trying to repair it, at least I didn't waste too much money! Haha! Plus, the chair was solid wood, the padding was very comfy, and the cushions didn't stink....Three very important requirements for me!
Here's what I used:
Gold spray paint (found here)
Canvas drop cloth (found here)
Scrap fabric (more specifically, white faux leather or "pleather") ;)
Staple gun and staples
Sewing machine (This machine is the one I use, and I LOVE it! It's so easy to manage, especially for the self-taught seamstress! I bought mine "factory-serviced" from Walmart. You can buy the same refurbished machine through Amazon for the same price.)
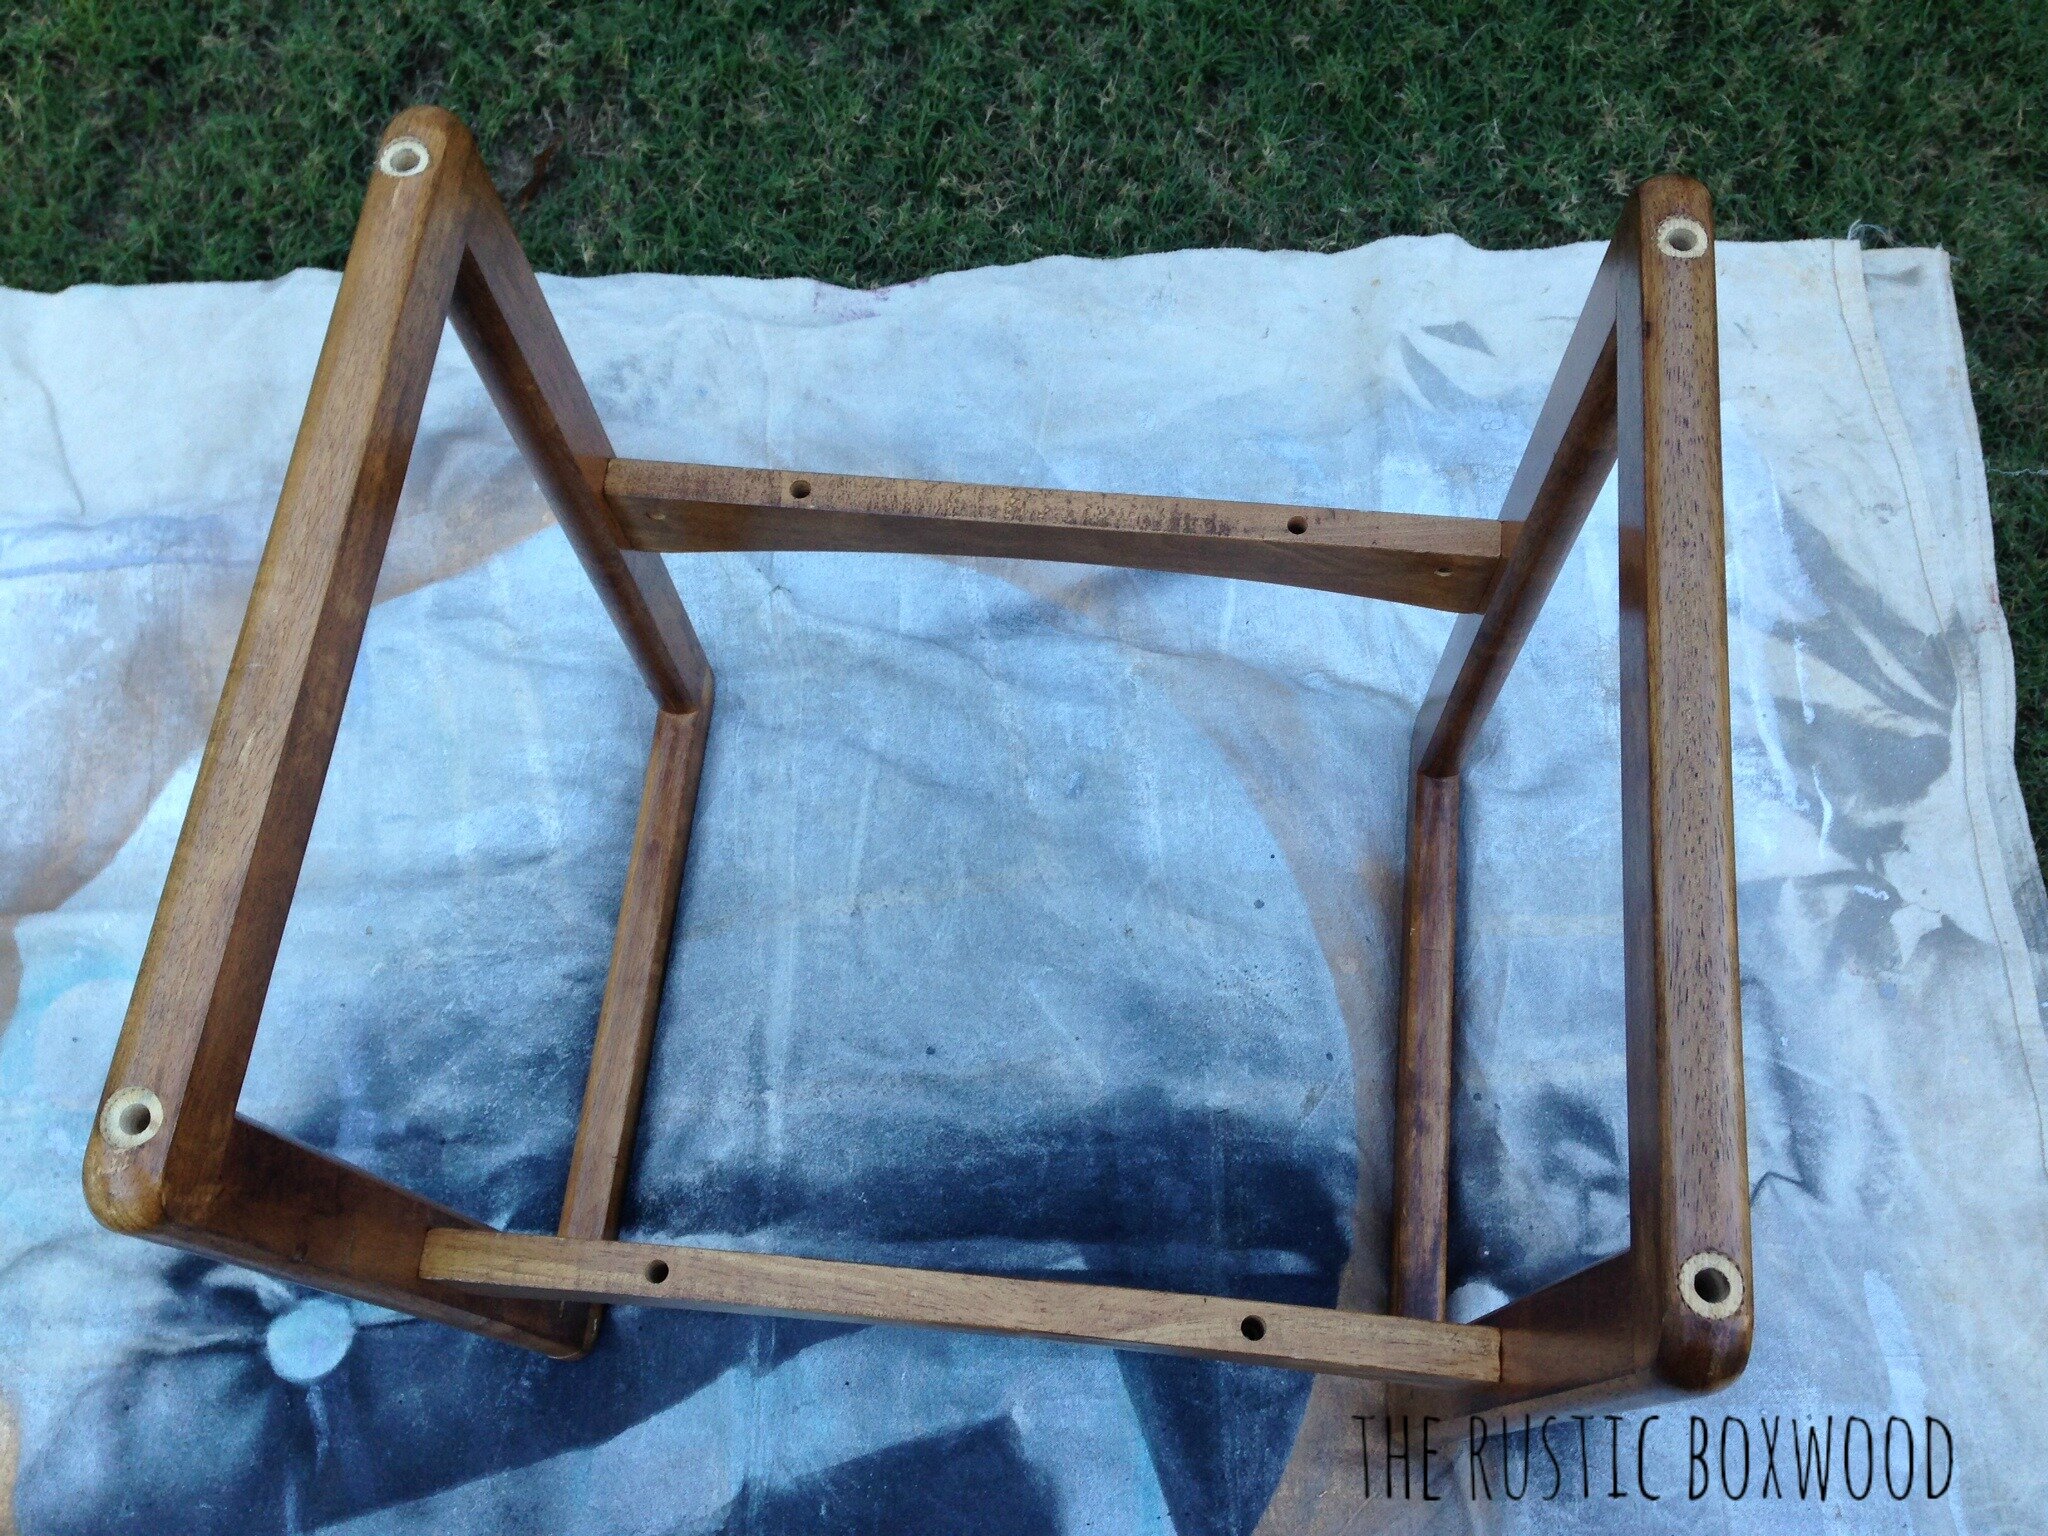
First, I laid down my drop cloth outside, away from cars...and our basketball goal. (We don't need a metallic gold basketball frame! See this prime, yet short, example here for my husband's and son's dislike of metallic gold on "manly" items. Lol!)
Next, I did what any smart person would do...cover and tape off the caster wheels with sandwich bags and painter's tape. Haha. Like this...
Didn't even think about trying to pull off the wheels before taping them....That is, until my sweet honey gave me that gentle instruction! Lesson learned!
So, now you're ready to spray paint. Make sure there's no strong breeze coming your way. Because, like I said earlier, you don't want any valuables accidentally sprayed!
The spray paint dries super-quickly...as in, 10 minutes! And while it's drying, you can staple your lovely fabric onto your cushions. Don't worry about pulling off the old fabric. As long as you can't see through your new fabric, you're good to go!
To recover your bottom cushion....First, roll out the fabric with the right side facing the floor. Place your cushion on top and leave about a 4" allowance (depending on the thickness of your seat) all the way around your cushion. It'll look like this...
Pull it tight as you staple all the way around.
Trim off any excess fabric after completing your stapling.
And to recover your top cushion (the seat back), you'll want to sew the sides together, so that the stapling doesn't show in the back. I just took a long piece of fabric, folded the right sides together, and then sewed the two sides together. Once it was finished, I turned the fabric right-side out, slipped it over the cushion, and then stapled the bottom ends of the fabric onto the seat back. You can't even tell it was stapled! Woohoo!
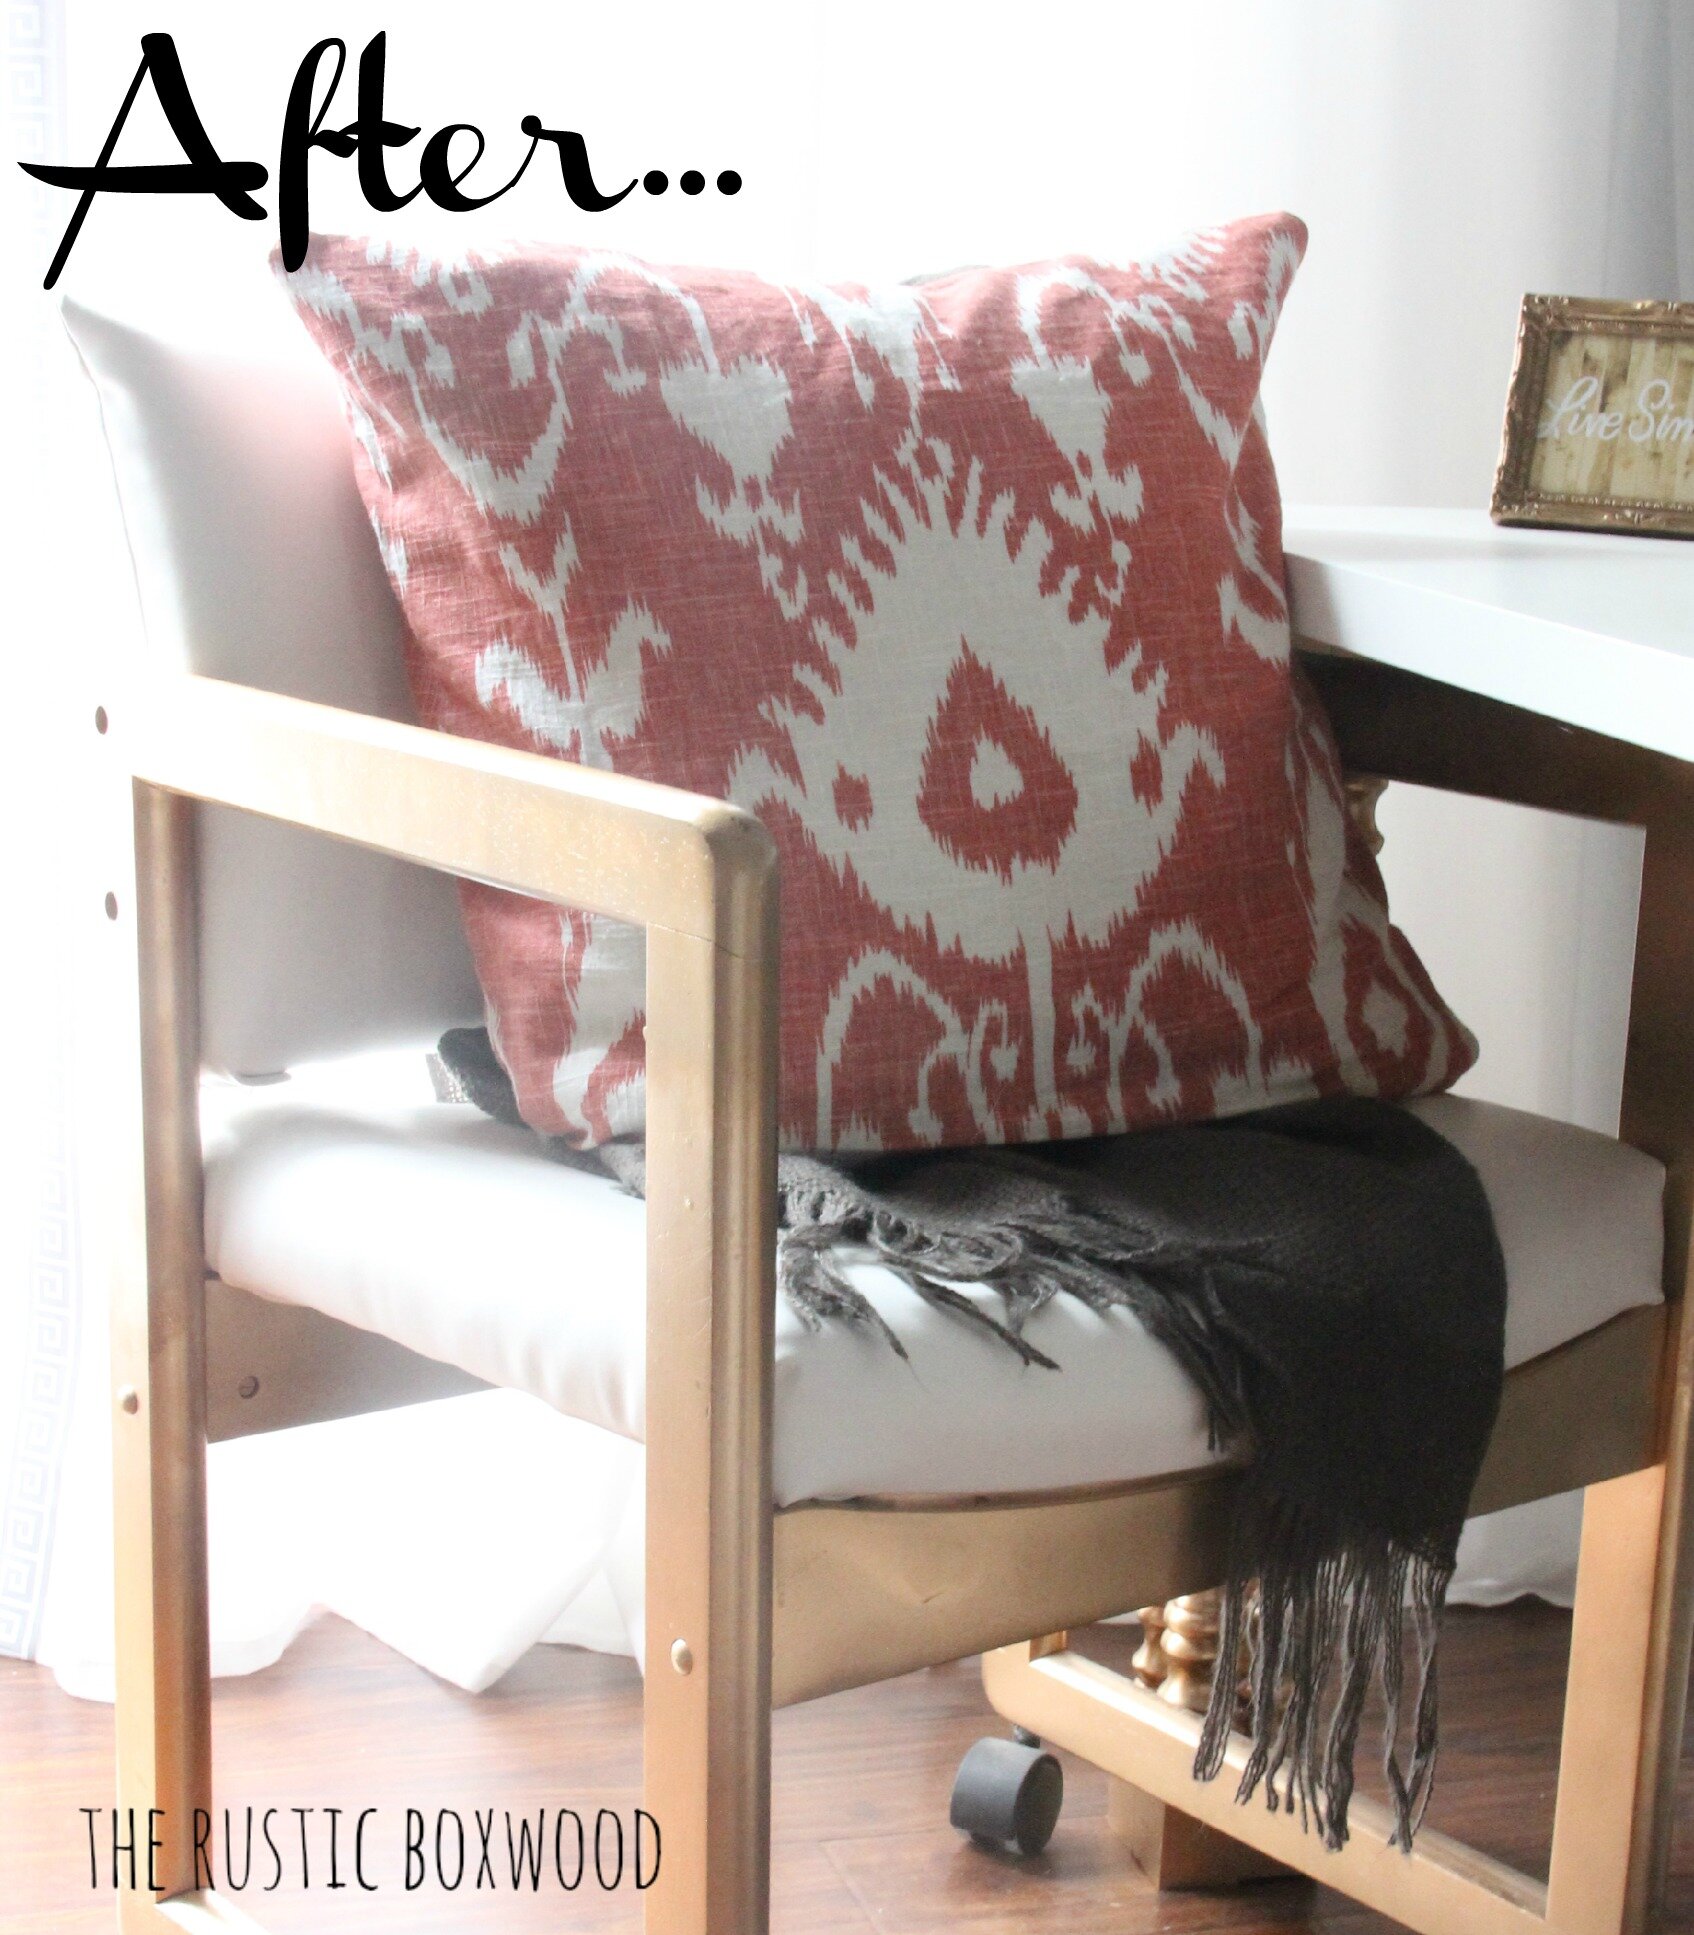
Now, all you have to do is put everything back together and then breathe a sigh of relief that yes, it WAS afterall, worth it to spend that $5! So fun!
If you like the ikat pillow above, here and here are a couple of tutorials on my diy pillows.
What do you think of this project? Do you love gold spray paint as much as I do? And have you repaired any old pieces of furniture from thrift stores or yard sales lately? I'd love to hear from you! Comment below, or stop by and say hey on Pinterest, Instagram, Twitter, HomeTalk and Facebook!
You might also like:


