4 DIY Easter-Egg Crafts
Hey friends! Before we begin, I wanted to remind you to follow along with me on Pinterest, Instagram, Twitter, HomeTalk and Facebook, so you don’t miss another post! Also, if you'd like to see a live video regarding some of these DIY Easter egg crafts (and others), click this link!
Thanks for stopping by today! I'm so happy Spring is in the air. It's been here for quite some time now, but today is the OFFICIAL day of Spring! Woohoo! I go into hibernation during the winter, but when Spring comes, look out world....It's my favorite time of year!!
So, to celebrate, here are some easy and colorful ideas for diy Easter eggs!
Here's what you'll need:
foam brushes
mod podge (I used the matte option.)
different materials, such as washi tape, vintage hankies, thin fabric, an old scarf, decorative tissue paper, stickers
plastic or hard-boiled eggs (I used the matte white plastic eggs from craft stores for the sticker idea, and for the rest of the eggs, I used just the shiny, plastic eggs from the dollar store.) ;)
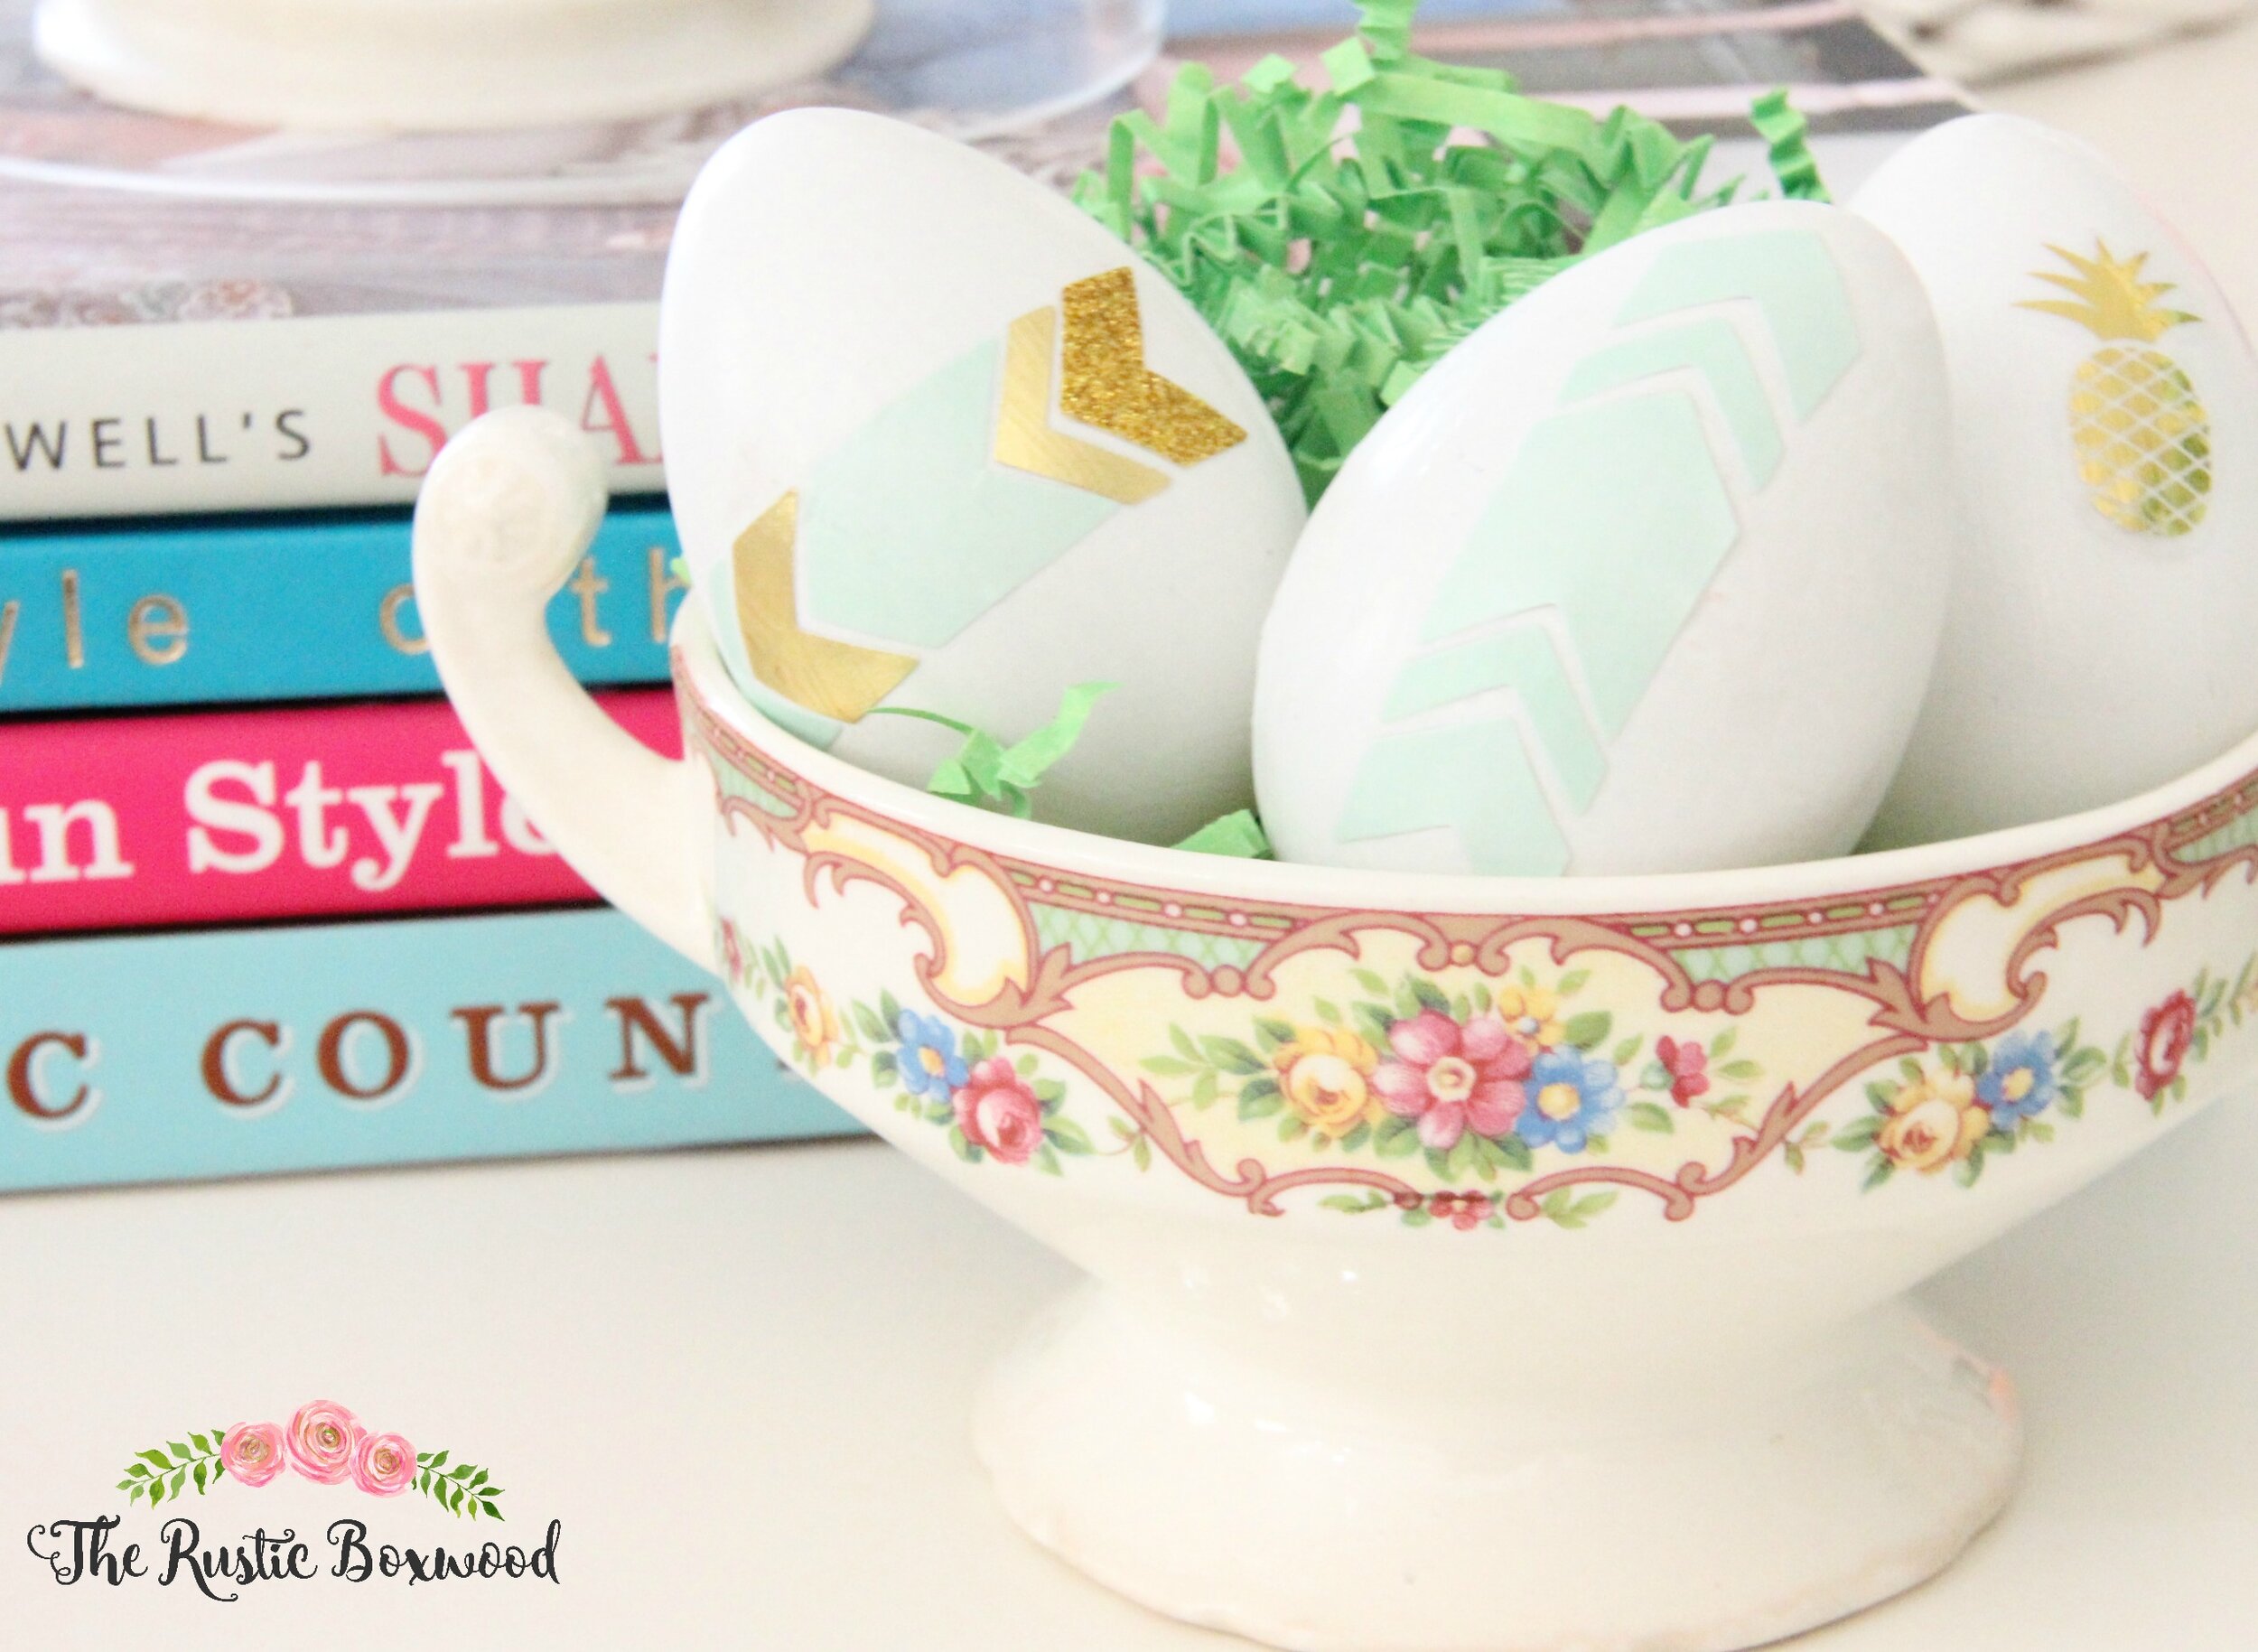
Idea #1: Stickers! These were super-easy to do. I didn't apply any mod podge under the sticker....I only brushed it over the tops of the eggs, once the stickers were applied. And suprisingly, after the mod podge dried, the glitter and the metallic gold on the stickers still looked amazing!
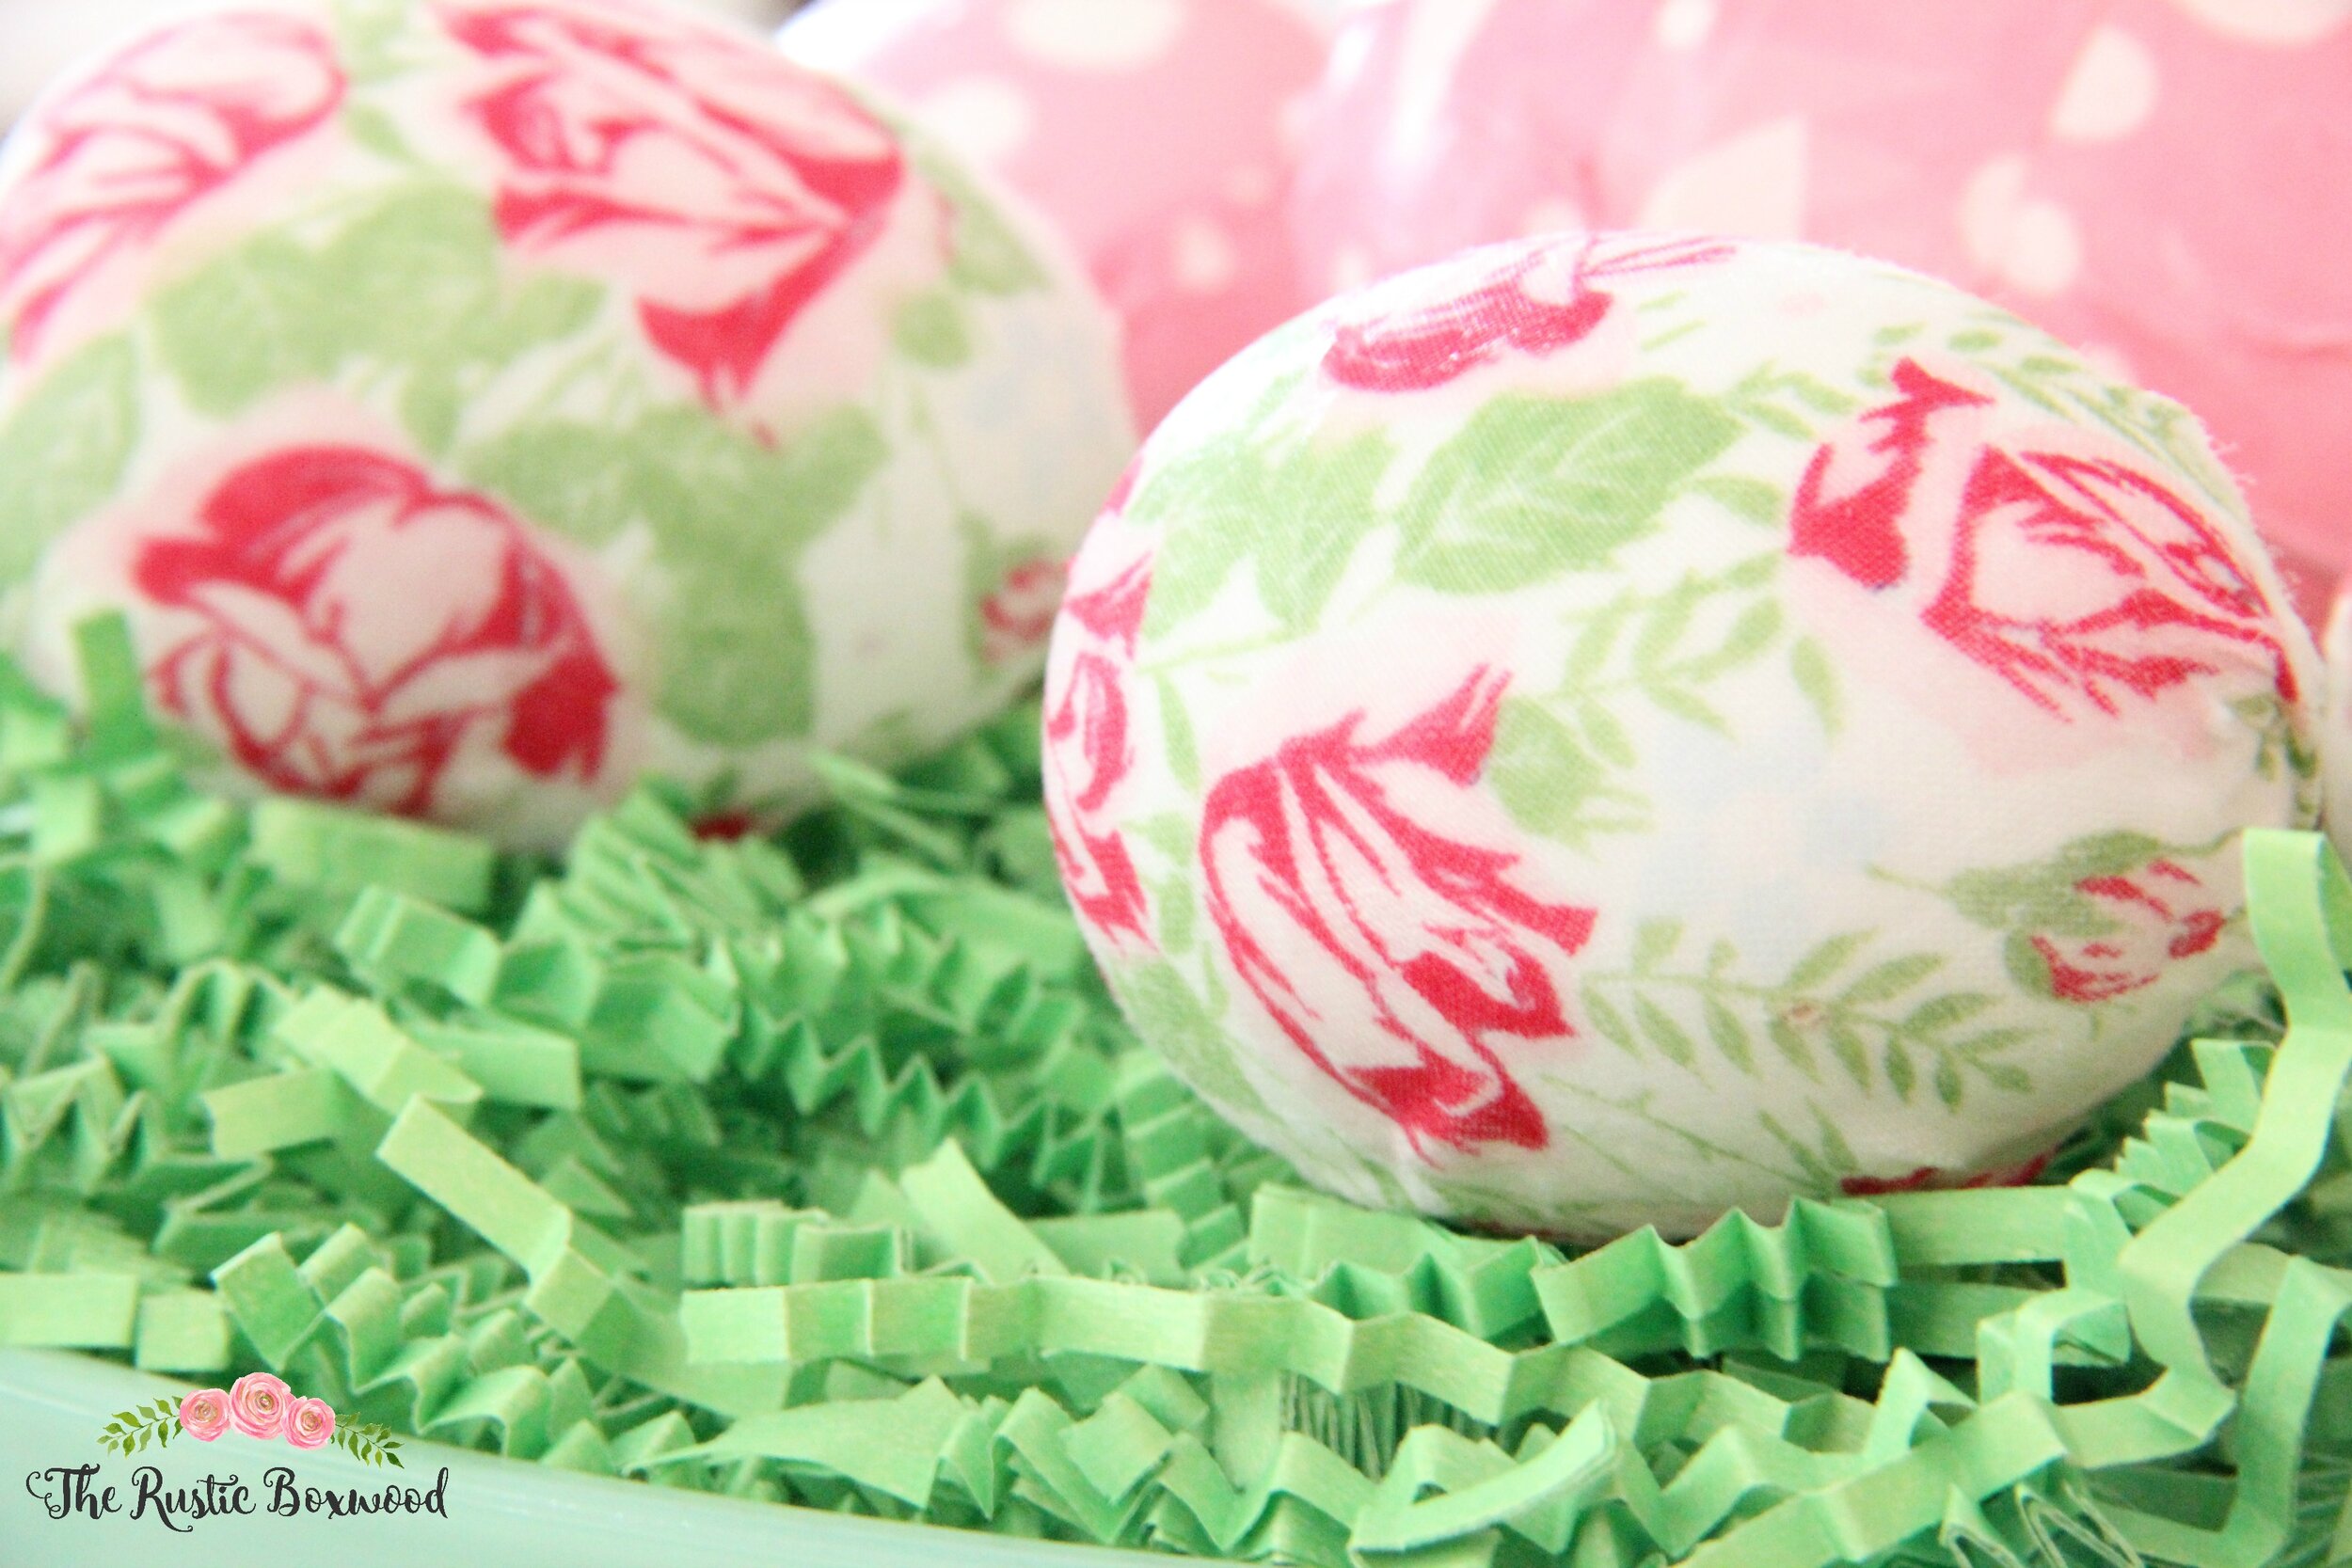
Idea #2: Vintage hankies! I cut up just one hankie, and it yielded 4 eggs. This material was super-easy to apply! Simply brush mod podge onto the egg. Next, while the glue is still wet, apply the hankie strips to the egg, and smooth each strip out as carefully as you can. Lastly, brush on a final coat of the mod podge.
The eggs might look a little scary at first, but that's okay, give them overnight to dry, and the next morning, they'll be beautiful!
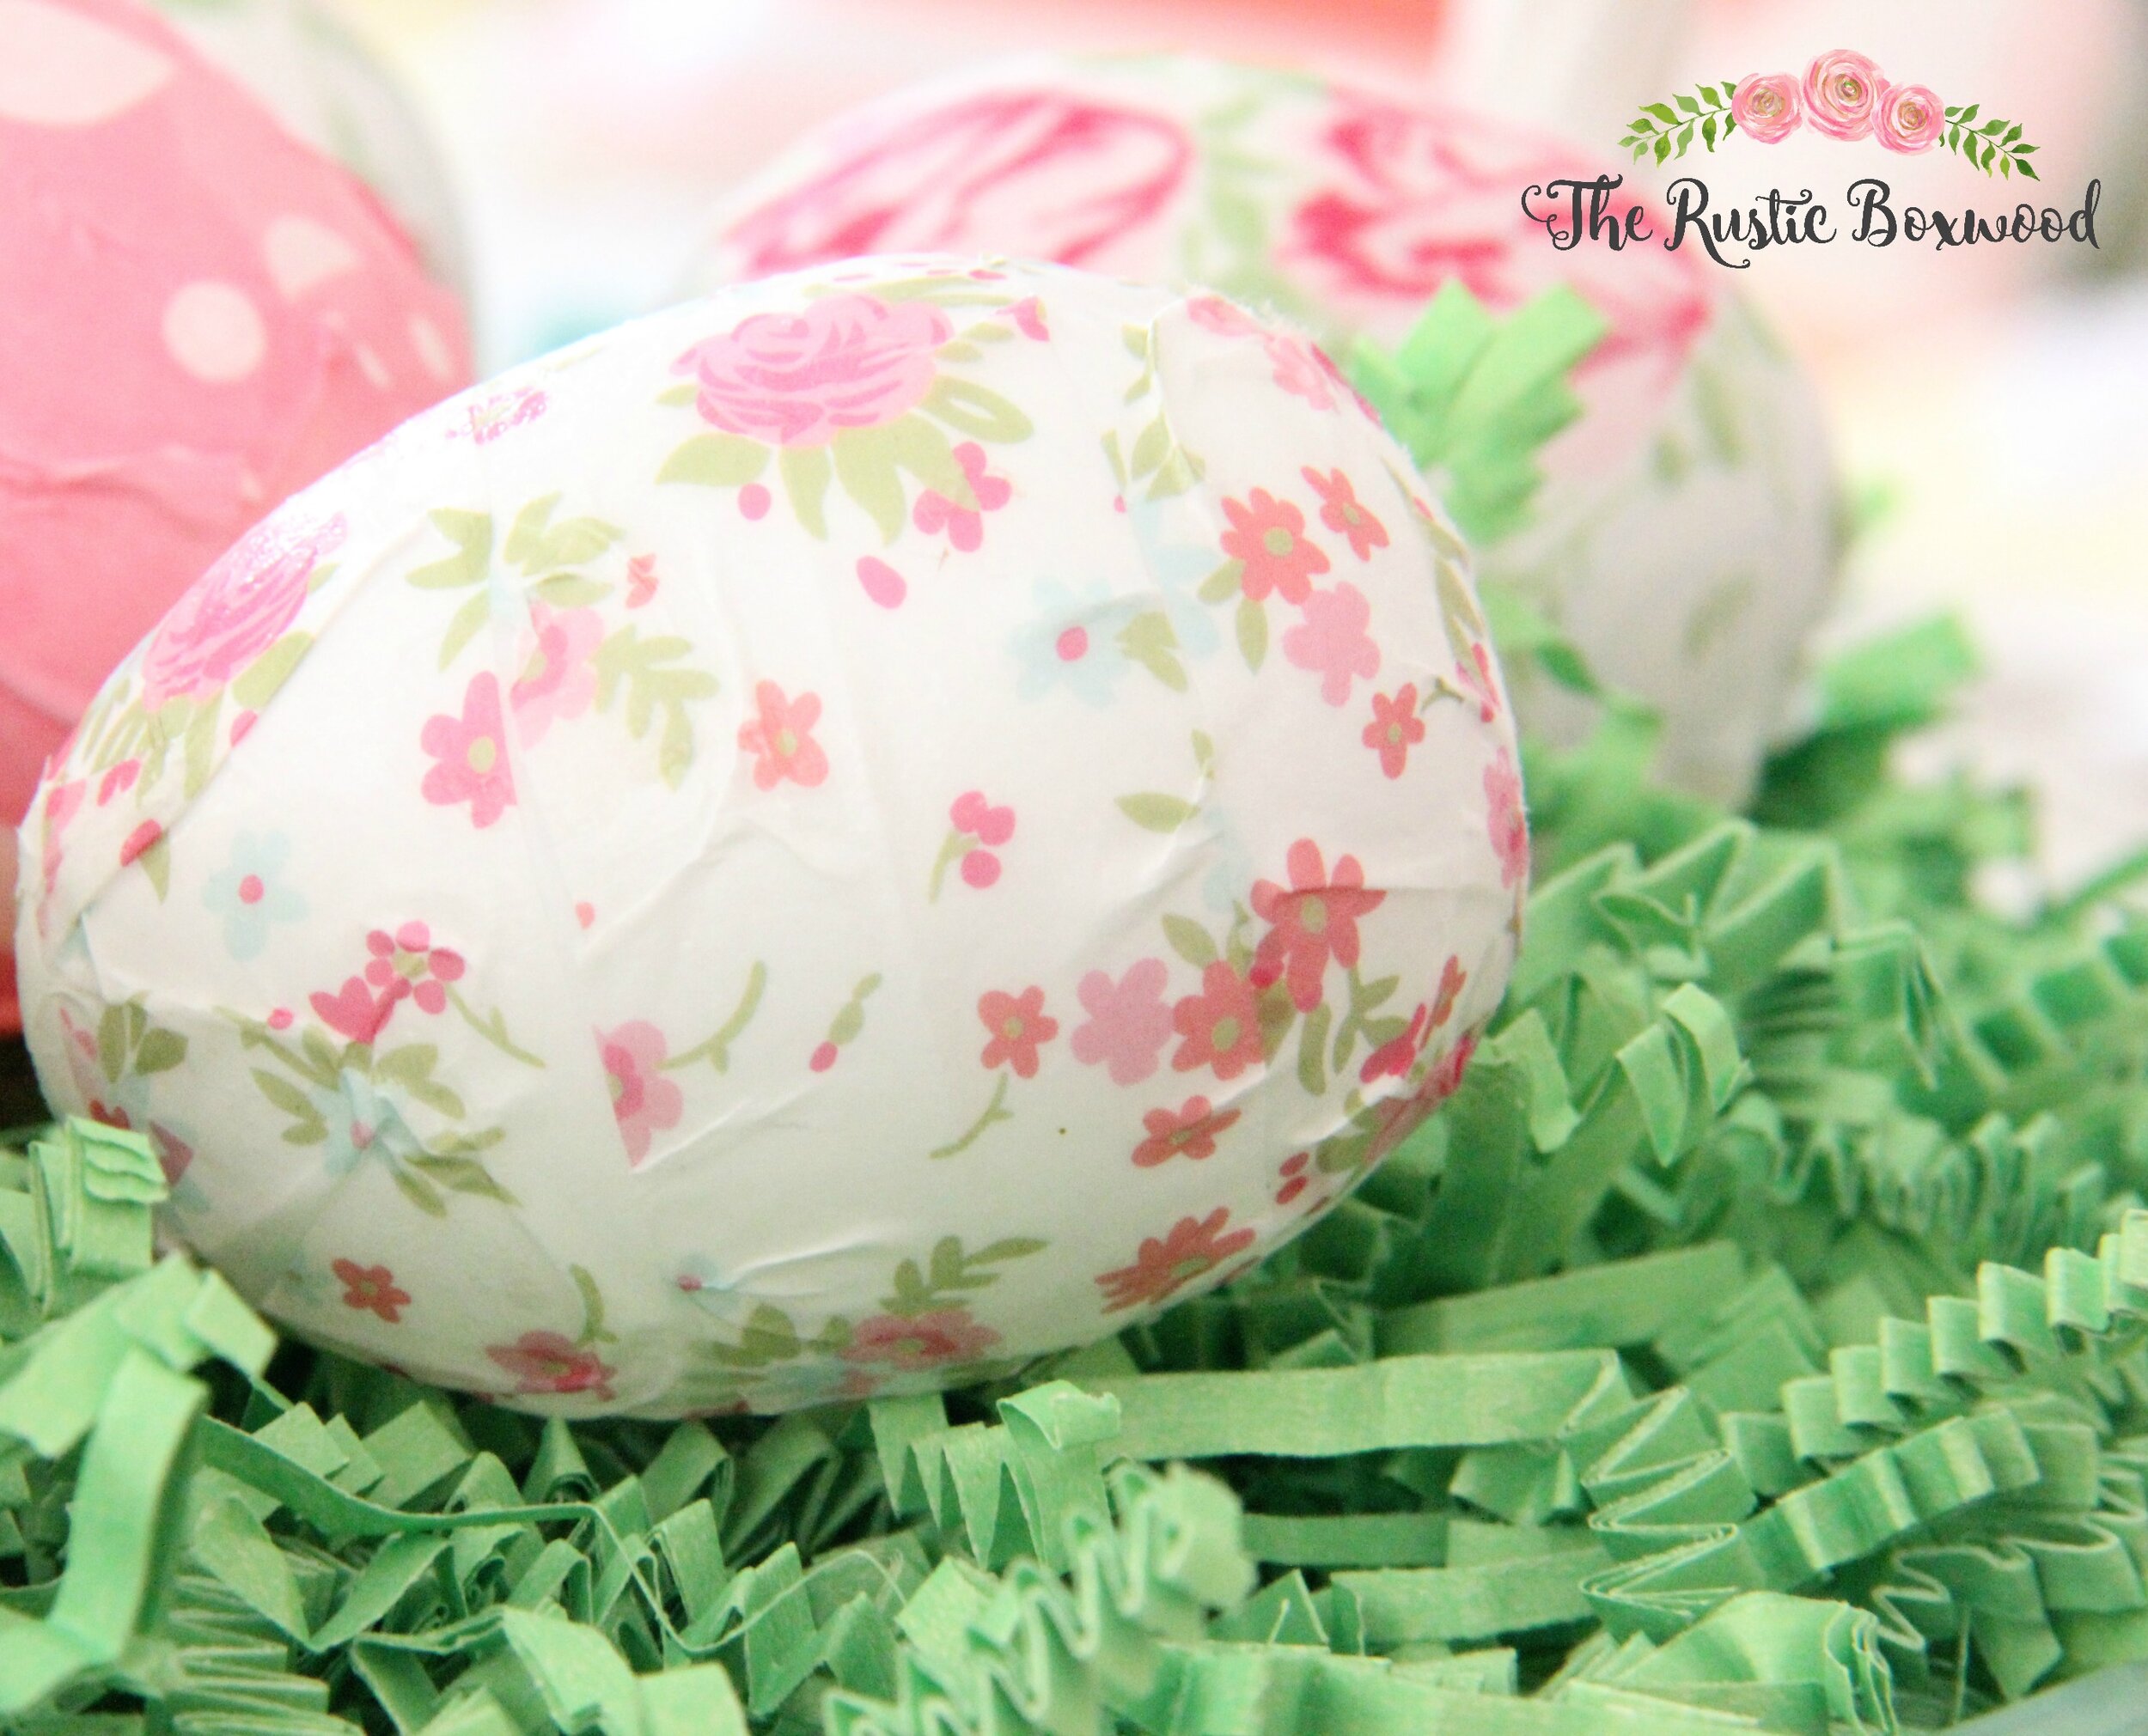
Idea #3: Tissue Paper! This material was also very easy to apply. First, I cut the paper into strips. Next, as in idea #2, I applied the glue before and after applying the strips.
Idea #4: Washi Tape! I made sure to use thin strips of tape in order to prevent the sides from sticking out on the eggs. But overall, they look great! Obviously, as with the stickers, I only applied the glue after I attached the tape to the eggs.
So, there you have it. Four simple diy Easter-egg crafts! What is your favorite? Do you have any other fun materials that you've used in the past? I'd love to hear about them! Comment below, or stop by and say hey on Pinterest, Twitter, Facebook and Instagram. I always love to hear from my sweet readers! And I'll mention this again....If you'd like to see a live video regarding some of these DIY Easter egg crafts (and others), click this link!
And if you'd like more inspiration for your home, check out the Spring posts below! Have a wonderful day!
You might also like:
