DIY and No-Sew Pottery Barn Inspired Bunny Banner
Hey friends! Before we begin, don't forget to follow along with me on Pinterest, Instagram, Twitter, HomeTalk and Facebook, so you don't miss another post!
**************************************
Can you believe it's that time of year already?! Spring is almost here! Well, this Georgia weather has been more like Spring for most of the winter this year, which has been a wonderful thing! ;)
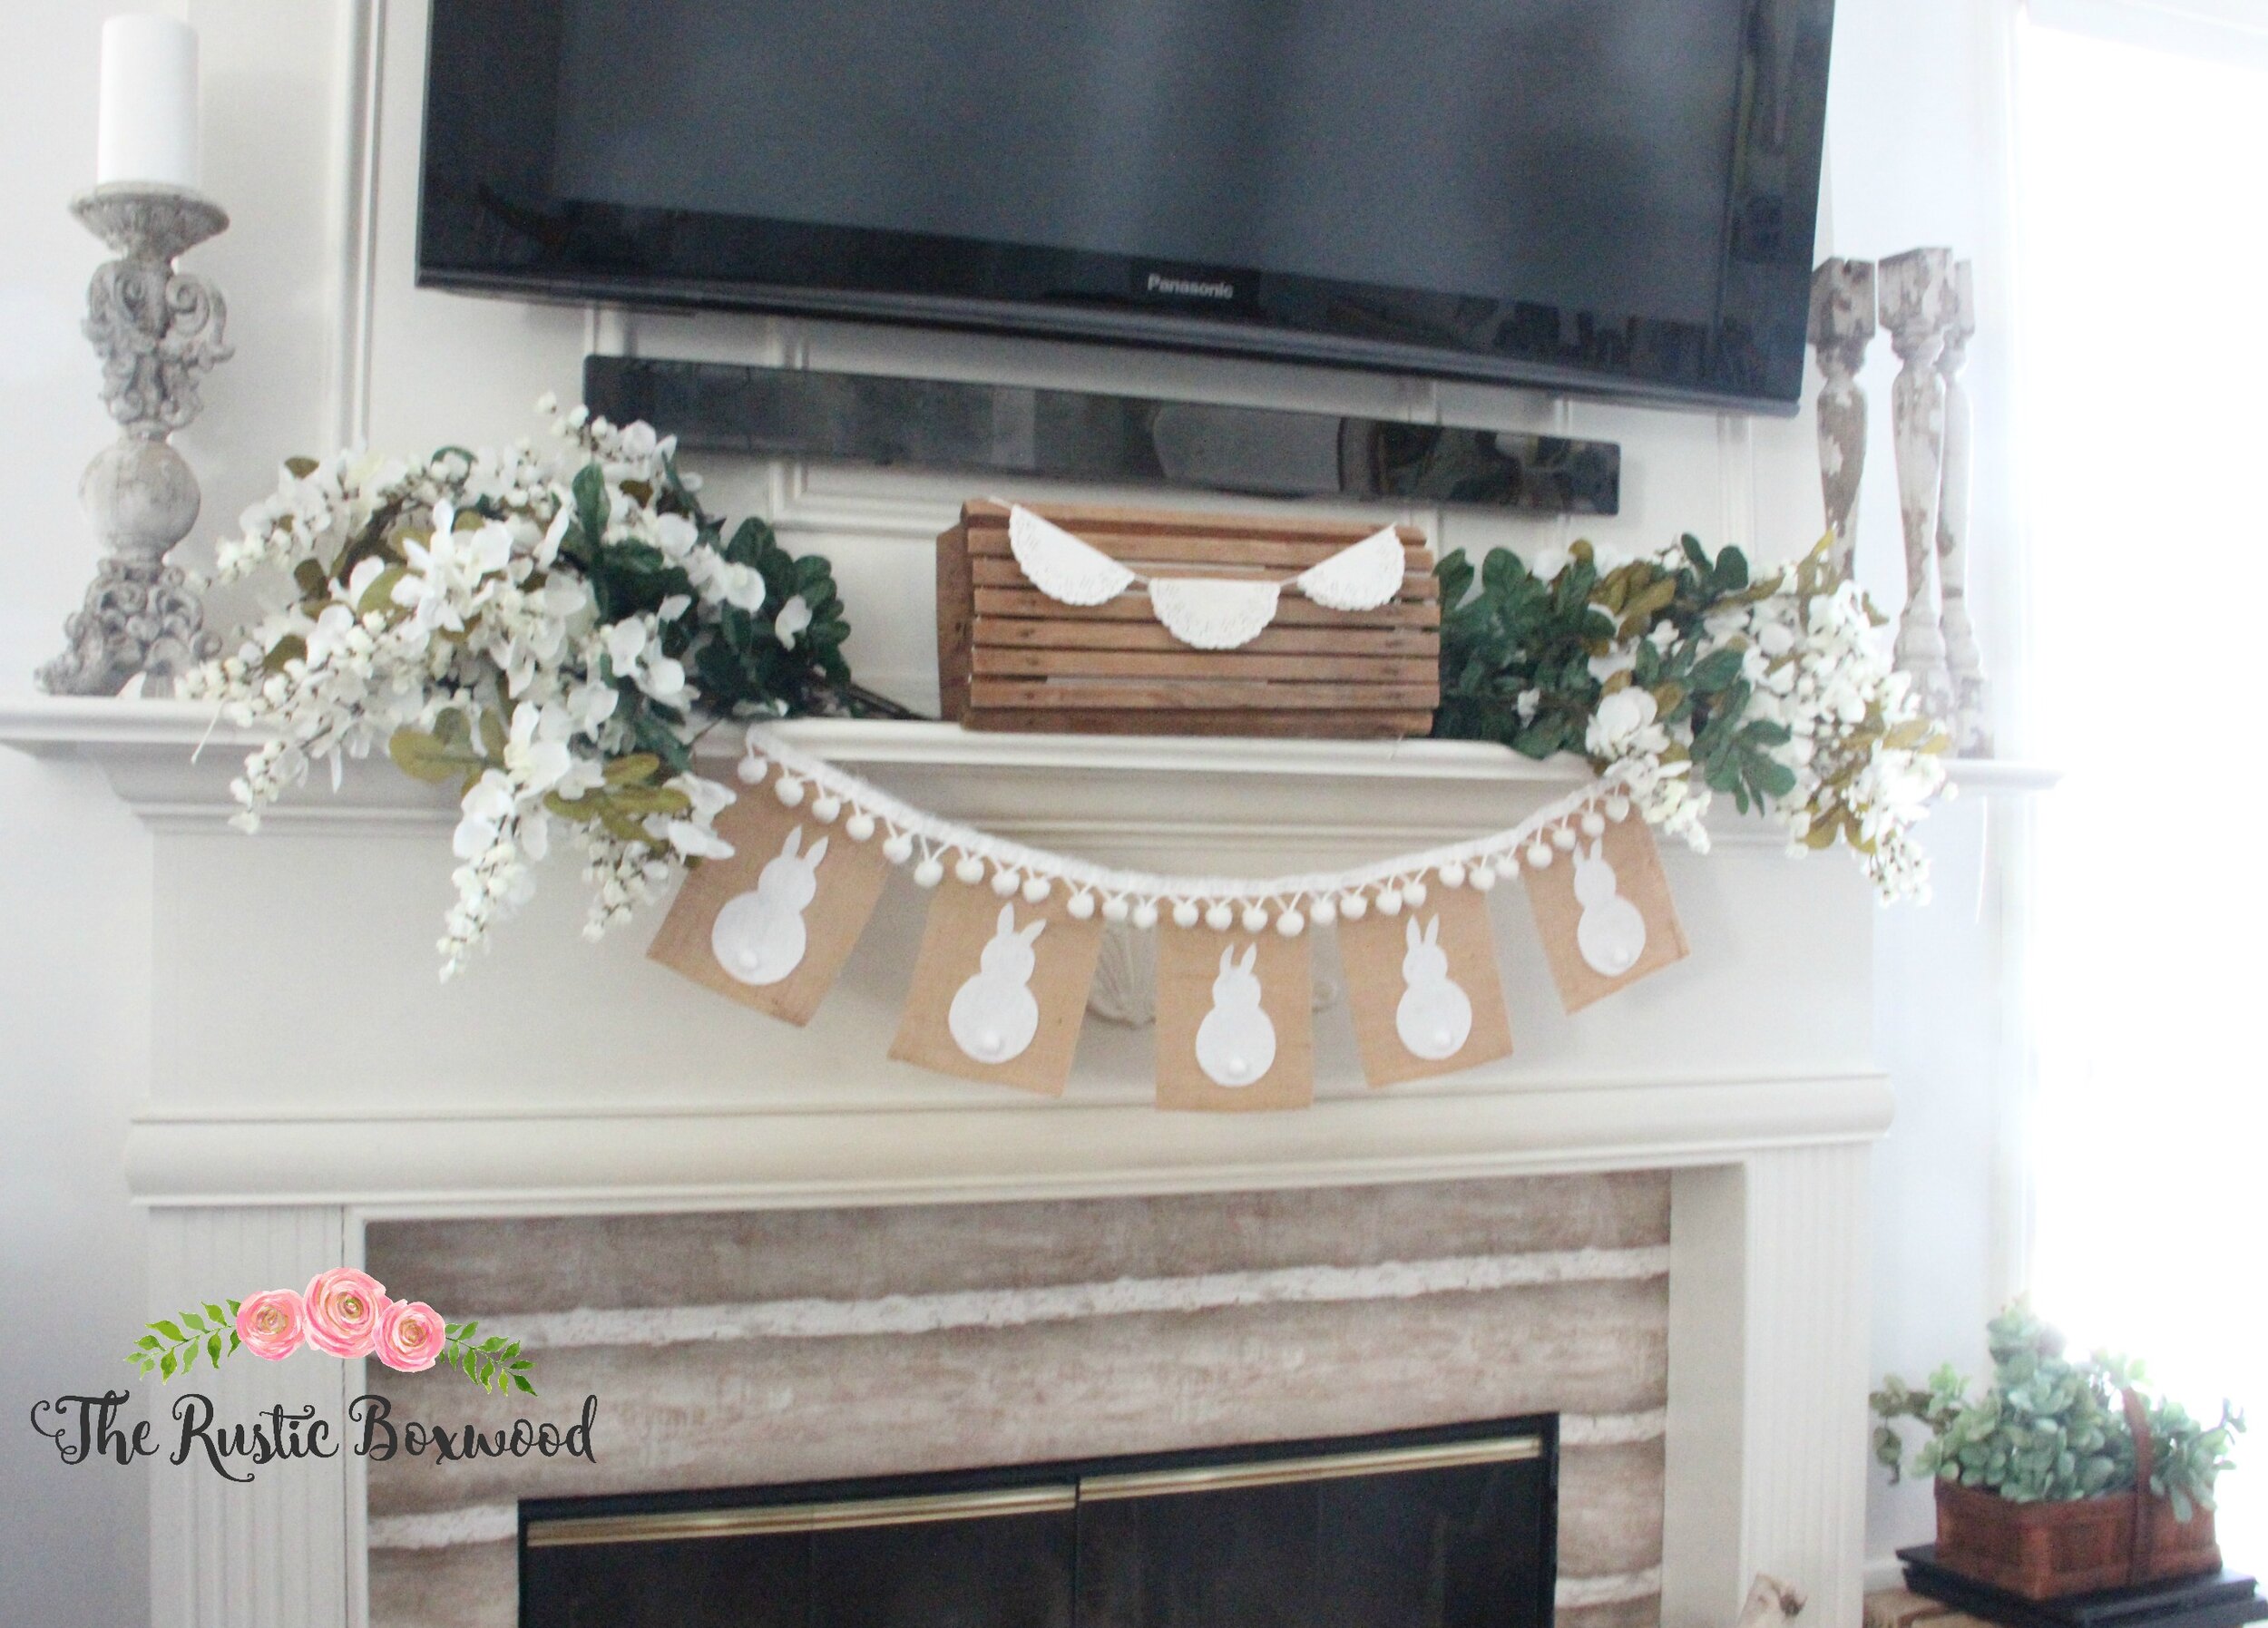
I'd like to show you how to make such a simple, yet chic, banner that's both beautiful and inexpensive! It's a total DIY, plus you don't have to sew a thing....And the best part is that it's inspired by Pottery Barn's bunny banner.
You're gonna love this farmhouse accessory for your Spring decor!
What you'll need:
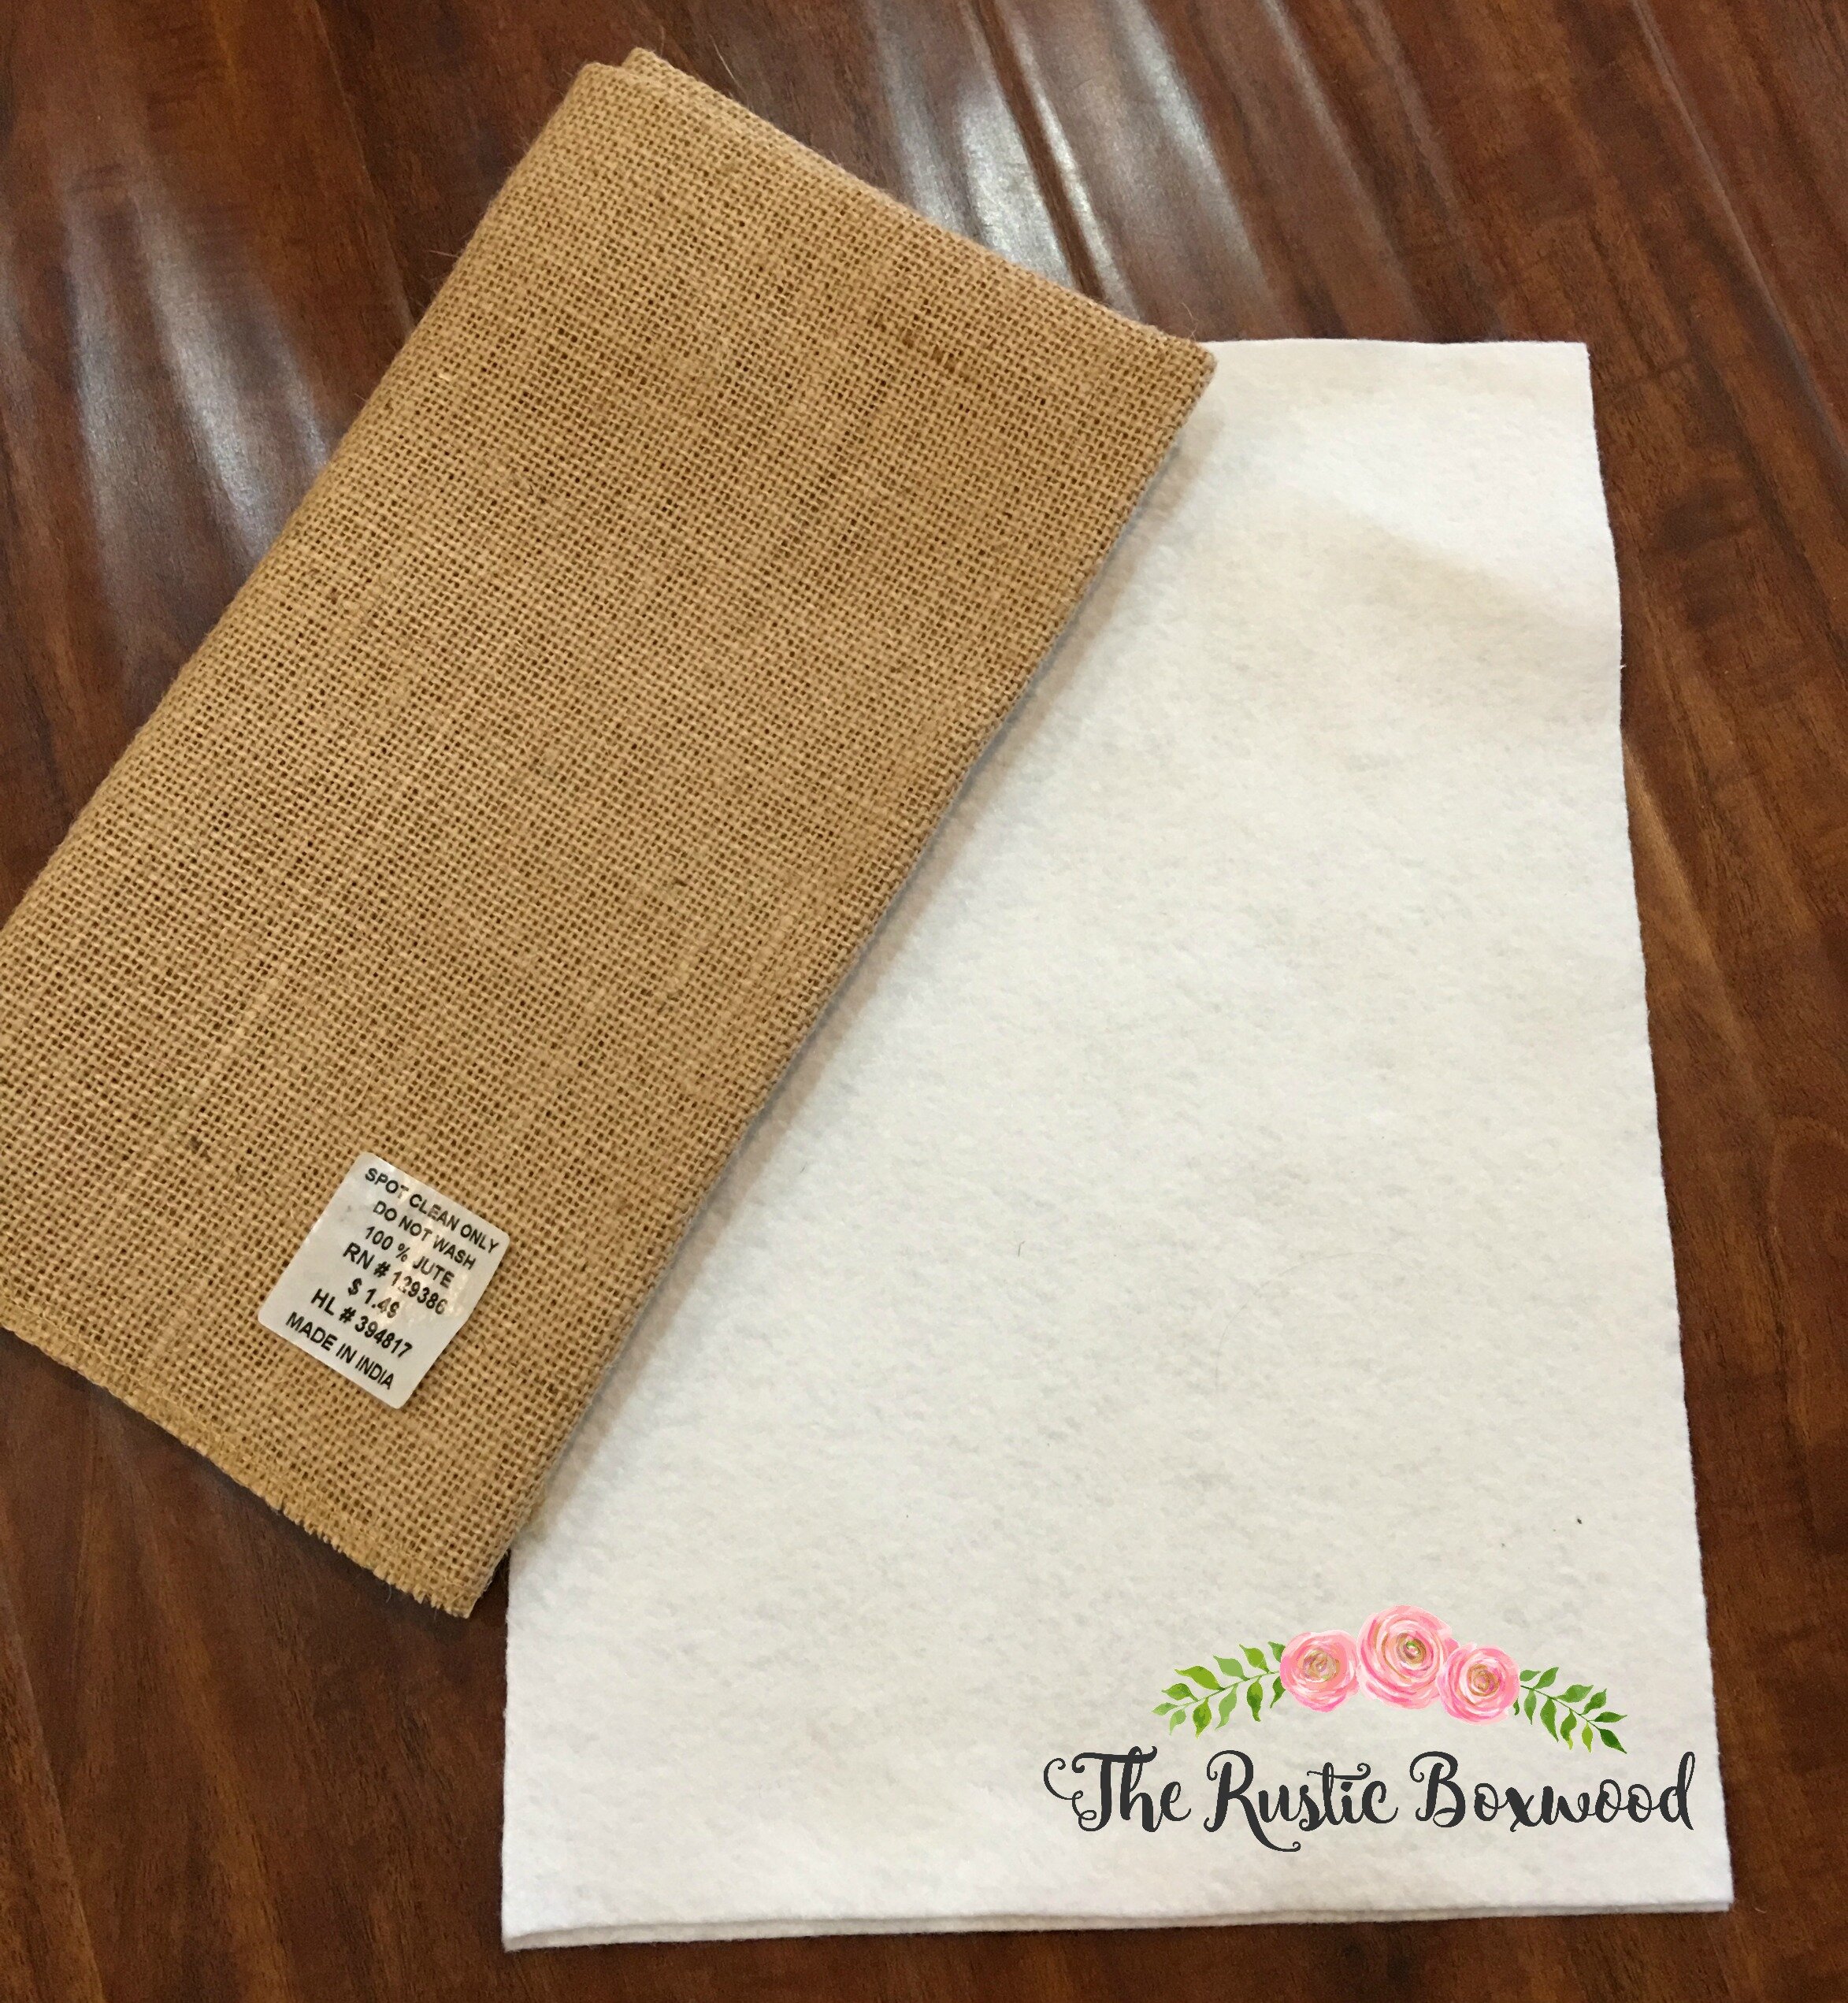
1 burlap bandana (Hobby Lobby $1.50) (or any burlap remnants), ironed
hot glue gun and glue sticks
1 sheet of white felt (33 cents at Hobby Lobby)
small, white cotton balls
coordinating trim for hanging (such as white pompom fringe and/or white twine)
pencil
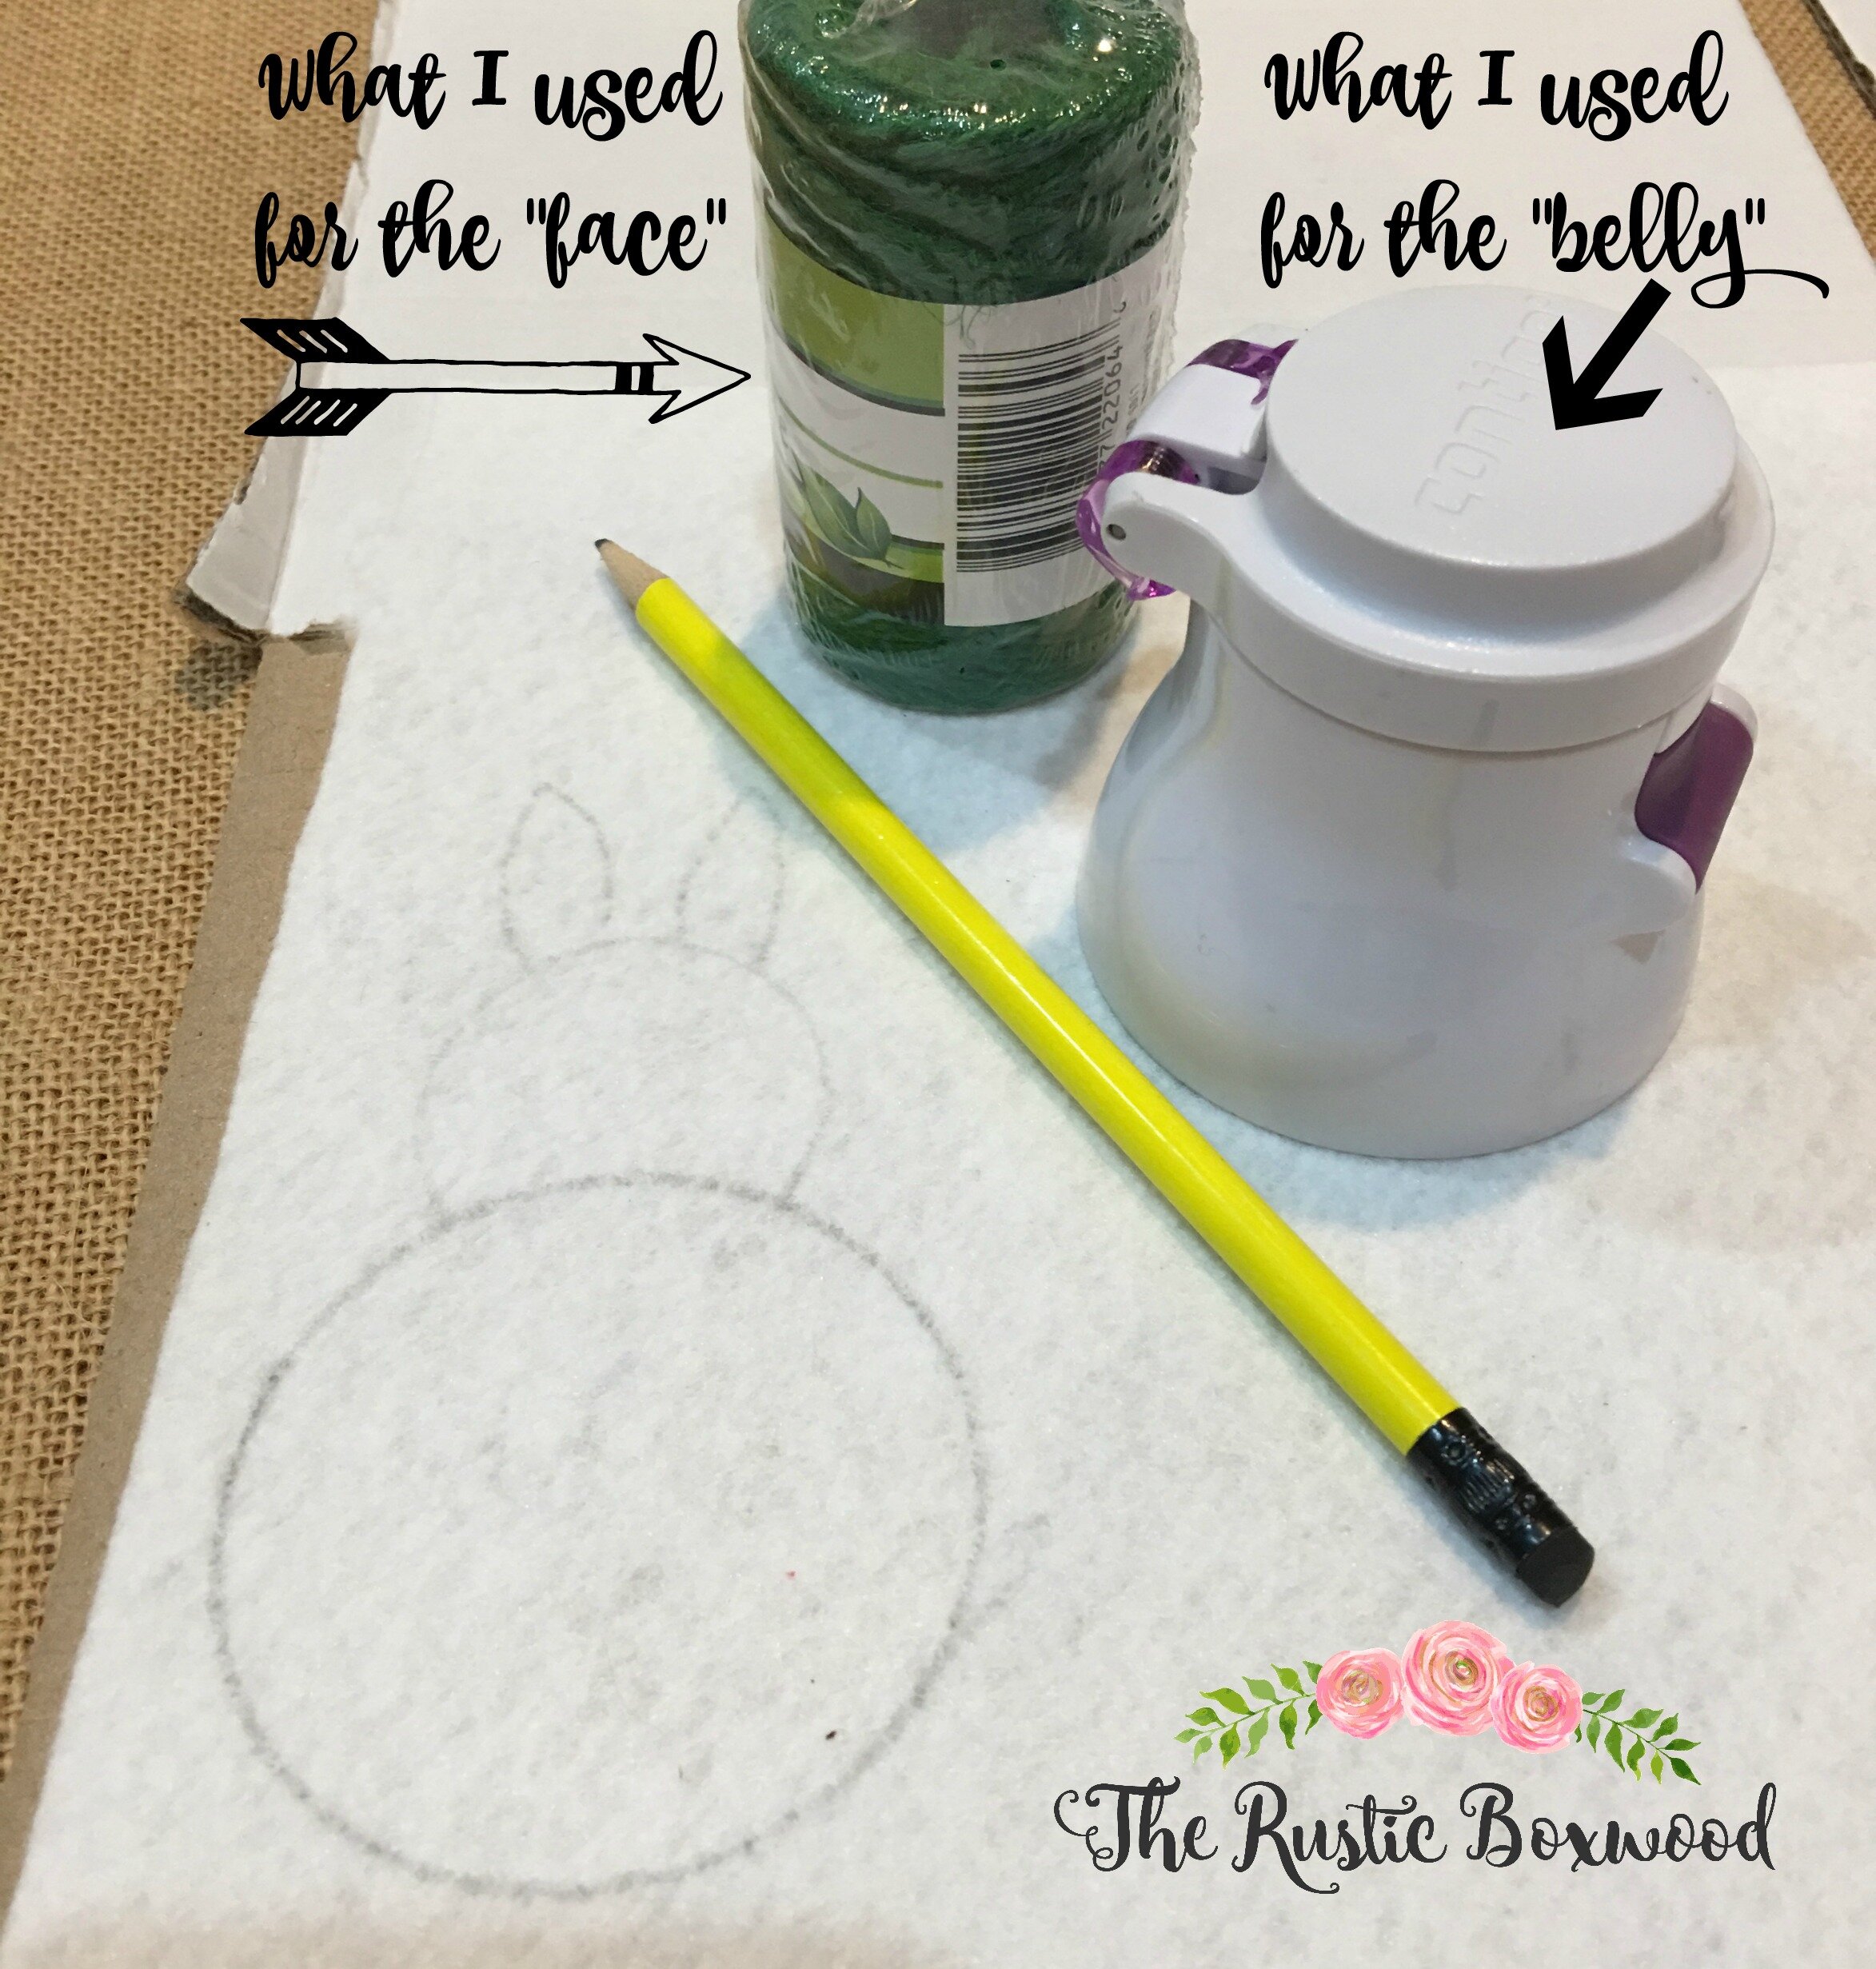
optional: two round objects in your home that are different sizes, but close in size (e.g. a thermos lid and the rim of a cup) to make the bunny's "body"
First, measure and carefully cut out however many pennants you want for your banner. (In my case, I cut 5 pennants to make 1 banner.) Next, grab your 2 round objects to make the body of the bunny.
And using the larger of the 2 round objects, trace around that circle onto your white felt with a pencil to make the "belly" of the bunny, and then slightly overlap the smaller object to make the "face" of the bunny. Draw 2 ears. They don't have to be perfect, but just try your best to get them as similar as possible. ;)
When you've traced and cut your desired amount of bunnies for your banner, place a dot of hot glue onto the felt of each cut bunny. Now, you're ready to cut your burlap. All you have to do is cut out your first pennant, and then use it as your "pattern" for the rest of your pennants. And for measuring out what size I needed, I simply rested the bunny over the top of the burlap and just eye-balled it. It's really easy. You don't have to spend too much time doing this part. ;)
Once your burlap pennants are all pretty even, hot glue your bunnies to each piece of cut burlap.
Grab your pretty pompom trim. (I found mine at a yard sale, but you can pick some up at any craft store or on Amazon.) Hot glue that to the top of your burlap pennants, and then, hot glue some white twine to the back of your banner for hanging. Easy peasy!
Now, you're all done! Time to go and hang it somewhere for all your friends and family to see! ;)
I hope you've been inspired to make your own bunny banner! And you don't have to stick to this method! Get creative and change it up, if you'd like! ;) How do you like to decorate for this beautiful season? Comment below, or stop by and say hey on Pinterest, Instagram, Twitter, HomeTalk and Facebook. It always makes my day to hear from my sweet readers!
You might also like:


