DIY: Color-Blocked, Wooden Boxes using DecoArt's Extreme Sheen Paint
Hey sweet friends! Thanks so much for stopping by today! Before we begin, don’t forget to follow along with me on Pinterest, Instagram, Twitter and Facebook, so you don’t miss another post!
**************************************
Today, we're going to talk all about DecoArt's new line of acrylic paint called Extreme Sheen! It's an awesome, metallic paint that's water-based and has an ultra-fine pigment that spreads evenly and distributes a wonderful shimmer on your decor pieces. You can find Extreme Sheen in Hobby Lobby stores or online. A special thanks to the DecoArt team for inviting me to try out their new paint! This post is sponsored, but all opinions and ideas are my own!
I can tell you first-hand that this paint spreads evenly and easily, and it displays a very pretty shimmer!
Let's get started!
Here's what you'll need:
DecoArt Extreme Sheen (Sold at Hobby Lobby; I used the colors "Champagne Gold" and "24K Gold.")
DecoArt Titanium White Americana
wooden boxes
wooden-handled sponge brush
paper plate or something as a protective layer
embellishments (such as stickers or pretty paper)
Can you see the slight difference in color? The one above is the 24k Gold, and the one below is the Champagne Gold. ;) DecoArt was kind enough to provide both of these colors, because I wasn't sure which direction I'd go. Therefore, I decided to test out both colors on different wooden boxes. ;)
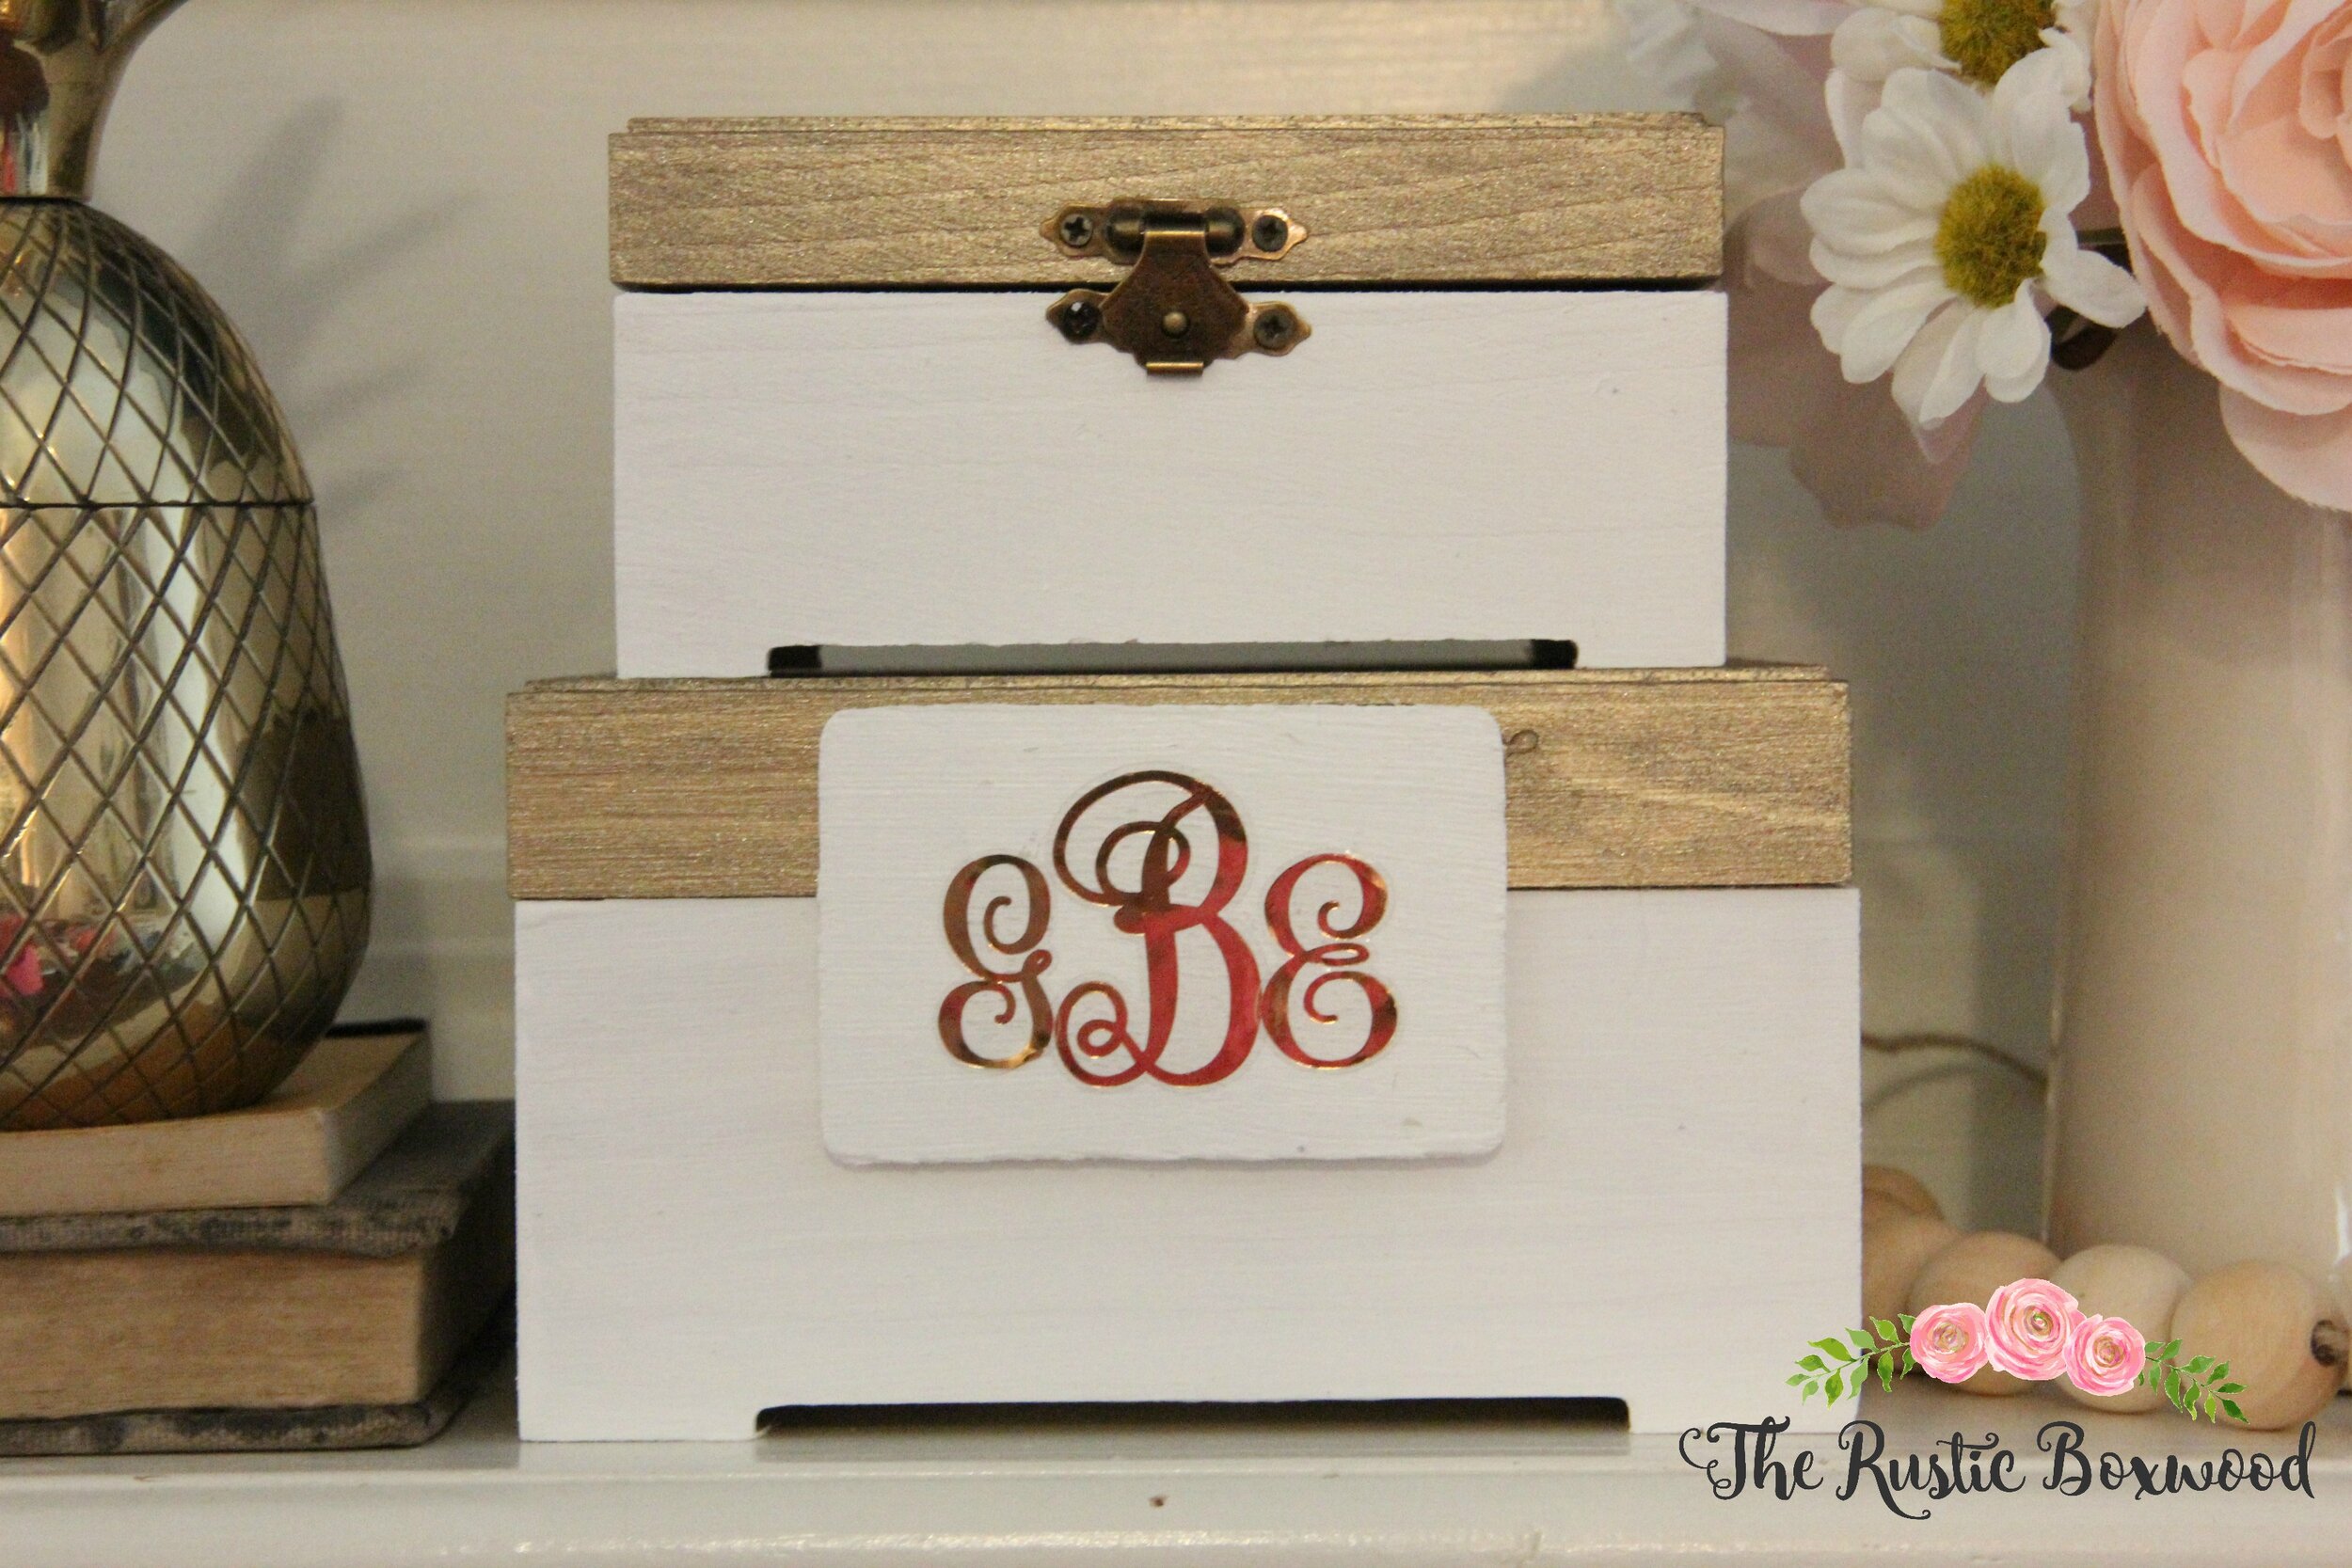
I chose to use a hexagonal-style, geometric box for the 24K gold and 2 rectangular and stackable boxes for the champagne gold.
Start by unscrewing the hardware off the boxes. Be sure to place the hardware either directly inside the wooden box or inside a sandwich bag, just so you don't risk losing those tiny pieces. ;)
I used a paper plate for each wooden box, in order to protect our table from getting permanent paint on it.
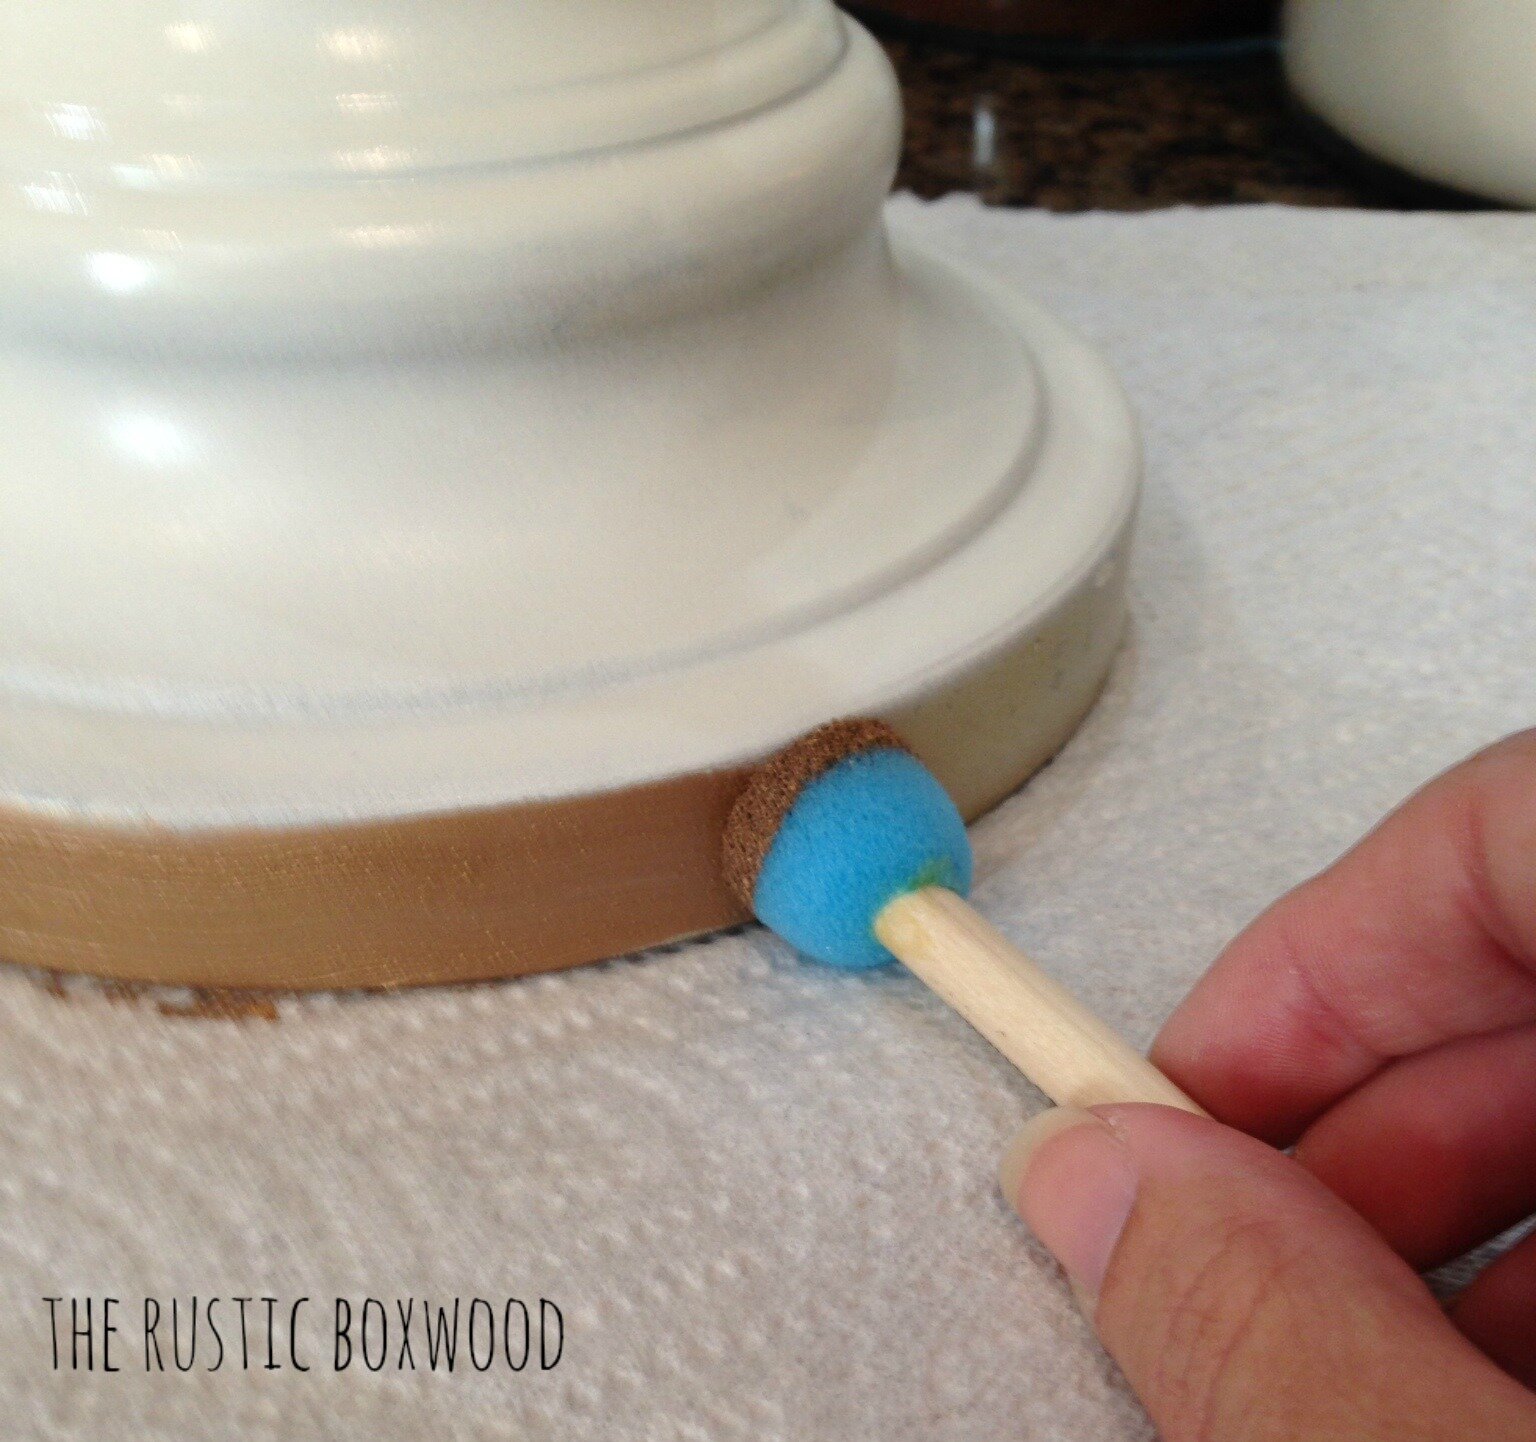
Now, squirt some of your white paint onto a paper plate, and using your wooden brush, paint a couple of coats of the paint onto the bottom half of your boxes. Set aside and let dry. Use this same method for the lids using the Extreme Sheen paint.
Now that your boxes are dry, it's time for the fun part...embellishments! (Notice in the pic below how beautiful the "champagne gold" looks on the lid.)
Instead of screwing some of the hardware back onto the larger rectangular box, I found a small piece of craft wood in my crafting stash, so I painted it white and then added some monogram stickers. Once I had the letters centered, I used a hot-glue gun and placed a small strip of hot glue to the back-top of the wood to attach it to the front of the box. Easy peasy!
And yes, I can still open this box without a problem!
The pic below shows how the "24K gold" color looks on wood. ;) Doesn't the lid have a pretty shimmer?!
Well, that's it. I hope you've been inspired to pick up a box or two from Hobby Lobby and try out some of the Extreme Sheen paint for yourself! I think you'll be very pleased with the outcome! ;) How do you think you'll incorporate some of DecoArt's new paint for your next project? I’d LOVE to hear about it! Comment below, or stop by and say hey on Pinterest, Instagram, Twitter and Facebook. It always makes my day to hear from my sweet readers.
Have a great day!
You might also like:


