
A NAUTICAL PAPER-NAPKIN GARLAND!
Hello friends! Today, I want to share with you a super-easy, super-cheap garland! Since my living room is decorated with summery, nautical decor, I wanted something along that line for our entry. And you know what they say..."Necessity is the mother of invention!" And so after shopping my house, I threw together this beachy garland in no time!

Here's what I used...
paper-napkin assortment (anchor napkins from Homegoods; striped napkins from Ikea)
desired length of white string, baker's twine or yarn...whatever you have on hand
fun ribbon (optional)
glue dots (I used the small ones.)
The directions are very simple...
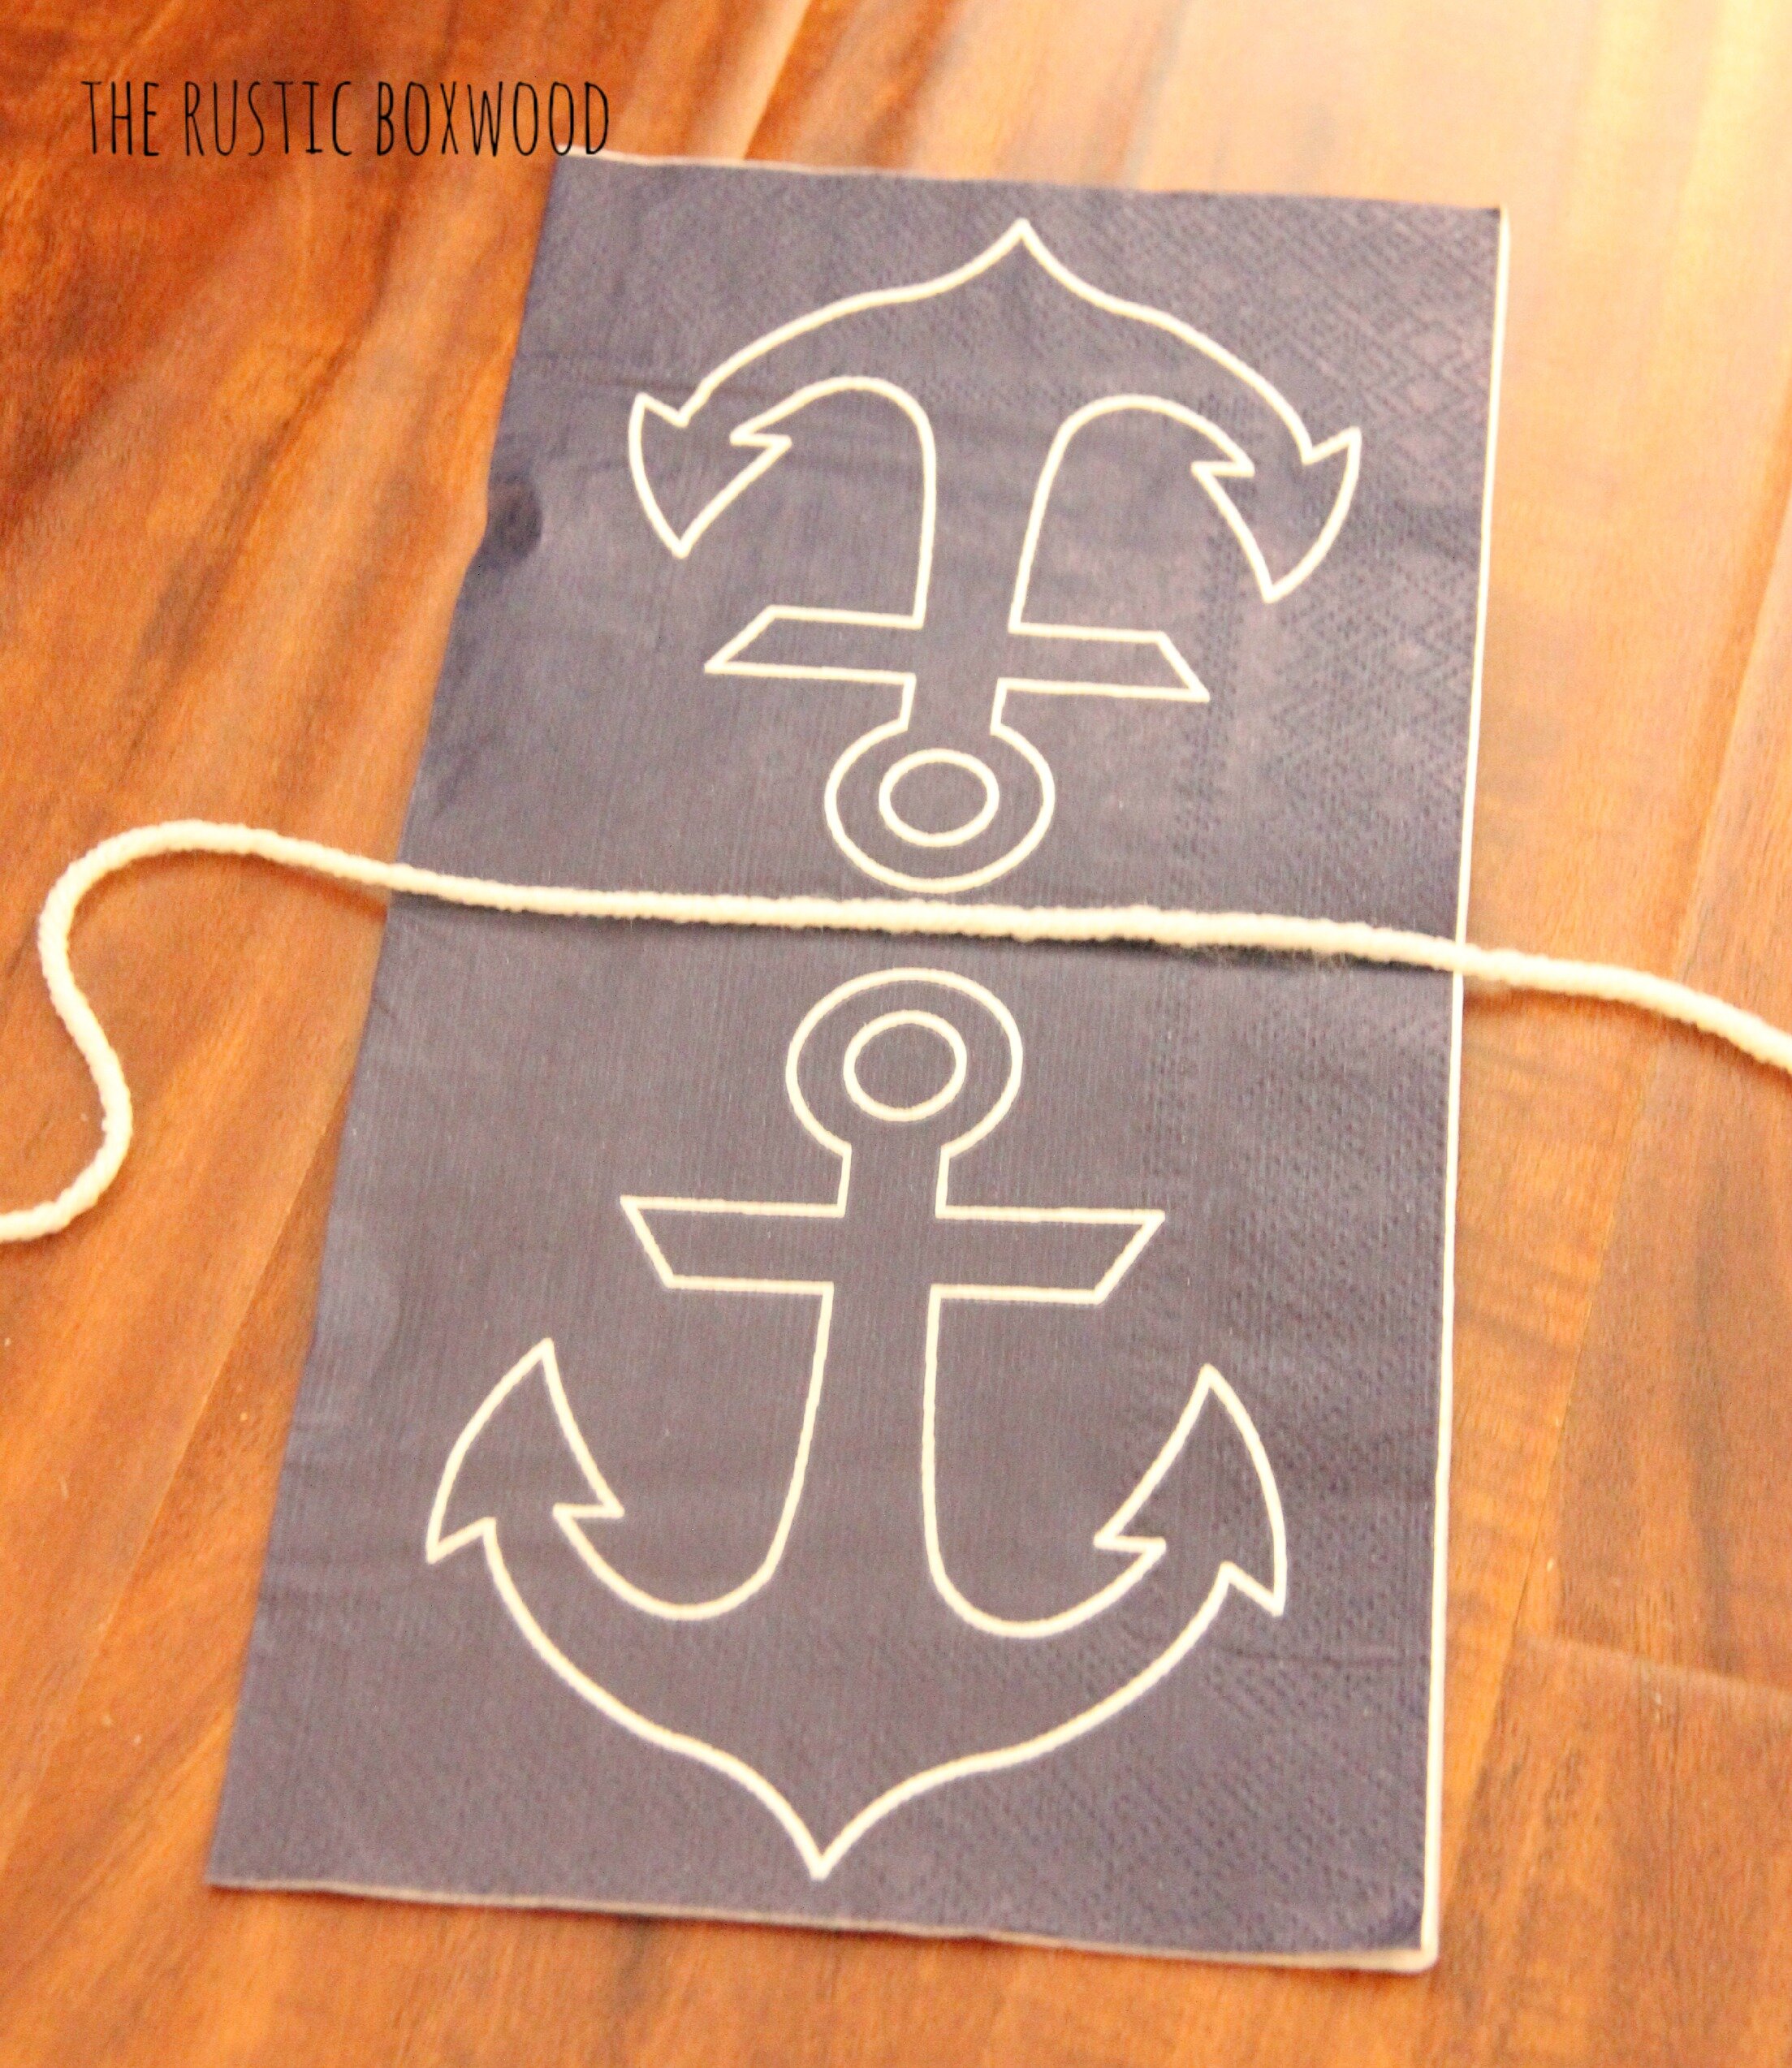
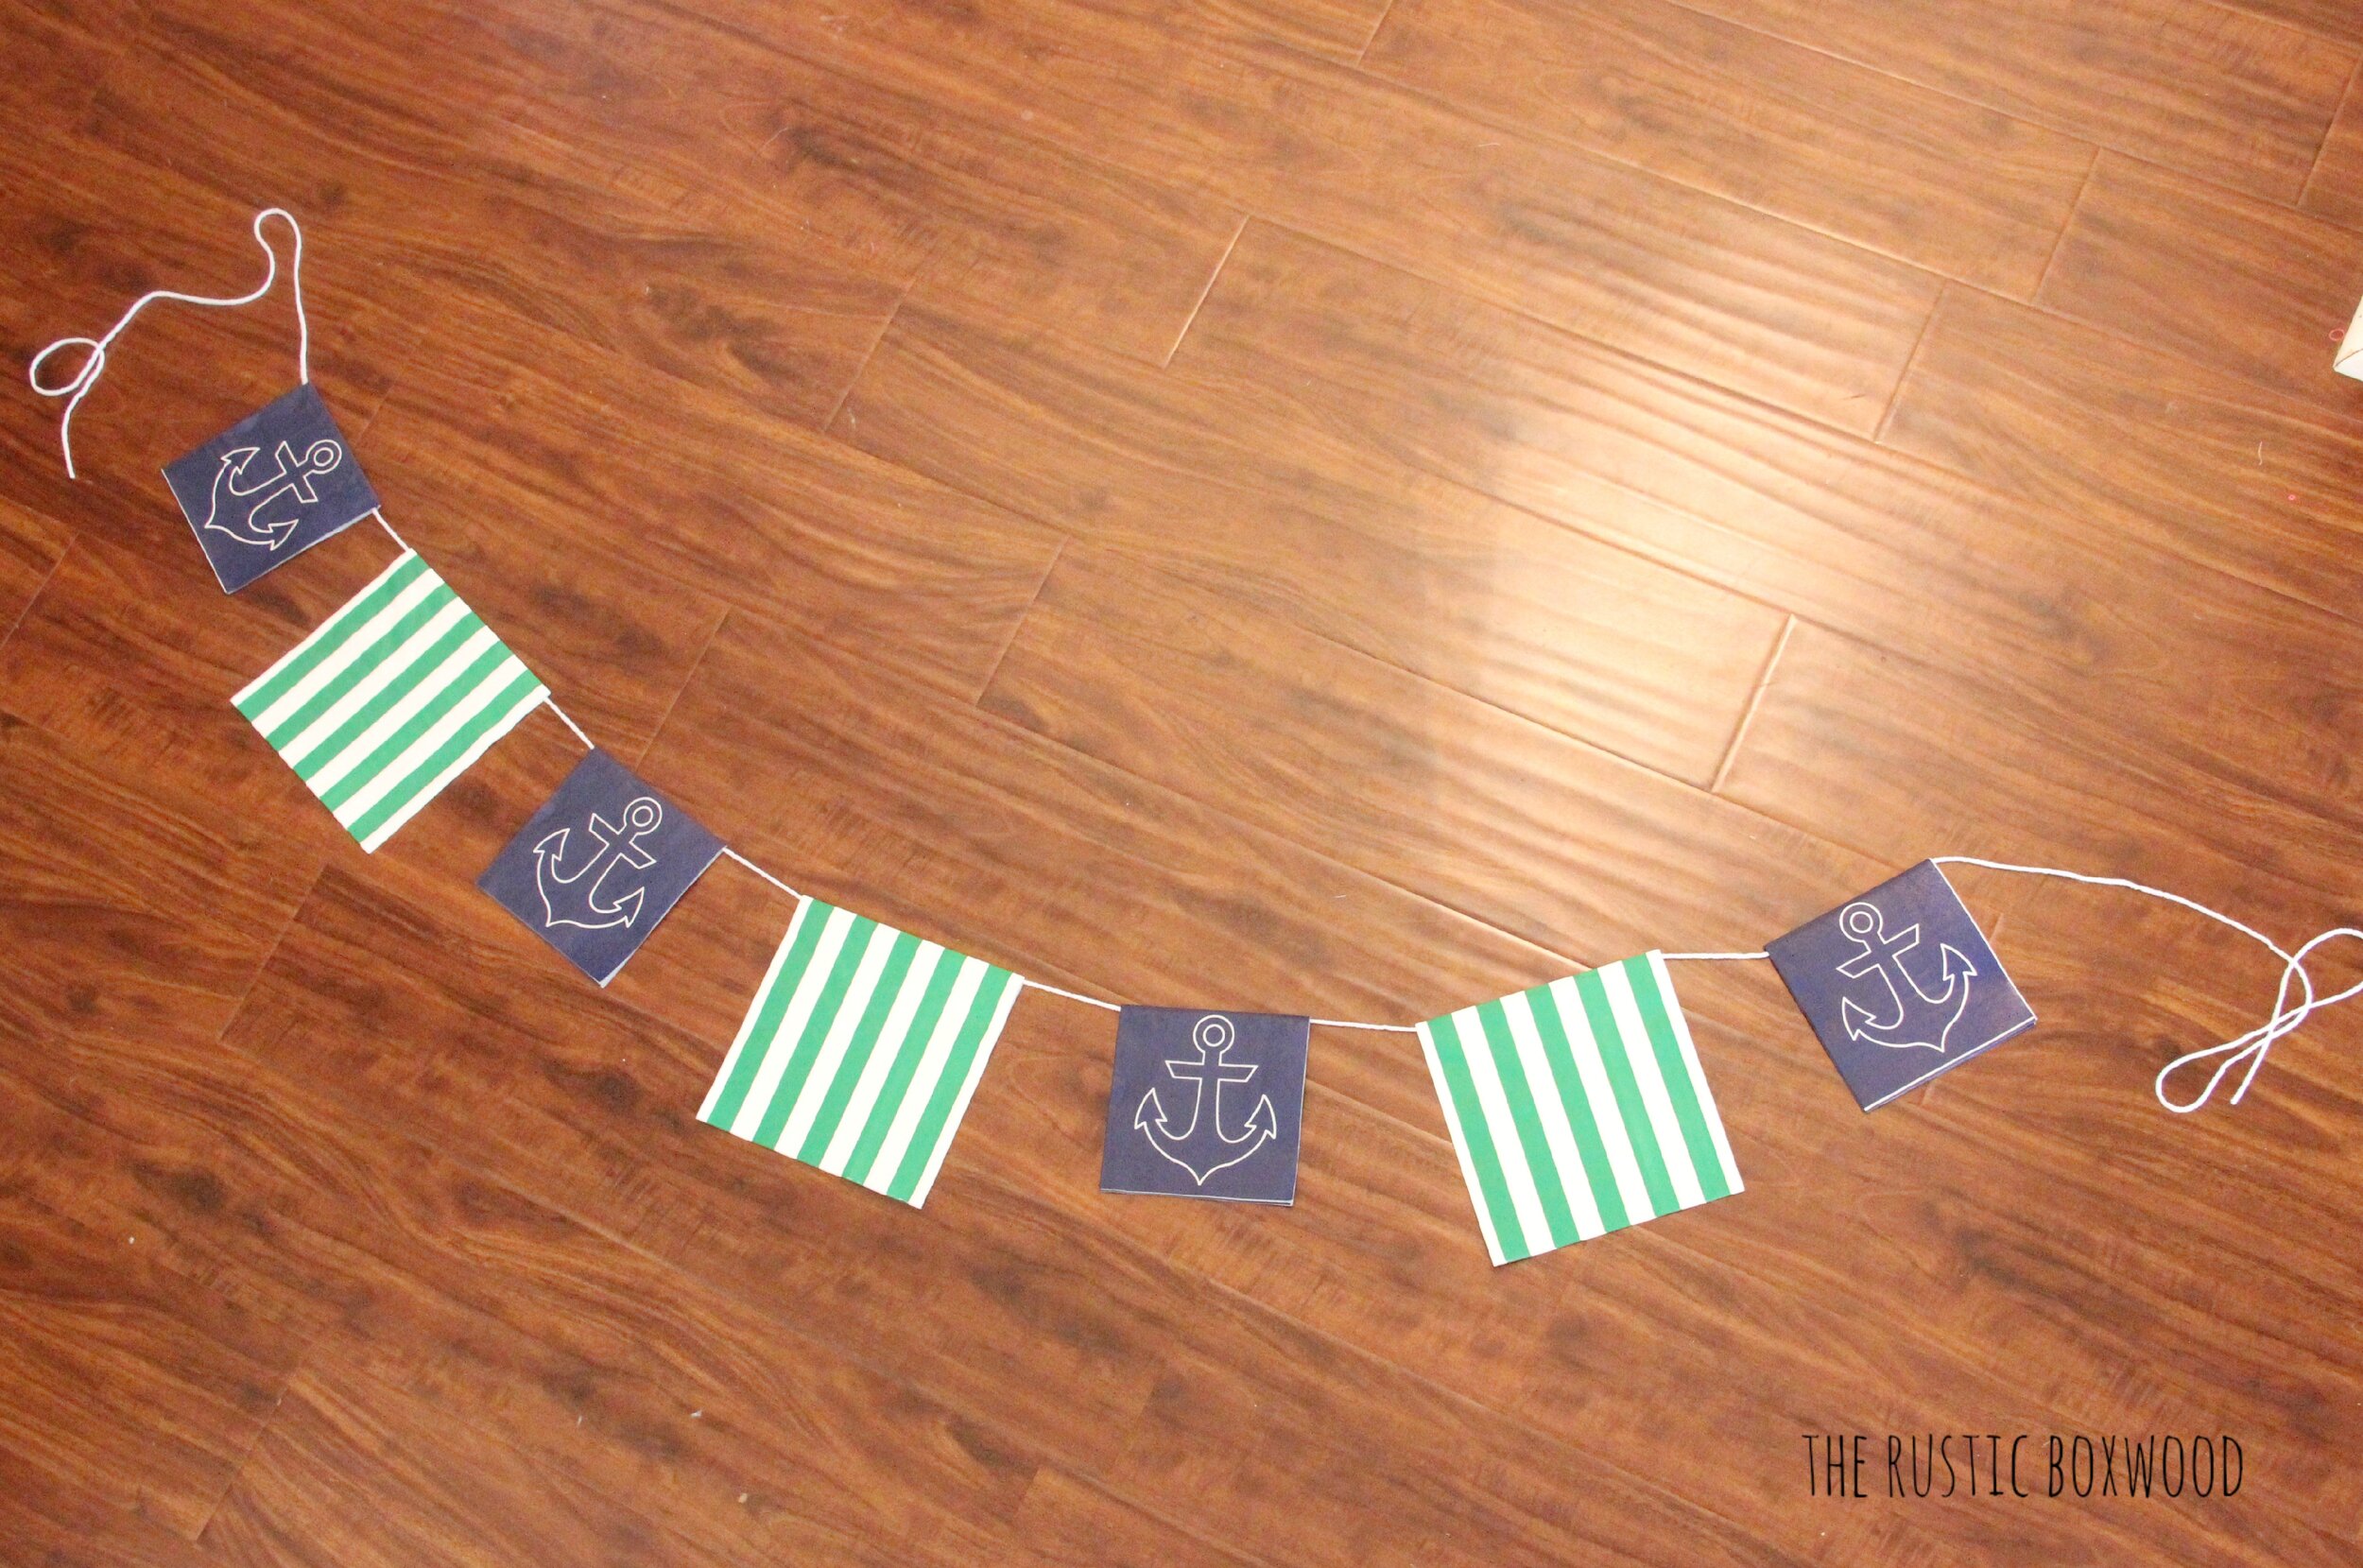
Measure out your string's length and start placing glue dots along the inside-folded edges. Like this...
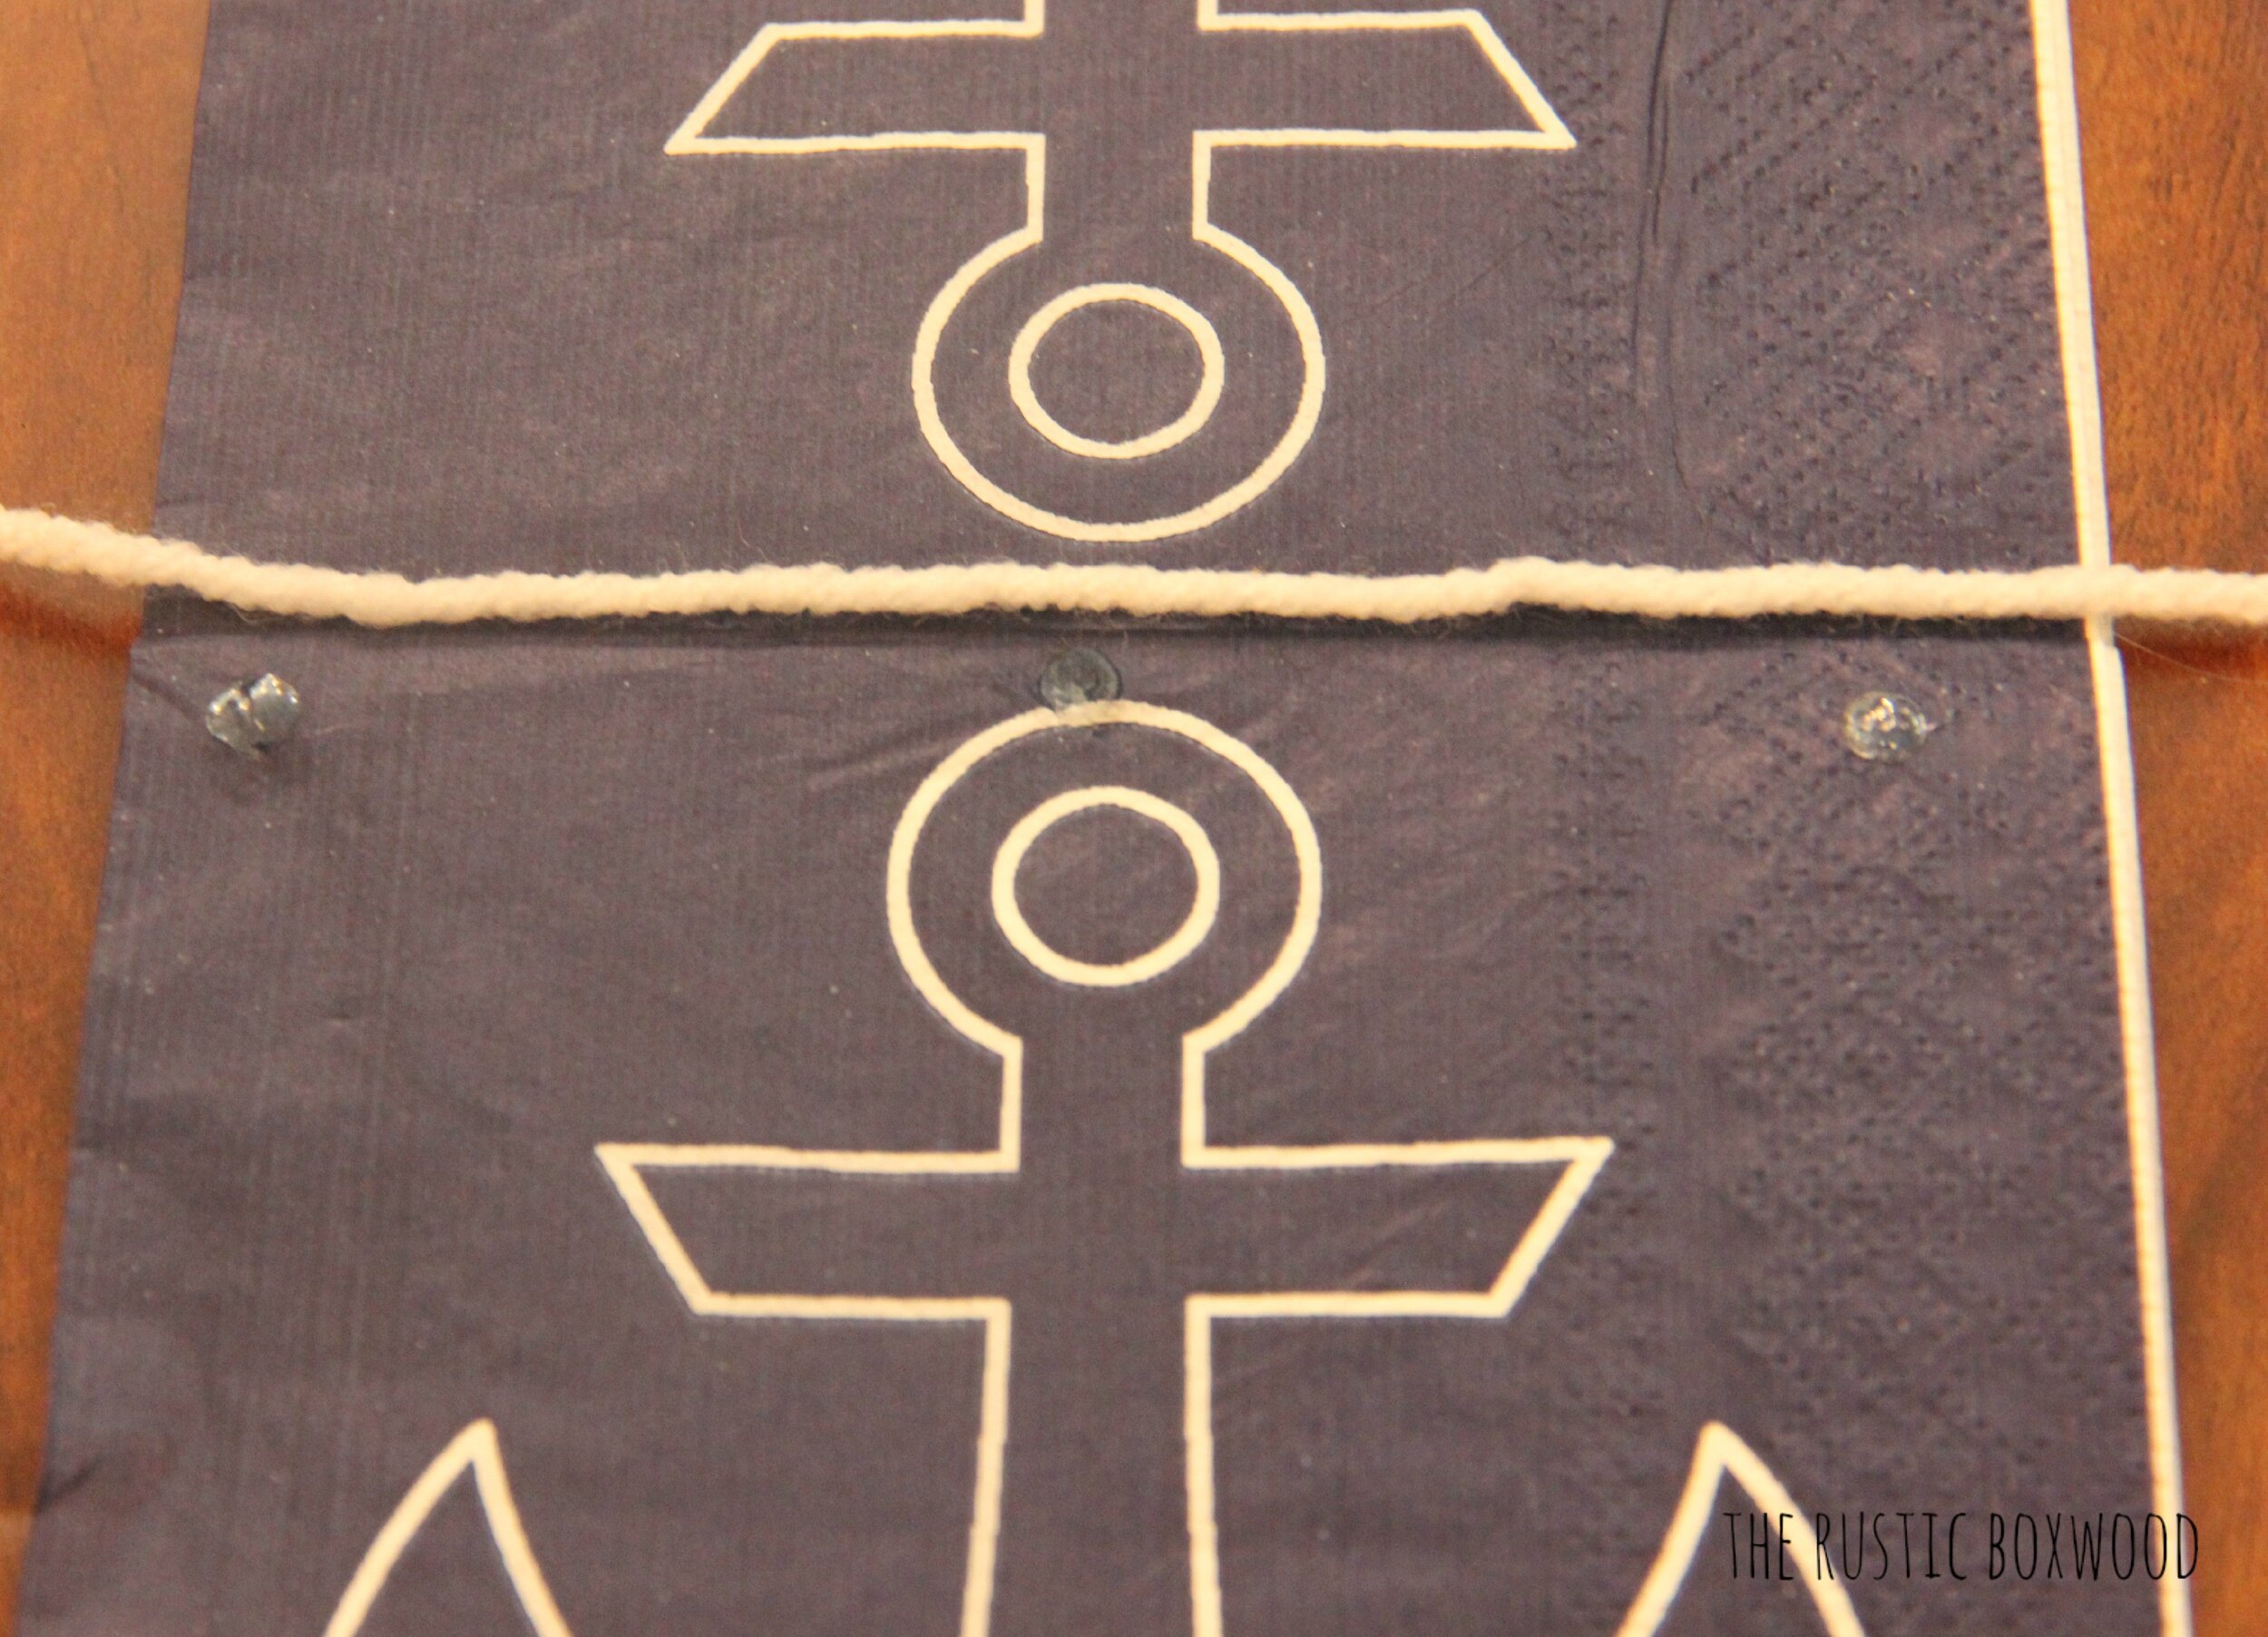
Fold over, and press along the folded edge to seal.

Keep going...
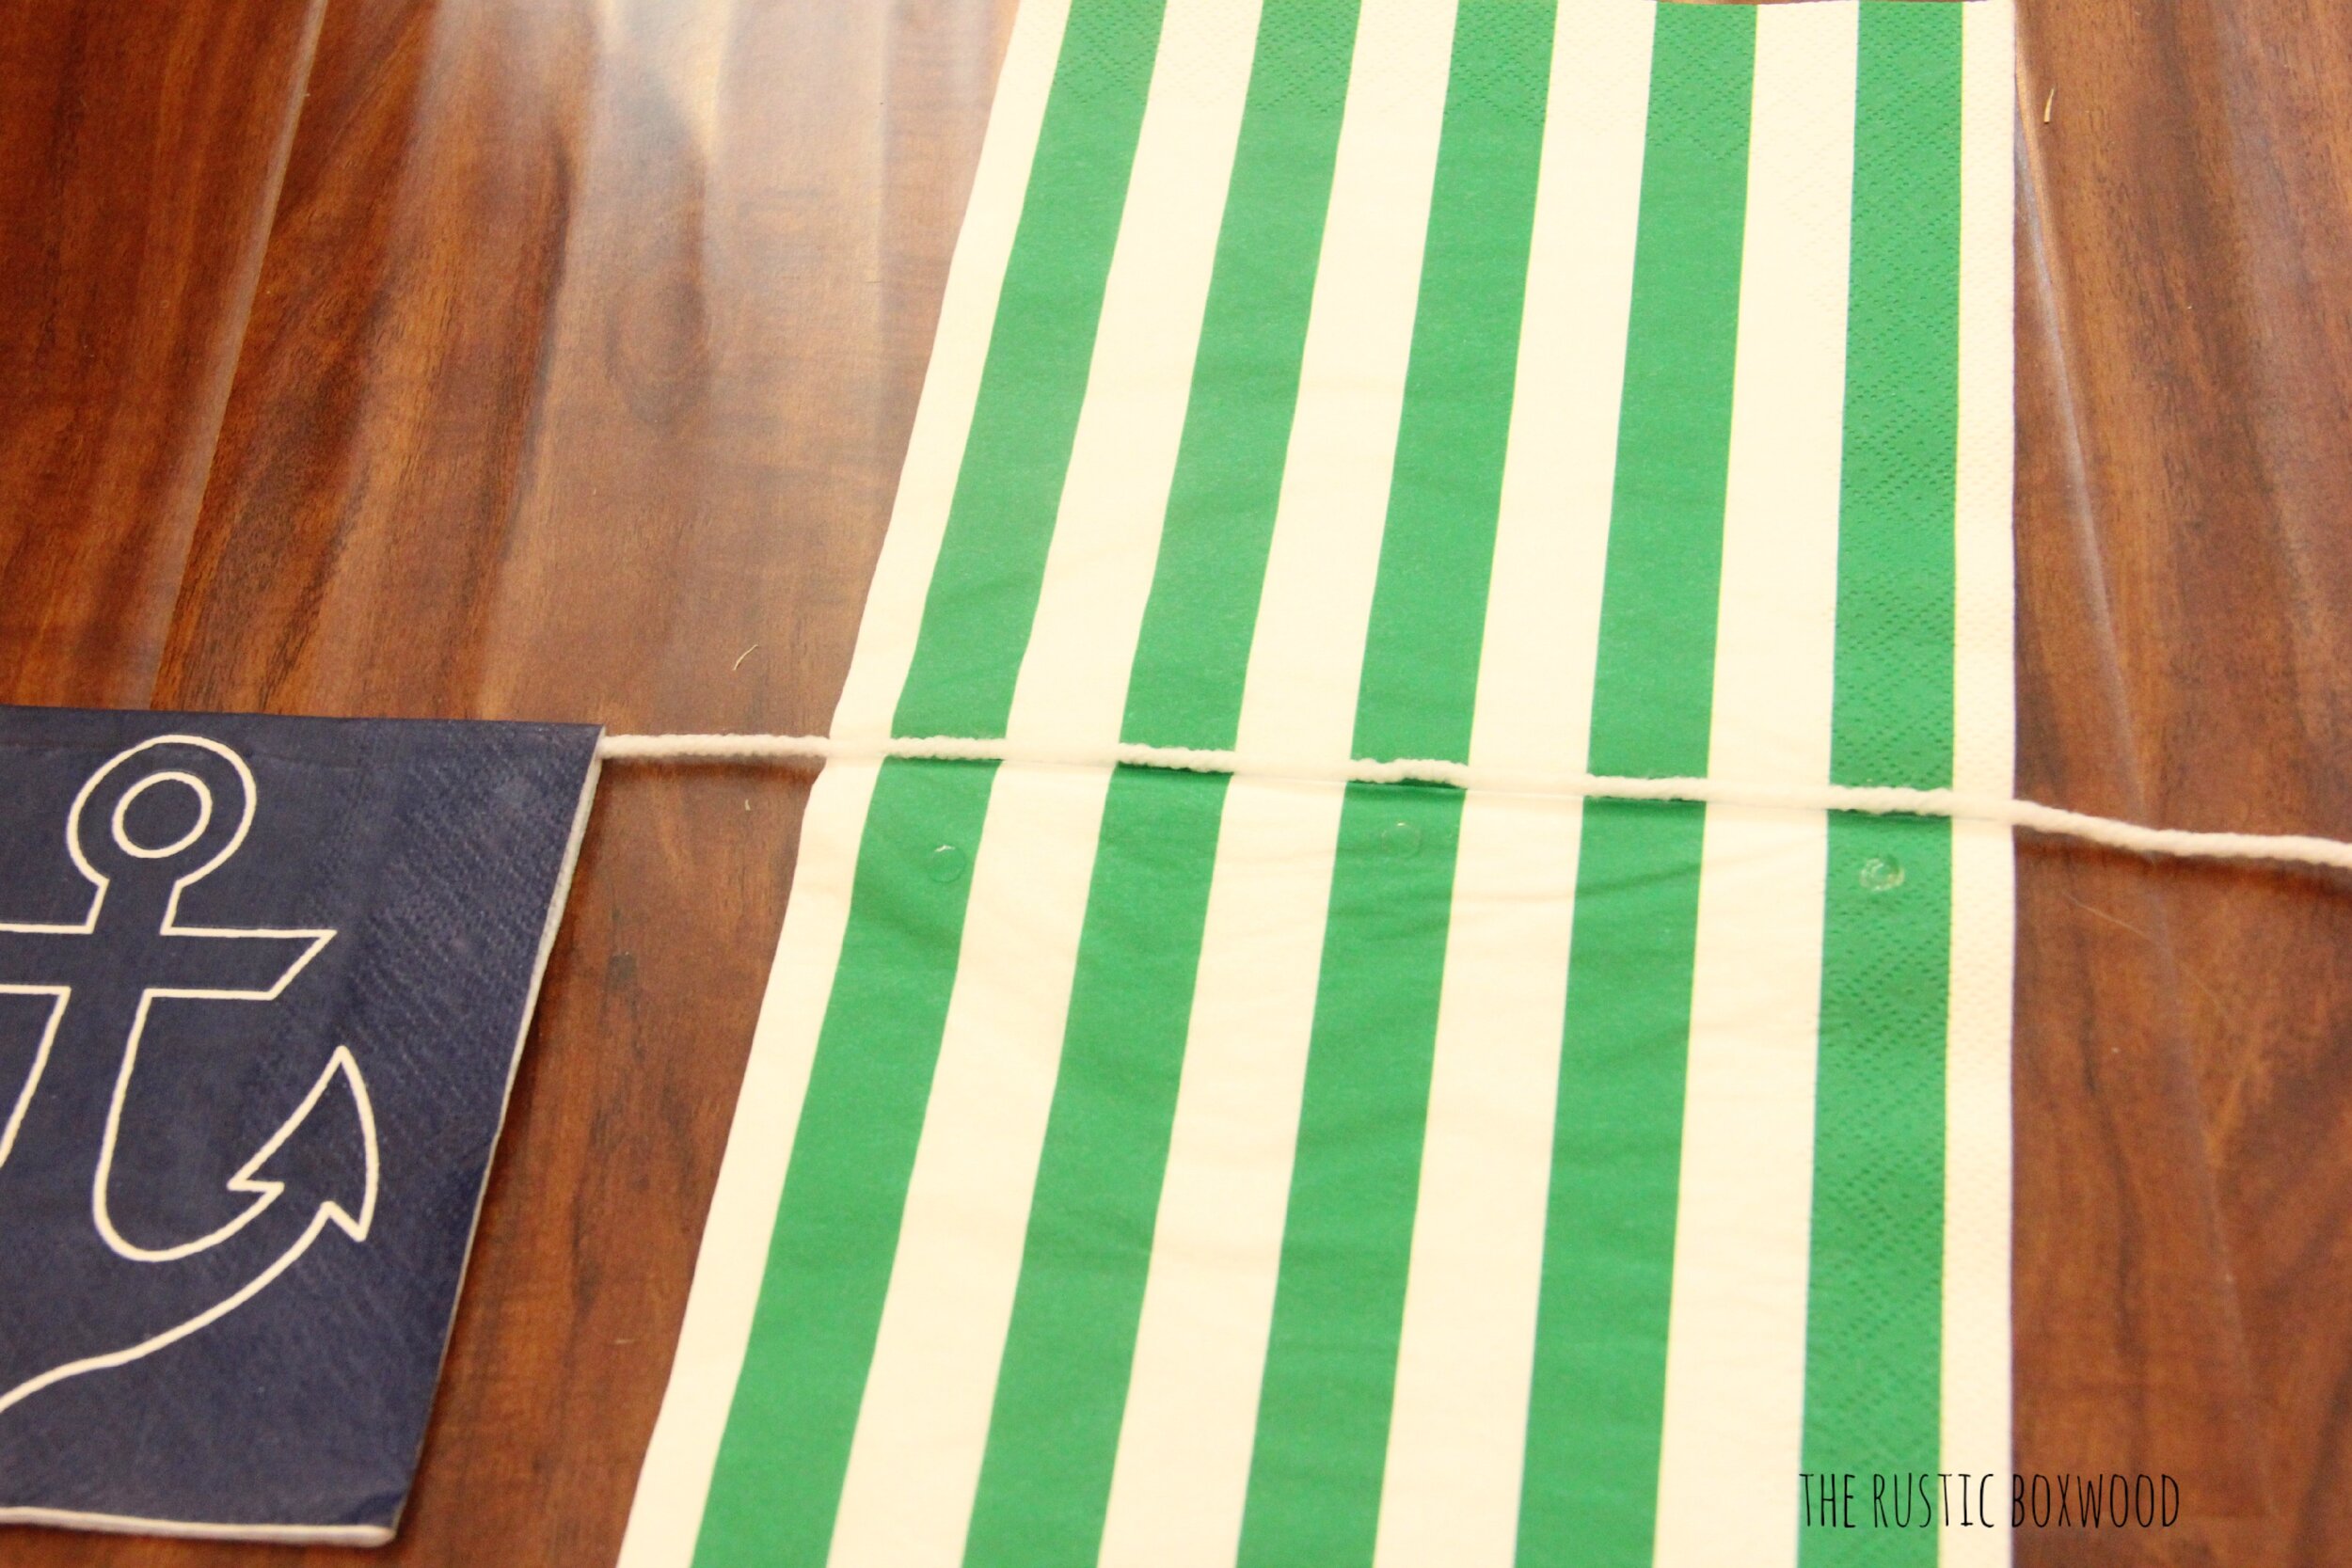
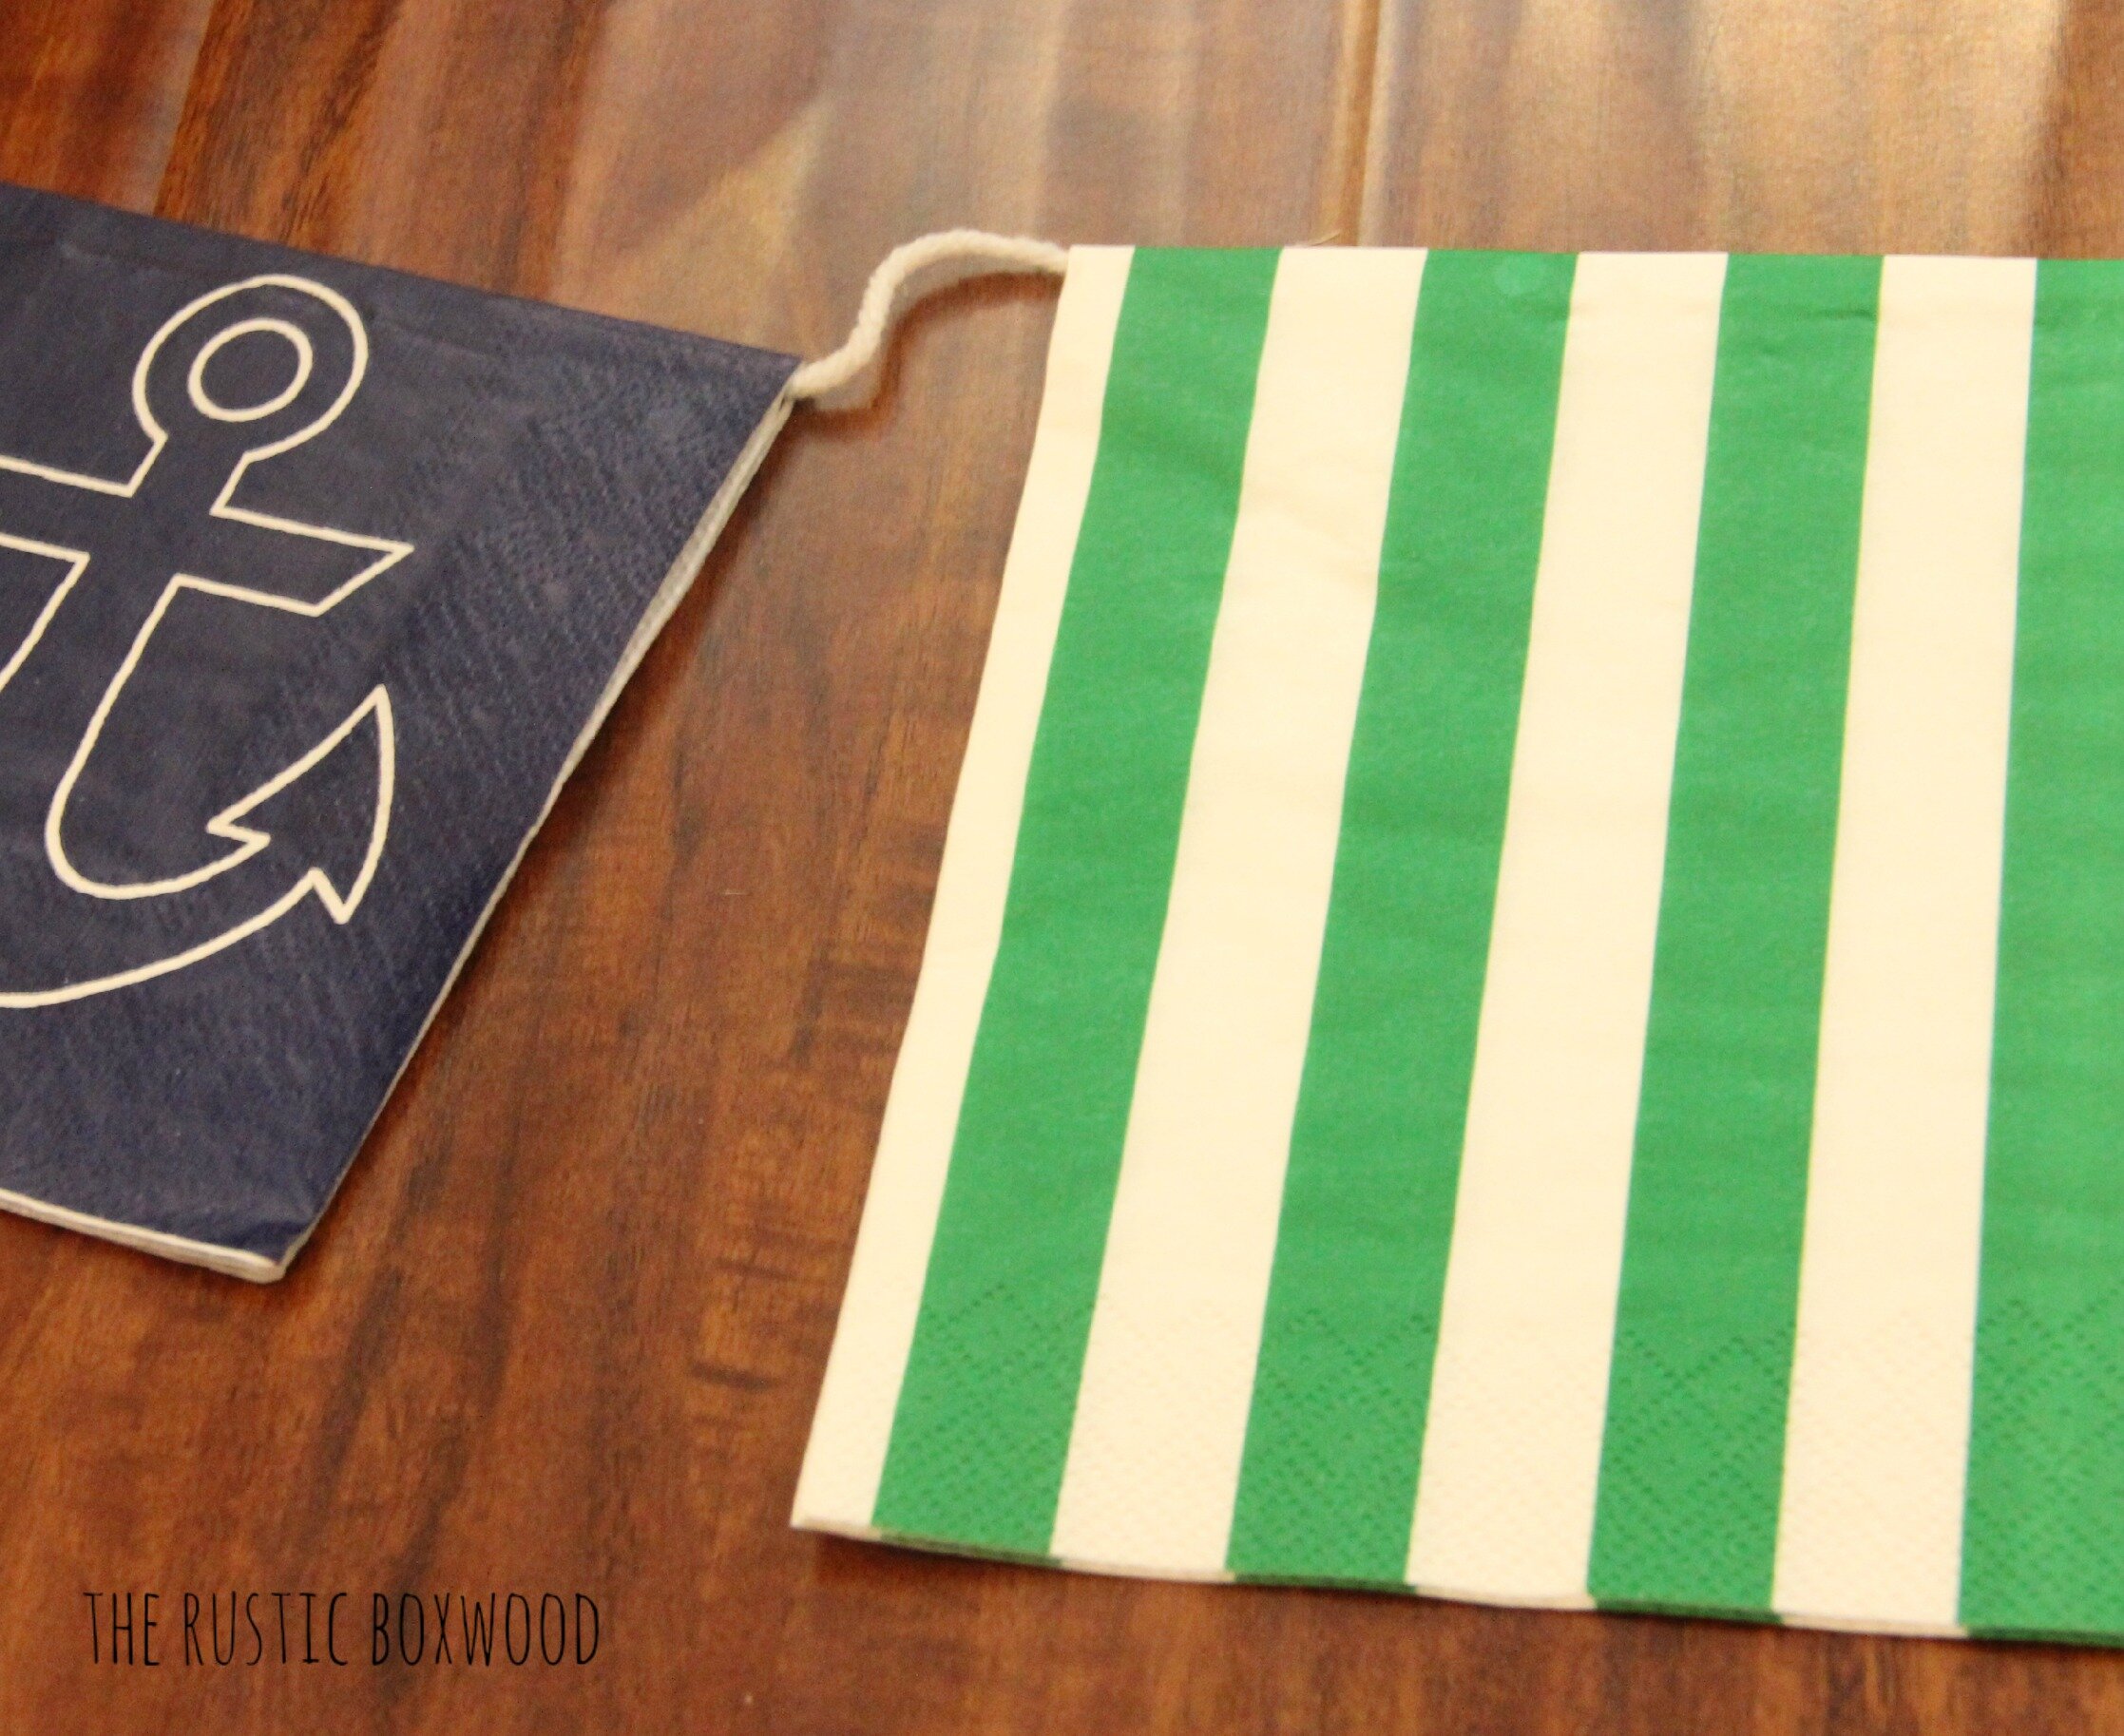
Until you're finished with the desired length of your garland.

But I didn't want to stop there. No. I've had this whale-style ribbon for quite some time now, and I think it's high-time that I use it! So, in the pic below, I used more glue dots on the folded, outside edges of the napkins. Like this...

And then gently placed the ribbon on top.
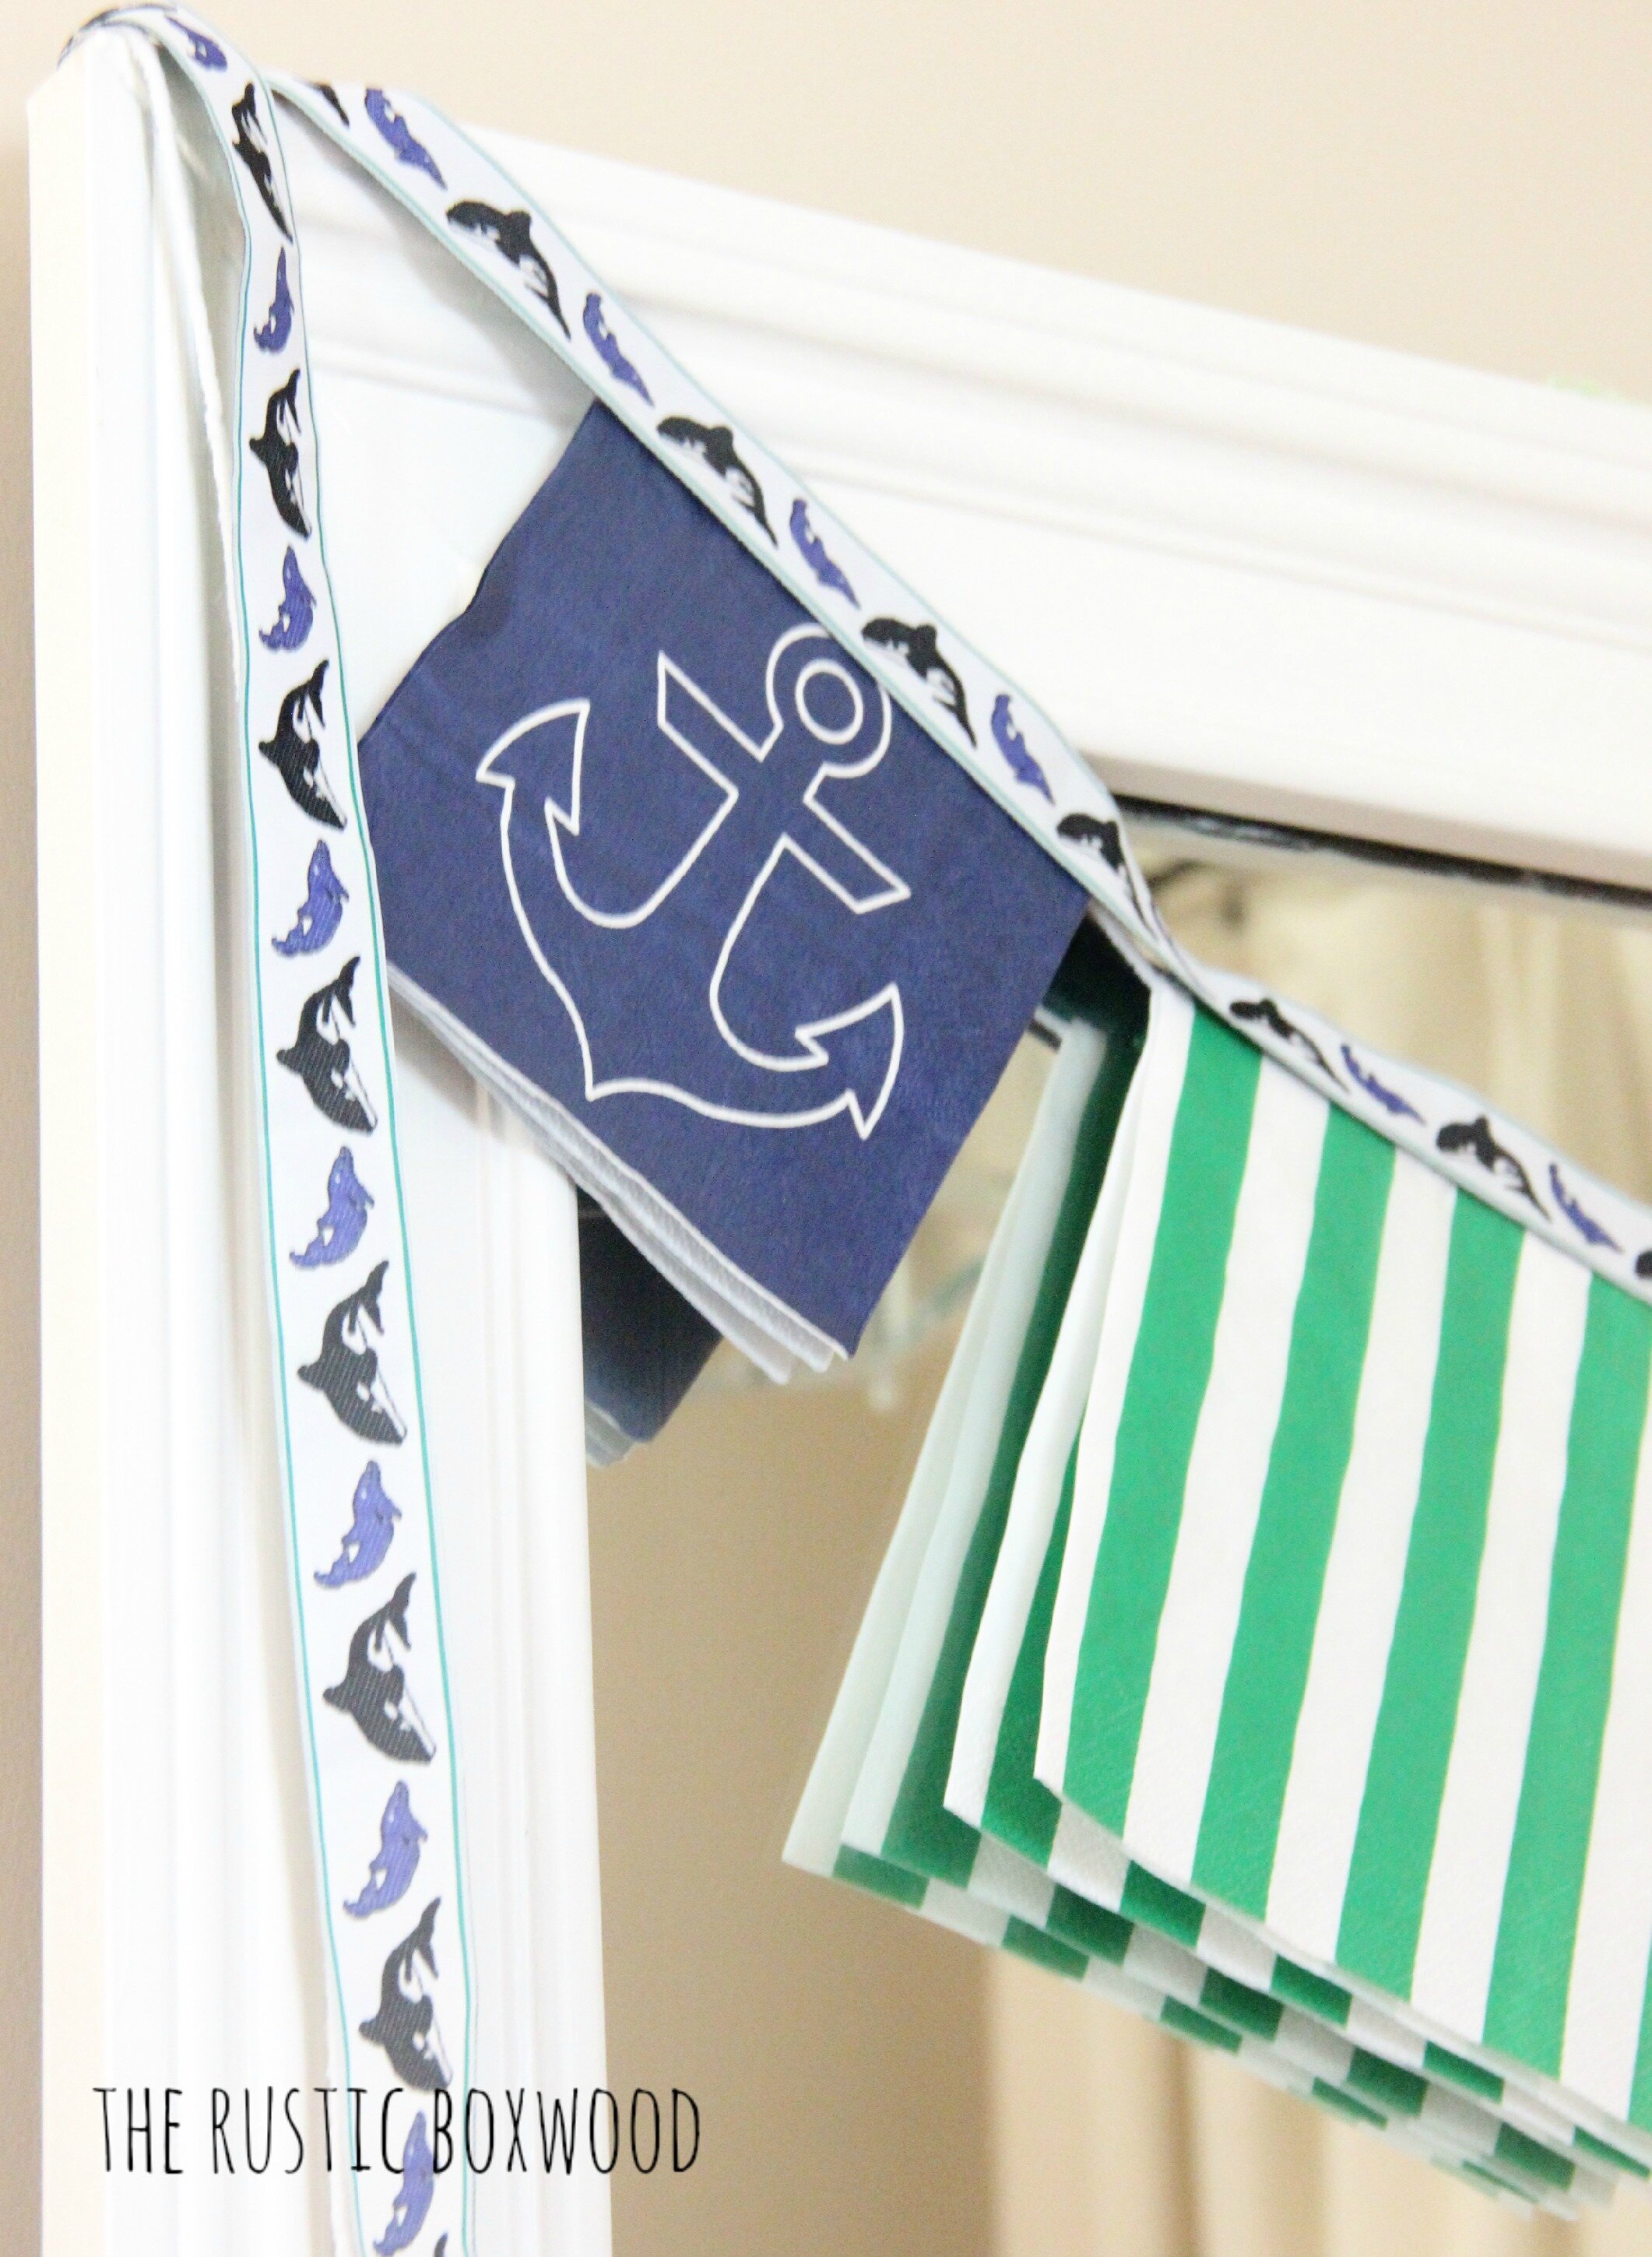
You could always use more glue dots on the bottom, inside edges of your napkins, but I kind of like the casual vibes of these "open" napkins.
To say that I love glue dots is an understatement! ;)

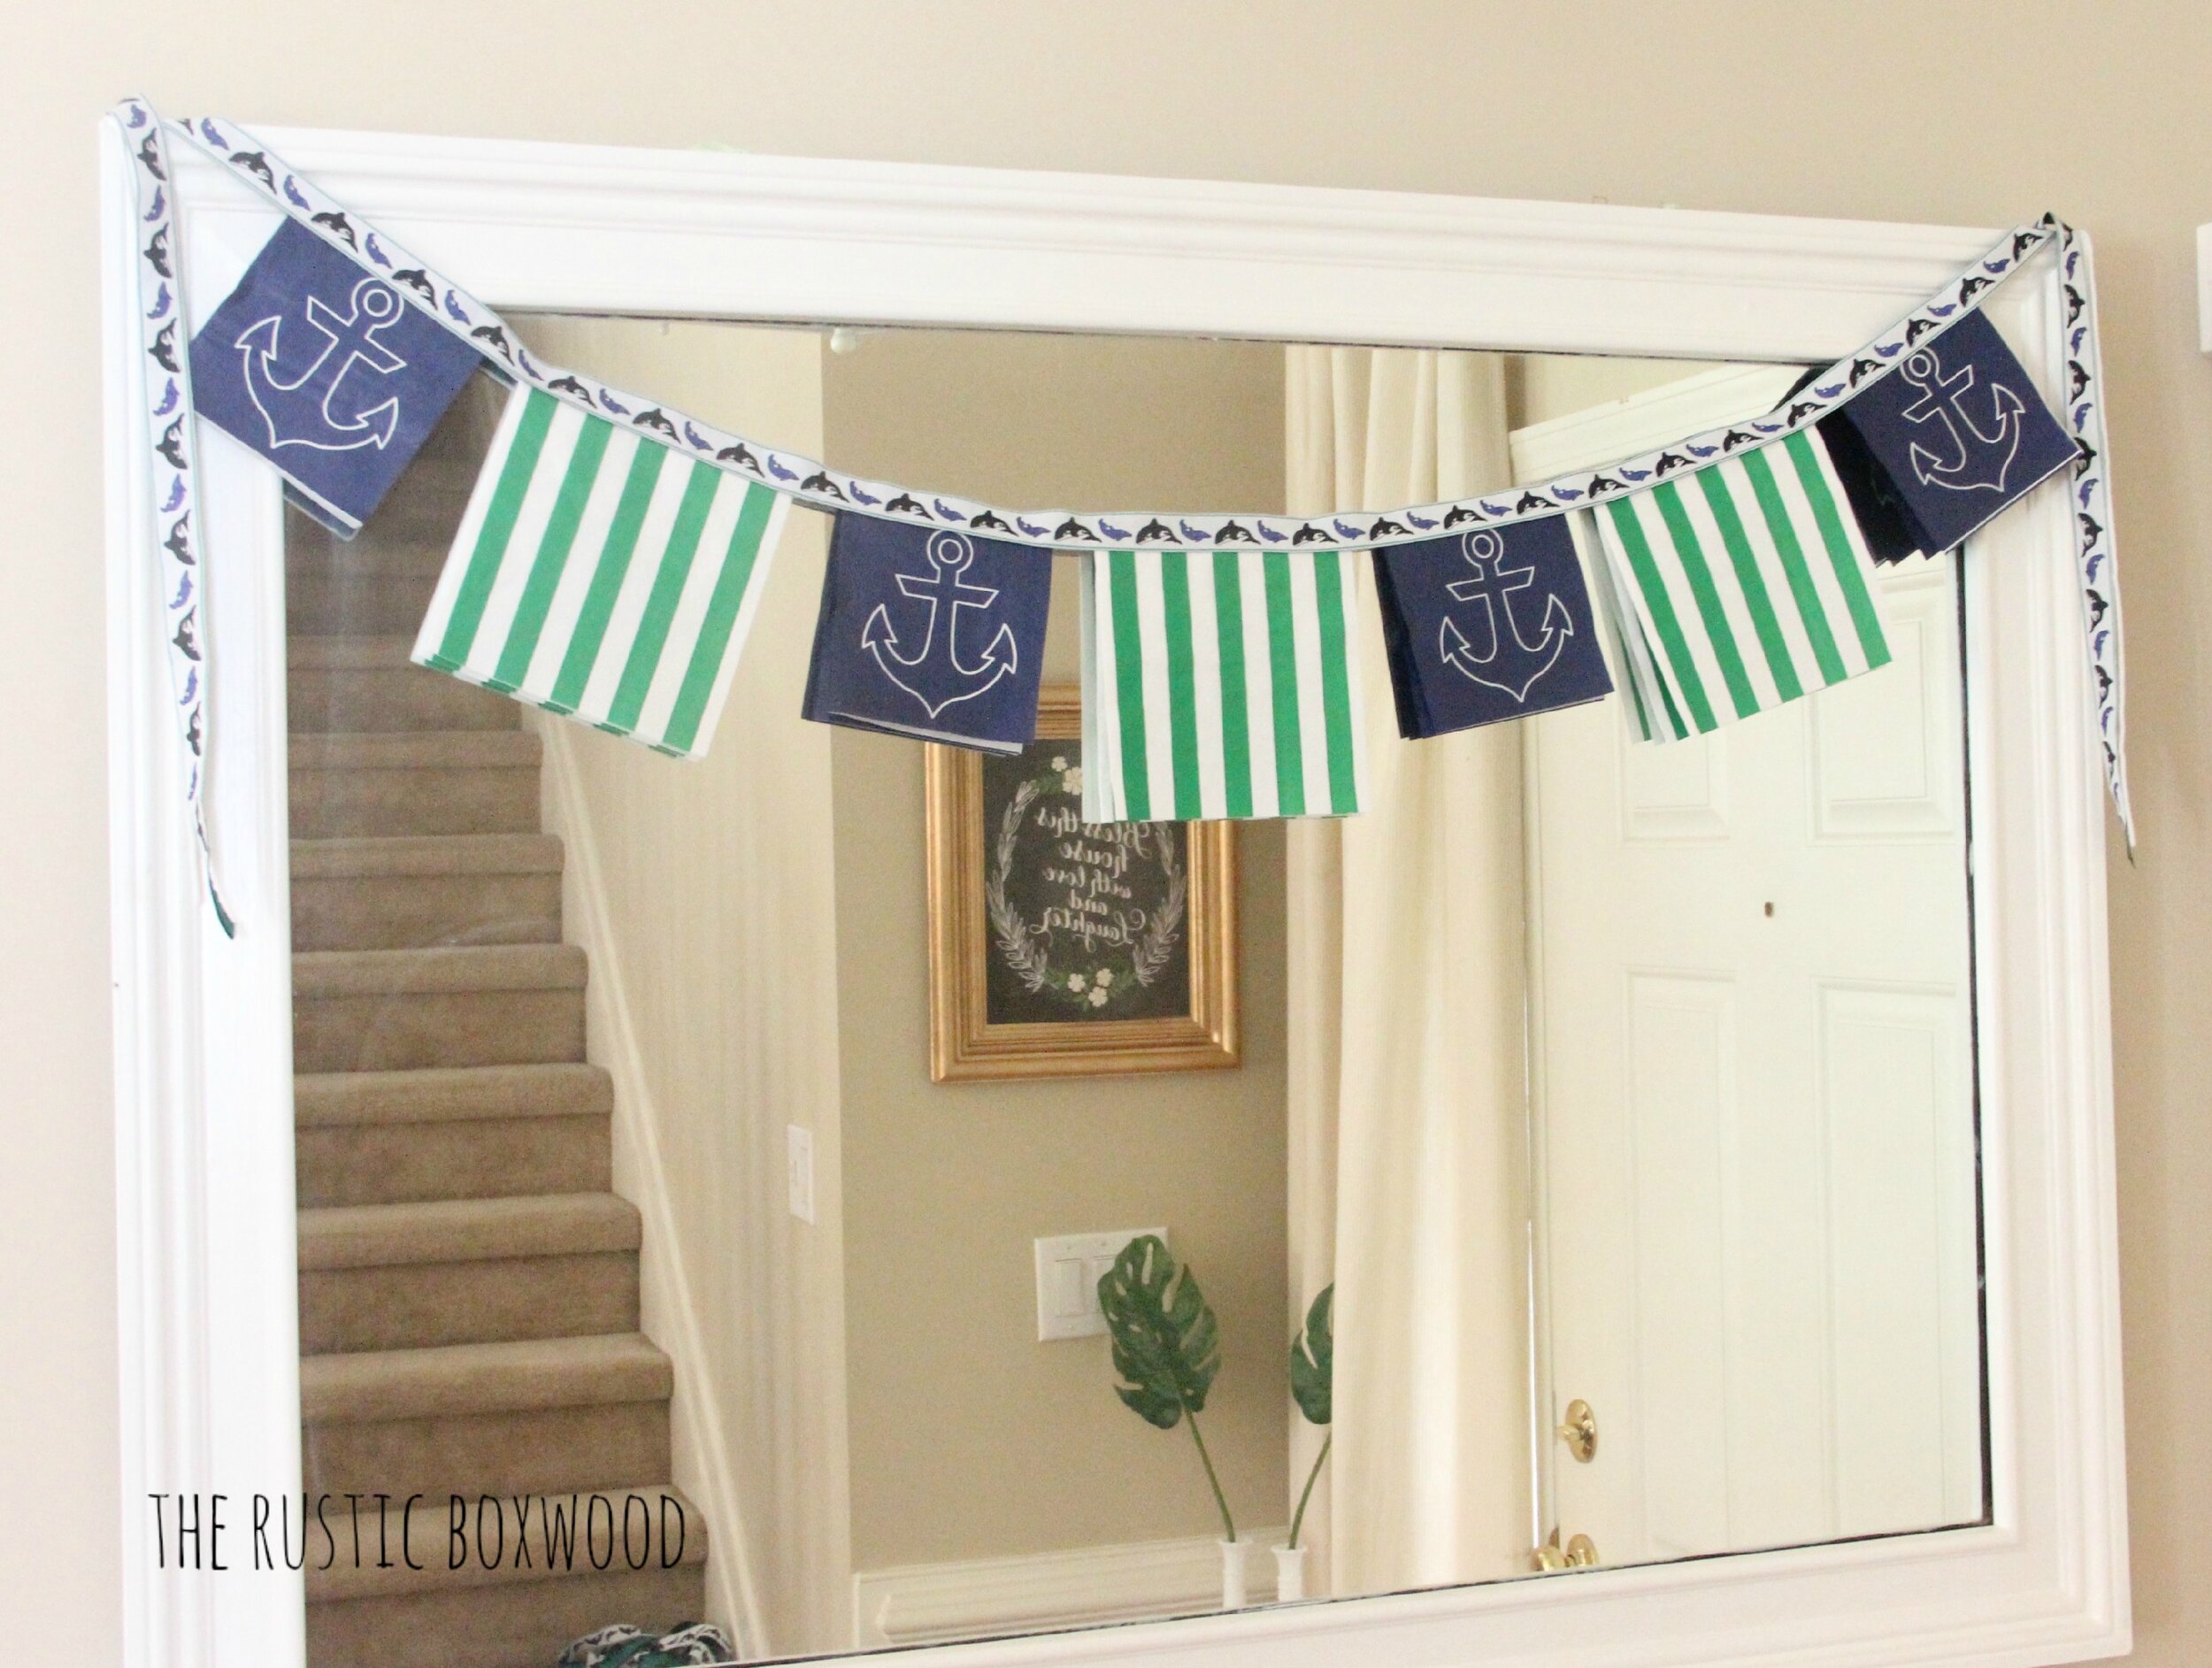
(On a sidenote: Sometimes, when hanging things on my wood-framed mirror, I use a hammer and thumb tacks to push in whatever it is that I'm hanging. But since this garland is so light-weight, I just taped it on both edges of the mirror. Done!!)
What do you think about this paper-napkin banner? Do you have any fun, colorful napkins on hand? If you make one, I'd love to hear about it and see pics!