Metal File Cabinet Makeover
Hey sweet friends! Thanks so much for stopping by today! Before we begin, don’t forget to follow along with me on Pinterest, Instagram, Twitter and Facebook, so you don’t miss another post!
*********************************
Today, I wanted to share with you all about how my daughter and I gave 2 metal file cabinets a fun makeover! We found these beauties at an estate sale at half off a couple of months ago. At the time, I didn't know what I'd do with them, but because they were only $10 each, I couldn't pass them up! I know what you're thinking...that possibly I'm a hoarder?? Haha. Well, you know what I'm saying to that? Since Joanna Gaines had to buy a warehouse just to store all her extra "stuff," it's okay if I do that, too. Lol. Plus, I knew that one day, we'd come up with a useful place for them. And guess what?! Yesterday, I thought of JUST the place and purpose for these little storage pieces!
Since we're homeschooling our kiddos (our first year!), these vintage file cabinets serve as the kids' homeschool organizers! Everything goes in there, so we don't have to see the books, binders, and DVDs strewn all over the floor. They're PERFECT for keeping things neat and tidy!
Here's what I used:
DecoArt Americana Chalk Paint (I used DecoArt's "everlasting" chalk paint, which is a true-white paint color. Also, I used 1.5 tubs of their 16-oz size for 2 large cabinets.)
Paint brushes, rollers or sponge brushes (the kind with the wooden handles)
Painters' tape
Drop cloth
Paper plate for holding the paint brush (optional)
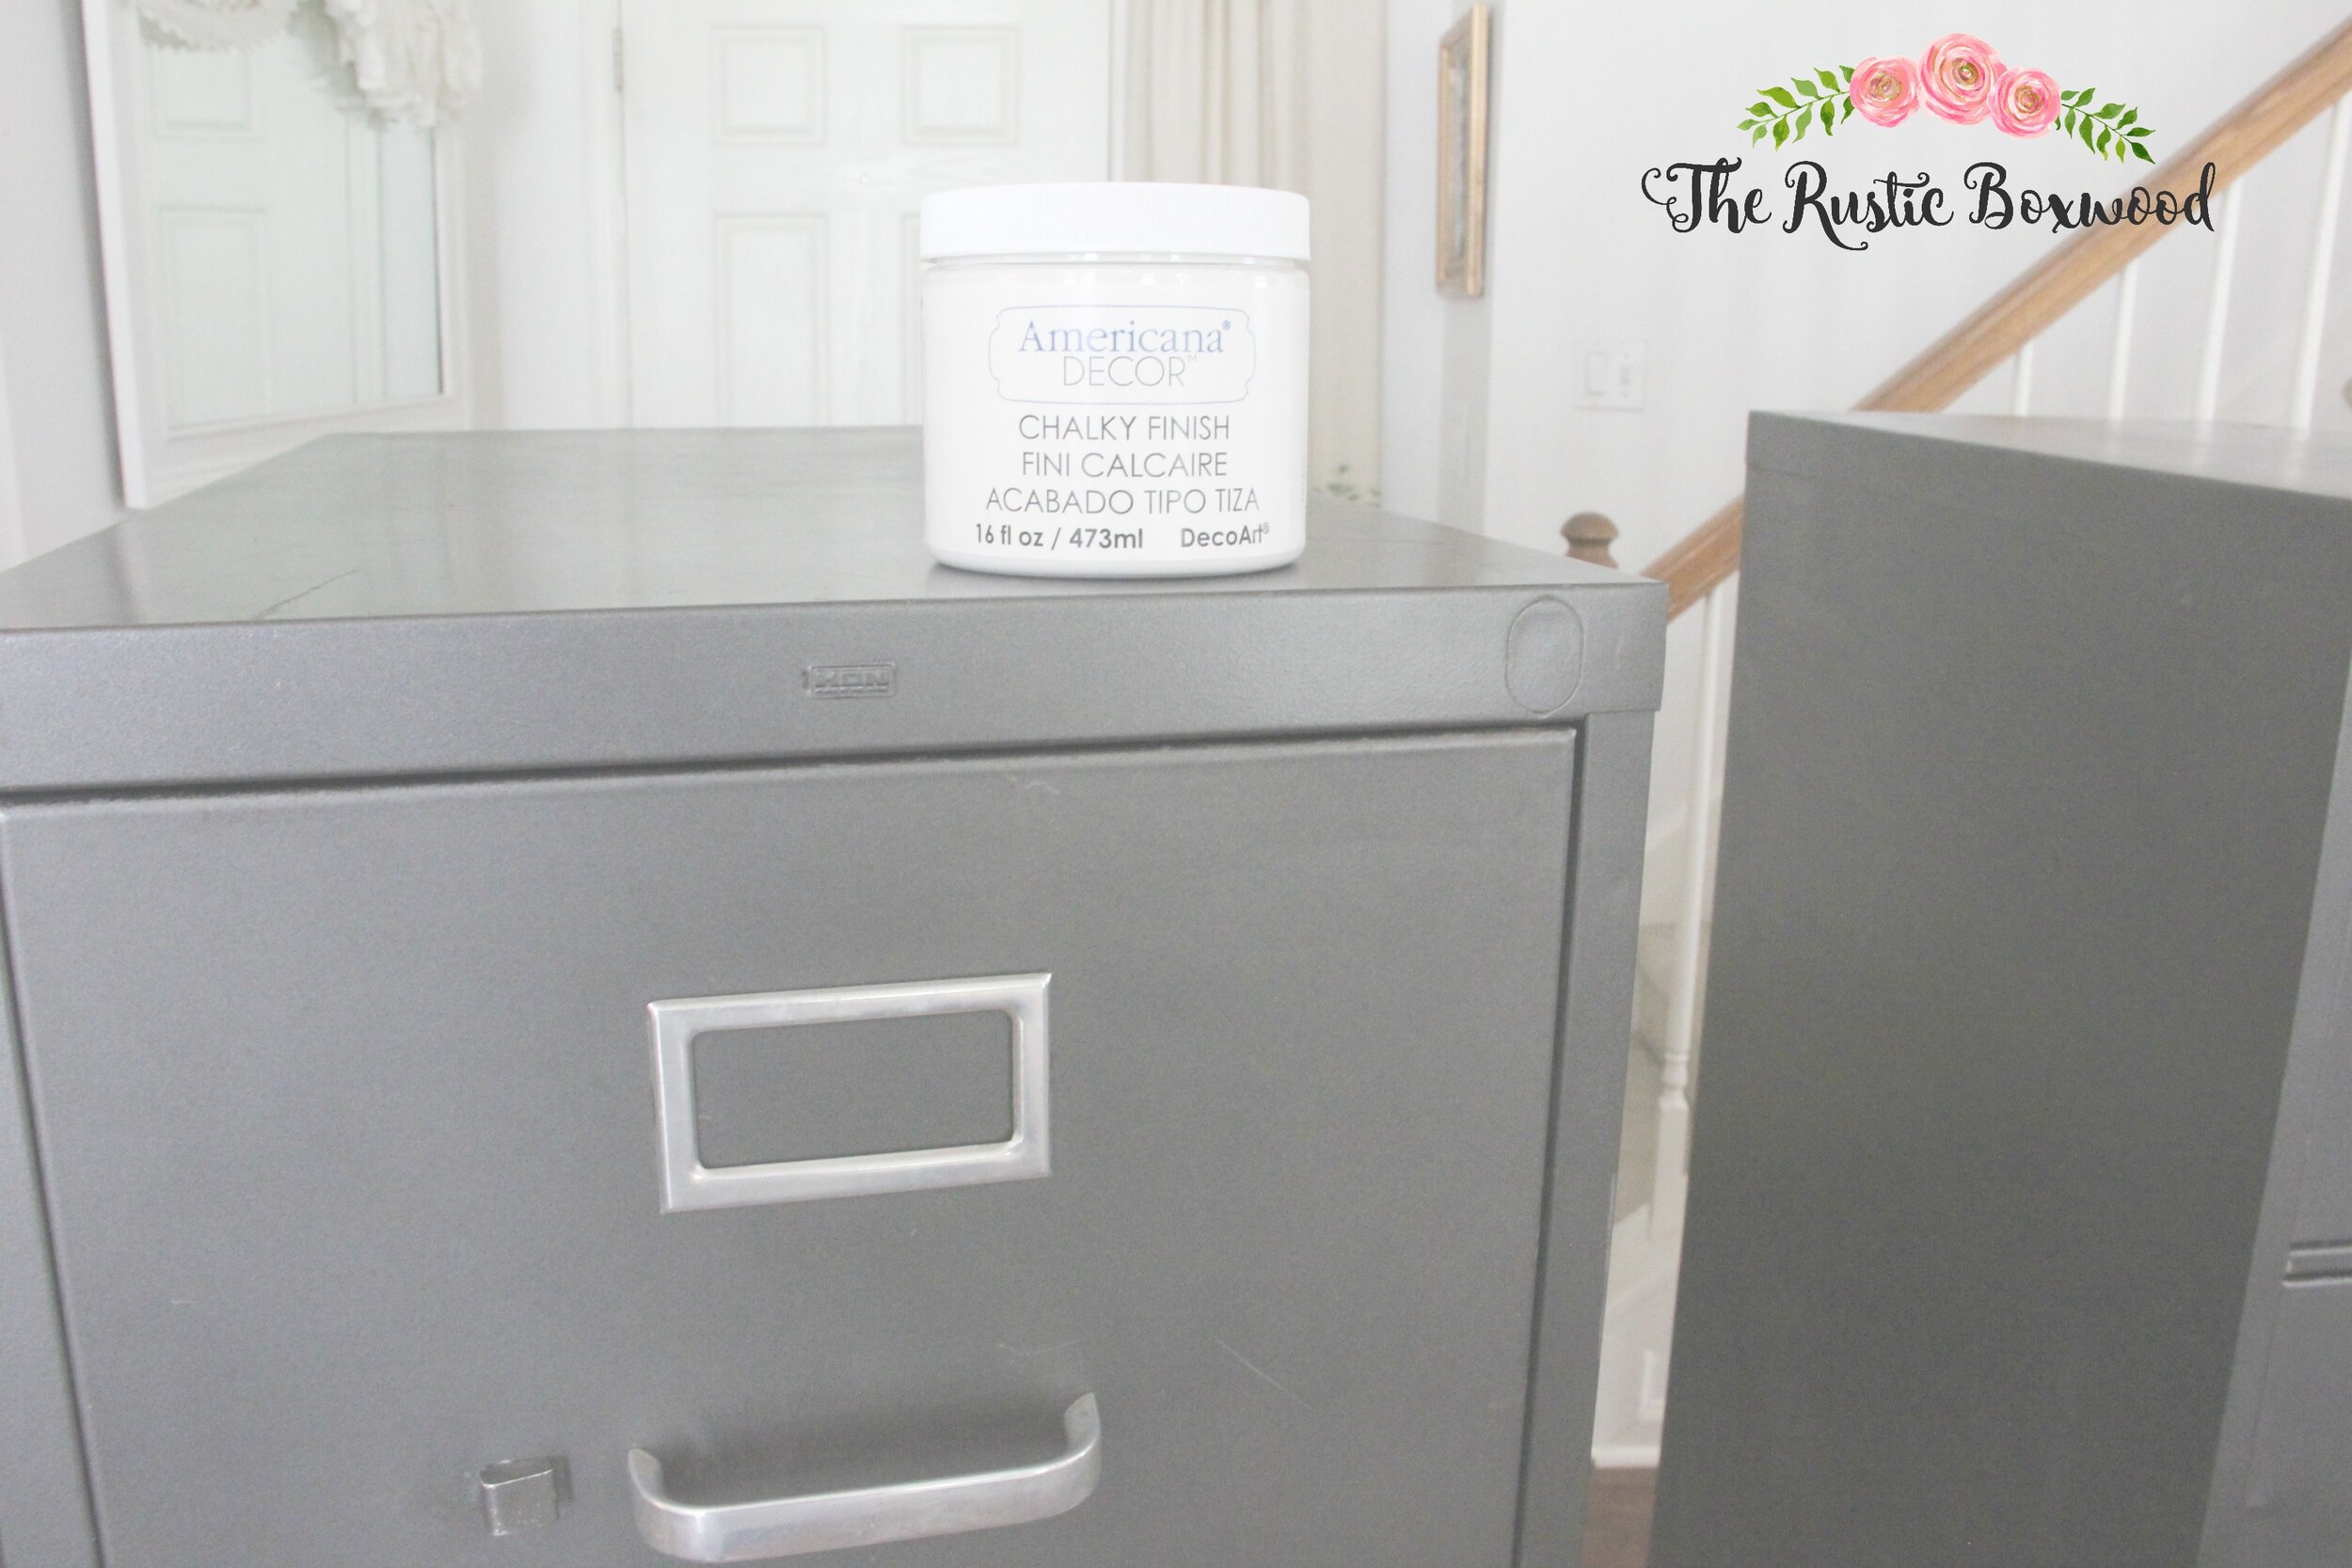
Here's the before...
First, wipe down your metal file cabinets with a damp towel to remove any dust or residue. Next, tape off any of the hardware that's either hard to remove or not removable. In our case, we wanted to do a quick makeover, so painting around the hardware was our method of choice. ;)
Let each coat of paint dry completely in between coats, or else, the paint will come off in different spots on the cabinets. Trust me...you don't want to find out the hard way. Below shows how the cabinets look after a coat or 2 of chalk paint.
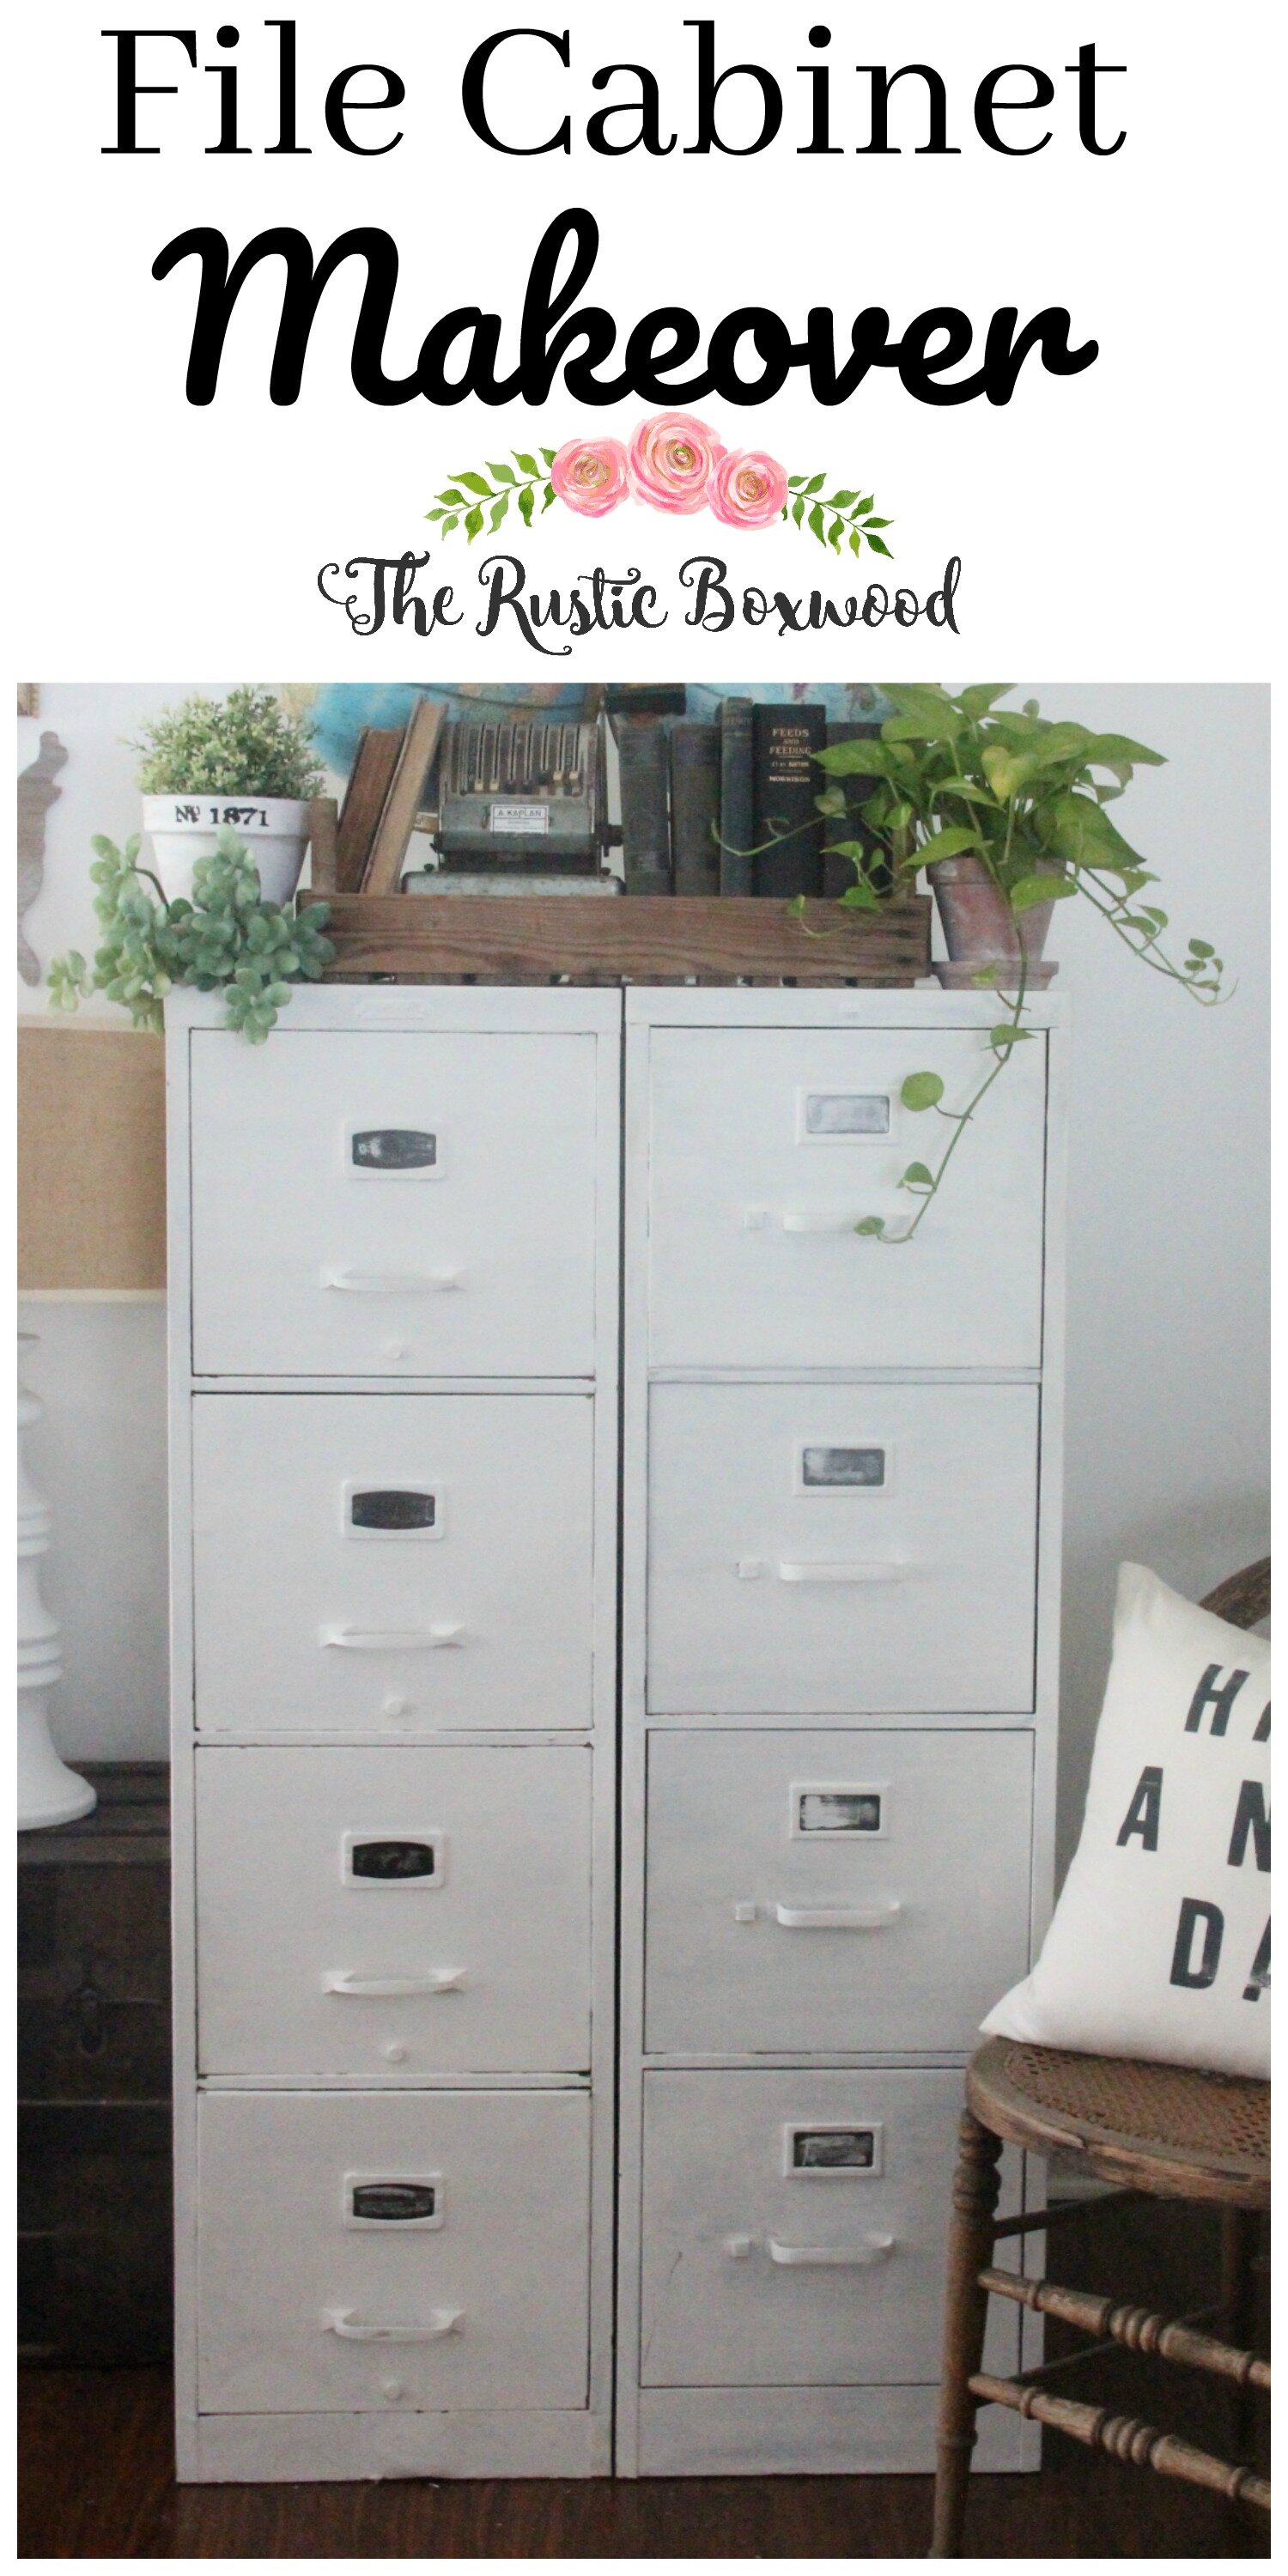
We painted about 4 layers of the chalk paint onto the cabinets. And now, they look good as new!
The labels on each drawer are just cut up pieces of chalkboard paper from the crafts' store. I "seasoned" each label with a little chalk to give it a rustic feel. You can read all about seasoning a surface with chalk in this blog post.
Of course, I had to decorate with some of my favorite farmhouse decor finds, such as this really cool (and old!) Feeds and Feeding book that I found for 25 cents at our local thrift store! (Want to know more about decorating with old books? Check out this fun post here.)
That's it! I'm soooo happy we bought these fun storage organizers! They're super cute and really handy for all our homeschooling supplies! The hubs wasn't too excited when I brought them home from that estate sale, but now, he's really liking how they look and how well they organize the kids' school supplies! It's all about that vision! ;)
For your convenience, you can pin this photo below for future reference, just in case you decide to give your metal furniture a makeover! ;)
Well, that's it. I hope you've been inspired to do a little renovating yourself! Have any questions? Please feel free to comment below, or stop by and say hey on Pinterest, Instagram, Twitter, and Facebook. It ALWAYS makes my day to hear from my sweet readers! Have a wonderful day!
You might also like:


