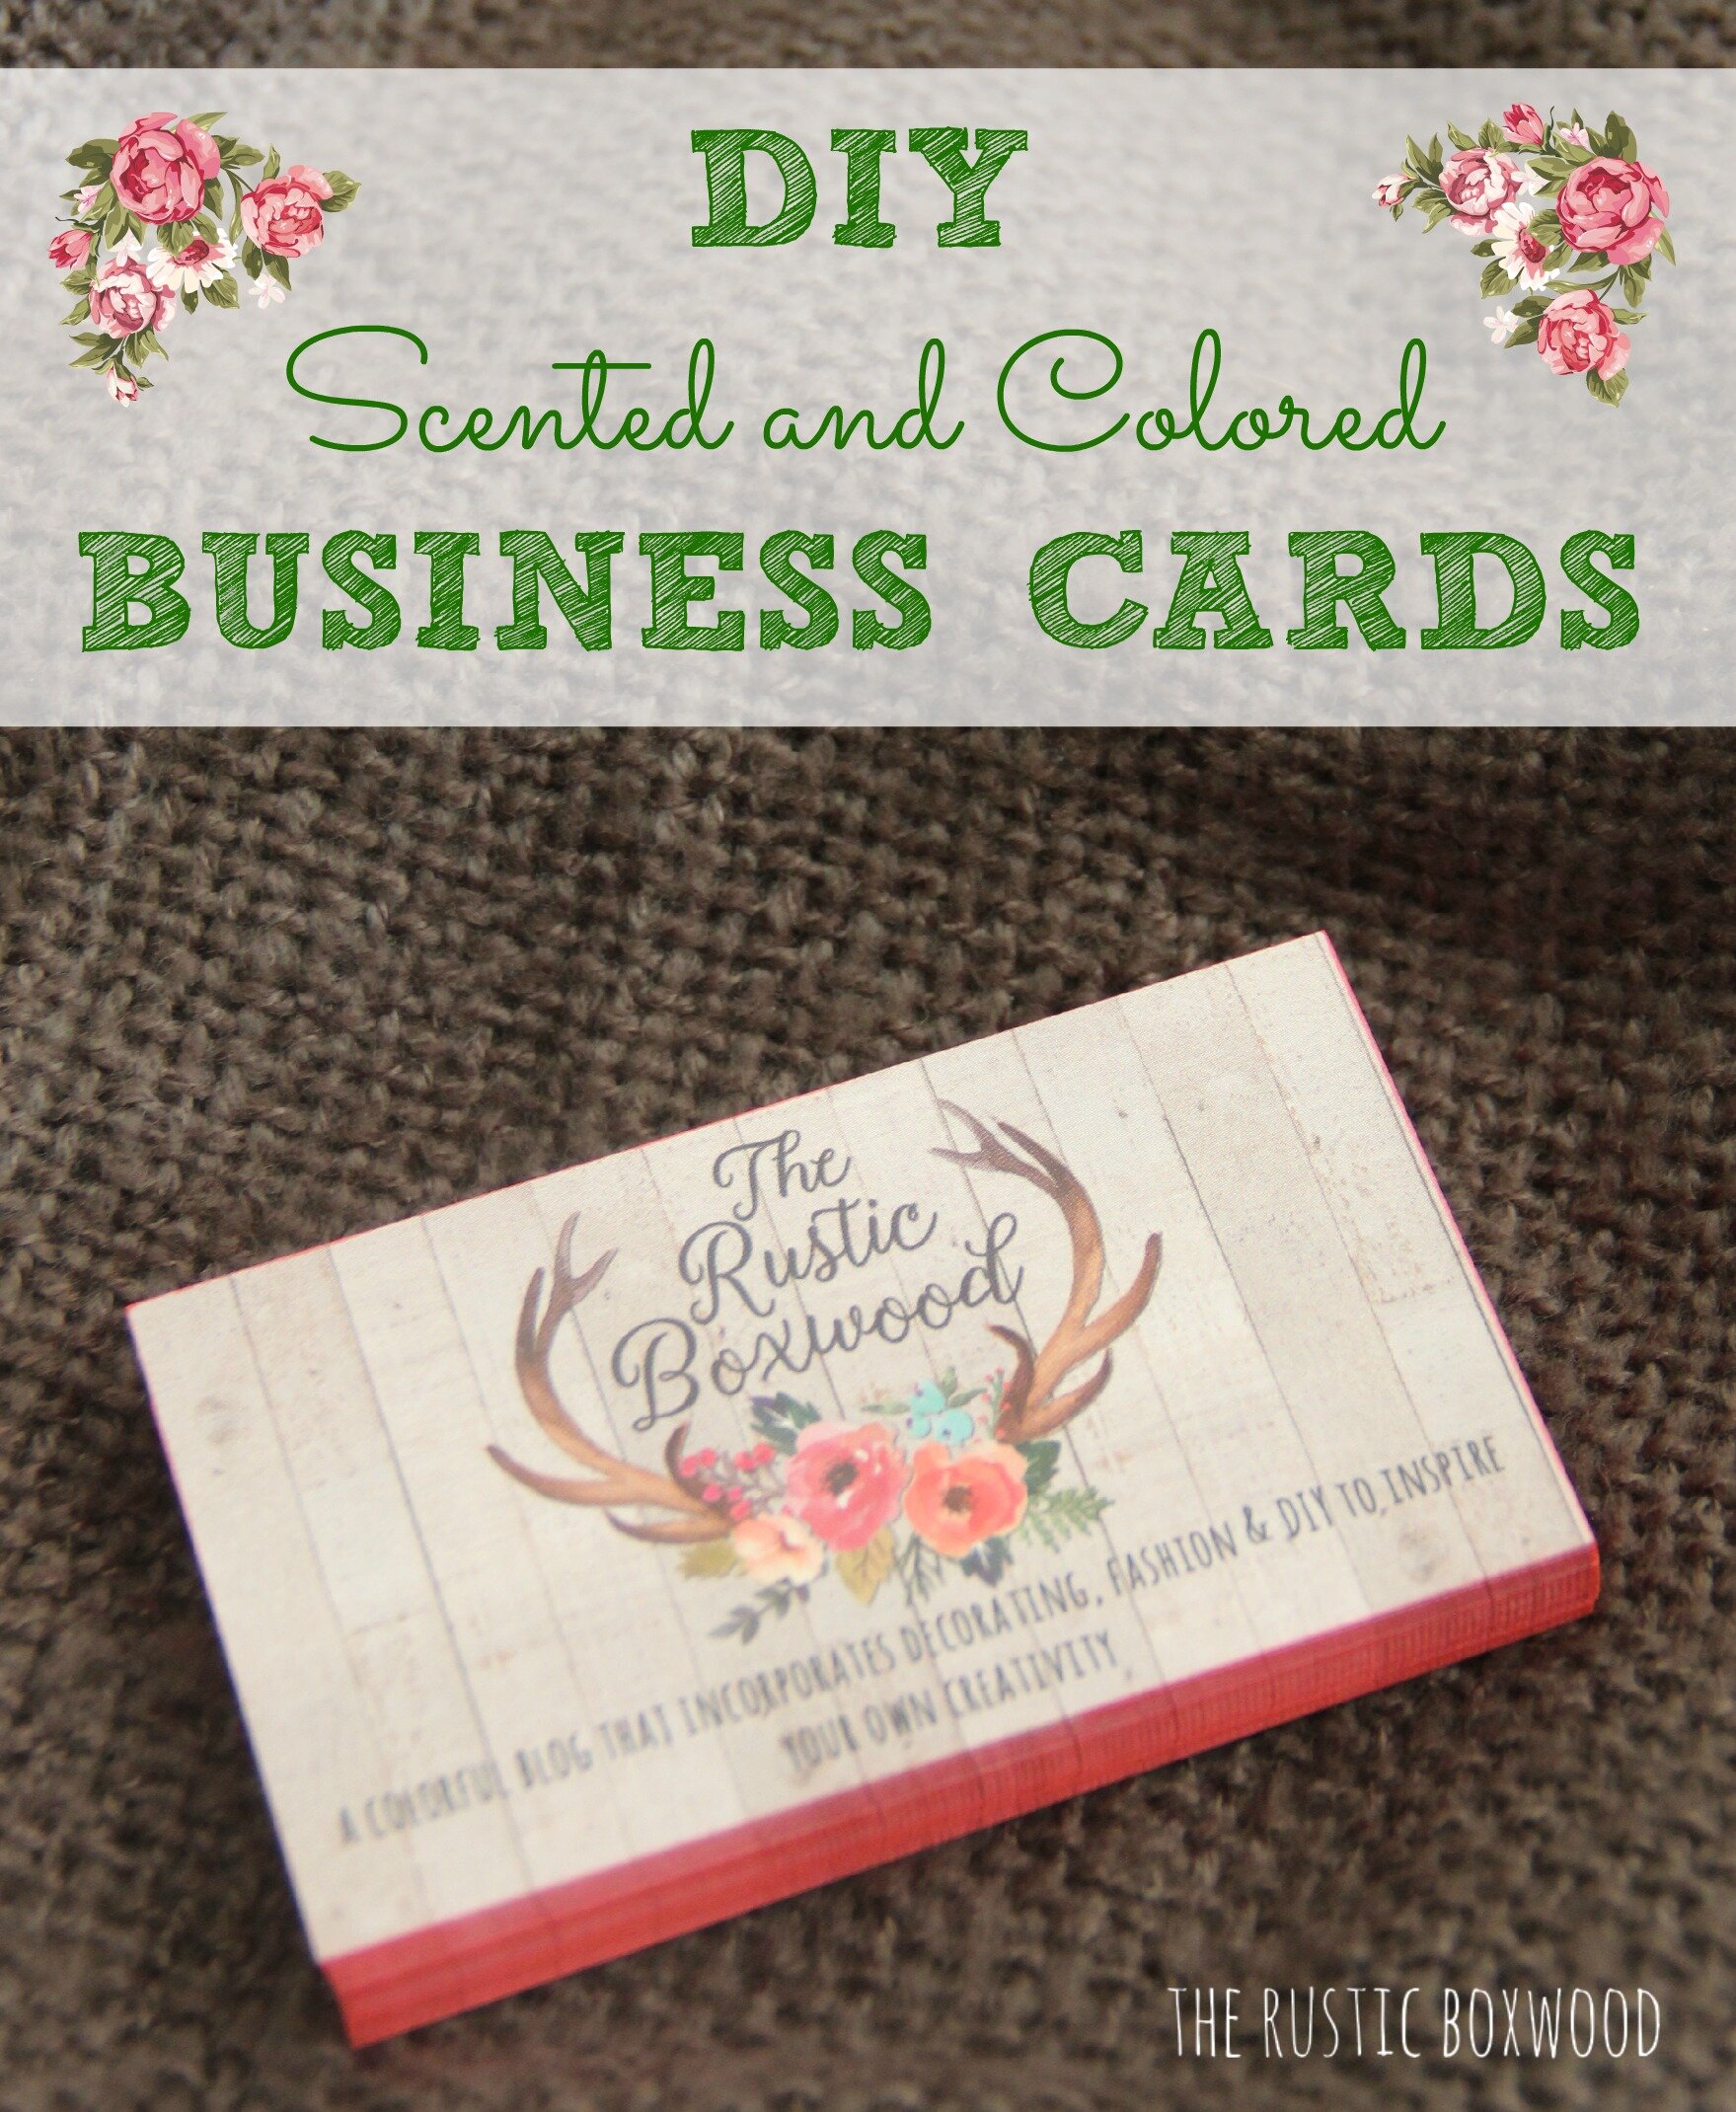
DIY Scented, Colored Business Cards
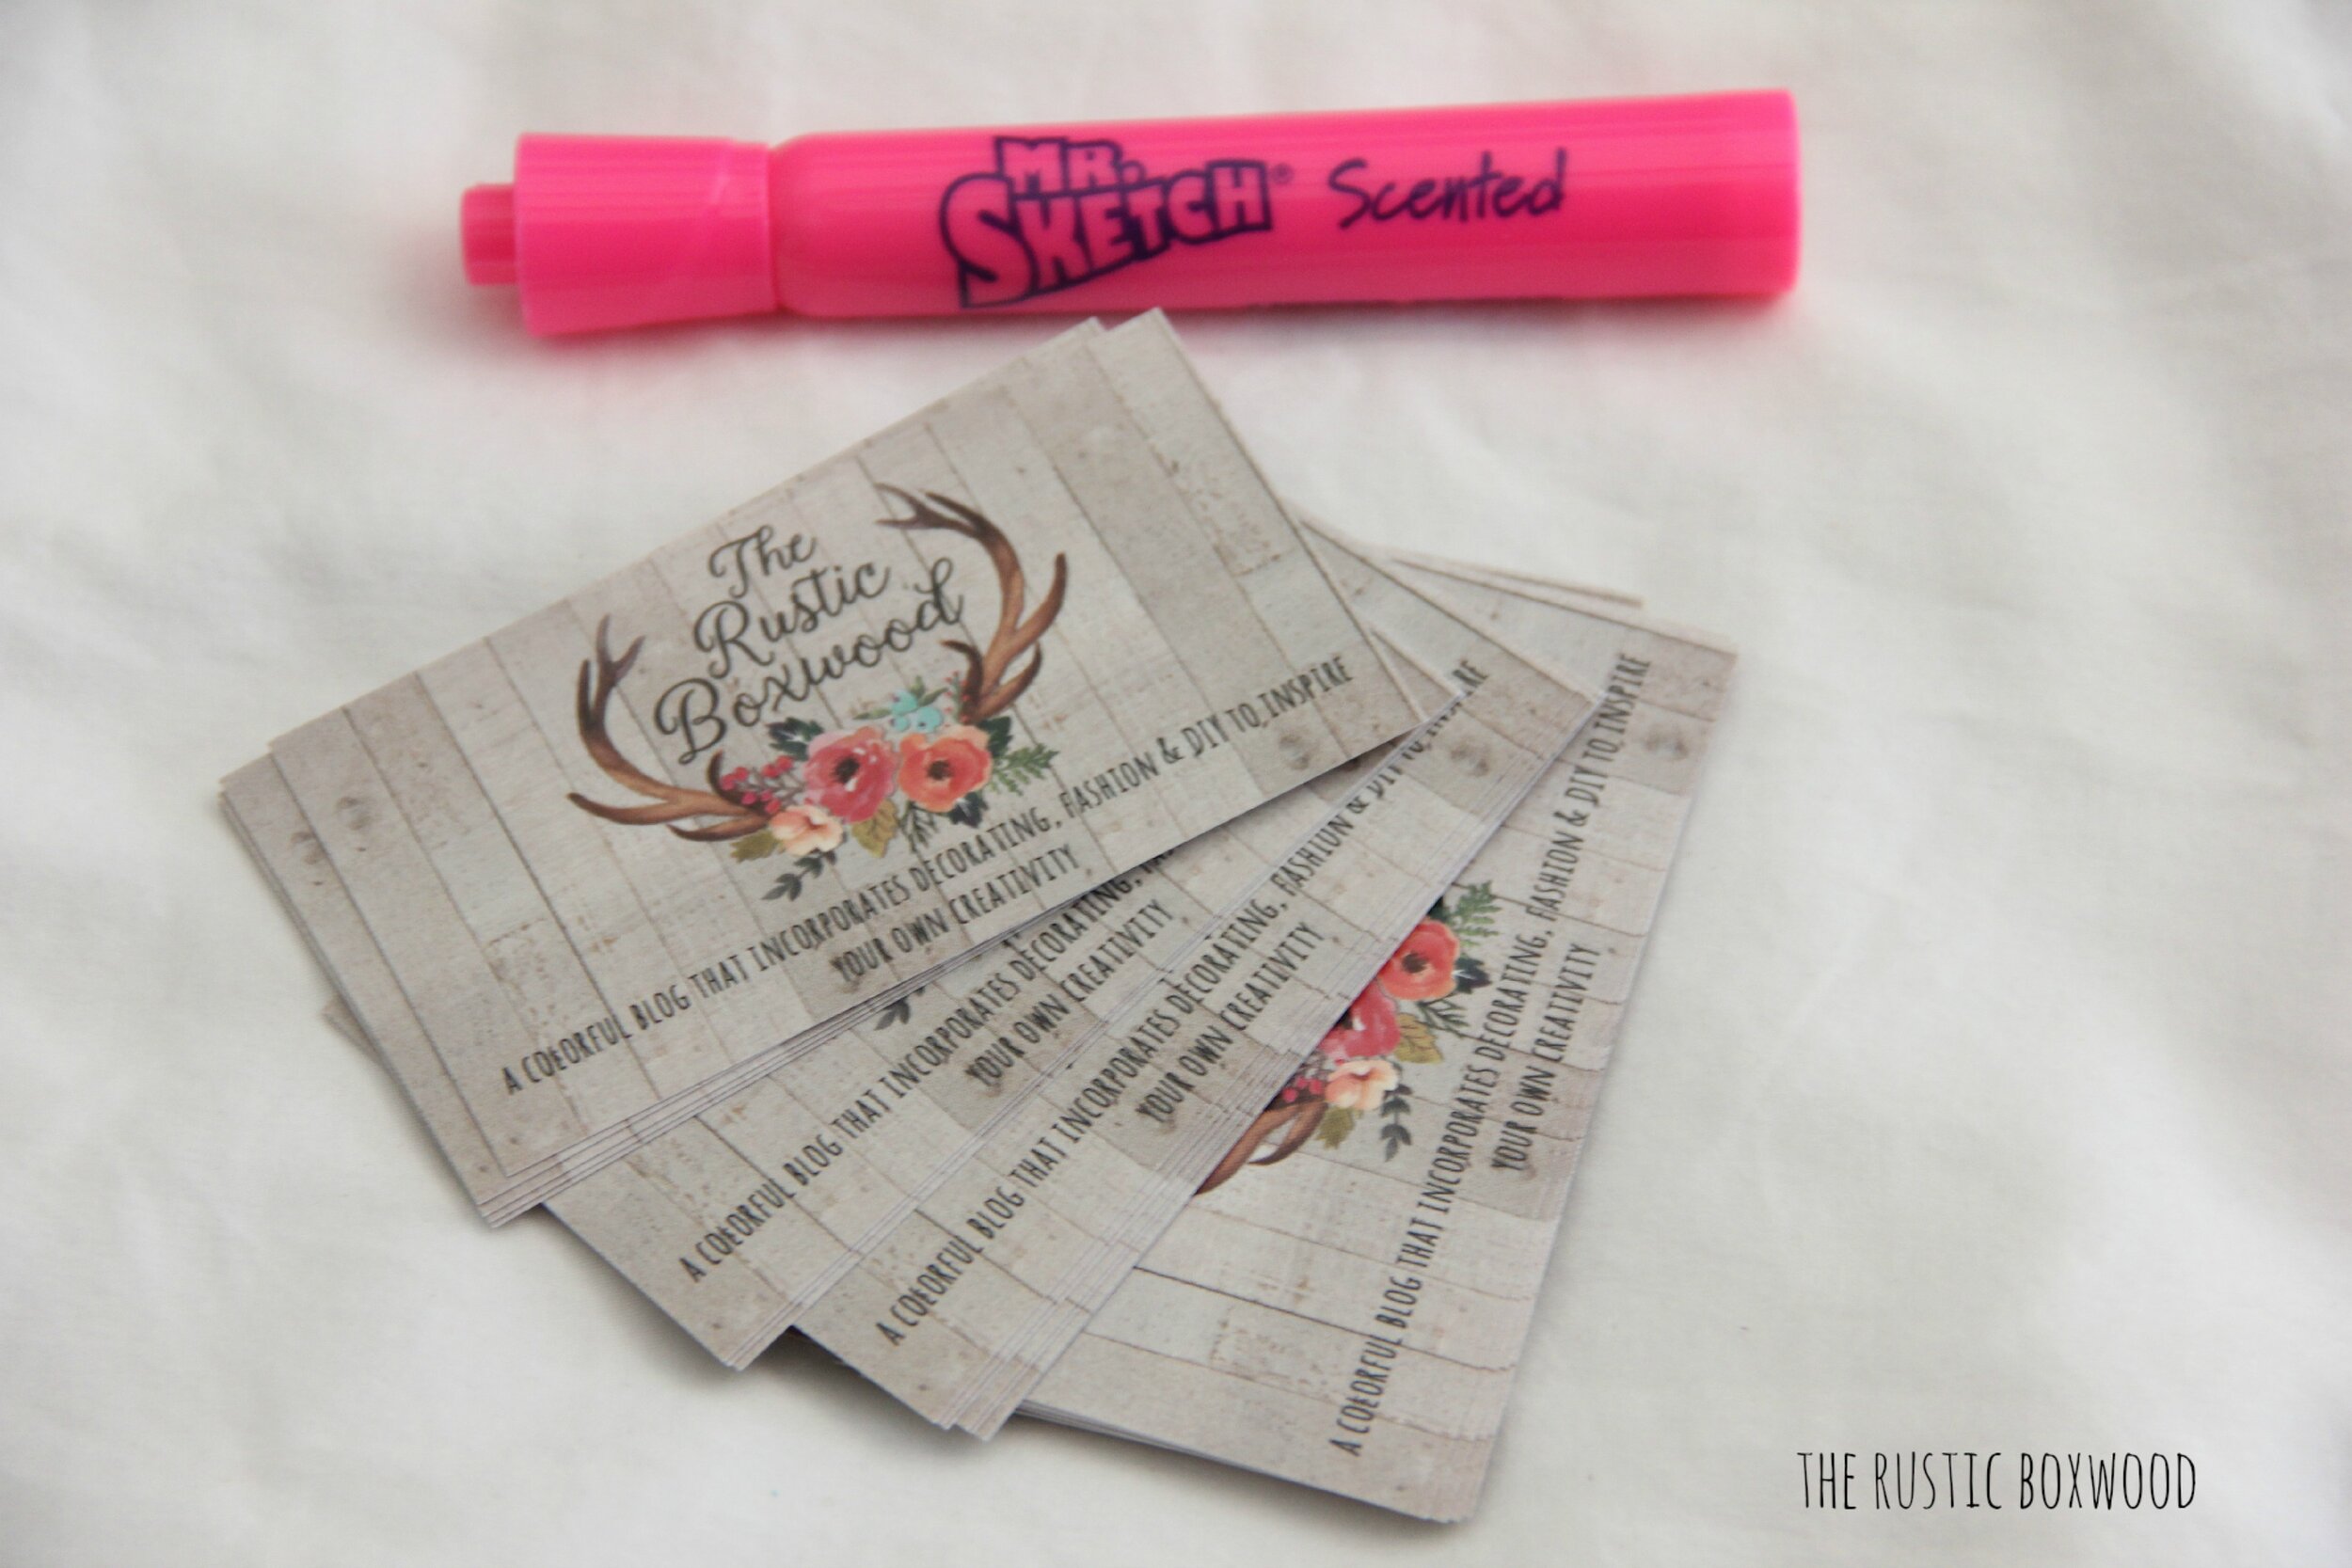
Hey y'all! Today, I'd like to share with you a great idea on saving money by coloring the edges of your business cards yourself! I got this fabulous idea from Hi Sugarplum! She shared how to make your cards gilded on the edges. So cute! But since gold wasn't the best option for my type of card, I chose to use a hot pink highlighter to bring out the beautiful flowers on the front/back of my card. And to bring it up a notch, I used a SCENTED highlighter! :) It's always fun to make things pretty AND to make them smell nicely!
I tried different methods of applying color to my edges....I used various Sharpies and markers, but the best option for me was the highlighter, more specifically, a "Mr. Sketch Scented" highlighter. It covered a lot more quickly and evenly, and it smells great!
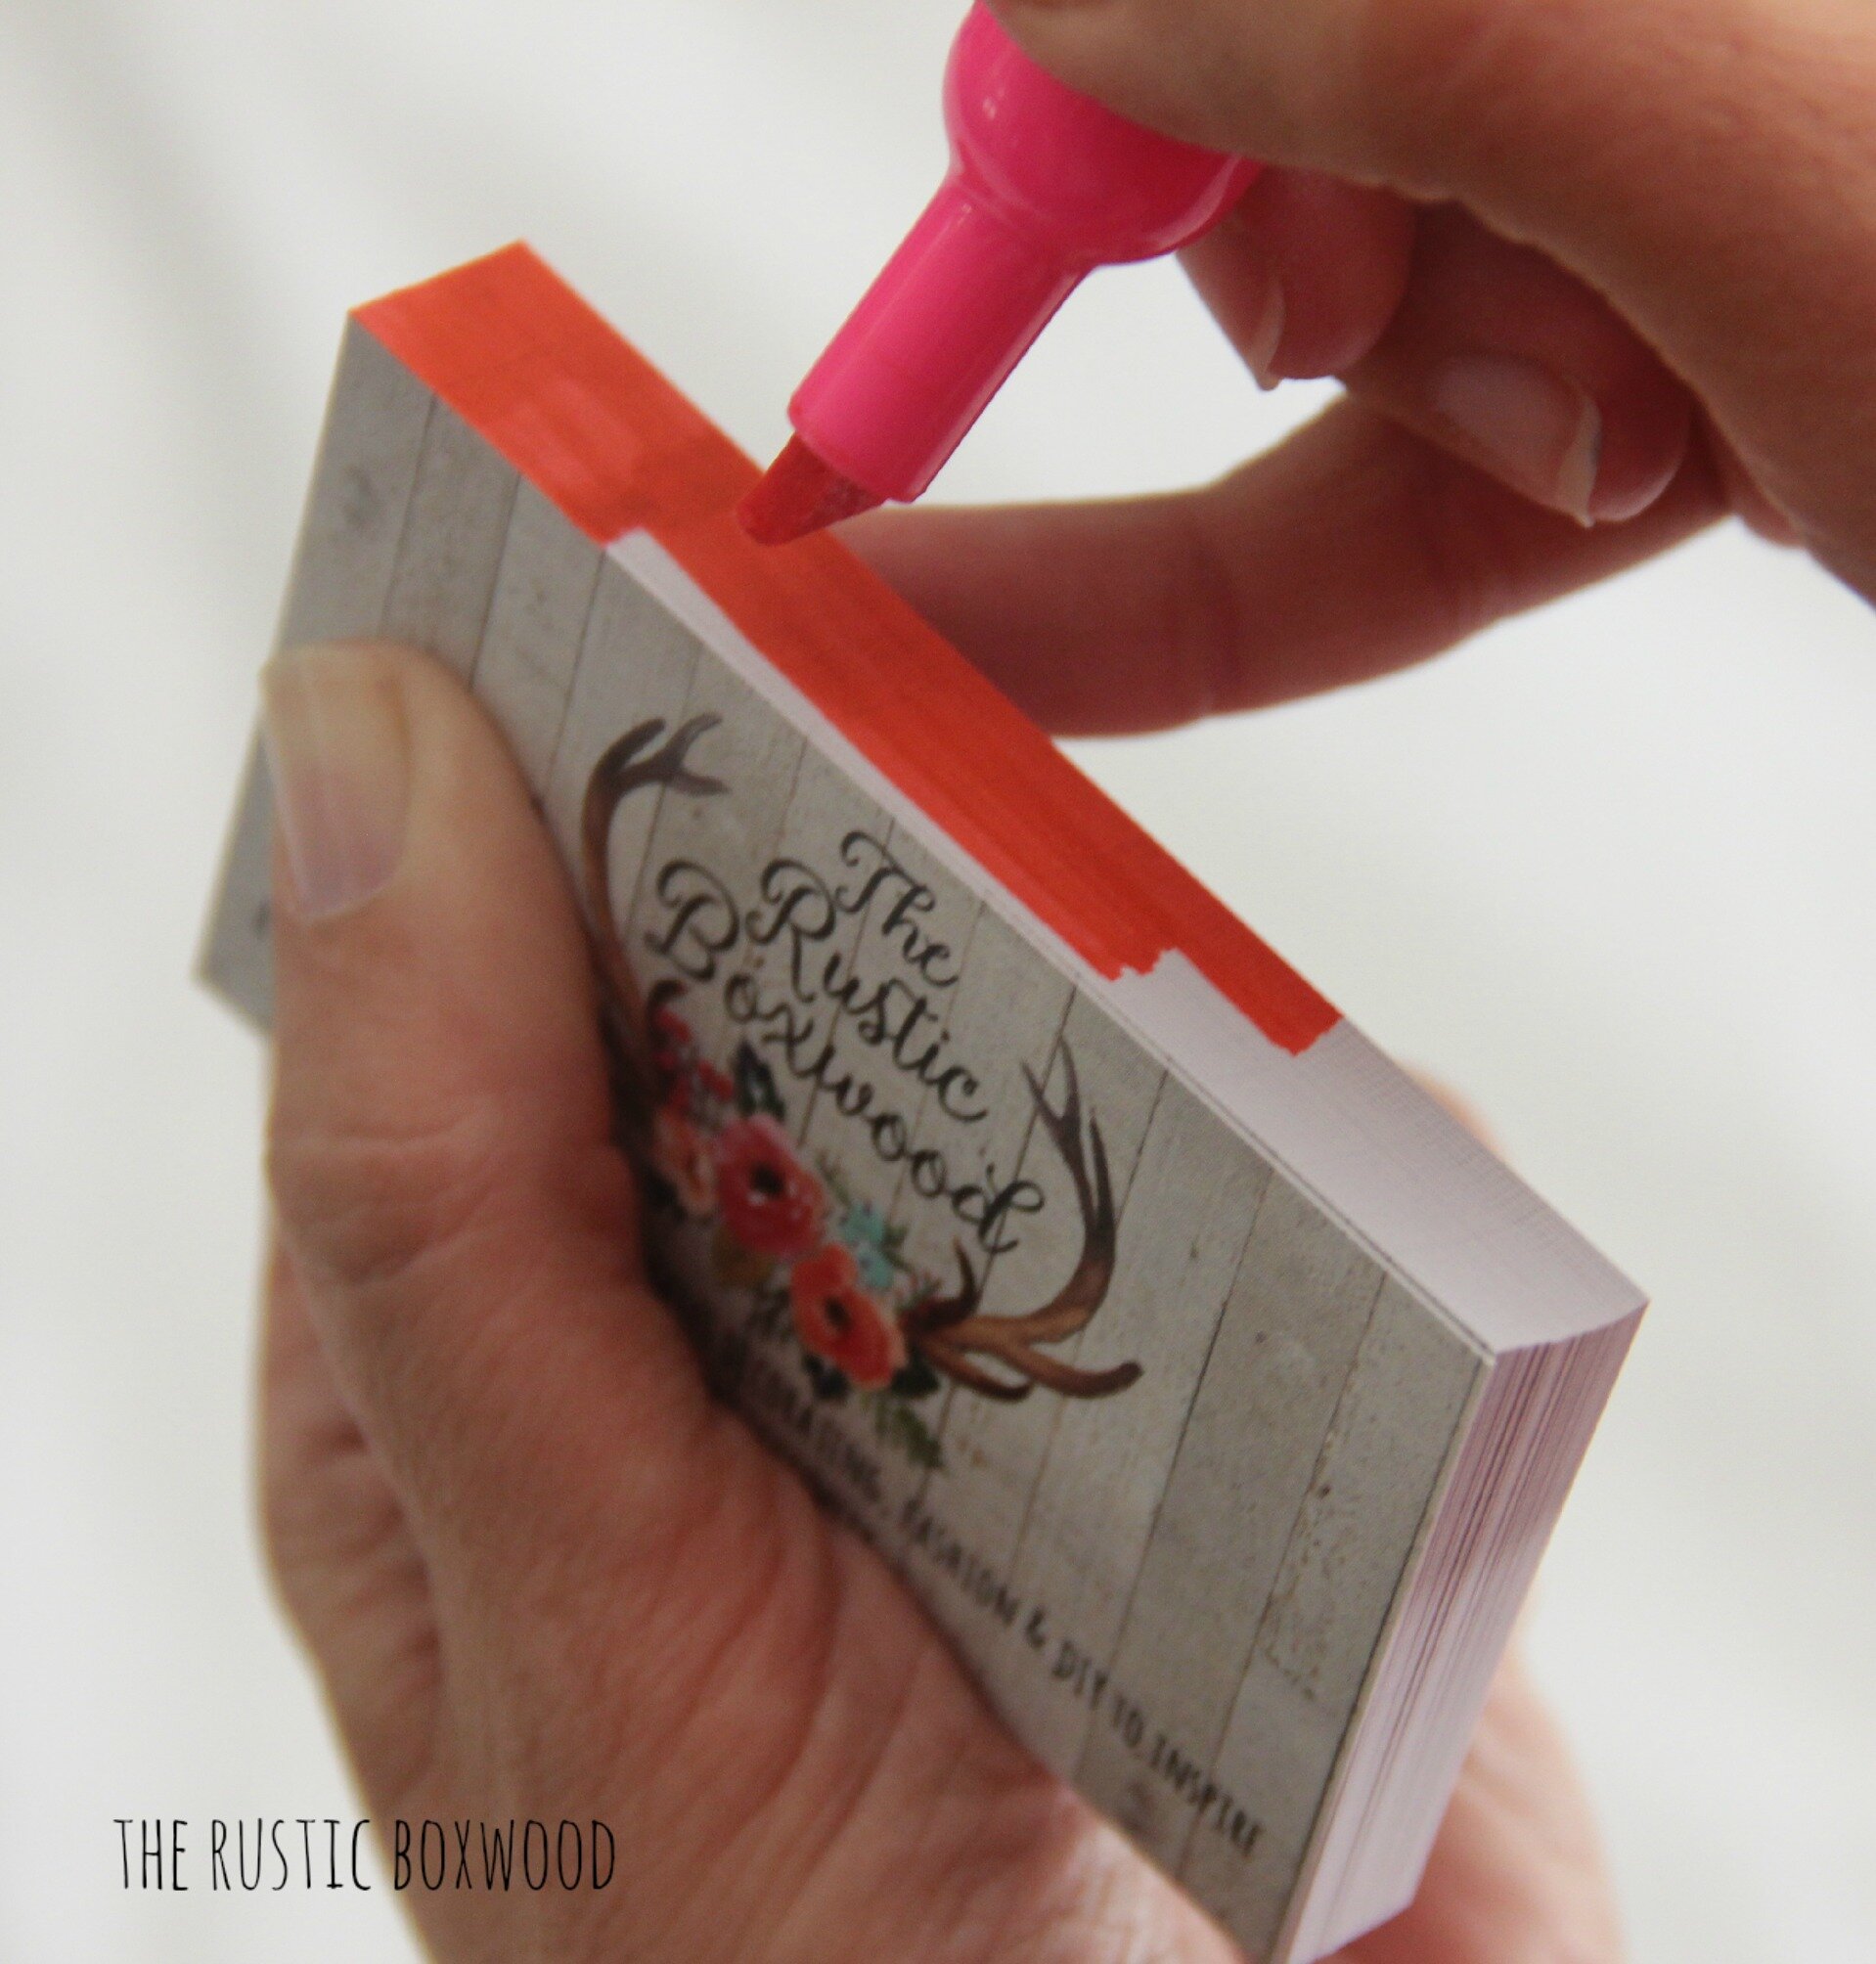
When applying your color, first do a tester on just one card to make sure you have the color you like and that it applies easily. Once you've found your fave color, the next step is to carefully and tightly hold a bunch of cards, and then start coloring! (If you don't hold them firmly, the color will bleed through onto the front or back of the card, leaving a very unprofessional appearance. Don't want that!)


That's it! Now, all you have to do is step back and marvel at how cute and fun your cards look!
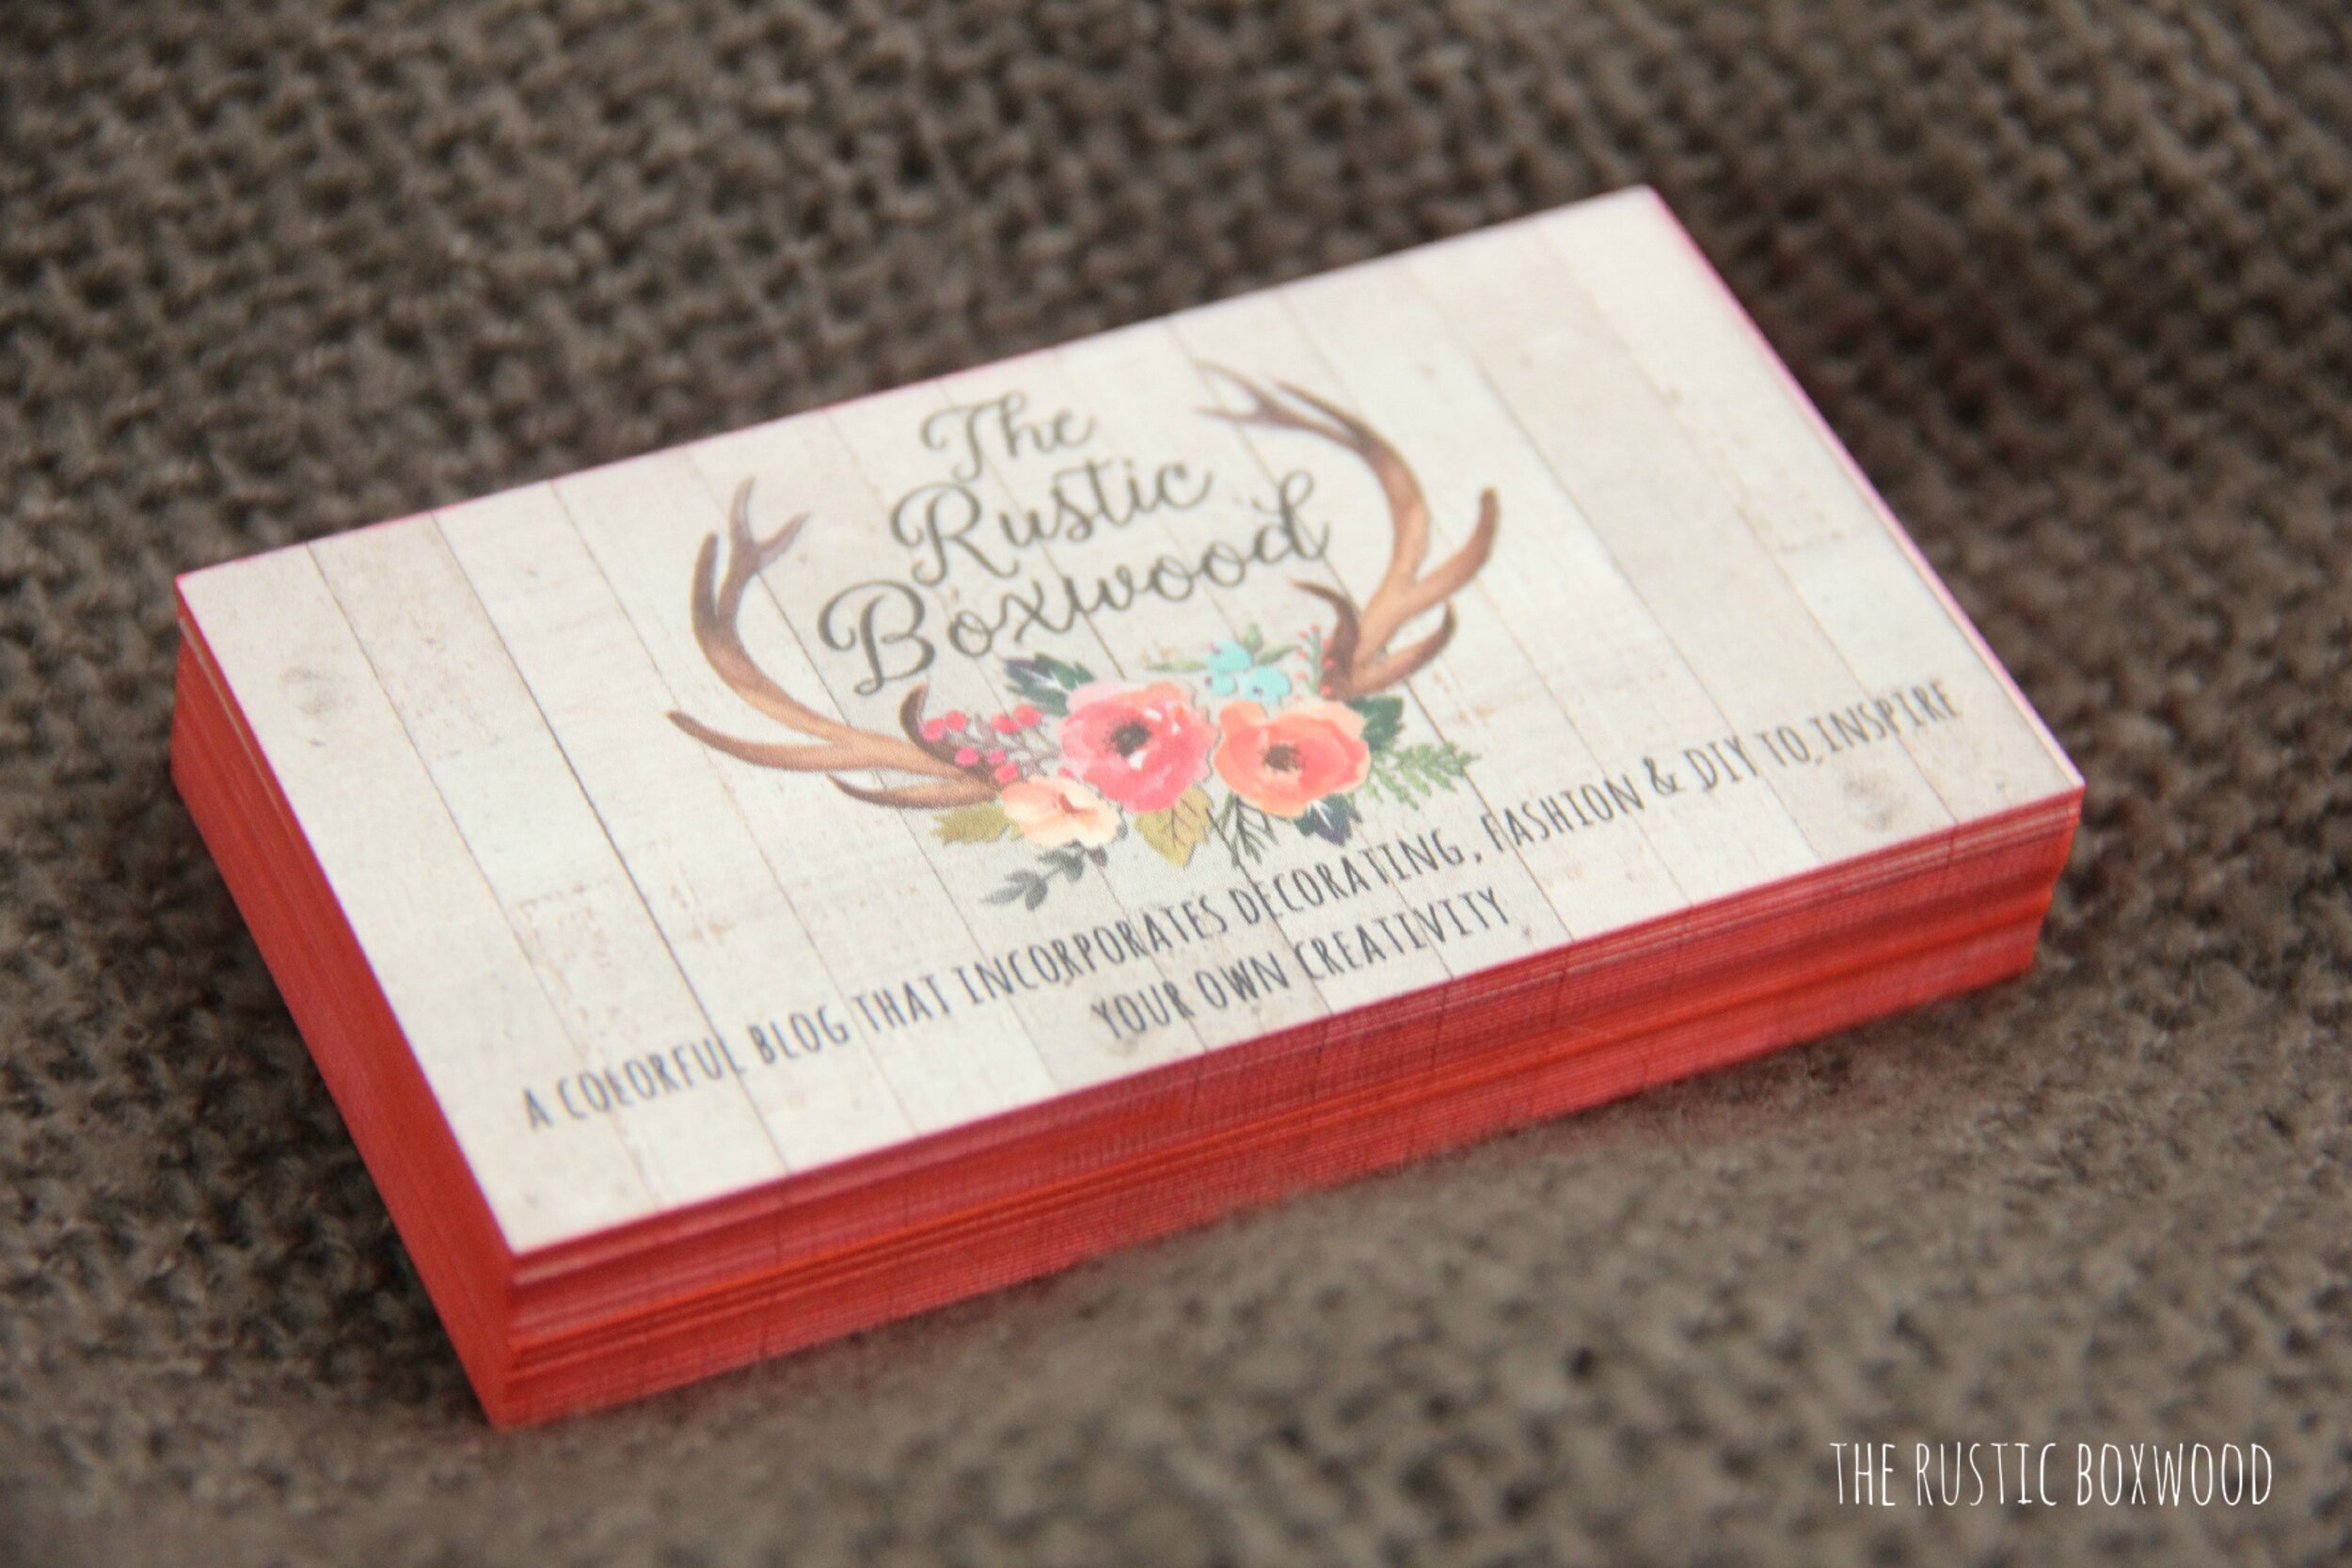
What do you think of my DIY scented and colored business cards? Didn't Michelle at MLADesigns do a beautiful job creating this gorgeous template?! I absolutely LOVE them, and I can't wait to share these with all my blogger friends at the Haven Conference next week! Woohoo! And if you'd like to follow along with all the fun I'm having at this conference, I'll be posting pics on Instagram!
Thanks for stopping by! Hugs!
For more money-saving DIY tutorials, check out these posts...