
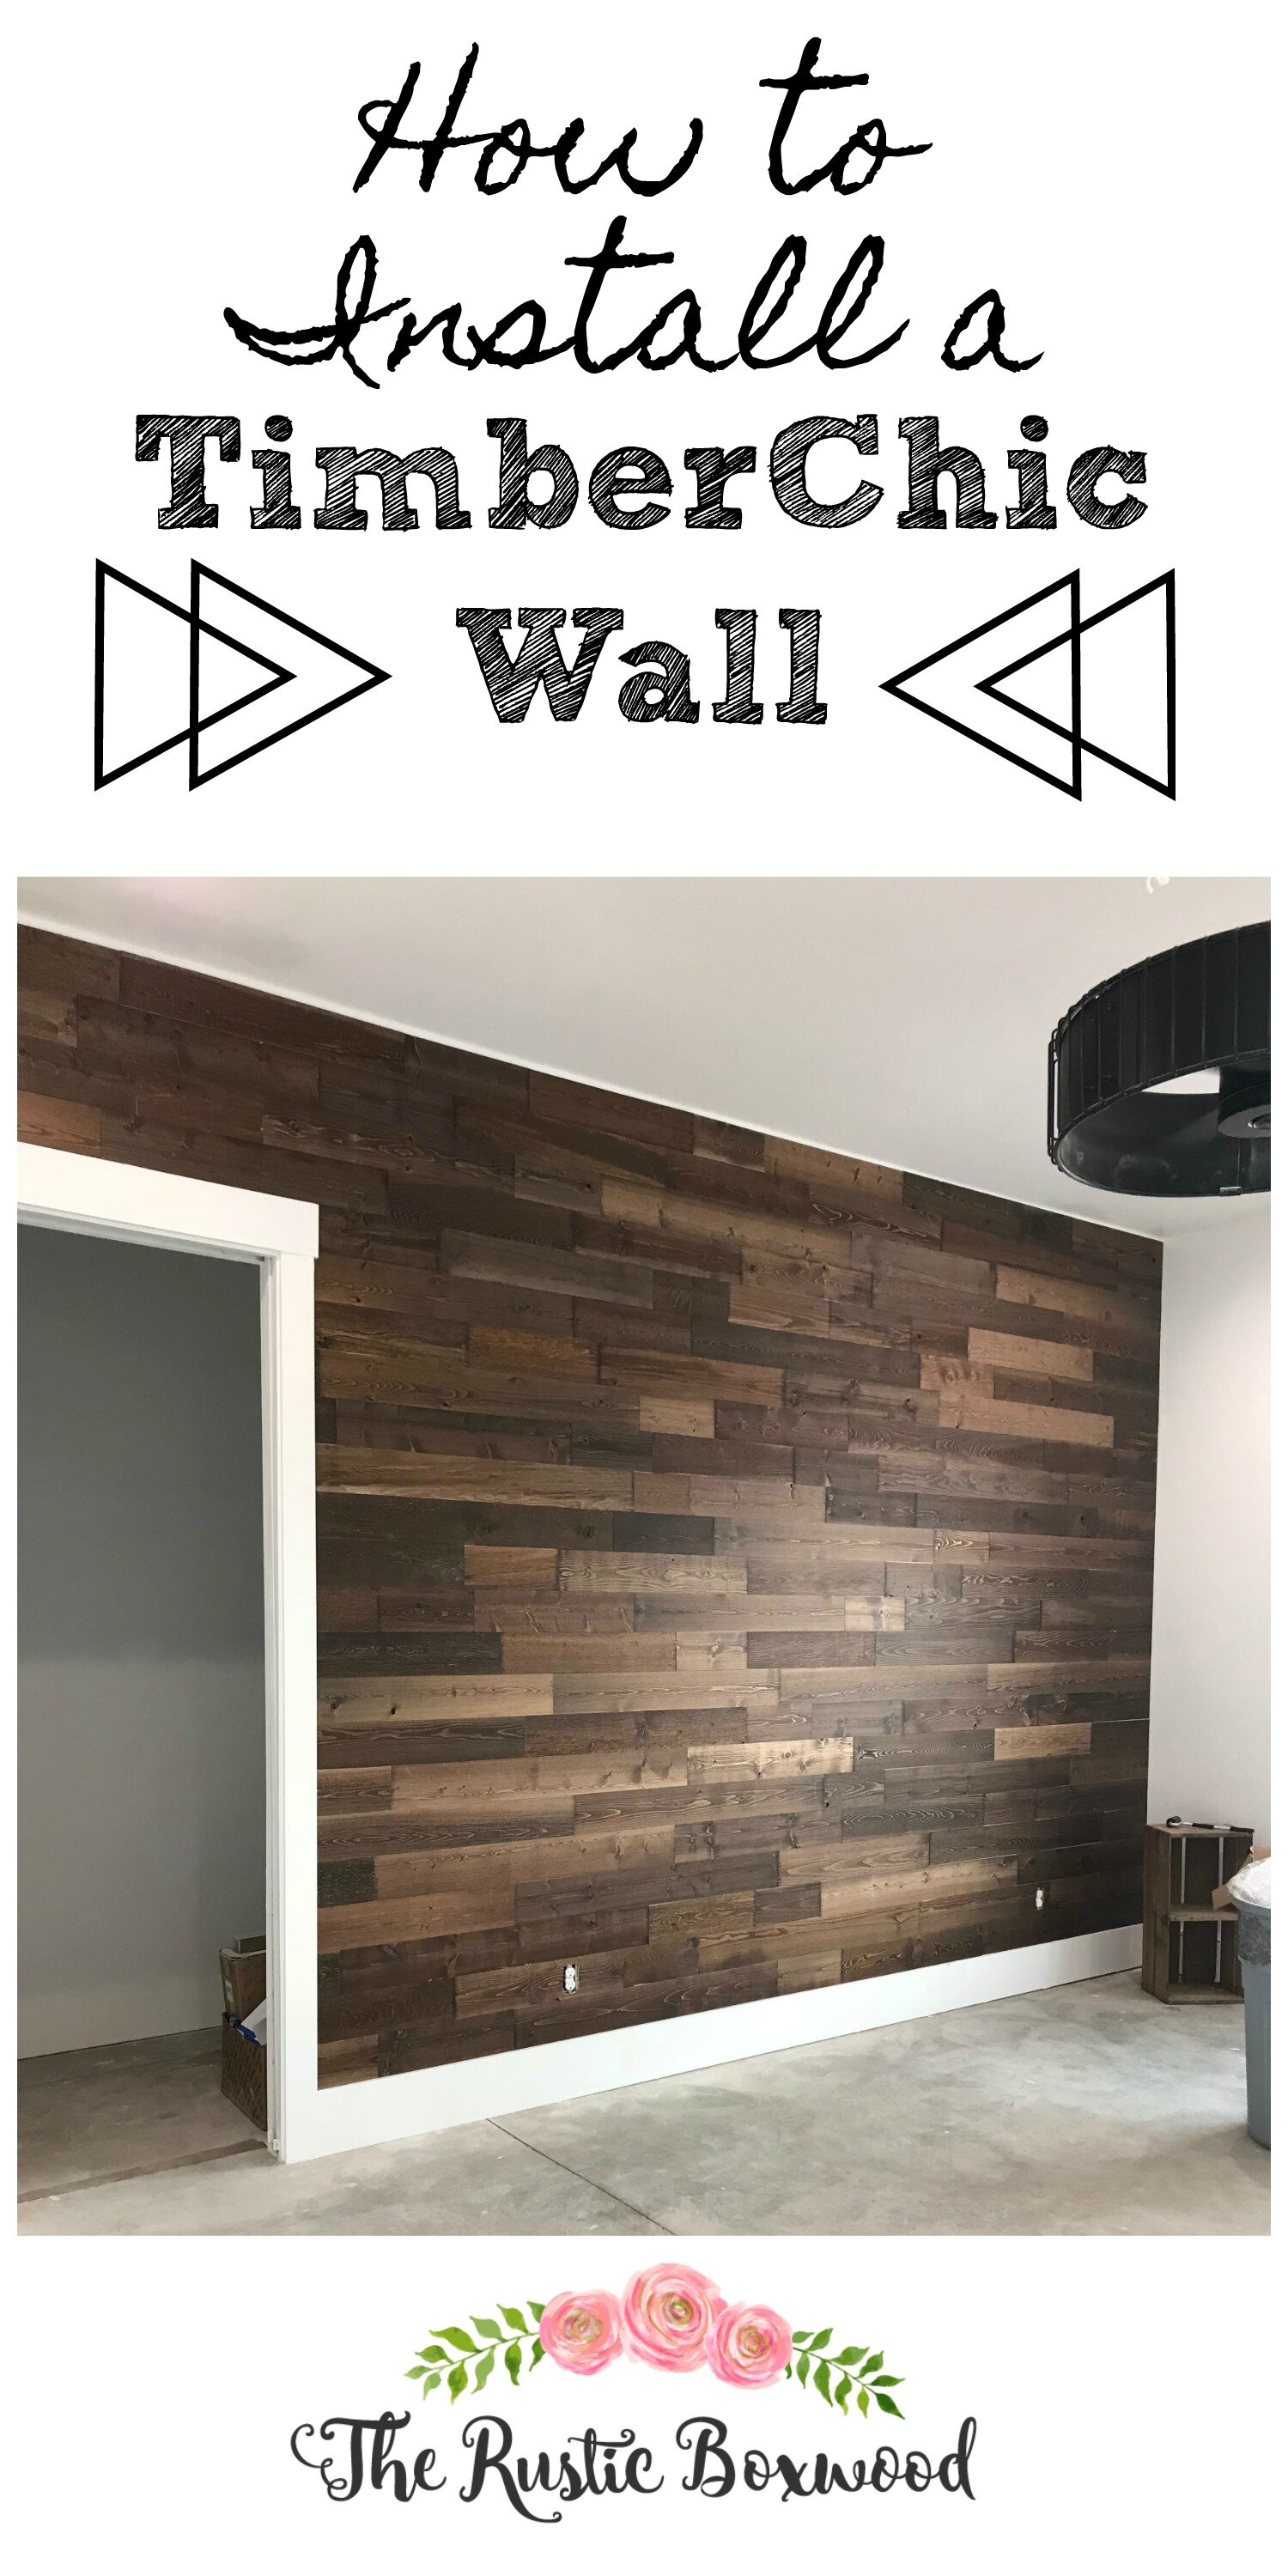
How to Make a Statement Wall with TimberChic Wall Planks
Hey y’all! Thanks for stopping by today! Don’t forget to come find me on Instagram, Facebook and Pinterest in order to stay up to date with all the happenings and projects on the blog!
********************************************
Hope you are having a wonderful day! As some of you know, my husband and I are building our dream farmhouse, and we're being published in every issue for 2018 in the Cottages and Bungalows magazine!! Woohoo! With that said, we're currently mid-process with the build, and we've just wrapped up completing our son's bedroom, bathroom and our powder bathroom. (More details to come on those rooms!)
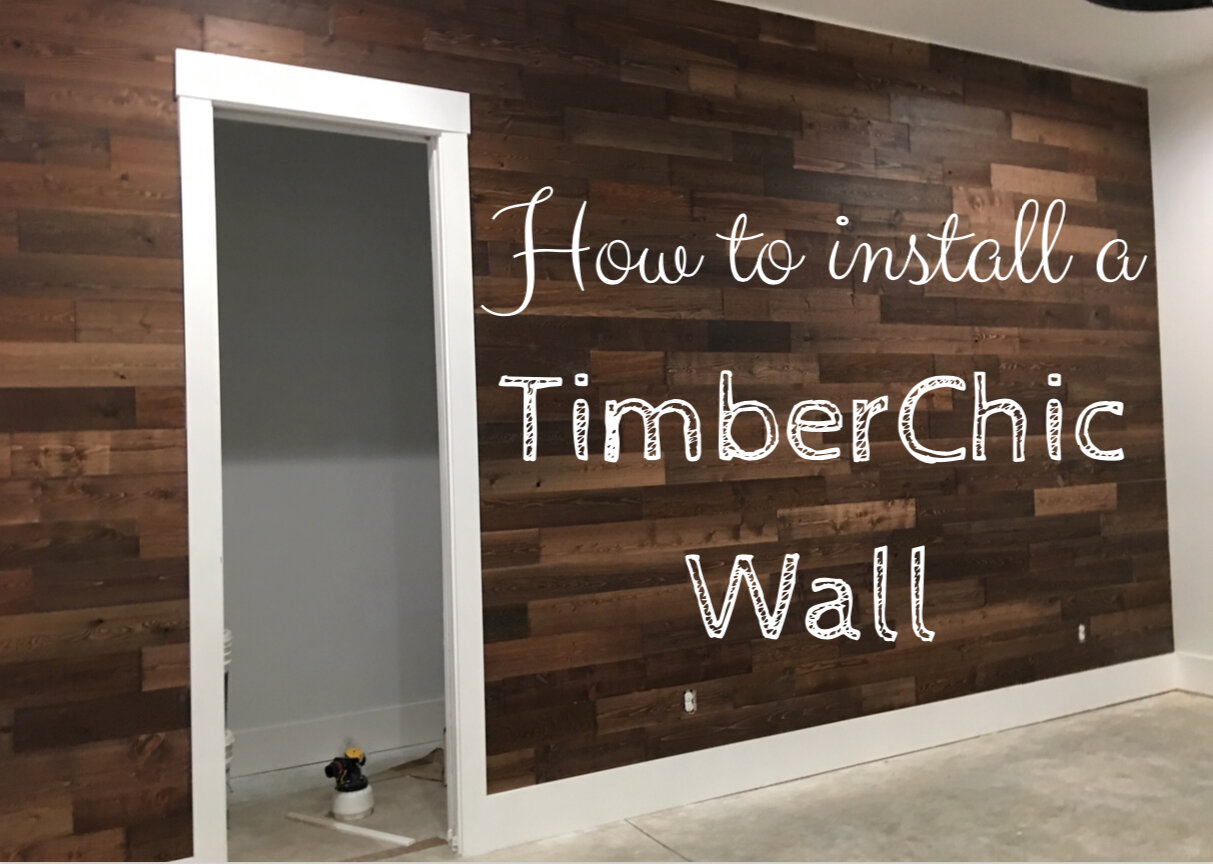
Today, I want to show you how to install a TimberChic wall. We gave our son's room a totally cool statement wall using these planks, and we're so pleased with how it turned out! Read on to find out all the deets, and don’t forget to check out my YouTube video. (Click here.)
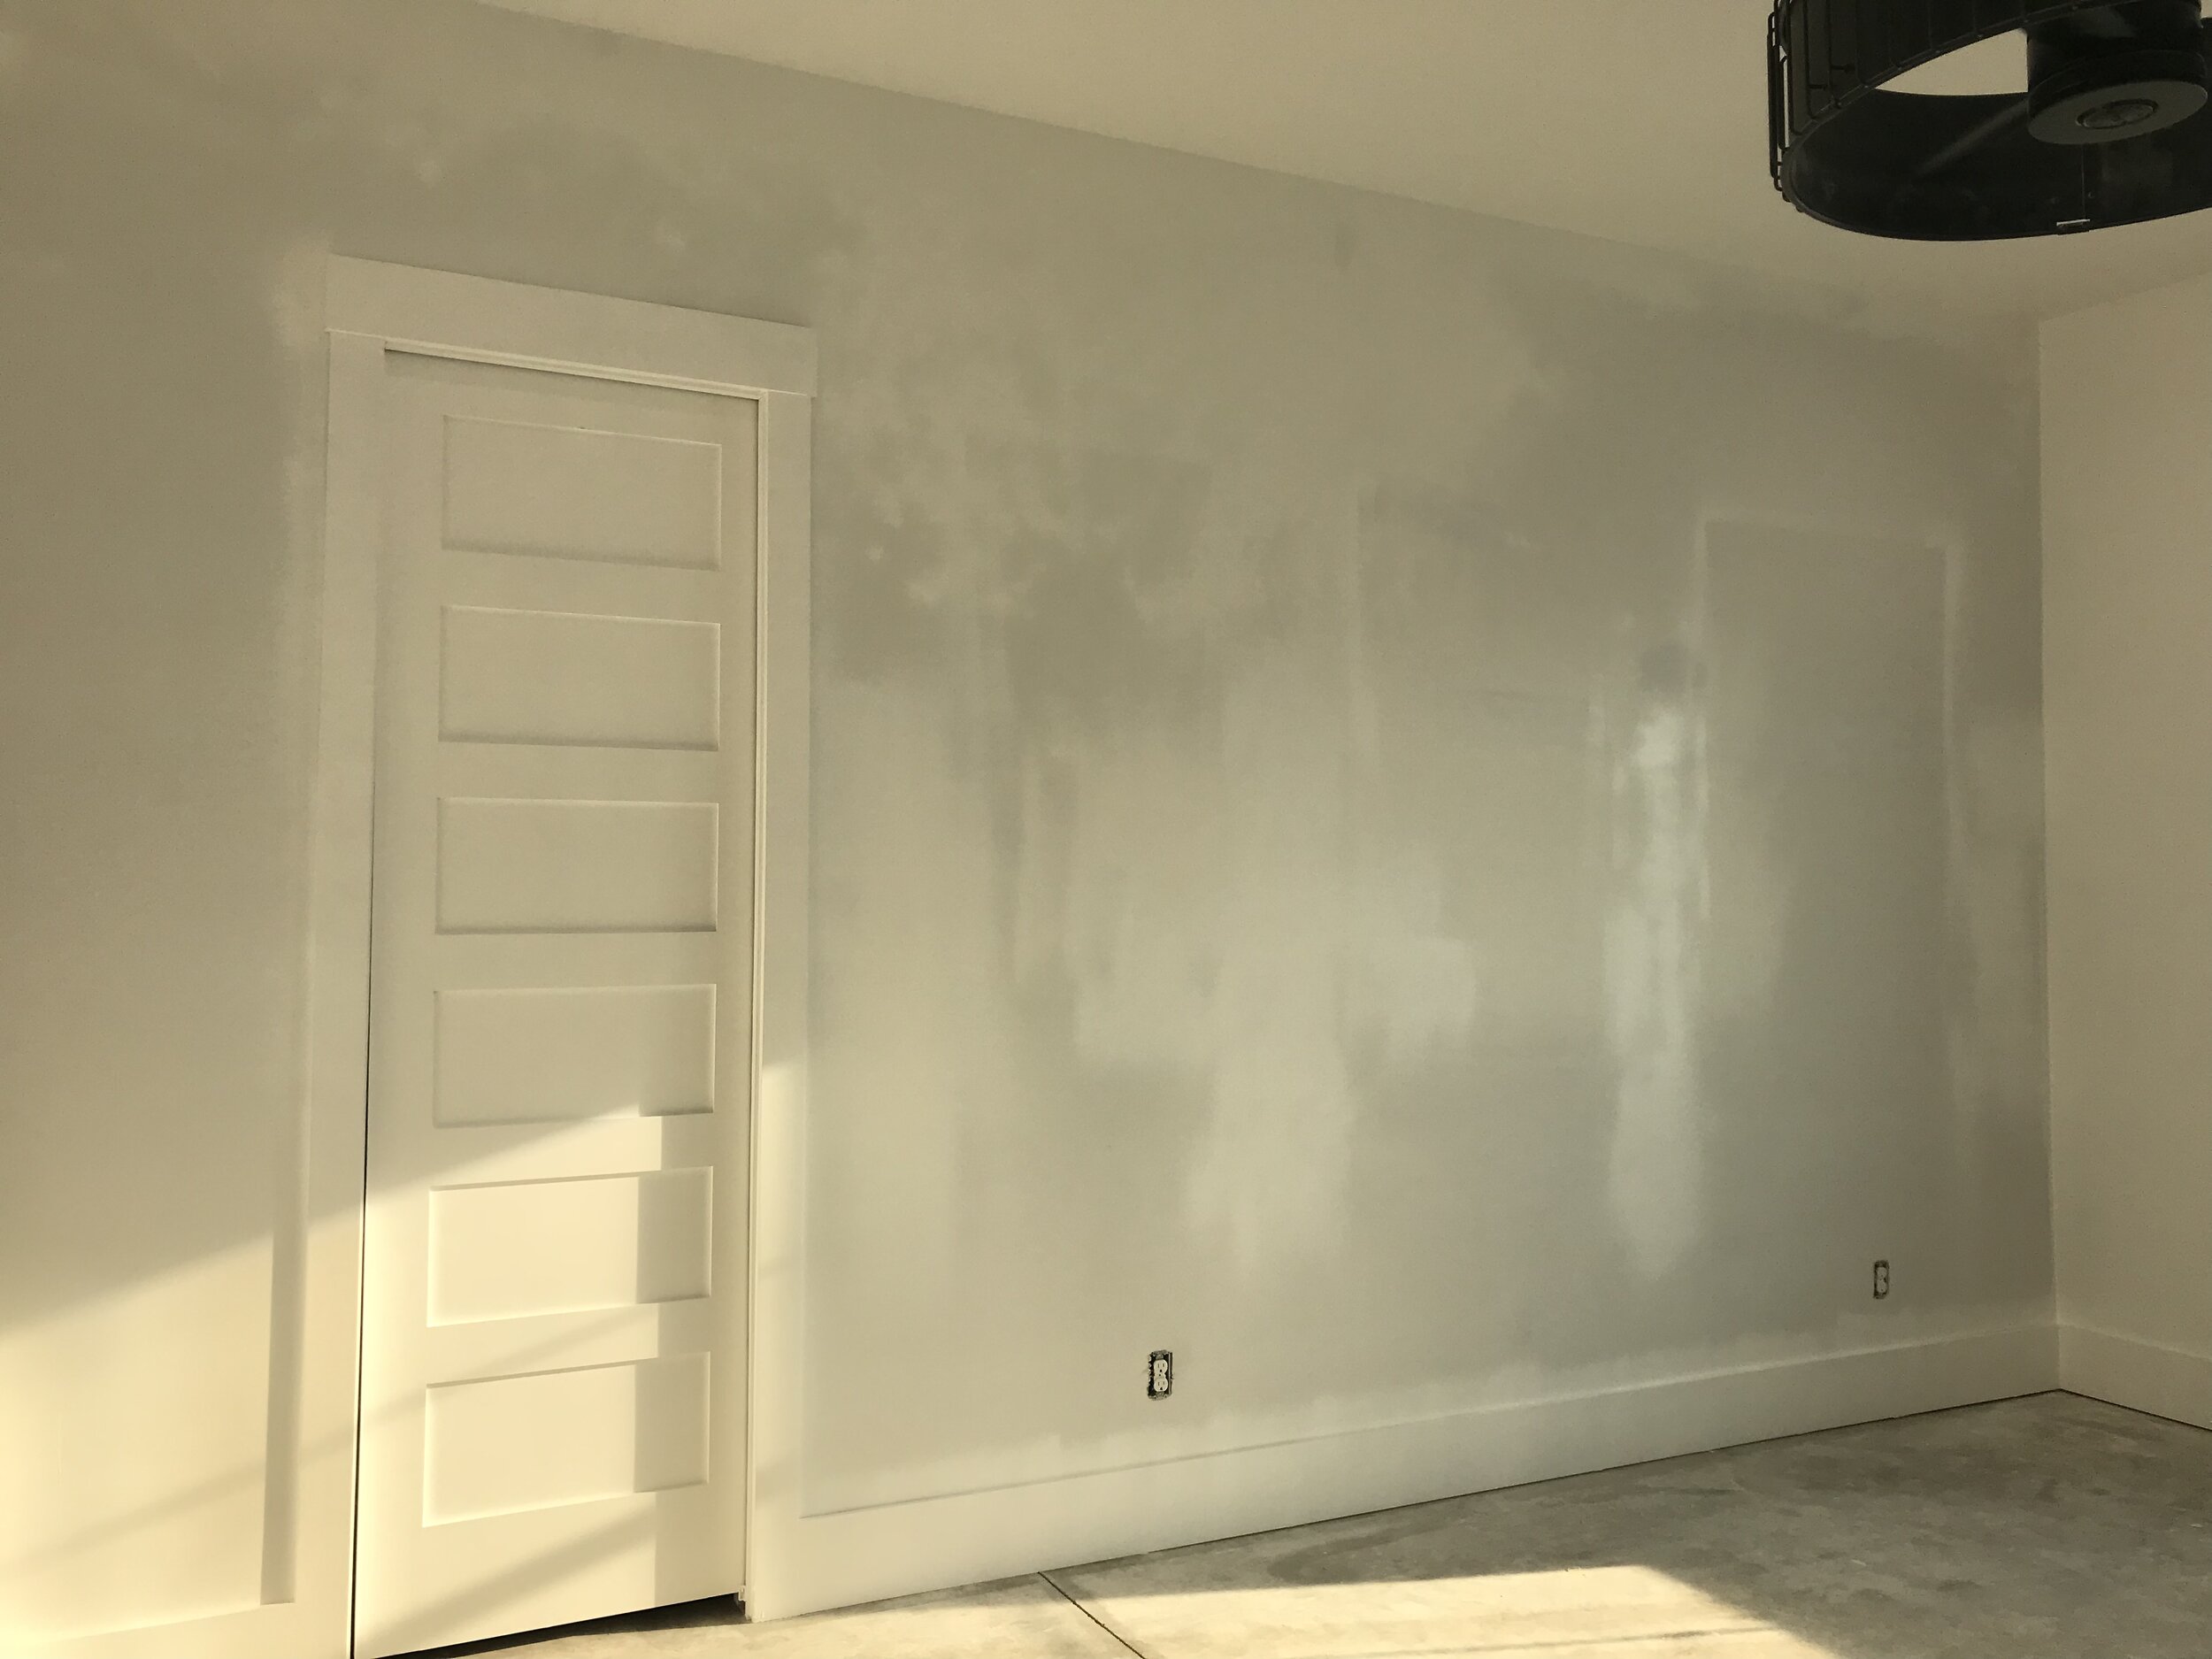
Let's begin! The first step is to order your planks from the TimberChic website. Before you start to hang your planks, be sure to wipe your walls free of dirt and dust!
We chose the Freestone planks in the 5-inch option. (There are also other sizes available in both the 3" and the 4" in case you're interested in other sizes!) These planks are a super-thin, real wood with 3M on the back, with "peel and stick" technology.
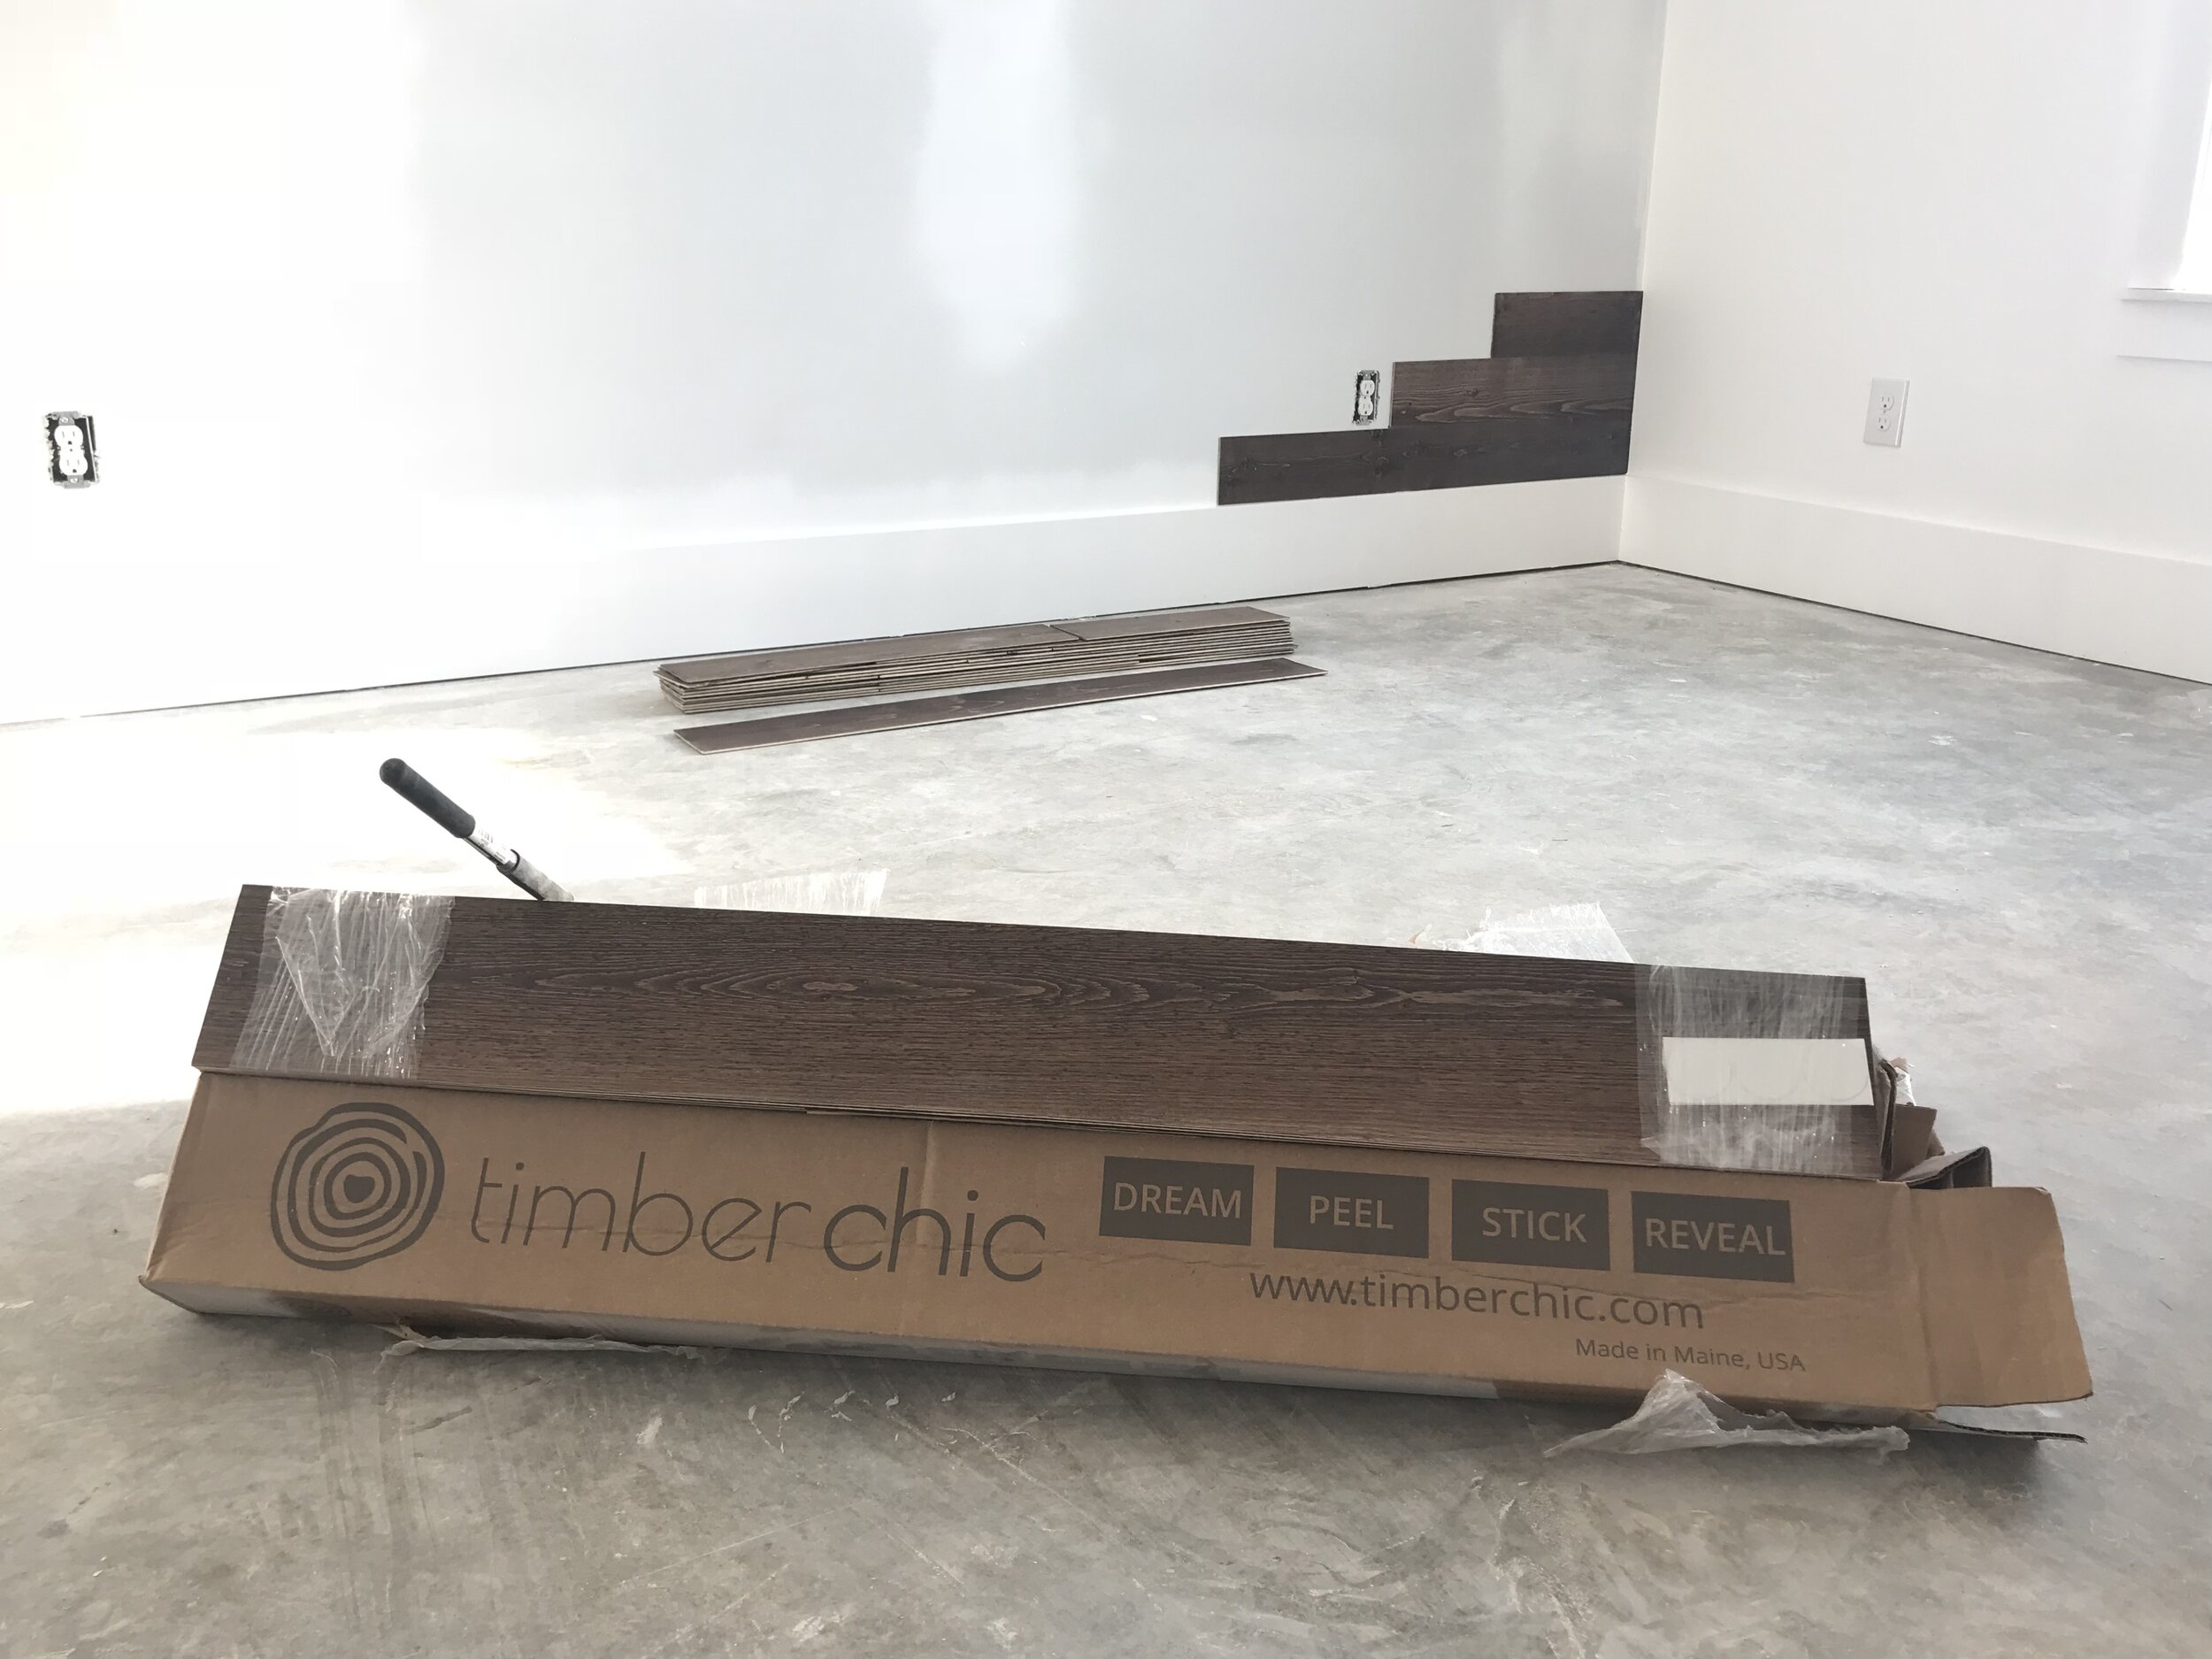
So, after you've peeled the adhesive protector off the wood, simply stick each plank onto the wall, and be sure to start from left to right. We didn't have a certain "pattern" that we followed....just made sure we didn't line any seams up with the plank below.
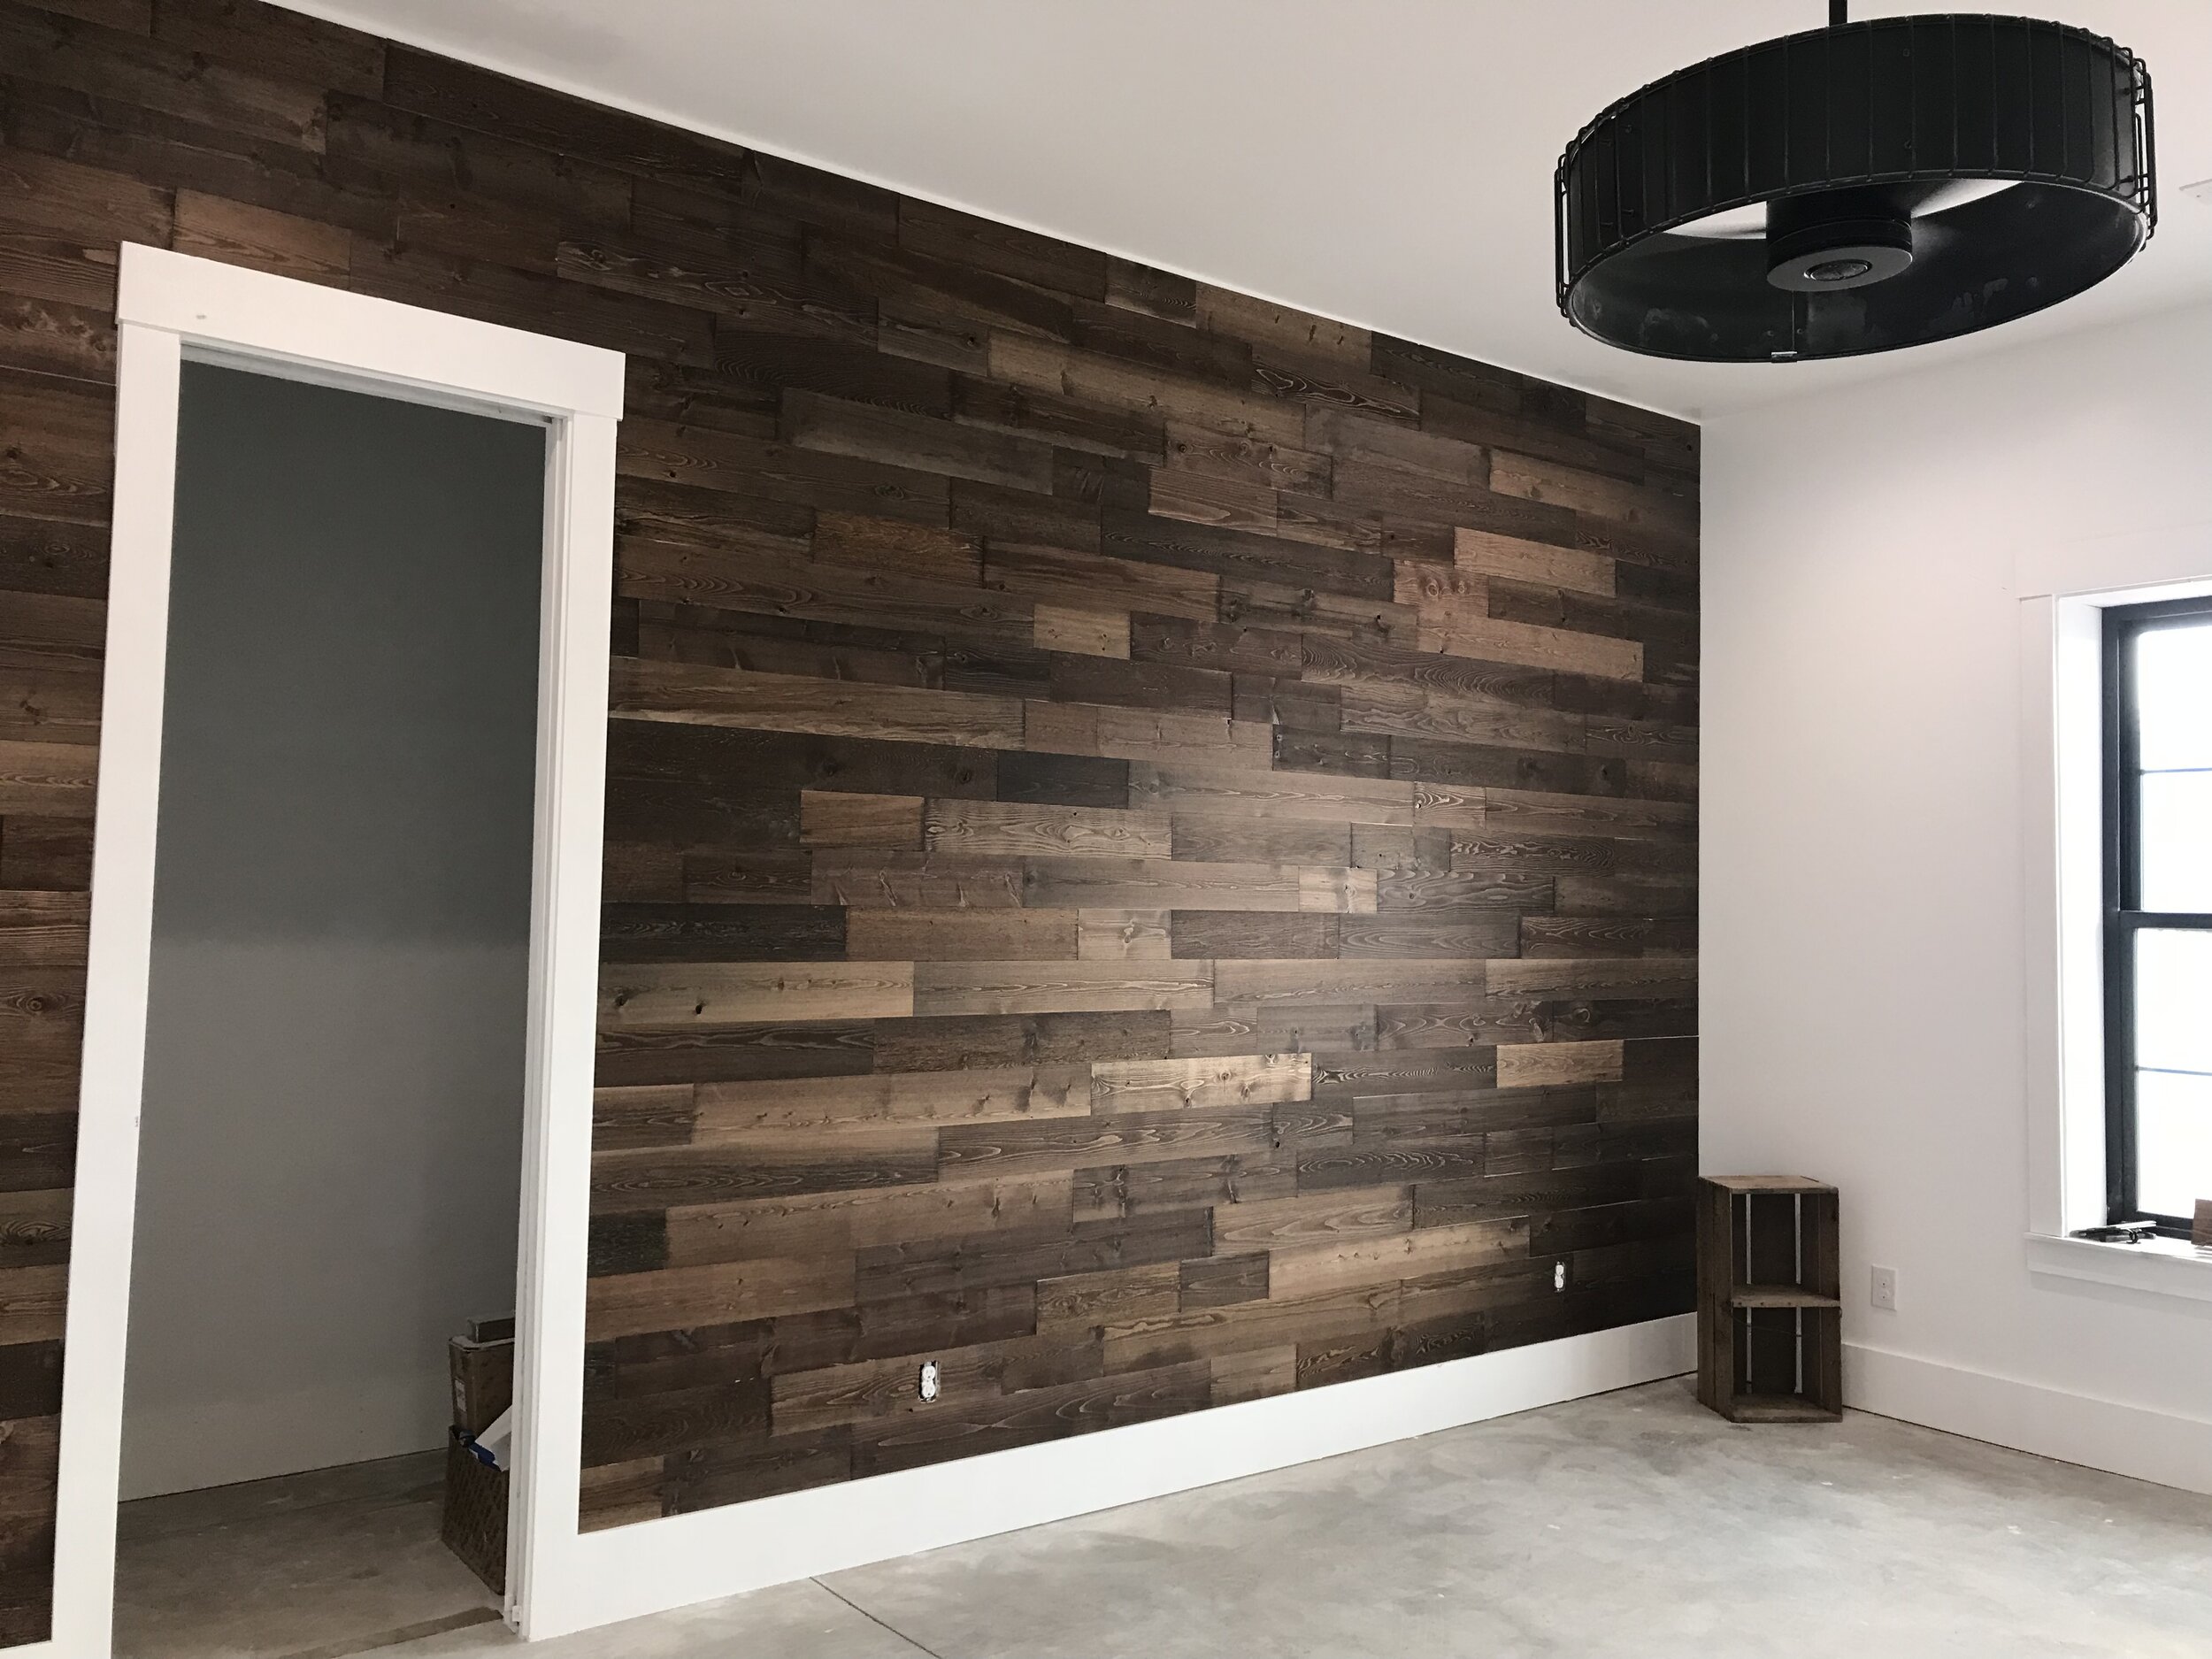
After you've mounted some of your planks, occasionally go back over the wall using the roller that was sent with the wood. Continue this process until the wall is done.
Here are a couple of tips: You may need to cut a few pieces, so we used a tablesaw. Scissors and knives won't cut a neat seam through this wood. Another tip is to paint the wall a darker color if you choose a darker wood and a lighter color if you get a lighter wood. This makes the process a little bit easier, but is not mandatory because TimberChic sends heavy-duty stickers to cover exposed areas.
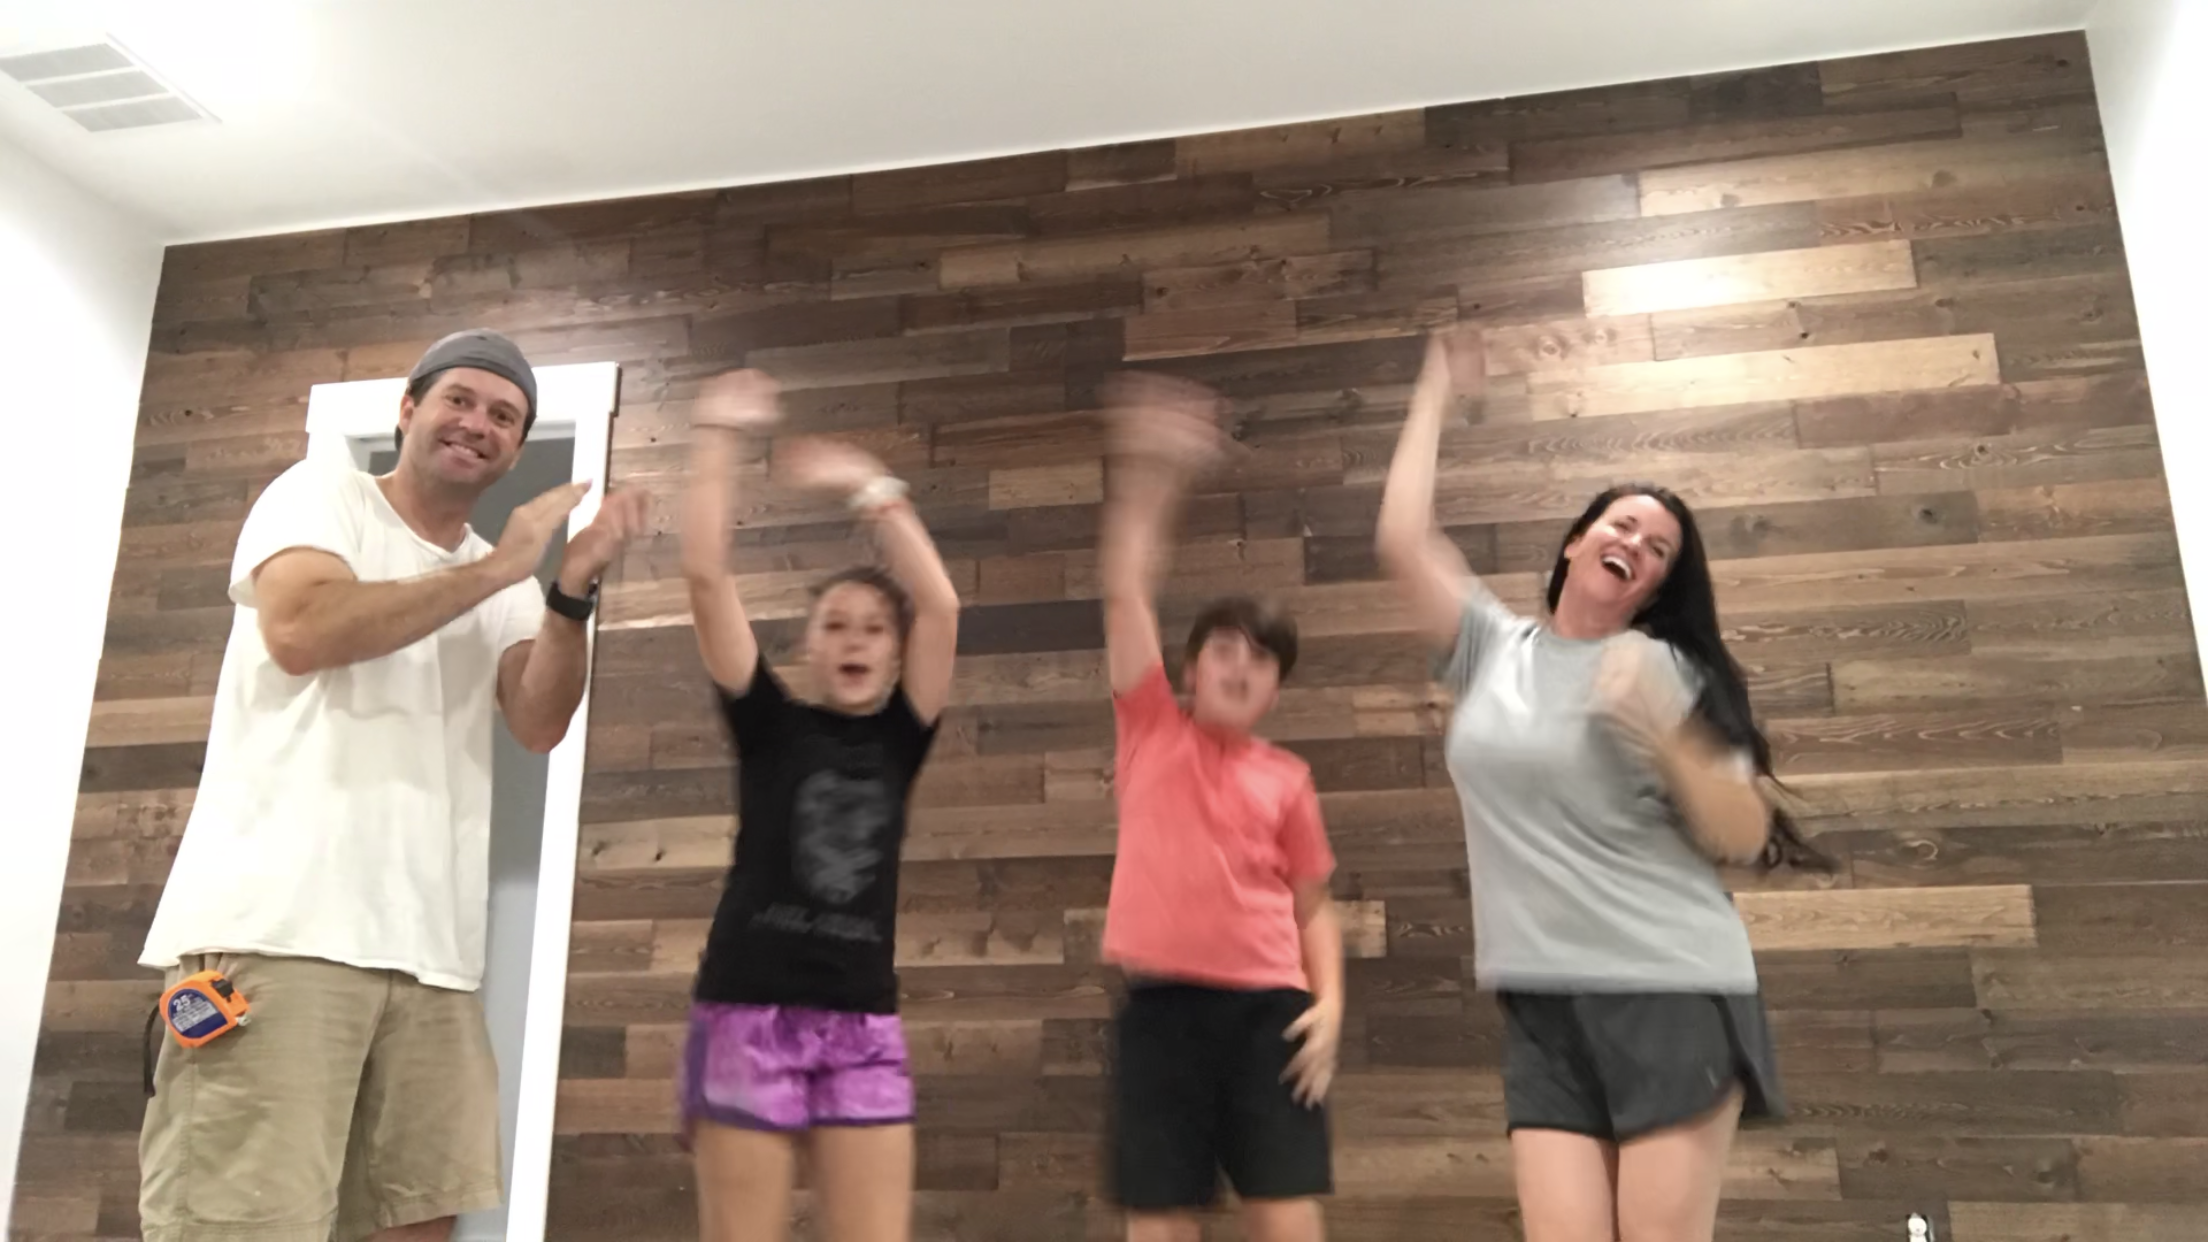
This process was so easy that even our 13- and 11-year-olds pitched in and helped! We had a little celebration that night at 11:00, once we were finished! LOL
And I'd like to give a special shoutout to my sis, who helped us with completing so many tasks that day, with this wall being one of them!
Thanks again for stopping by today. If you'd like to see the video tutorial on YouTube, click this direct link. Have a great day!
**************************************
You might also like:

