
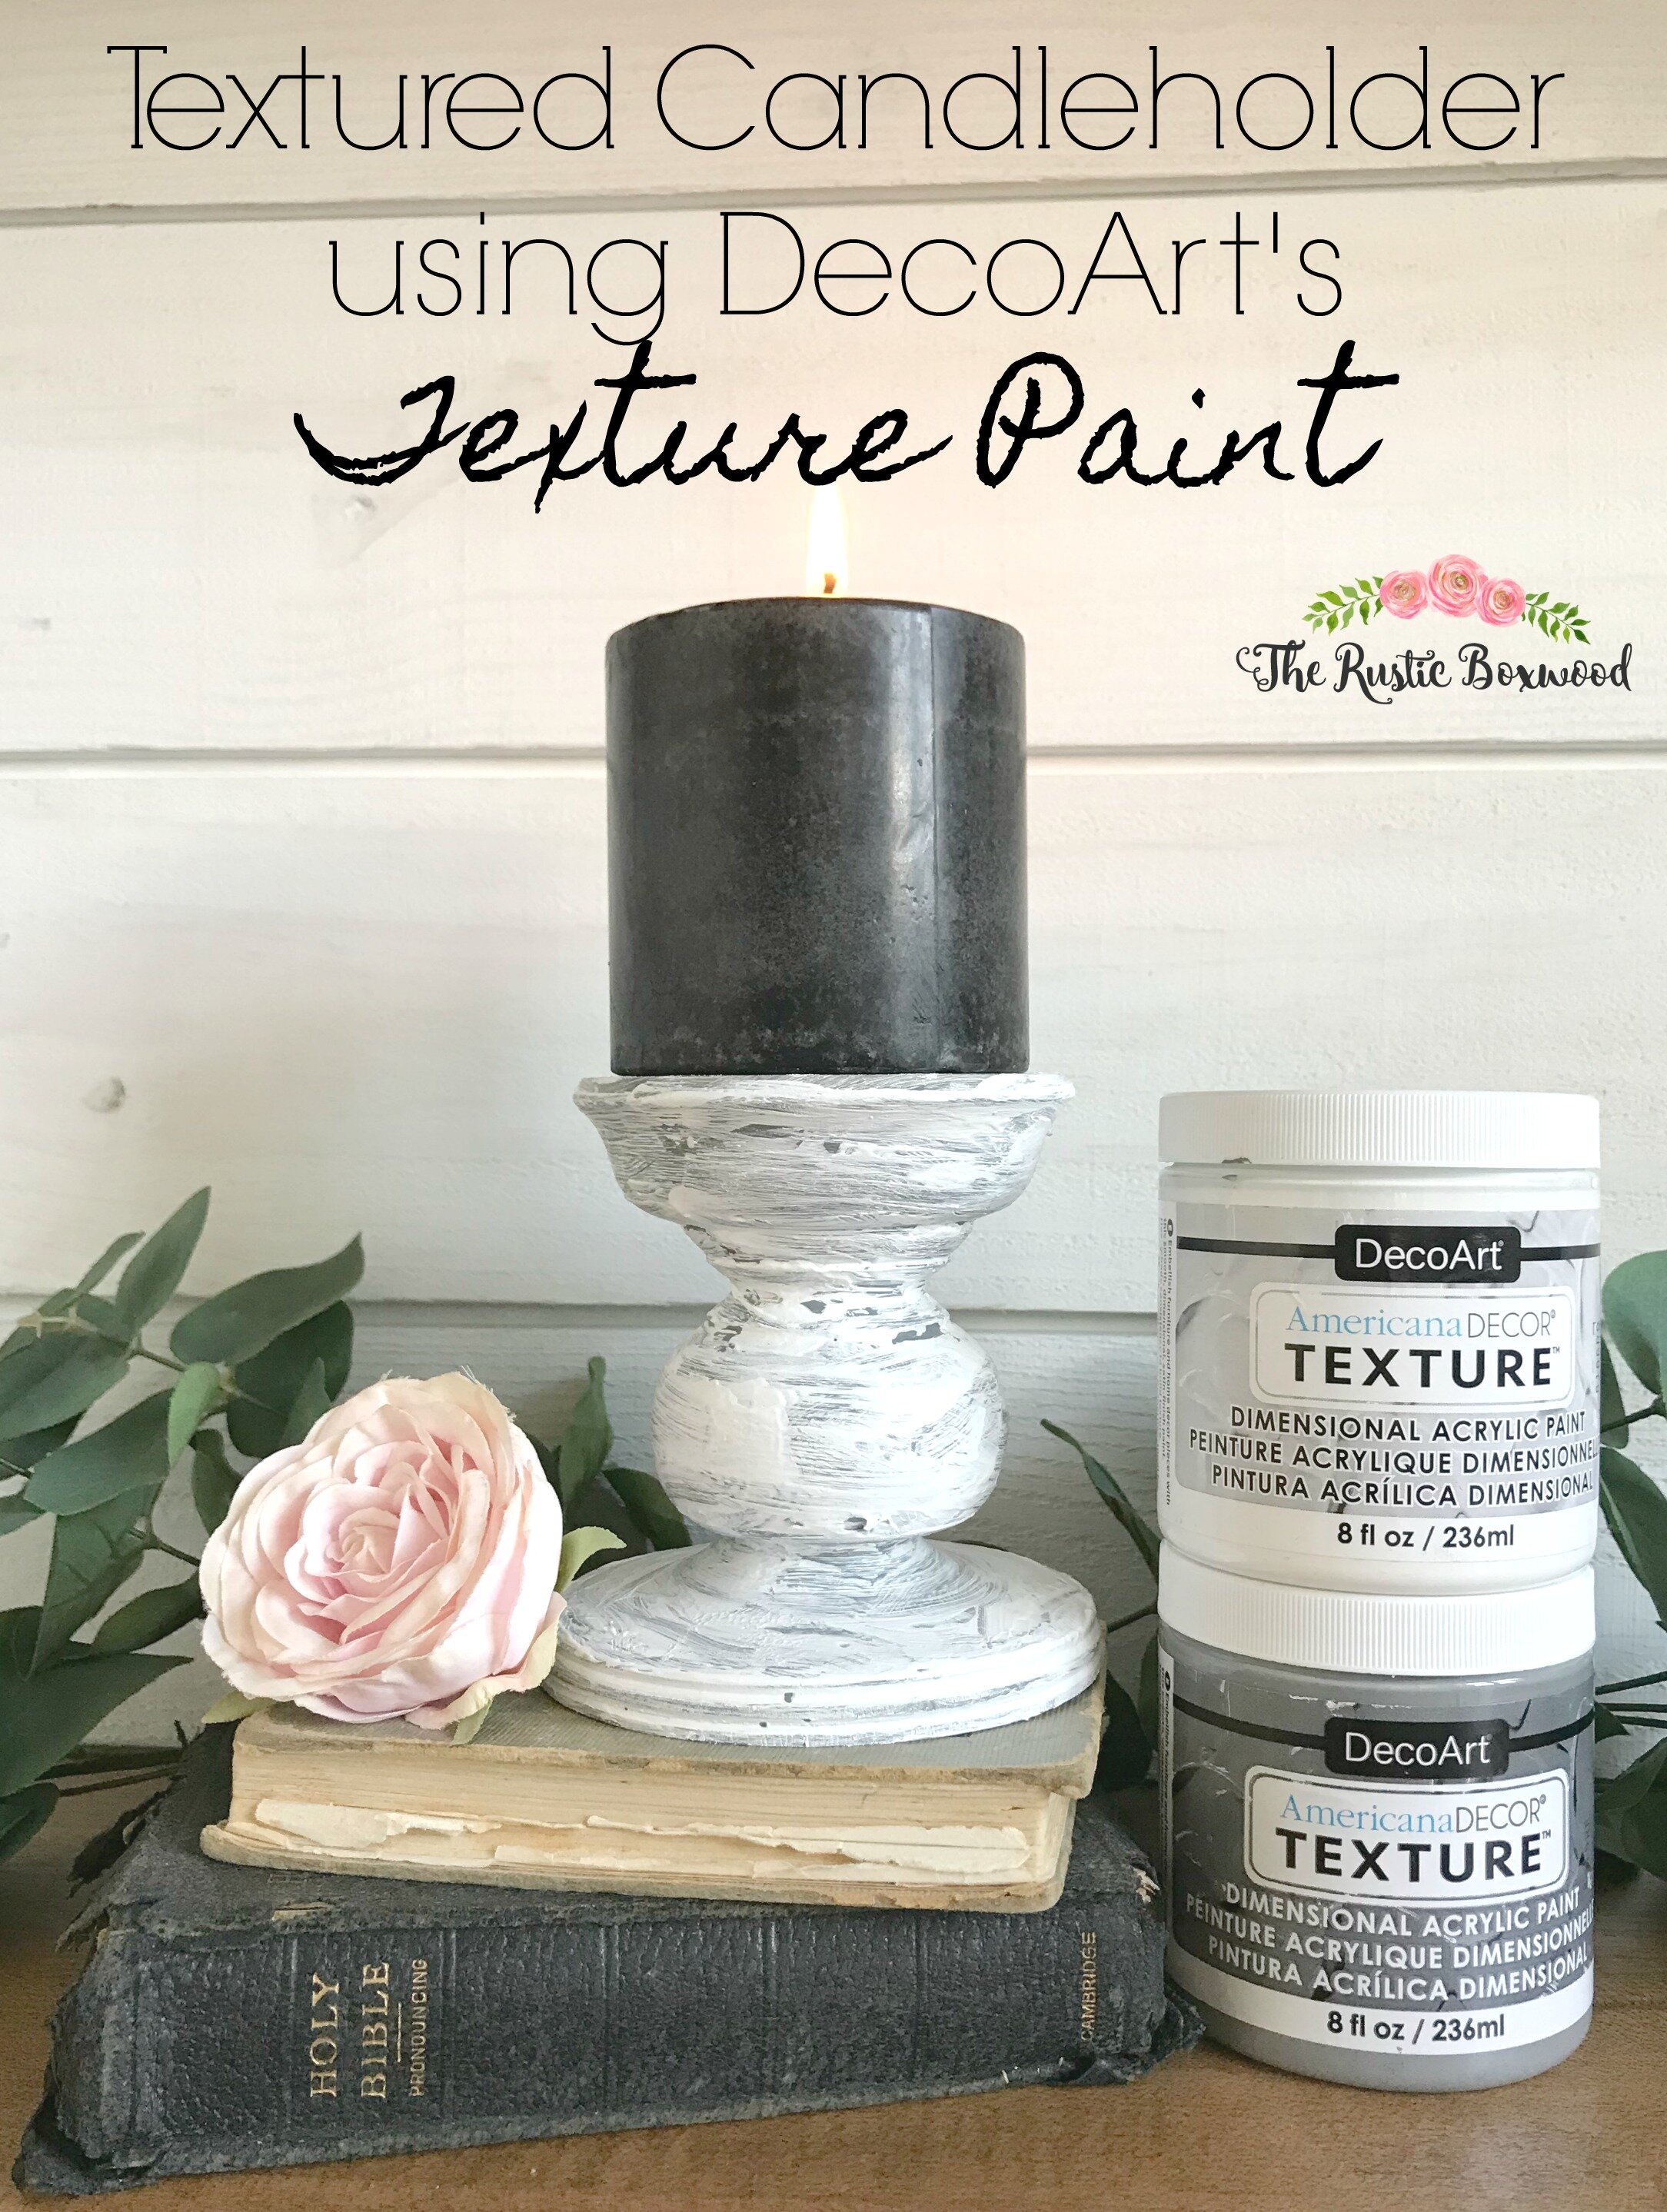
Antiqued Candleholder with Decoart's Americana Decor Texture Paint

Hey friends! Thanks for stopping by today! Don’t forget to come find me on Instagram, Facebook and Pinterest in order to stay up to date with all the happenings and projects on the blog!
************************************************************
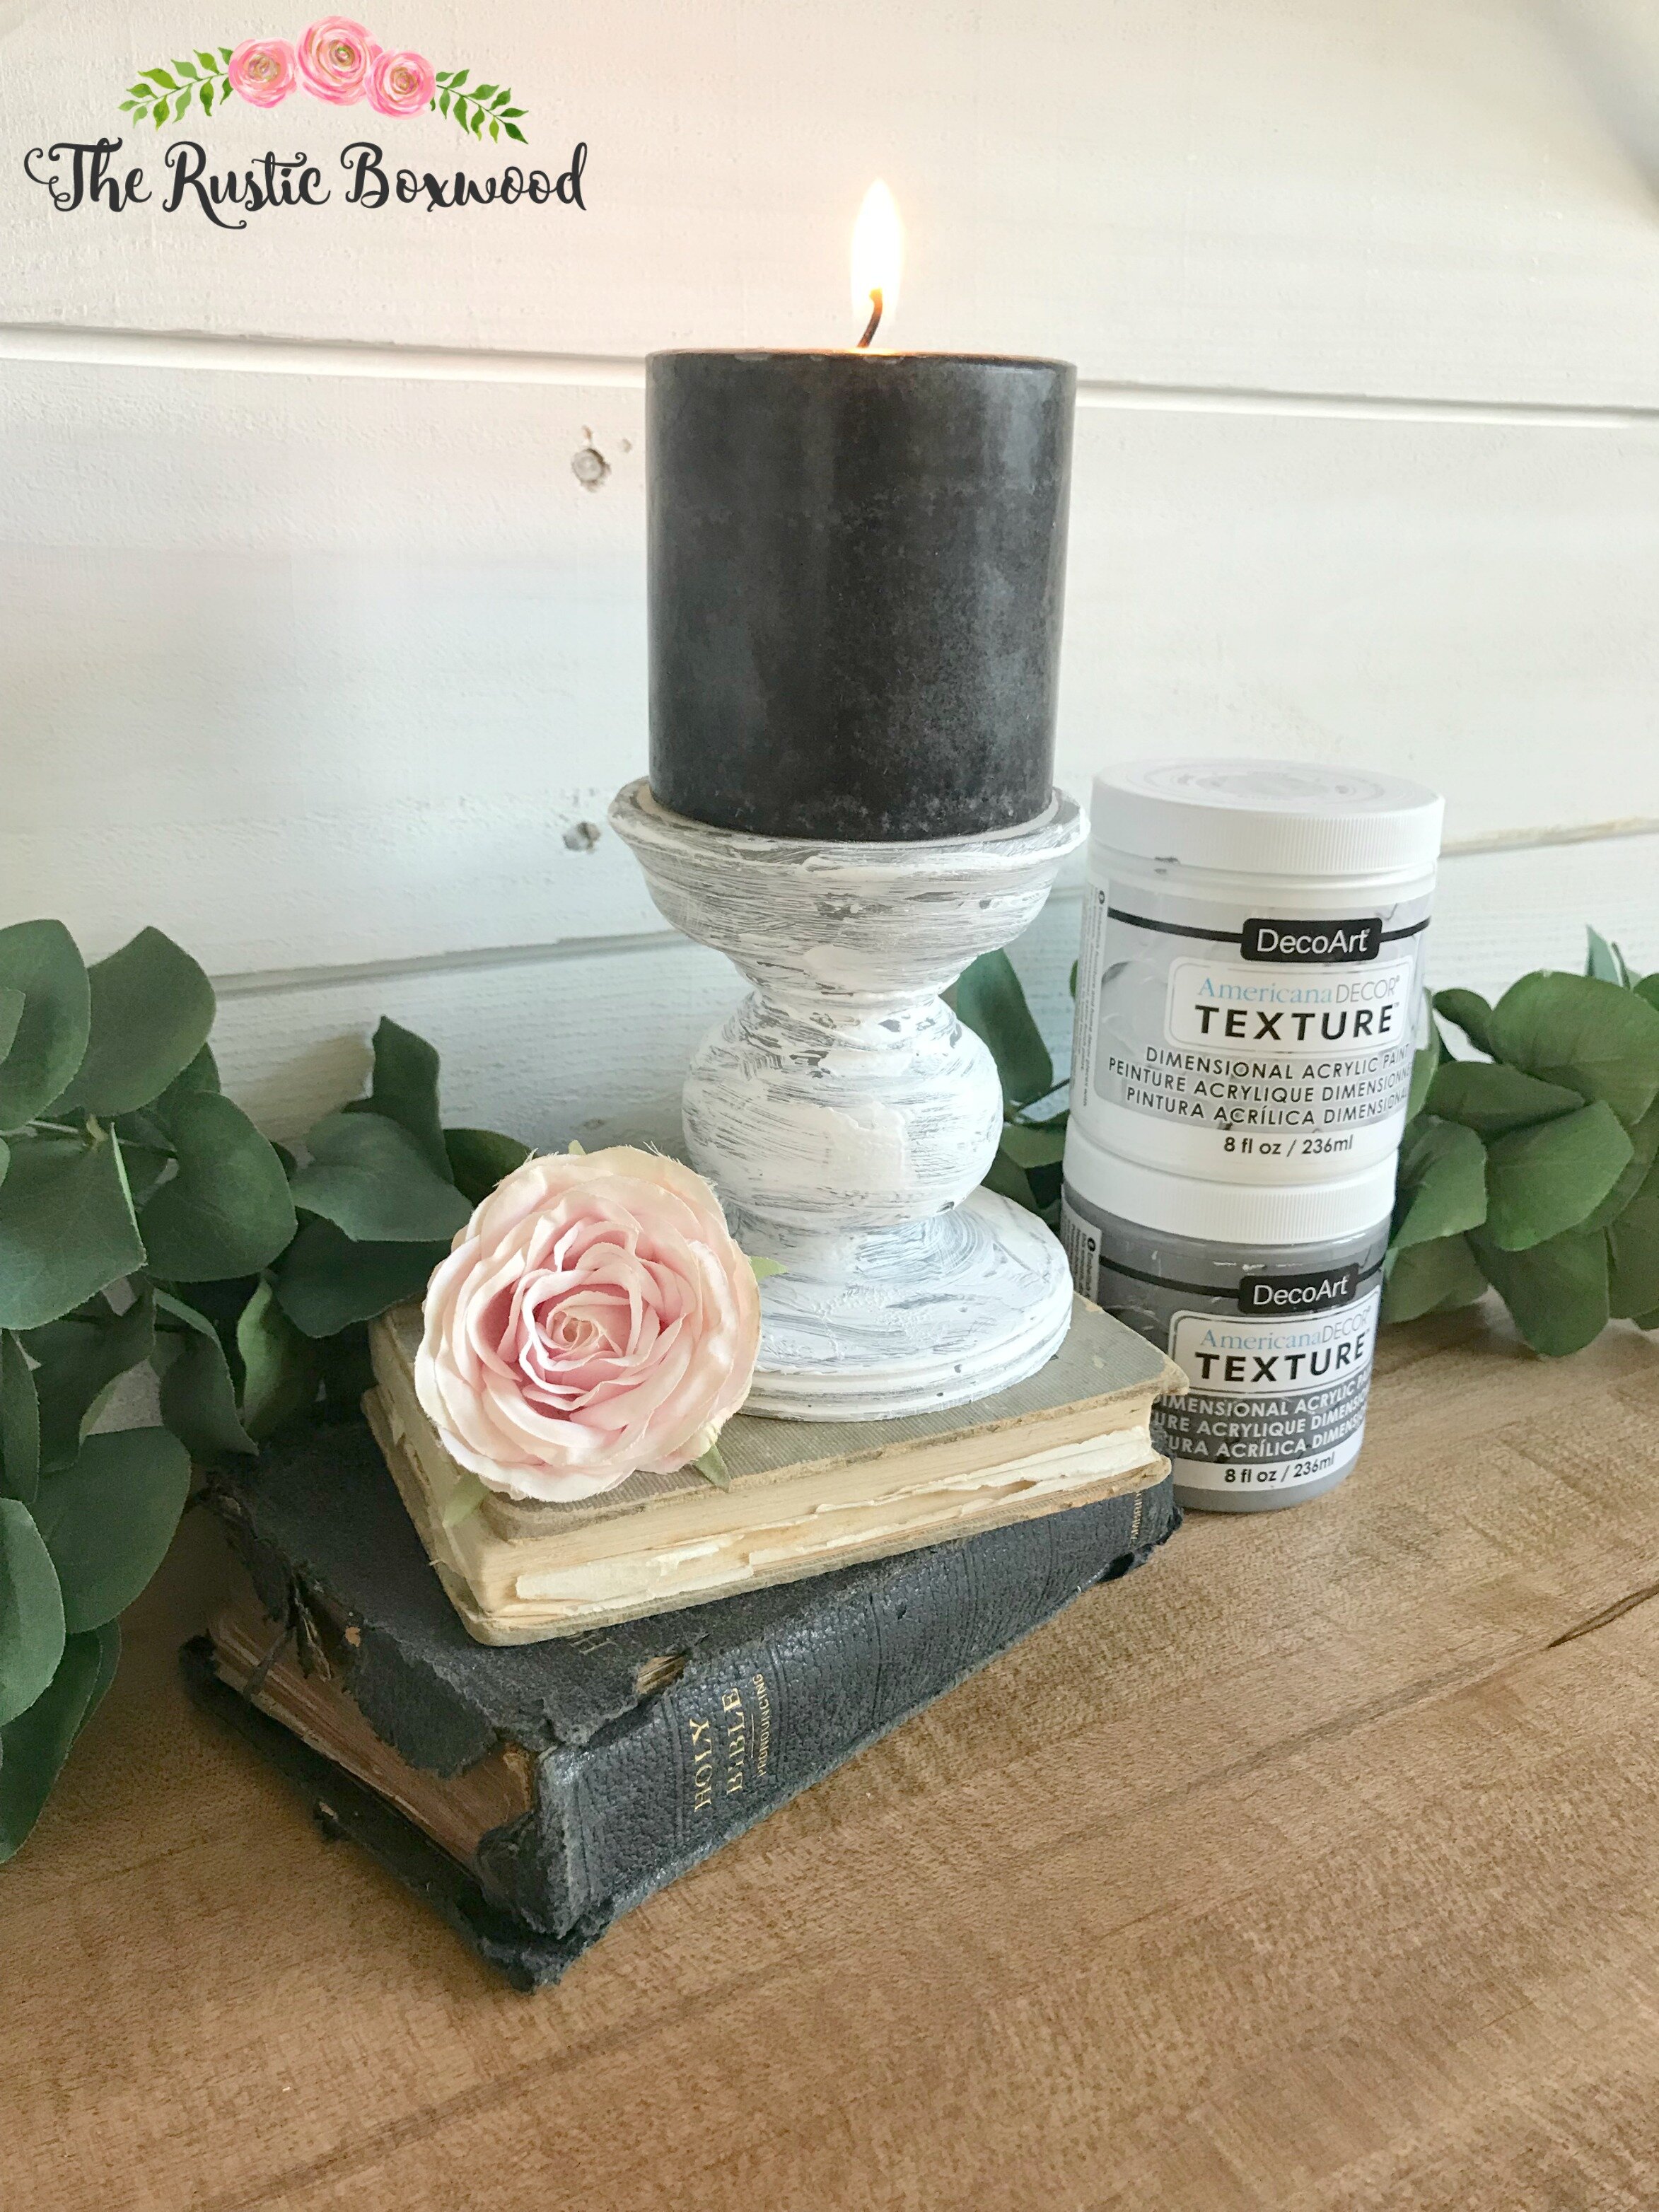
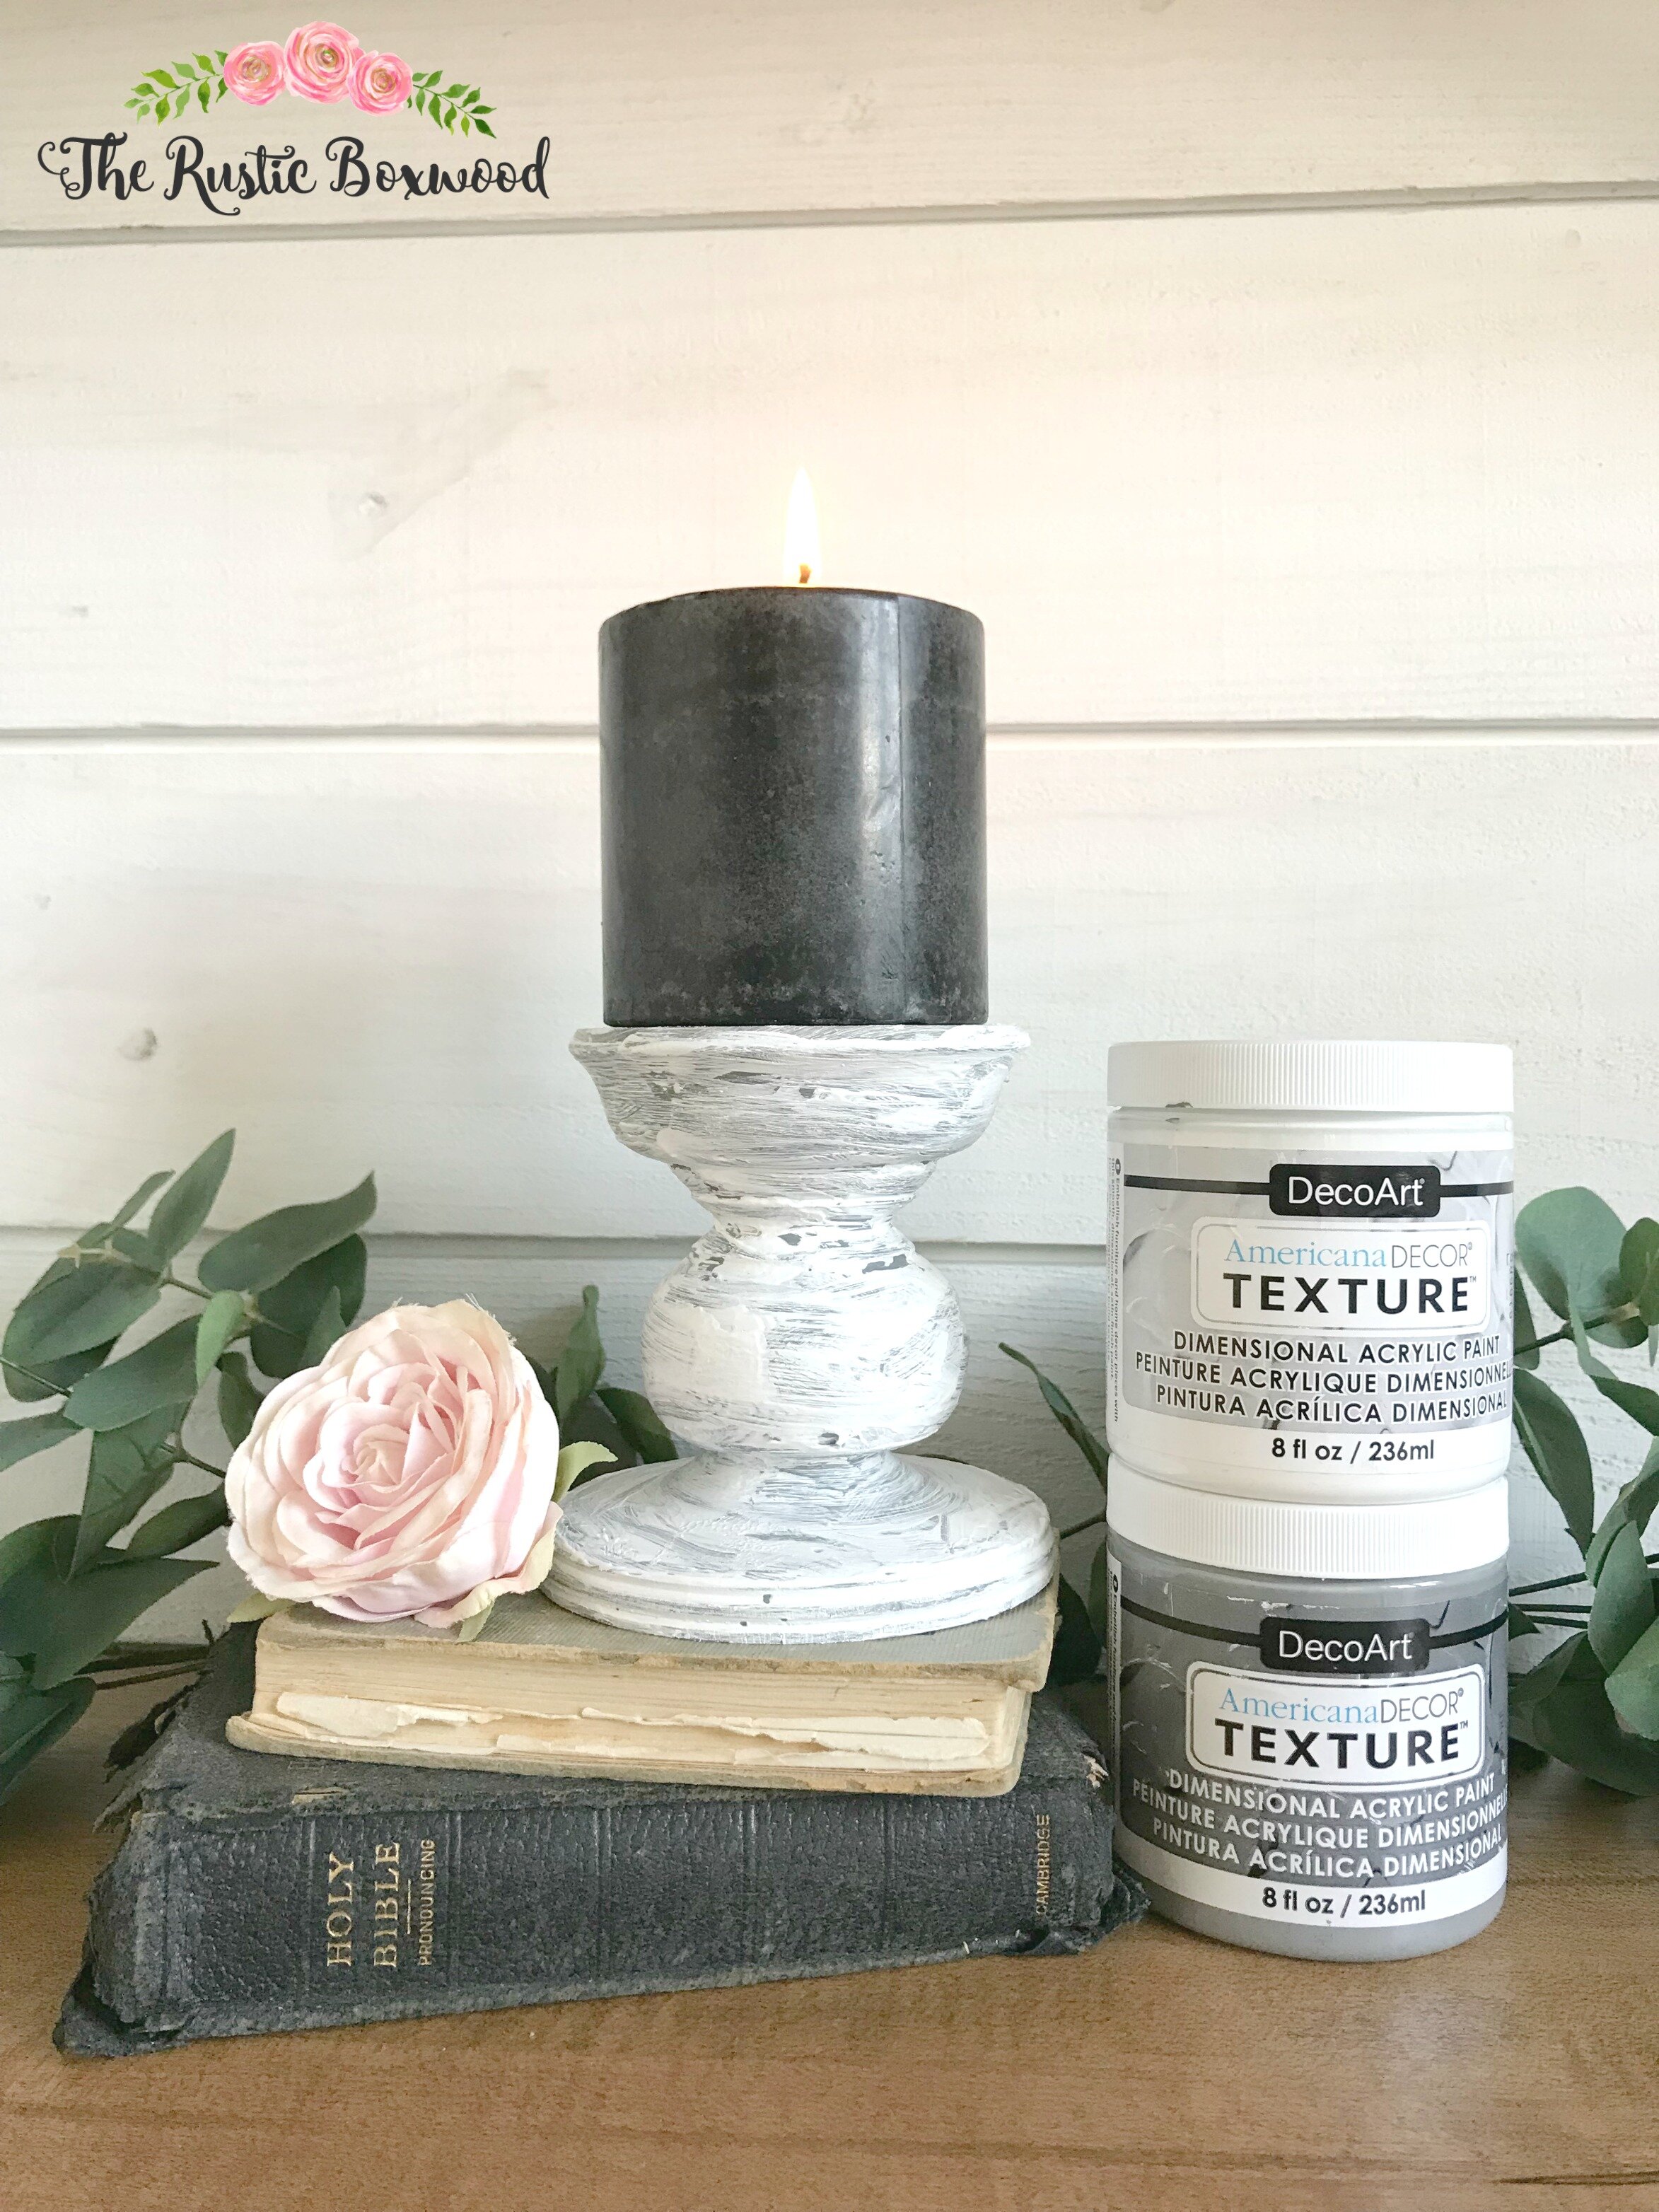
Once again, as one of Decoart's Core Bloggers, I got to play with some very fun paints for this post, and this time, it was their Americana Decor Texture Paint line! This style of paint provides a dimensional element and can make any project really pop! When the DecoArt team asked me to create a project using this particular paint line, I knew exactly what I wanted to do. Since our home is filled with antique and chippy pieces, this candleholder really fits right in!
Here's what you'll need:
Americana Decor Texture Paint by DecoArt (For this project, I used white and grey.)
Unfinished, wooden candleholder (I got mine at my local crafts store.)
Palette knife or texture tool (or use a plastic knife, which is what I used) and a foam brush
Protective surface, such as a paper plate (if your project piece is small, of course)
First, let's take a look at a few facts about this awesome paint.
all-purpose
high-viscosity, heavy-bodied formula
water-based
permanent
light-fast
cleans up easily with soap and water
comes in a variety of colors in both satin finishes AND metallic finishes
Want to create angled designs? Try a texture tool, plastic fork, or even a comb!
This paint works great with embellishments, such as glitter, beads, large foil, and much more! The creative options are limitless!
Made in the USA!!
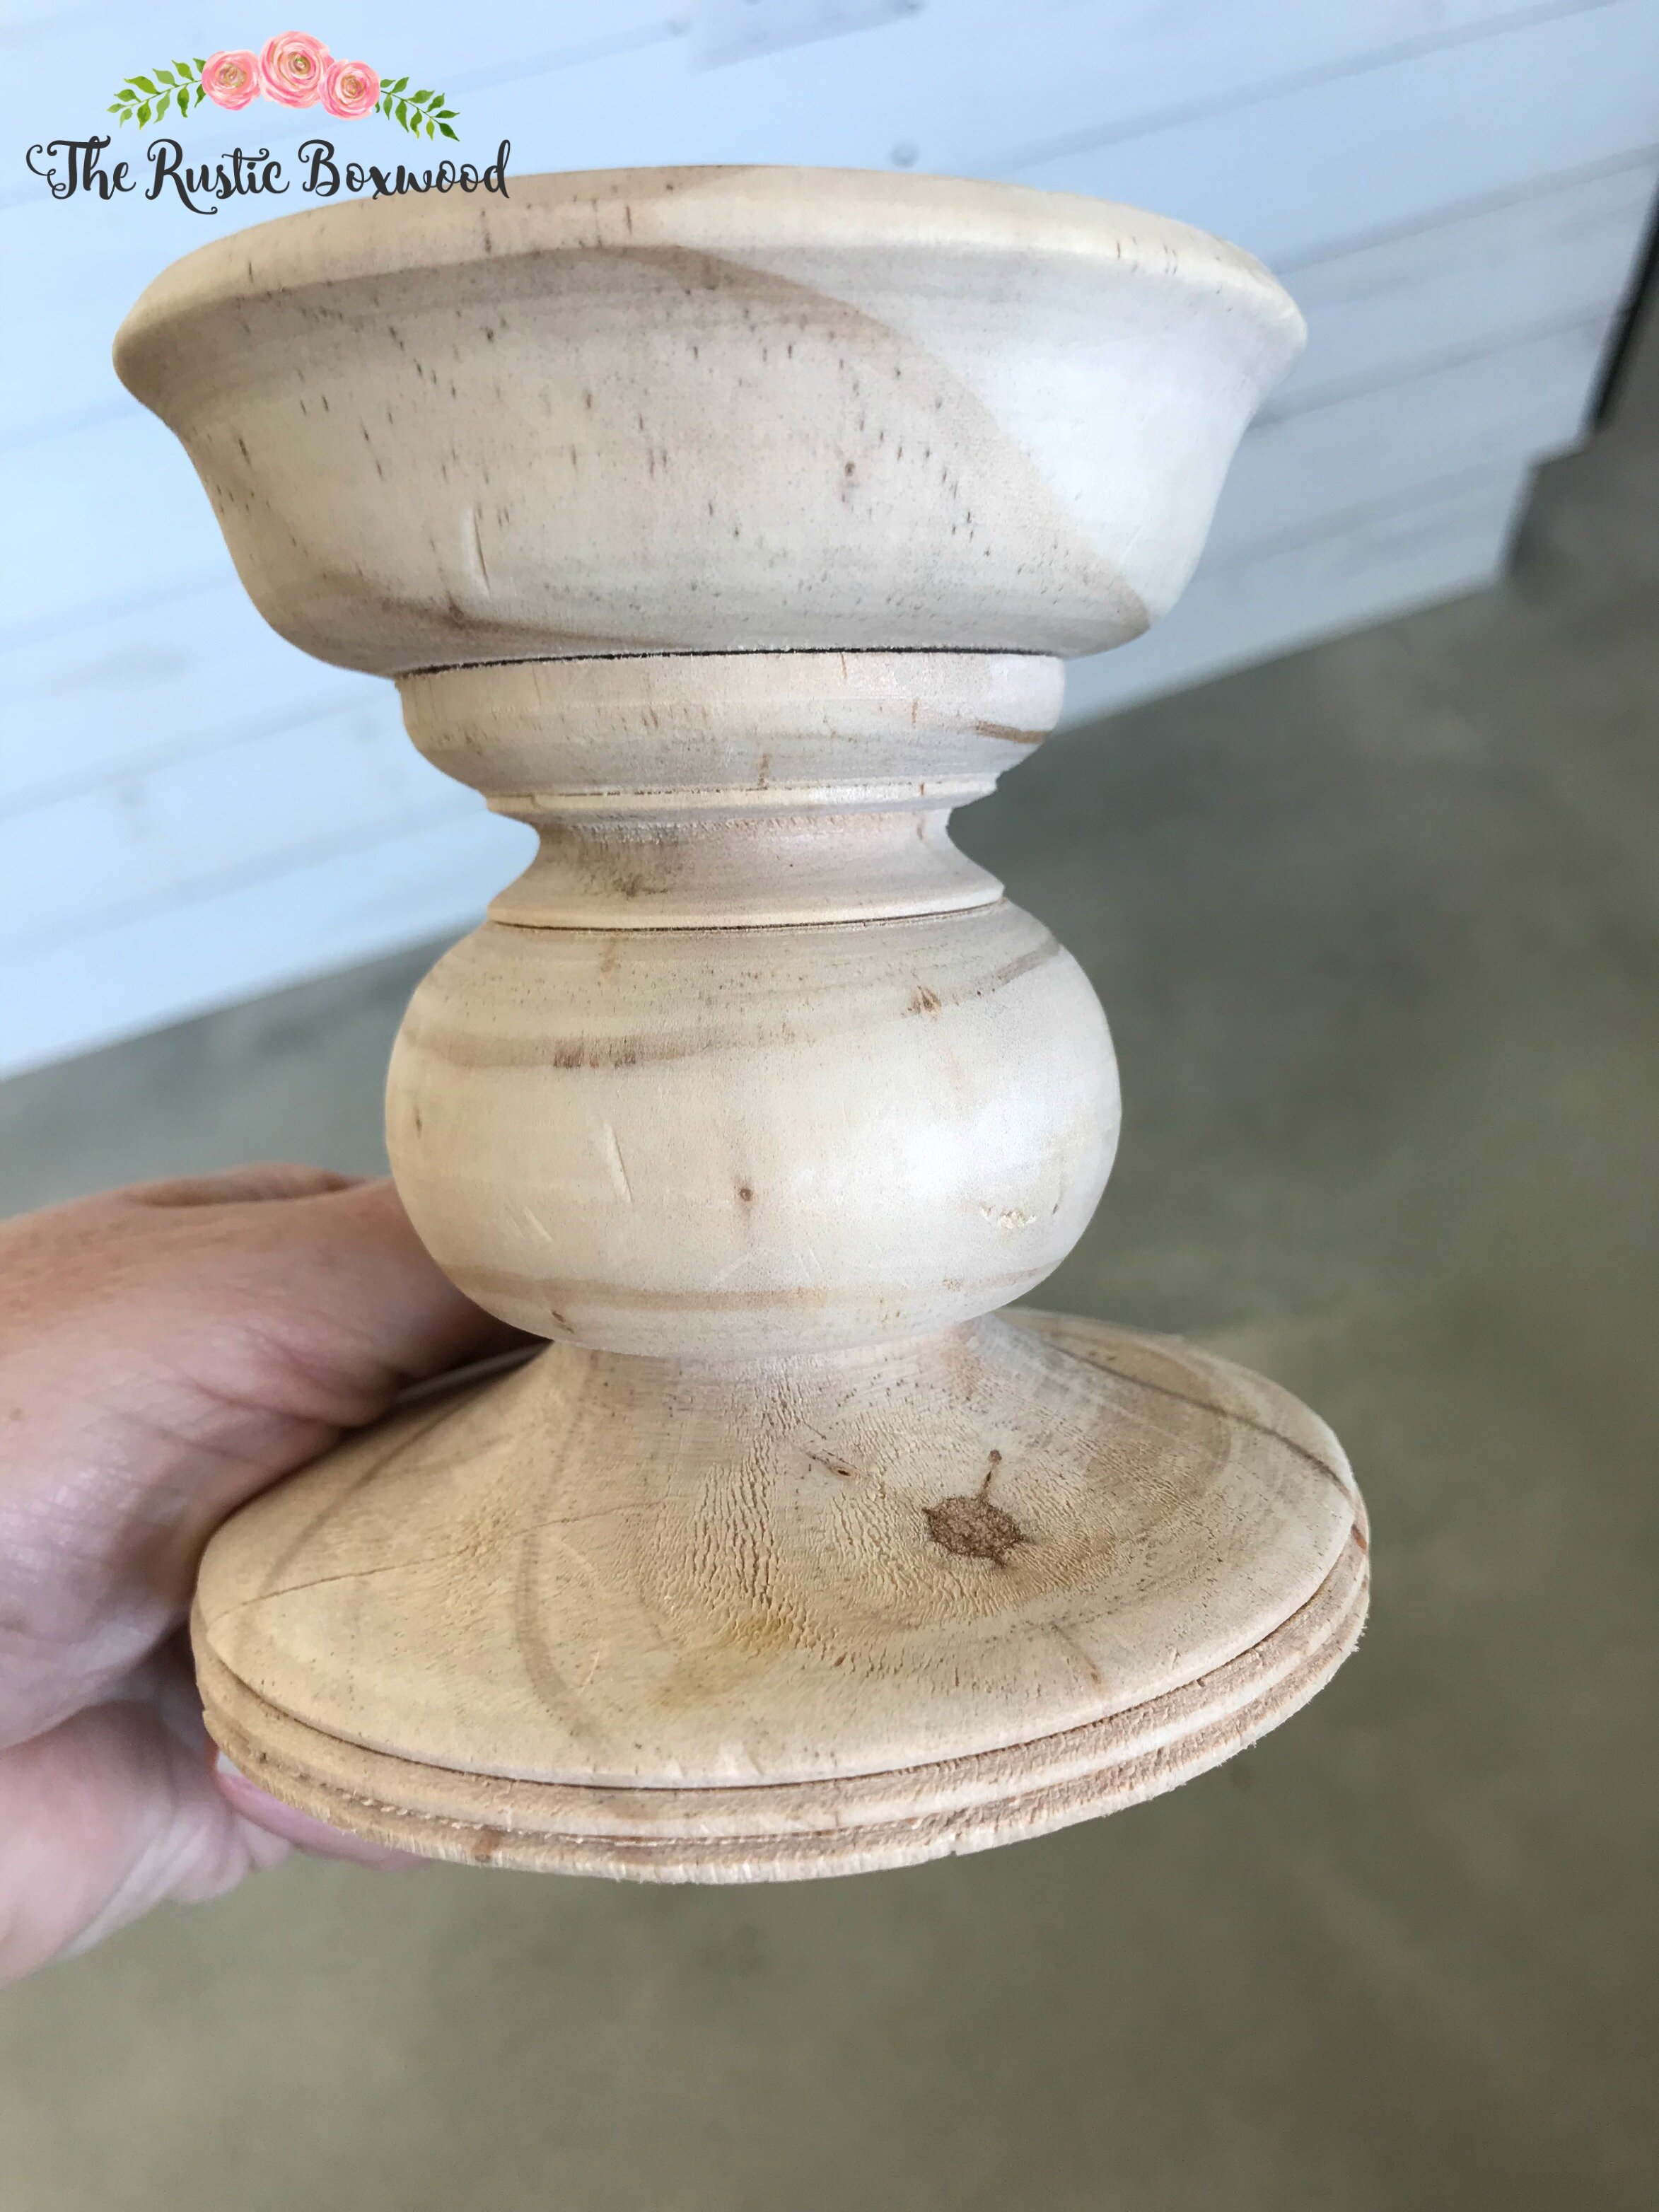
Now that we've talked about some fun facts, let's get started on the project! First, gently stir (don't shake) your paint using a palette knife (or, if you don't have an artist's tool, try a plastic knife, which is the route I went). Next, adhere the first layer of paint. I started with the color white. This is the time to get creative. Use your palette tool, or maybe even try a foam brush. I used both and just played with them until I felt like my candleholder had the "perfect" texture!!
Instead of applying the paint like you normally would, use long, continuous swipes. Because I was planning to add a few layers, I made each layer slightly smooth, leaving a small amount of texture with each application, so that the end result would be a beautifully "aged" piece!
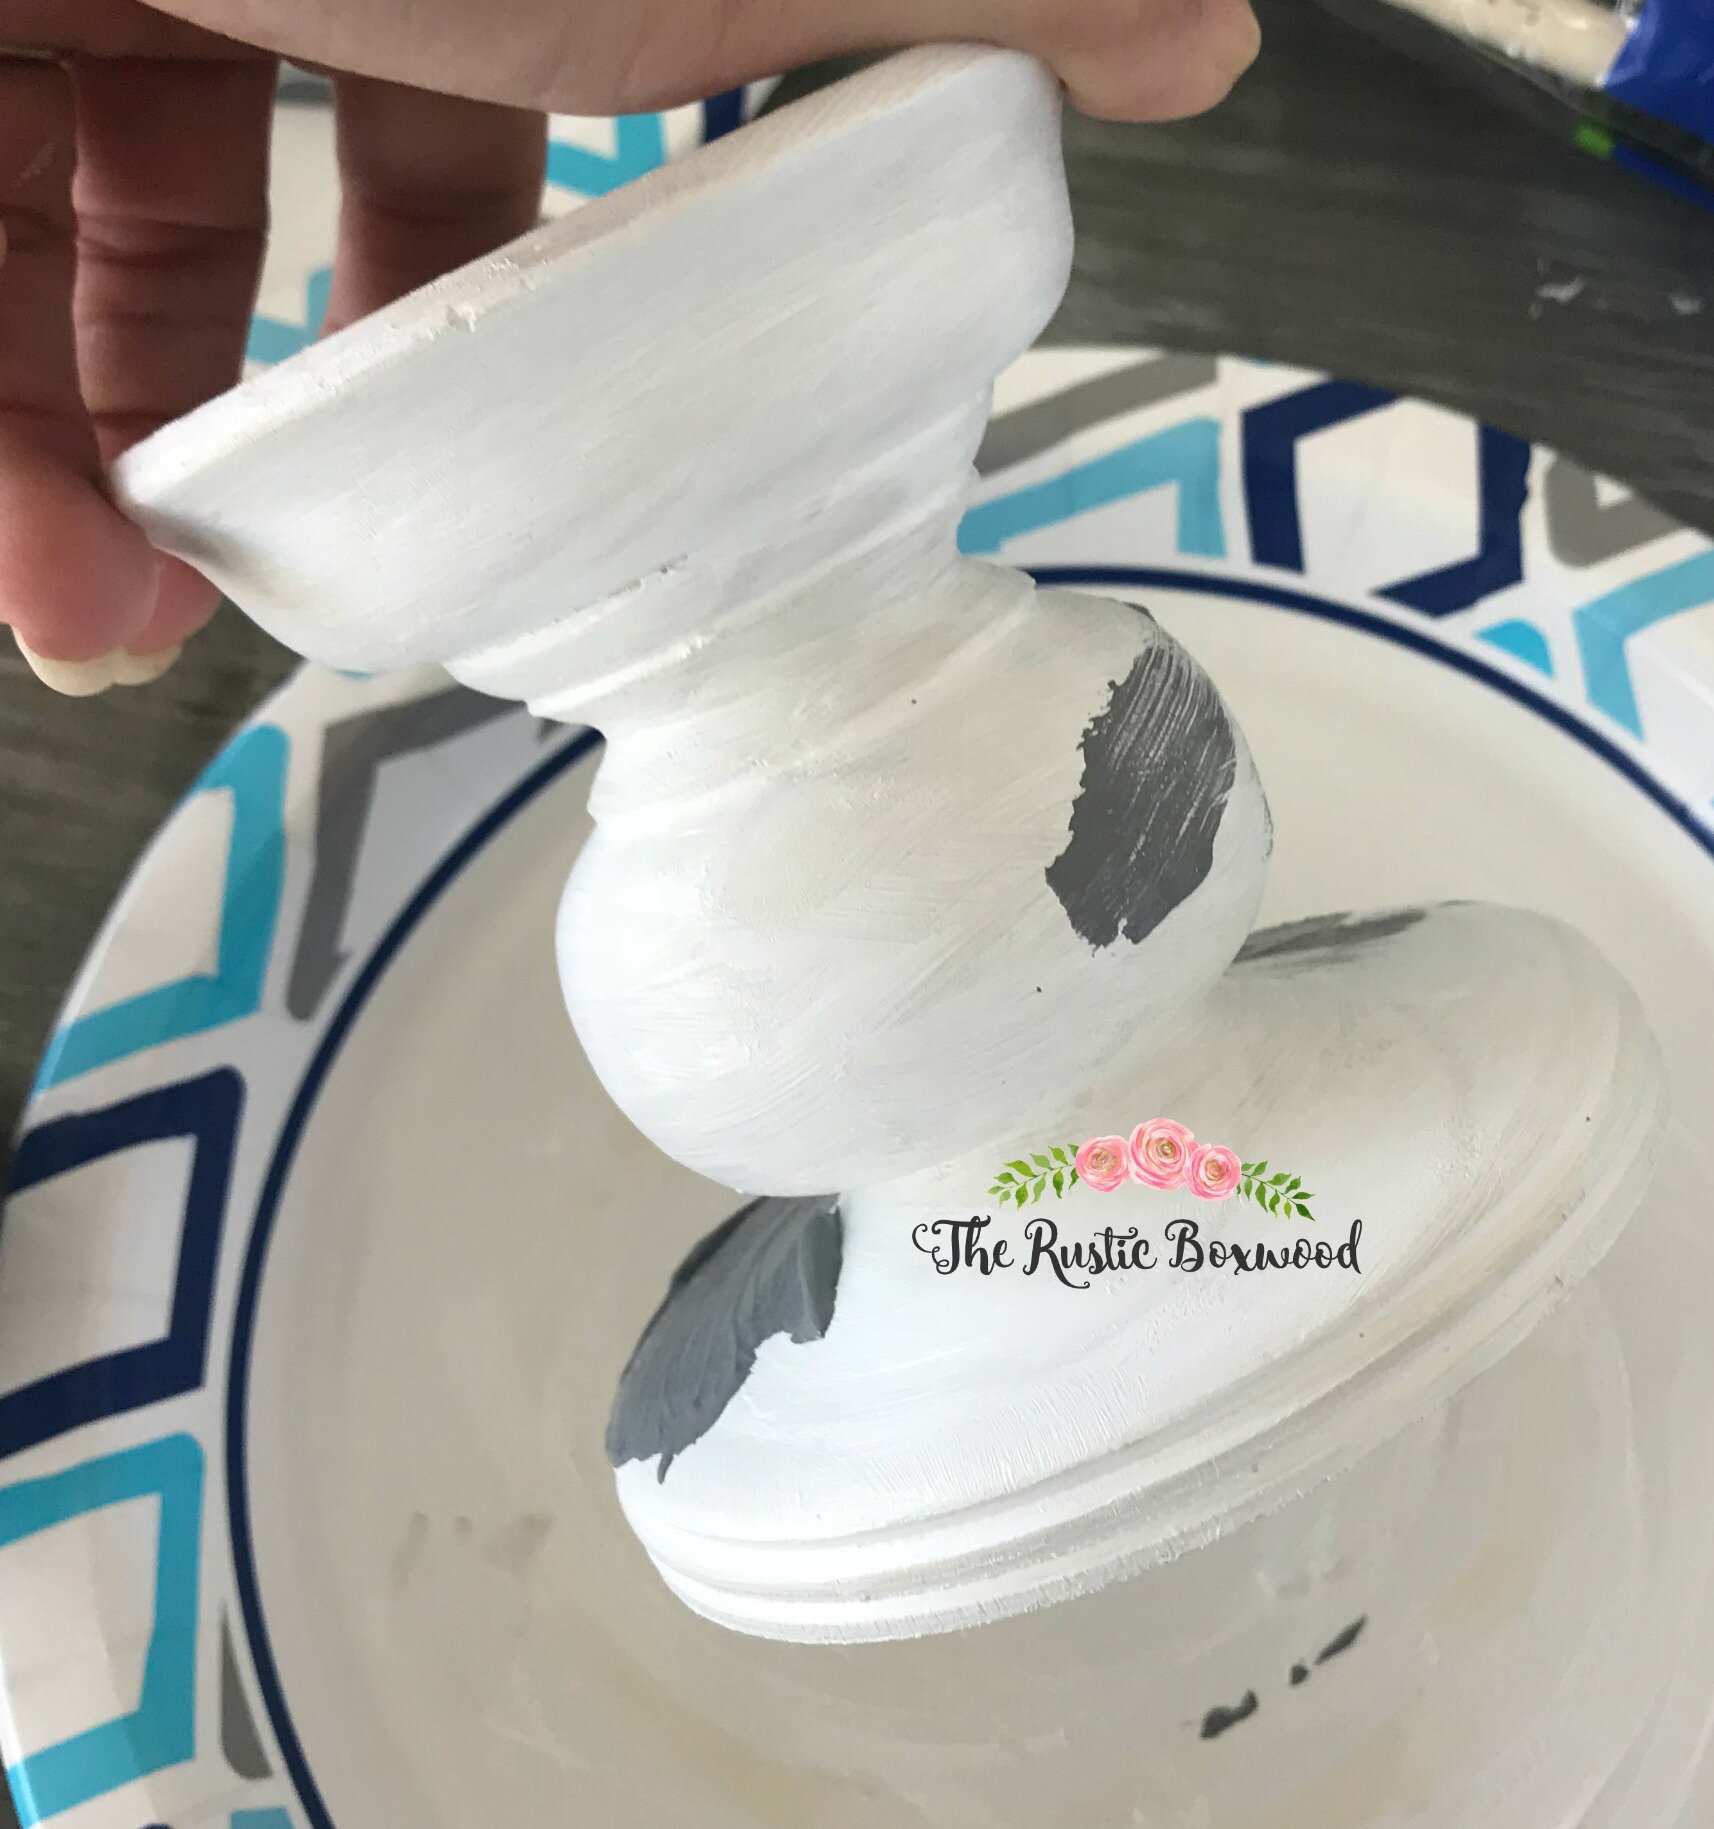
After the first layer dried completely, I then used the same method and applied the grey color.

Once that layer was done, I then painted on another layer of the white paint.

Look closely at the pic above. Do you see all that texture?! And now look at the pic below. That's the same candleholder that I left to dry for a few hours. I LOVE how nicely the paint dried on the wood!
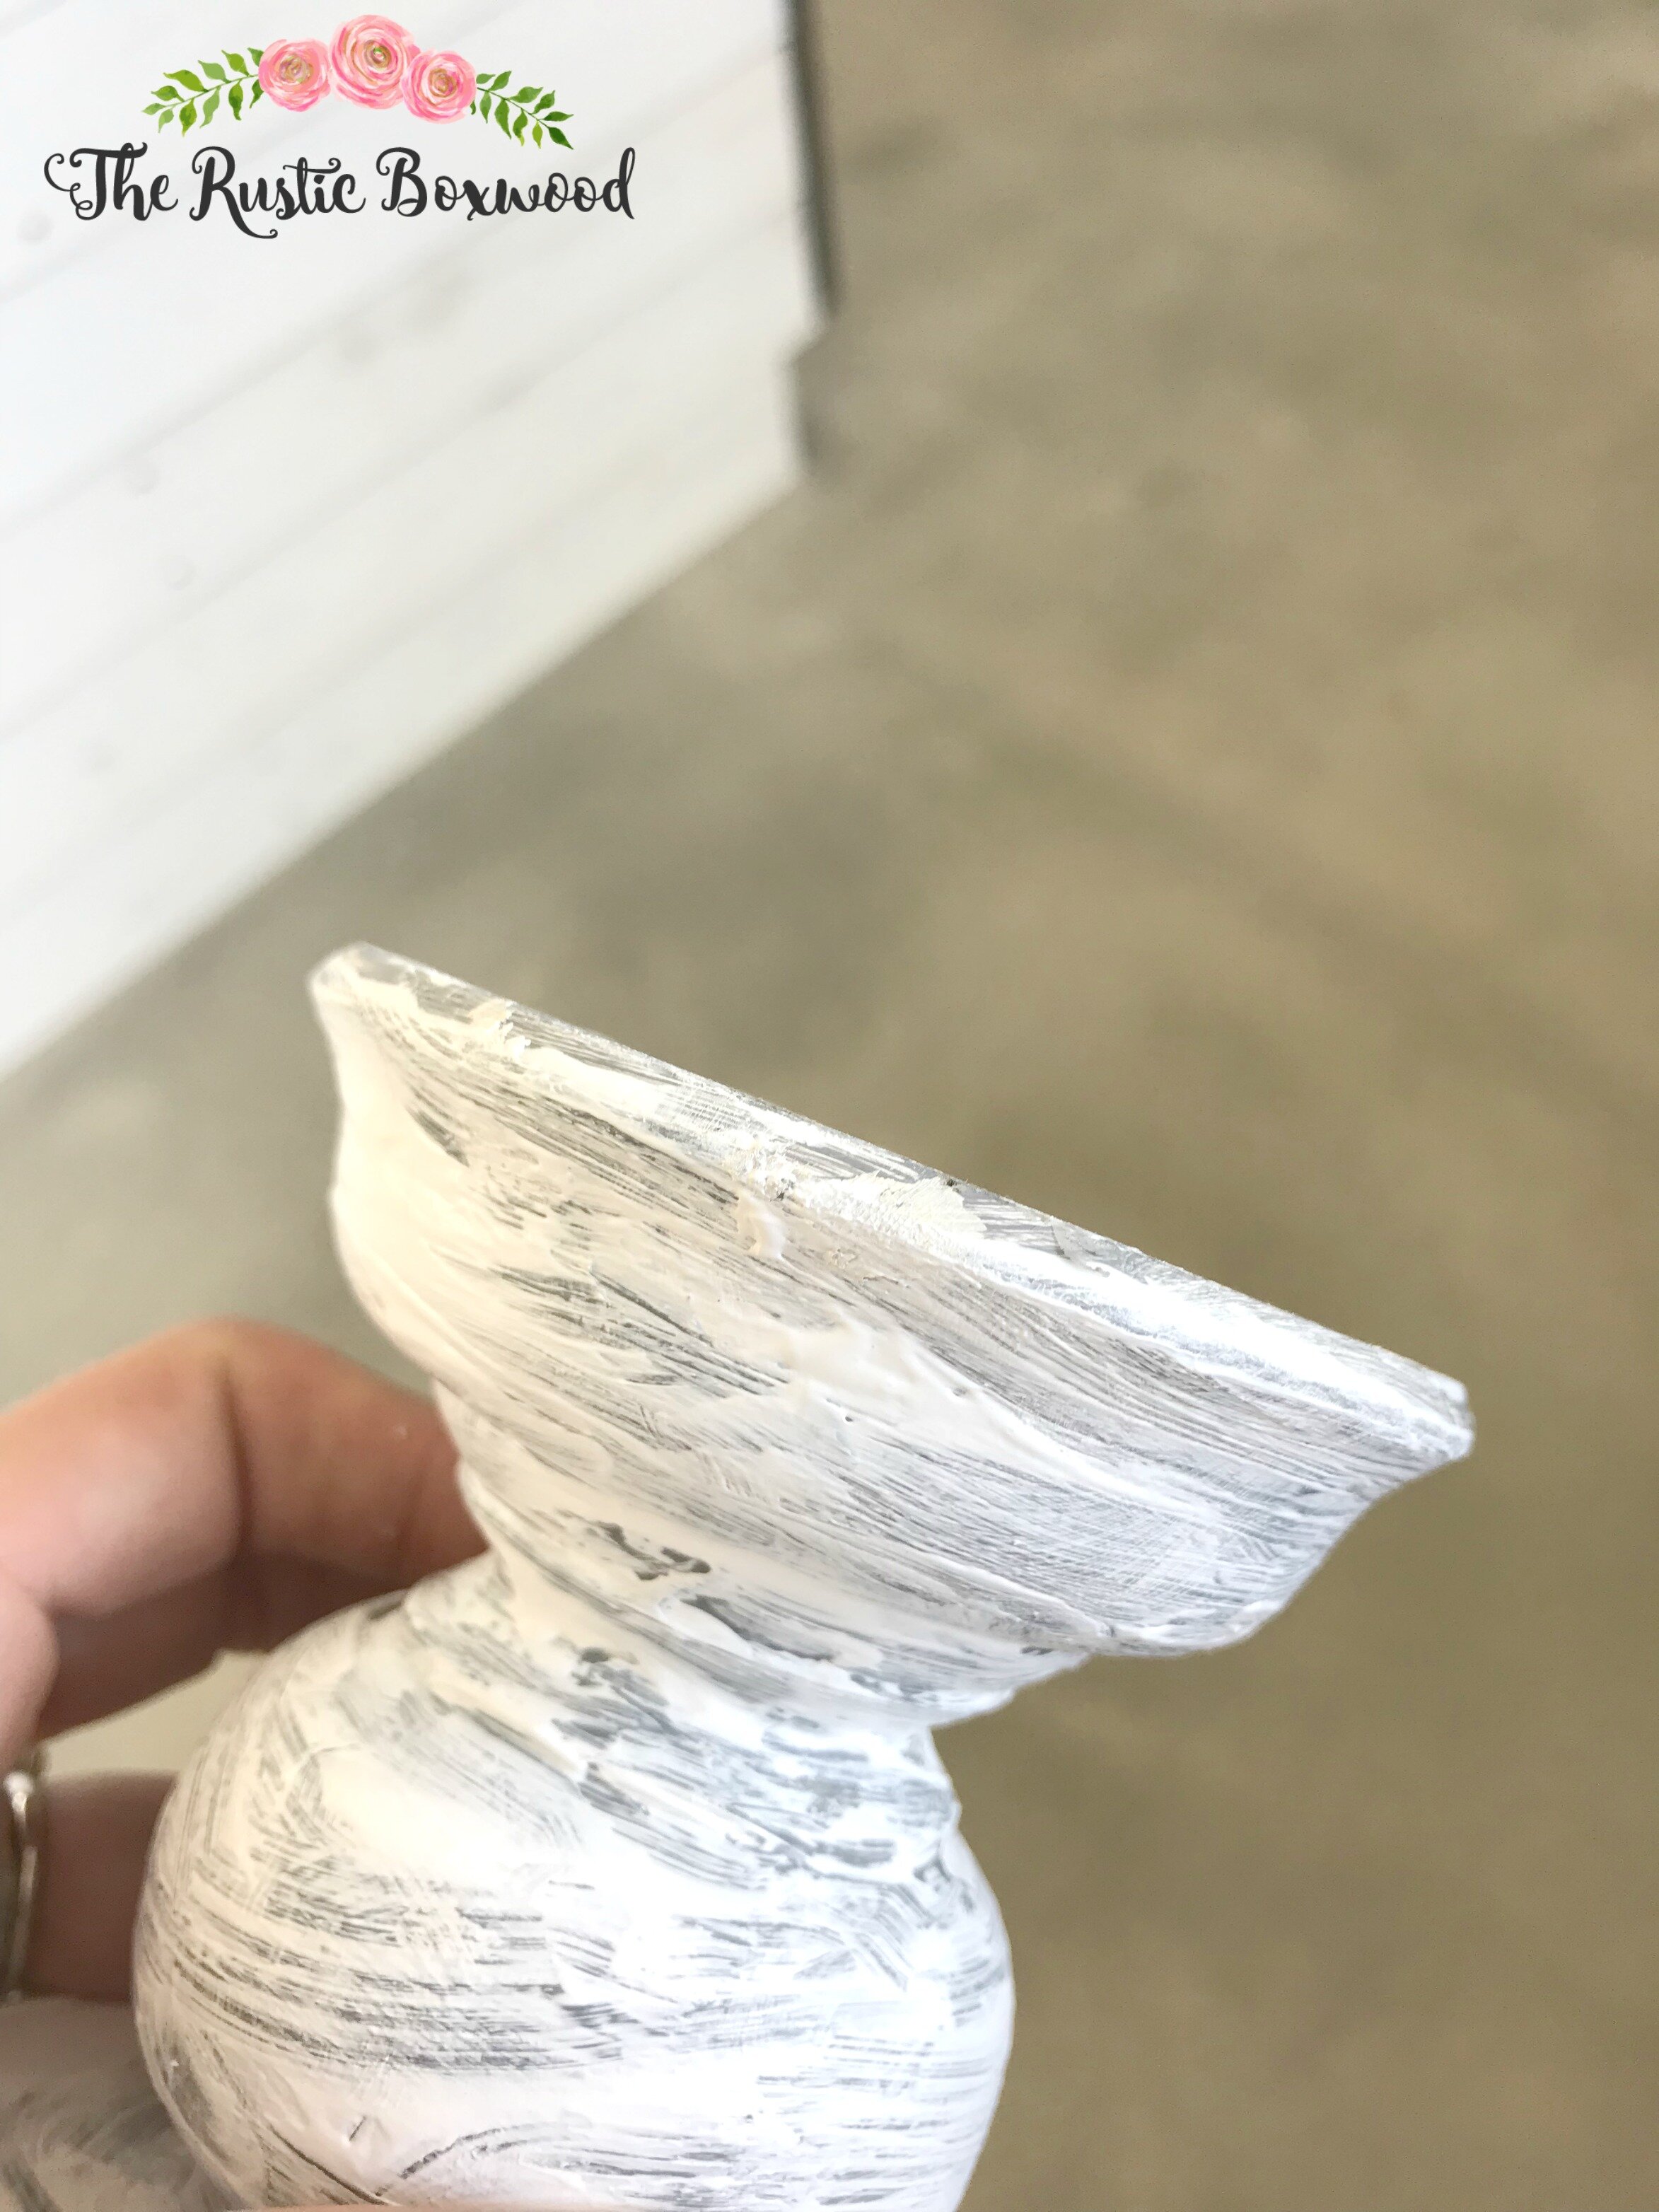
The finished result is a beautiful, textured and dimensional candleholder!
Okay! I hope you've been inspired to run out to your nearest craft store and grab a tub or two of textured paint! Want to know where you can find DecoArt products? Click this link to find your nearest dealer! Of course, DecoArt products are sold in most craft retailers, but there are also independent dealers as well!
Thank you again for stopping by today. Would you use this paint with a project? I'd love to hear about it! Comment below and tell me what you think you'd do with texture paint. I always love to hear from my amazing readers! If you want to stop by on social media, you can find me on Instagram, Facebook and Pinterest. Have a great day!
You might also like:

