
DIY Stationery using Galaxy Glitter Paint
I am so excited to introduce y'all to one of DecoArt's new paint lines, Galaxy Glitter! I'm here to tell you that yes, it's so AWESOME! This paint is even better than the sprinkle glitter!
Being a Core Blogger for DecoArt this year has been such a fun experience! I love getting to test out their products, both new and old....And their new line of glitter paint has been one of my favorites!

Here's what you'll need to make your very own DIY stationery:
DecoArt's new Galaxy Glitter paint
DecoArt's acrylics that are close to the same color as the glitter paints
Set of cardstock paper (or set of pre-made blank cards)
Paint brushes (I used a sponge brush and DecoArt's Americana Gloss Enamels round brush, #3.)
Protective layer, such as a cardboard box or a painter's drop cloth
Pencil
Right angle tool or ruler (optional)
Embellishments for the cards (optional) (examples include buttons, trim, fabric, stickers, etc)
Here's what you'll do:
First, if you're designing this stationery as a gift, of course, you'll want to make sure the papers and patterns you choose are cohesive as a group. You'll find a variety of fun cardstock pads at your local crafts store. There are beautiful designs with different colors/patterns, yet all the sheets are complimentary to each other. However, if you're doing this project for your own stationery, I say branch out and make all sorts of creative cards!
Let's begin!
Take all your papers and fold each of them in half, making sure to have clean, straight lines.
Card #1 (Pink, green & gold-striped card)
Using a pencil and a right angle tool, lightly trace a triangle onto the top of your card. Next, paint the triangle using DecoArt's "Sunny Day" acrylic paint. You'll want to paint a couple of layers of this paint in order to cover any of the background stripes on the cardstock. Let each layer dry completely in between each coat.


Once the acrylic paint is completely dry, paint DecoArt's "Champagne Stardust" Galaxy Glitter directly on top of the yellow acrylic paint.

Isn't all that sparkle fantastic?!
Card #2 (White and gold-striped card)
Using a pencil and right angle (or ruler), lightly trace a line diagonally across the center of your card. Carefully brush DecoArt's "Snow (Titanium) White" acrylic paint on one side of the divided line. Be sure the entire pattern on the paper is completely covered underneath the painted side before using your Galaxy Glitter. I applied 3 coats of the acrylic.


After the acrylic paint is completely dry, carefully brush the "Clear Ice Comet" Galaxy Glitter on top of the acrylic paint. Let it completely dry.
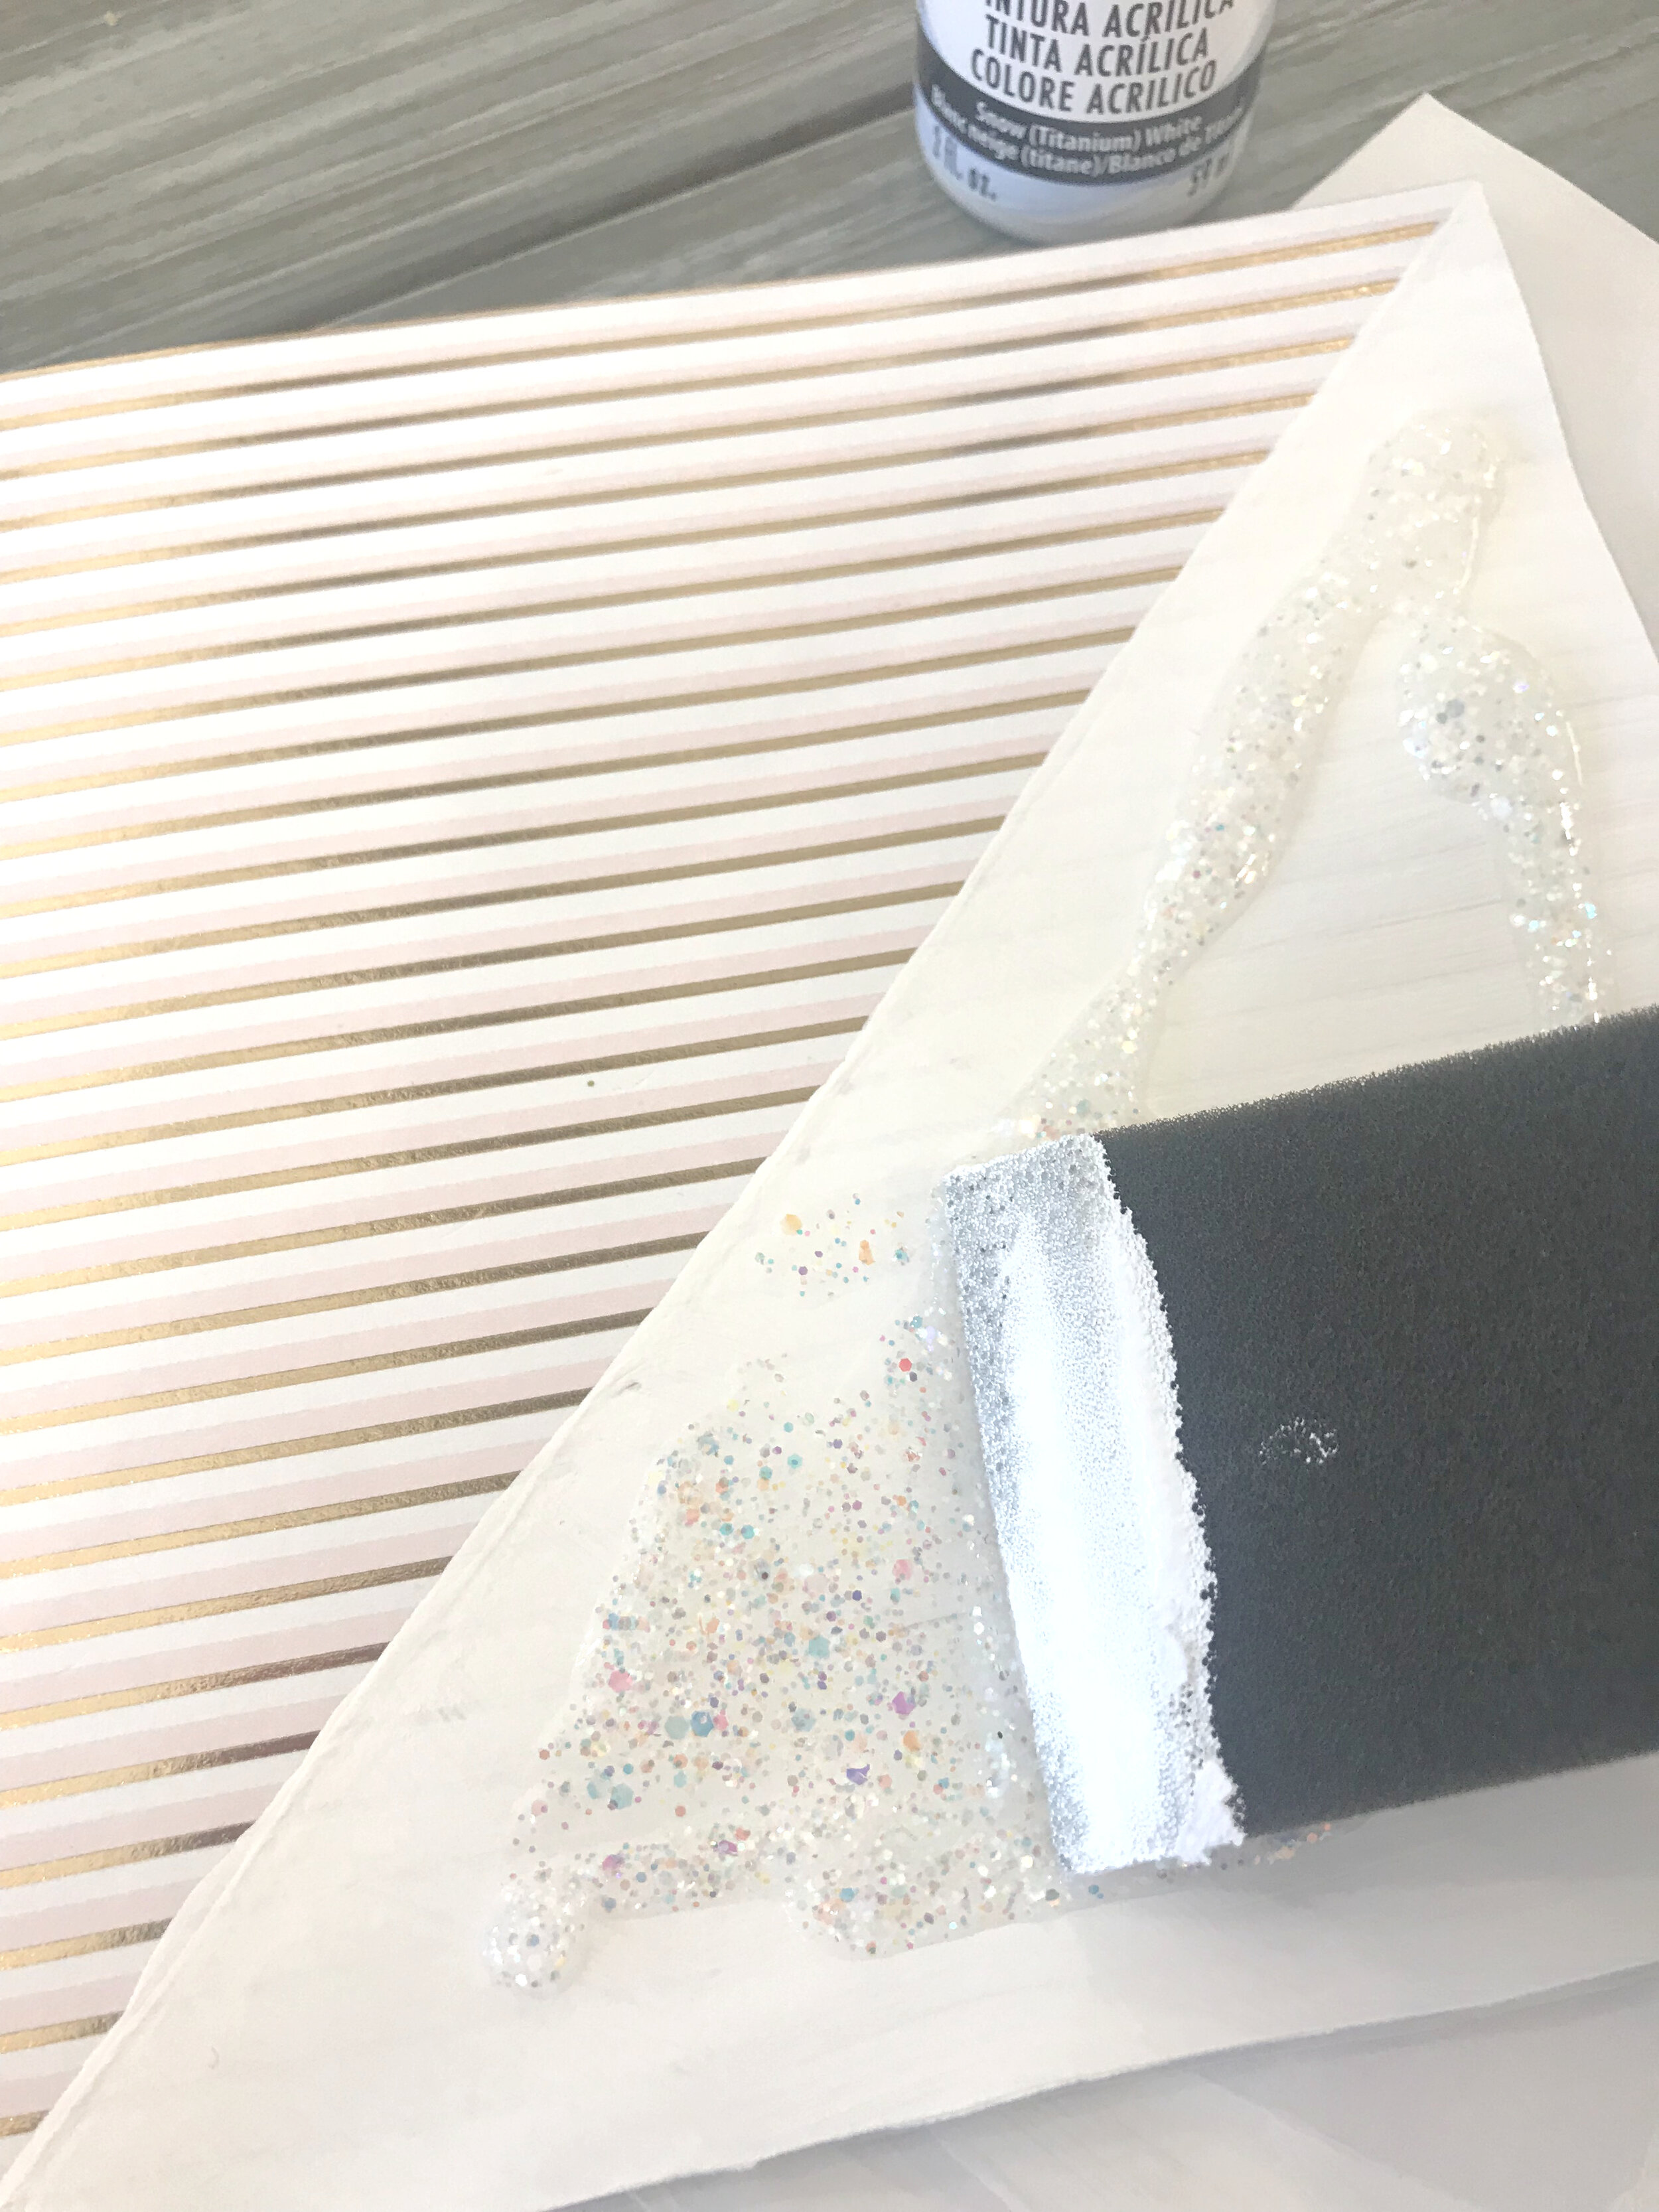
If you have fun embellishments, such as in my case, a plastic, hand-lettered word, you can easily attach it to your cardstock using a hot-glue gun. It worked like a charm, so keep reading to see the finished result. ;)
Card #3 (Sunshine card)
Using a pencil and right angle (or ruler), lightly trace your sunshine rays onto your card.
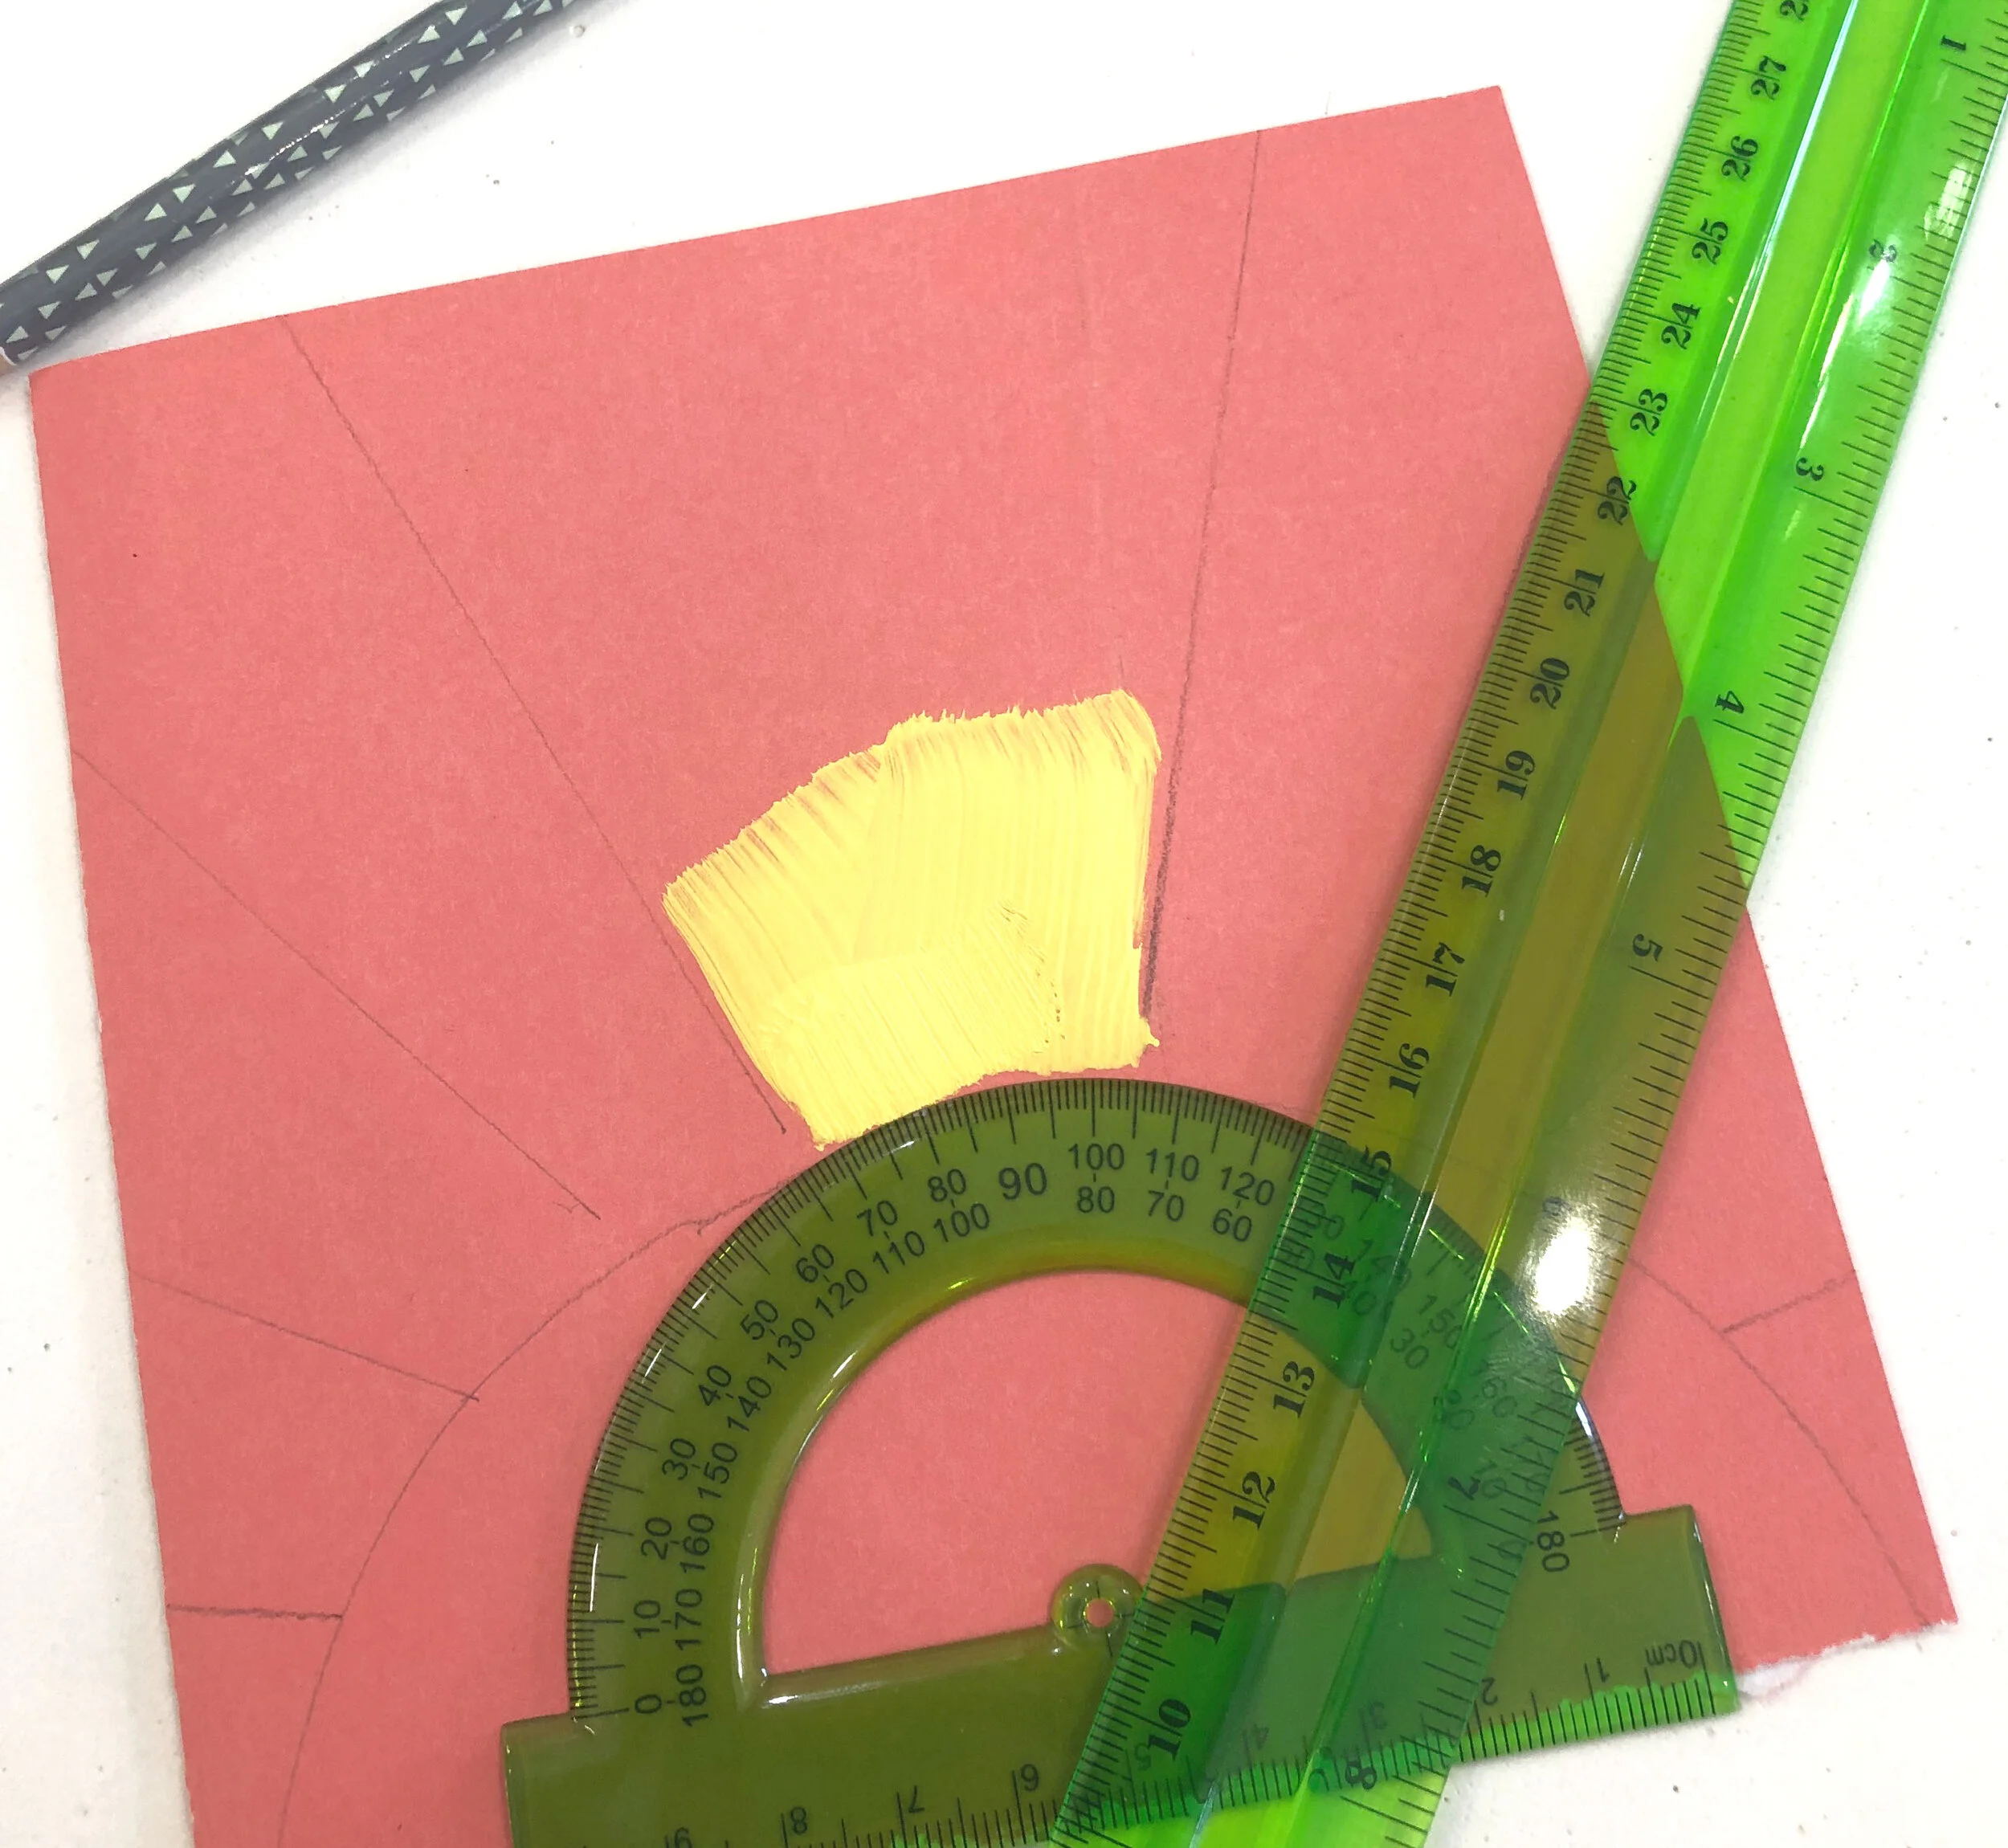
Once you're happy with your "rays," start painting them with the darker yellow first (called "Cadmium Yellow"), and gradually add the lighter yellow (called "Sunny Day") as you move to the outside of each ray. Use a small paint brush to blend the colors together.

While the paint's drying on your card, take your Galaxy Glitter paint called "Gold Shooting Star," and paint the outside of the plastic word. This paint attaches so easily to plastic, which is another fun way to use Galaxy Glitter!
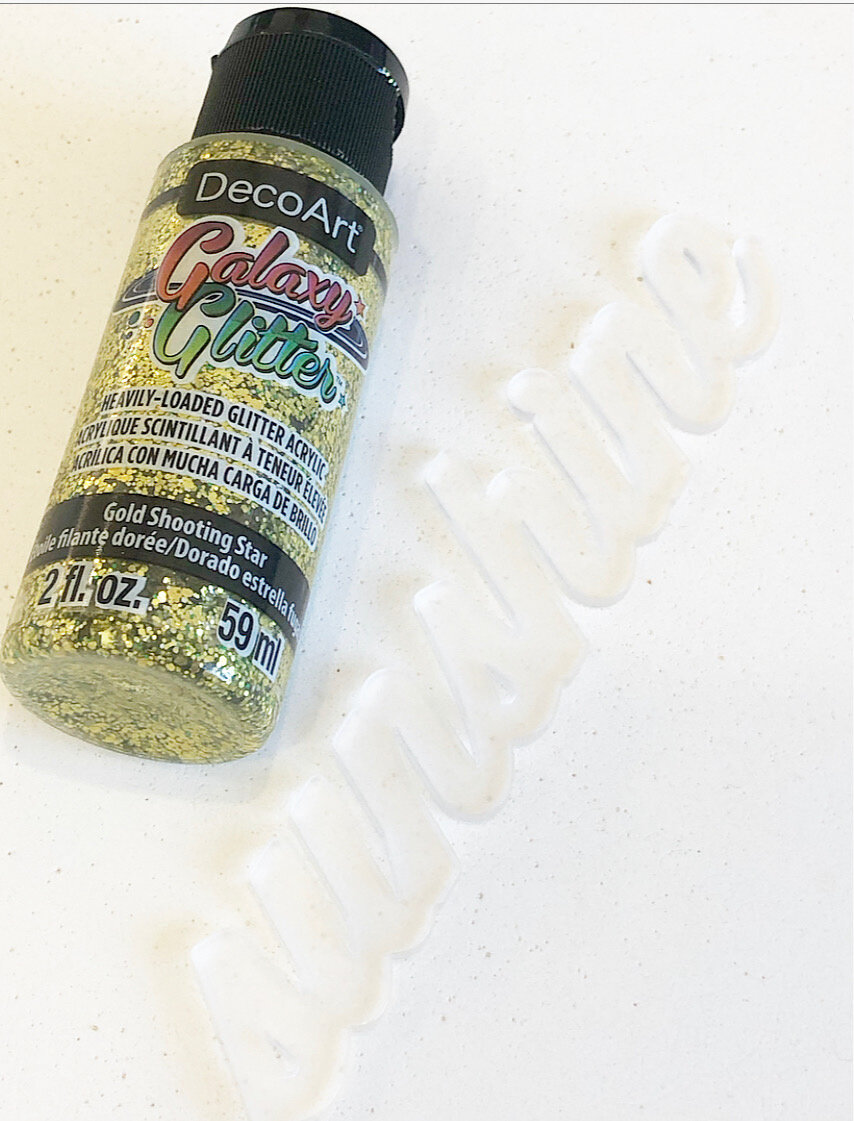

Once the paint was completely dry, I hot-glued it onto the card. Keep reading for the finished result!
Card #4 ("Hi" card)
My daughter made this card, and I have to say....I'm so proud of her creativity! She first used a pencil and ruler to lightly draw out the word, "hi." Next, using a DecoArt paint brush, she painted her letters using Americana Multi-Surface Metallic paint in gold.

Once that was dry, she used DecoArt's Flat Matte Metallic paint in gold to paint the outside of her block letters. This method helped to add more dimension and depth to her letters.
Once the paint was completely dry, she applied one thick coat of the Galaxy Glitter in "Champagne Stardust." The specific brush she used for each step on this card is called the "Americana Gloss Enamels Glass Art Round, brush #3," and it's meant for thick strokes of paint, which was perfect for this project!

Well friends, that's all for today. I hope you enjoyed this post and that you were inspired somehow to create your own unique stationery! You'll love the new line of Galaxy Glitter paint! Comment below and let me know what your favorite card is and why! Thank you so much for stopping by the blog. And don't forget to come find me on Instagram, Pinterest and Facebook, so you don't miss another post! Have a wonderful day!