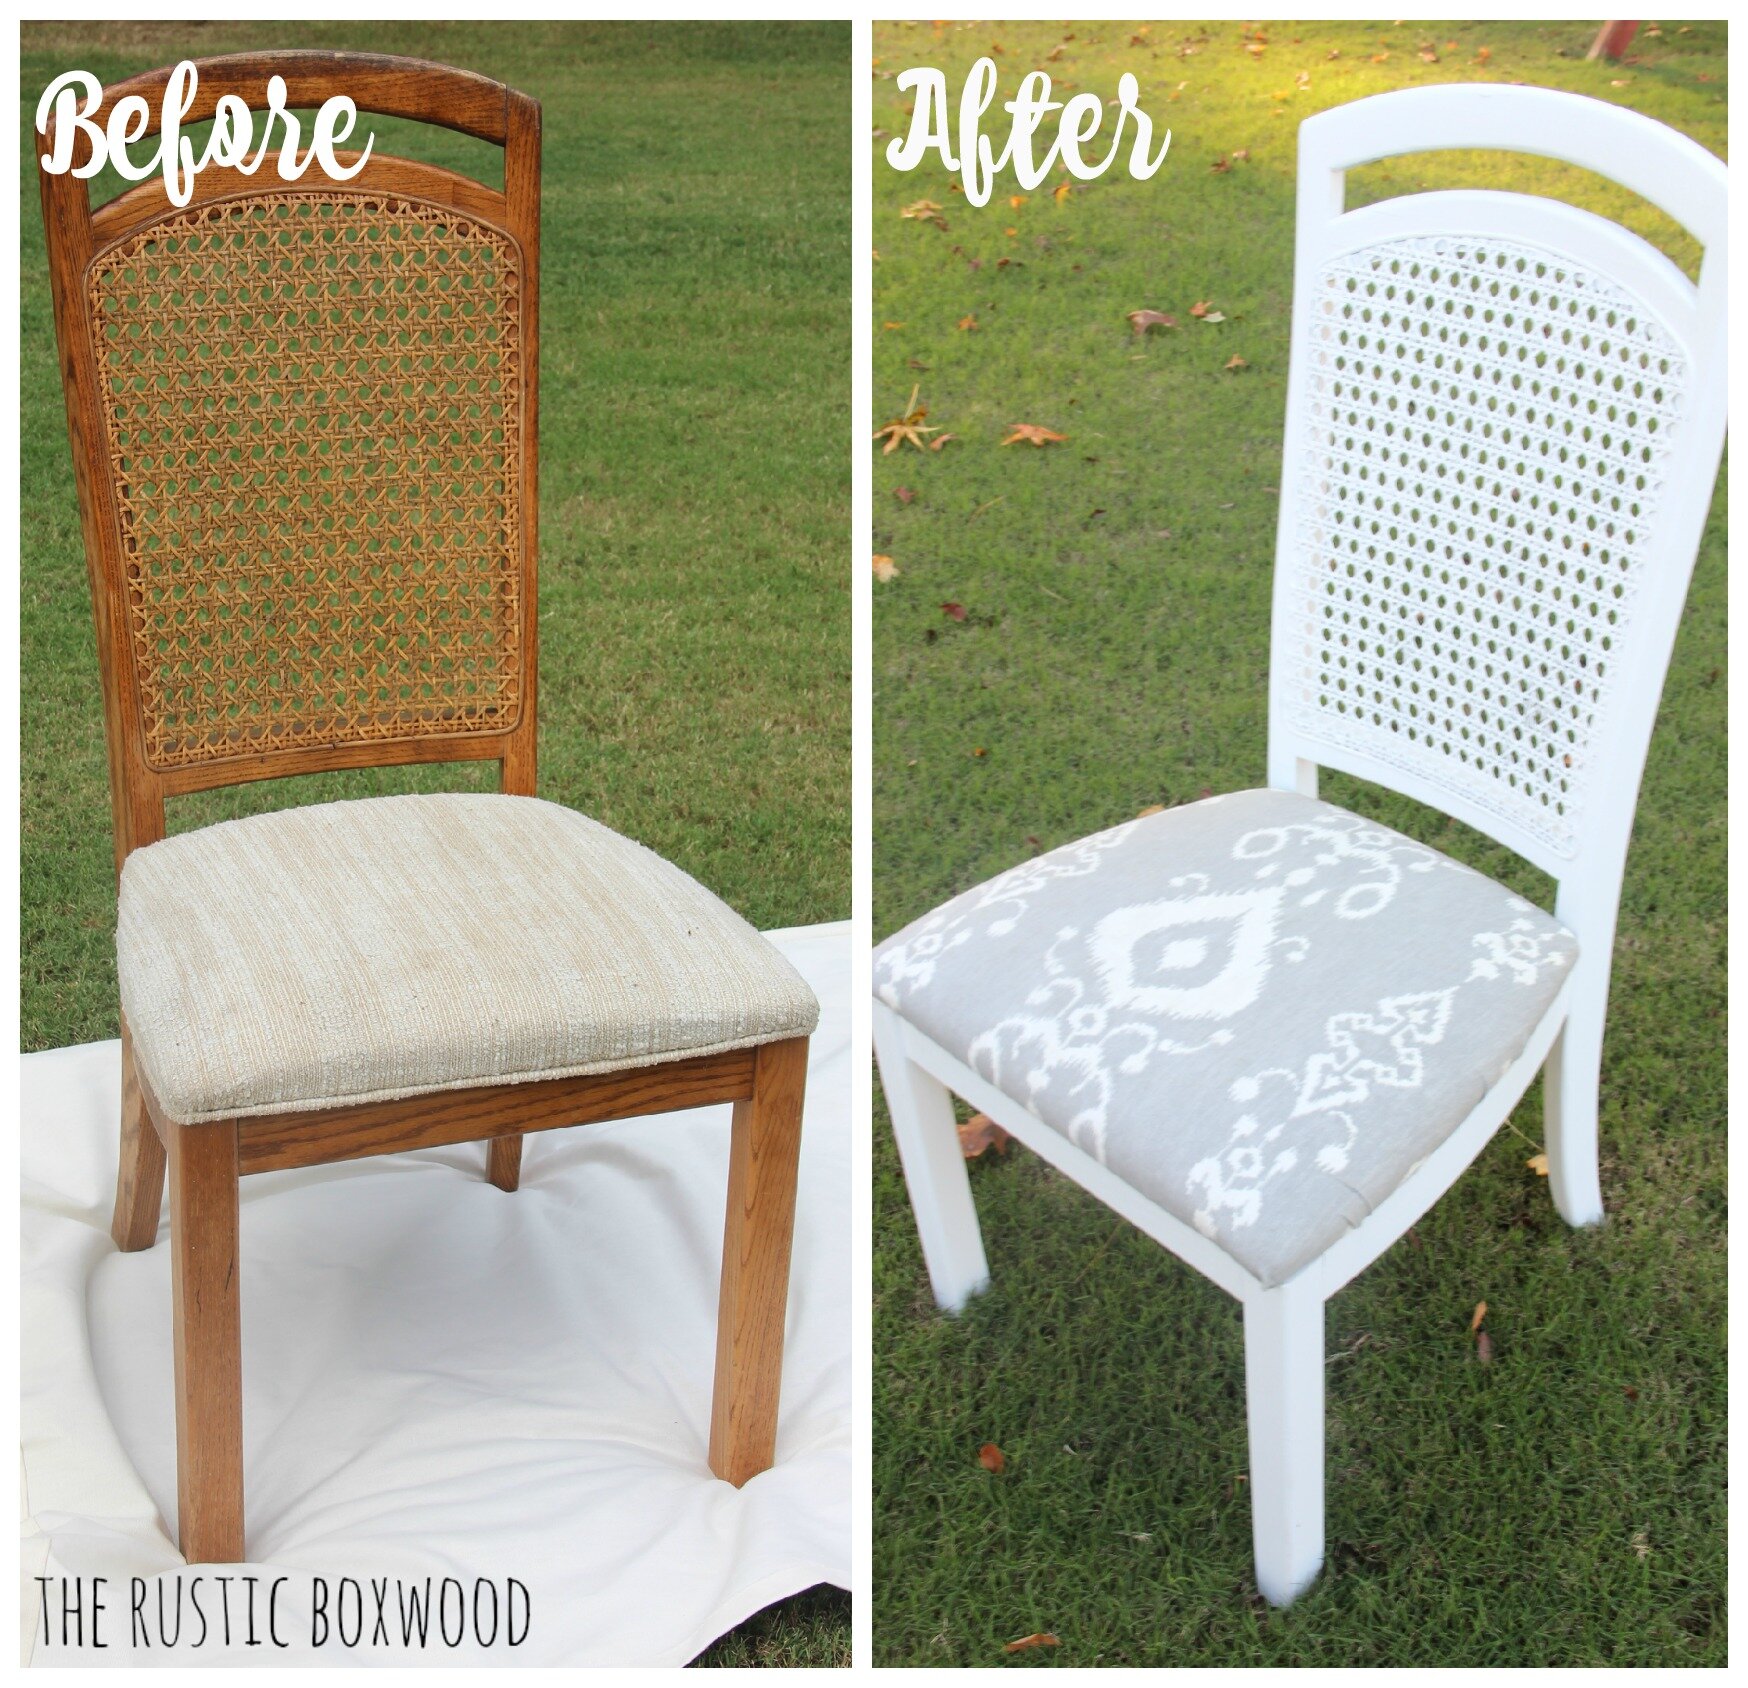
Thrifted and Distressed Cane Chair Makeover
Hey friends! Thanks so much for stopping by today! I'm so excited to show you these cane chairs that were transformed from outdated and lifeless to fresh and bright!
But first, if you missed my post on our chalk-painted vanity that we found on craigslist, you HAVE to and check it out (i.e. right after you finish this post!)!
Anyone can renovate a chair. You may not think so, but I promise -- you can do it! A few years ago, I used to be interested solely in fashion and working out, but since the dawn of Pinterest and the incredible blogland that we have available to us, these little blessings have awakened my inner-diy self! ;) Okay, now that hopefully you've realized you can totally do this project yourself, we'll get started.
A few weeks ago, I picked up all four cane chairs at a yard sale on a beautiful Saturday morning for a total of $20! I couldn't believe it! I guess it's because they were brown, yucky and quite a mess, but looking past their present state, I could see their wonderful potential! And most importantly, their "bones" were in excellent shape!
What you'll need:
Paint of your choice (I used Sherwin Williams Snowbound with Paint + Primer in One by HGTV Home.)
Paint tray and disposable tray
drop cloth
old, clean rag
black chalkboard paint (or any black paint you have on hand will do) (This step is optional.)
paint roller and paint brush (I used the Purdy Nylox line and their White Dove rollers.)
After removing the chair cushions and placing the seatless chairs on top of the drop cloth, I began my project. First, using my rag, I wiped off all the dust. Next, using the chalkboard paint and foam brush, I painted all the edges of my chairs. You may be wondering why on earth I painted chalkboard paint onto my chairs, yes? Well, first, it's because I wanted the black paint to show through the white paint after sanding the edges. Second, it's because that was the only black paint I had on hand. :) But if you're not planning to give your chairs that "chippy" effect, you can skip this process all together.
Okay, so I might have gone a little overboard on the black paint. Ha! But really, all you need to paint are the edges that you'll sand later.
Once your black paint is dry, open up your white paint and stir well. Pour the paint into your painter's tray and, using your Purdy brush and/or roller, paint your chairs. I love, love, love how this paint rolled on easily and quickly!
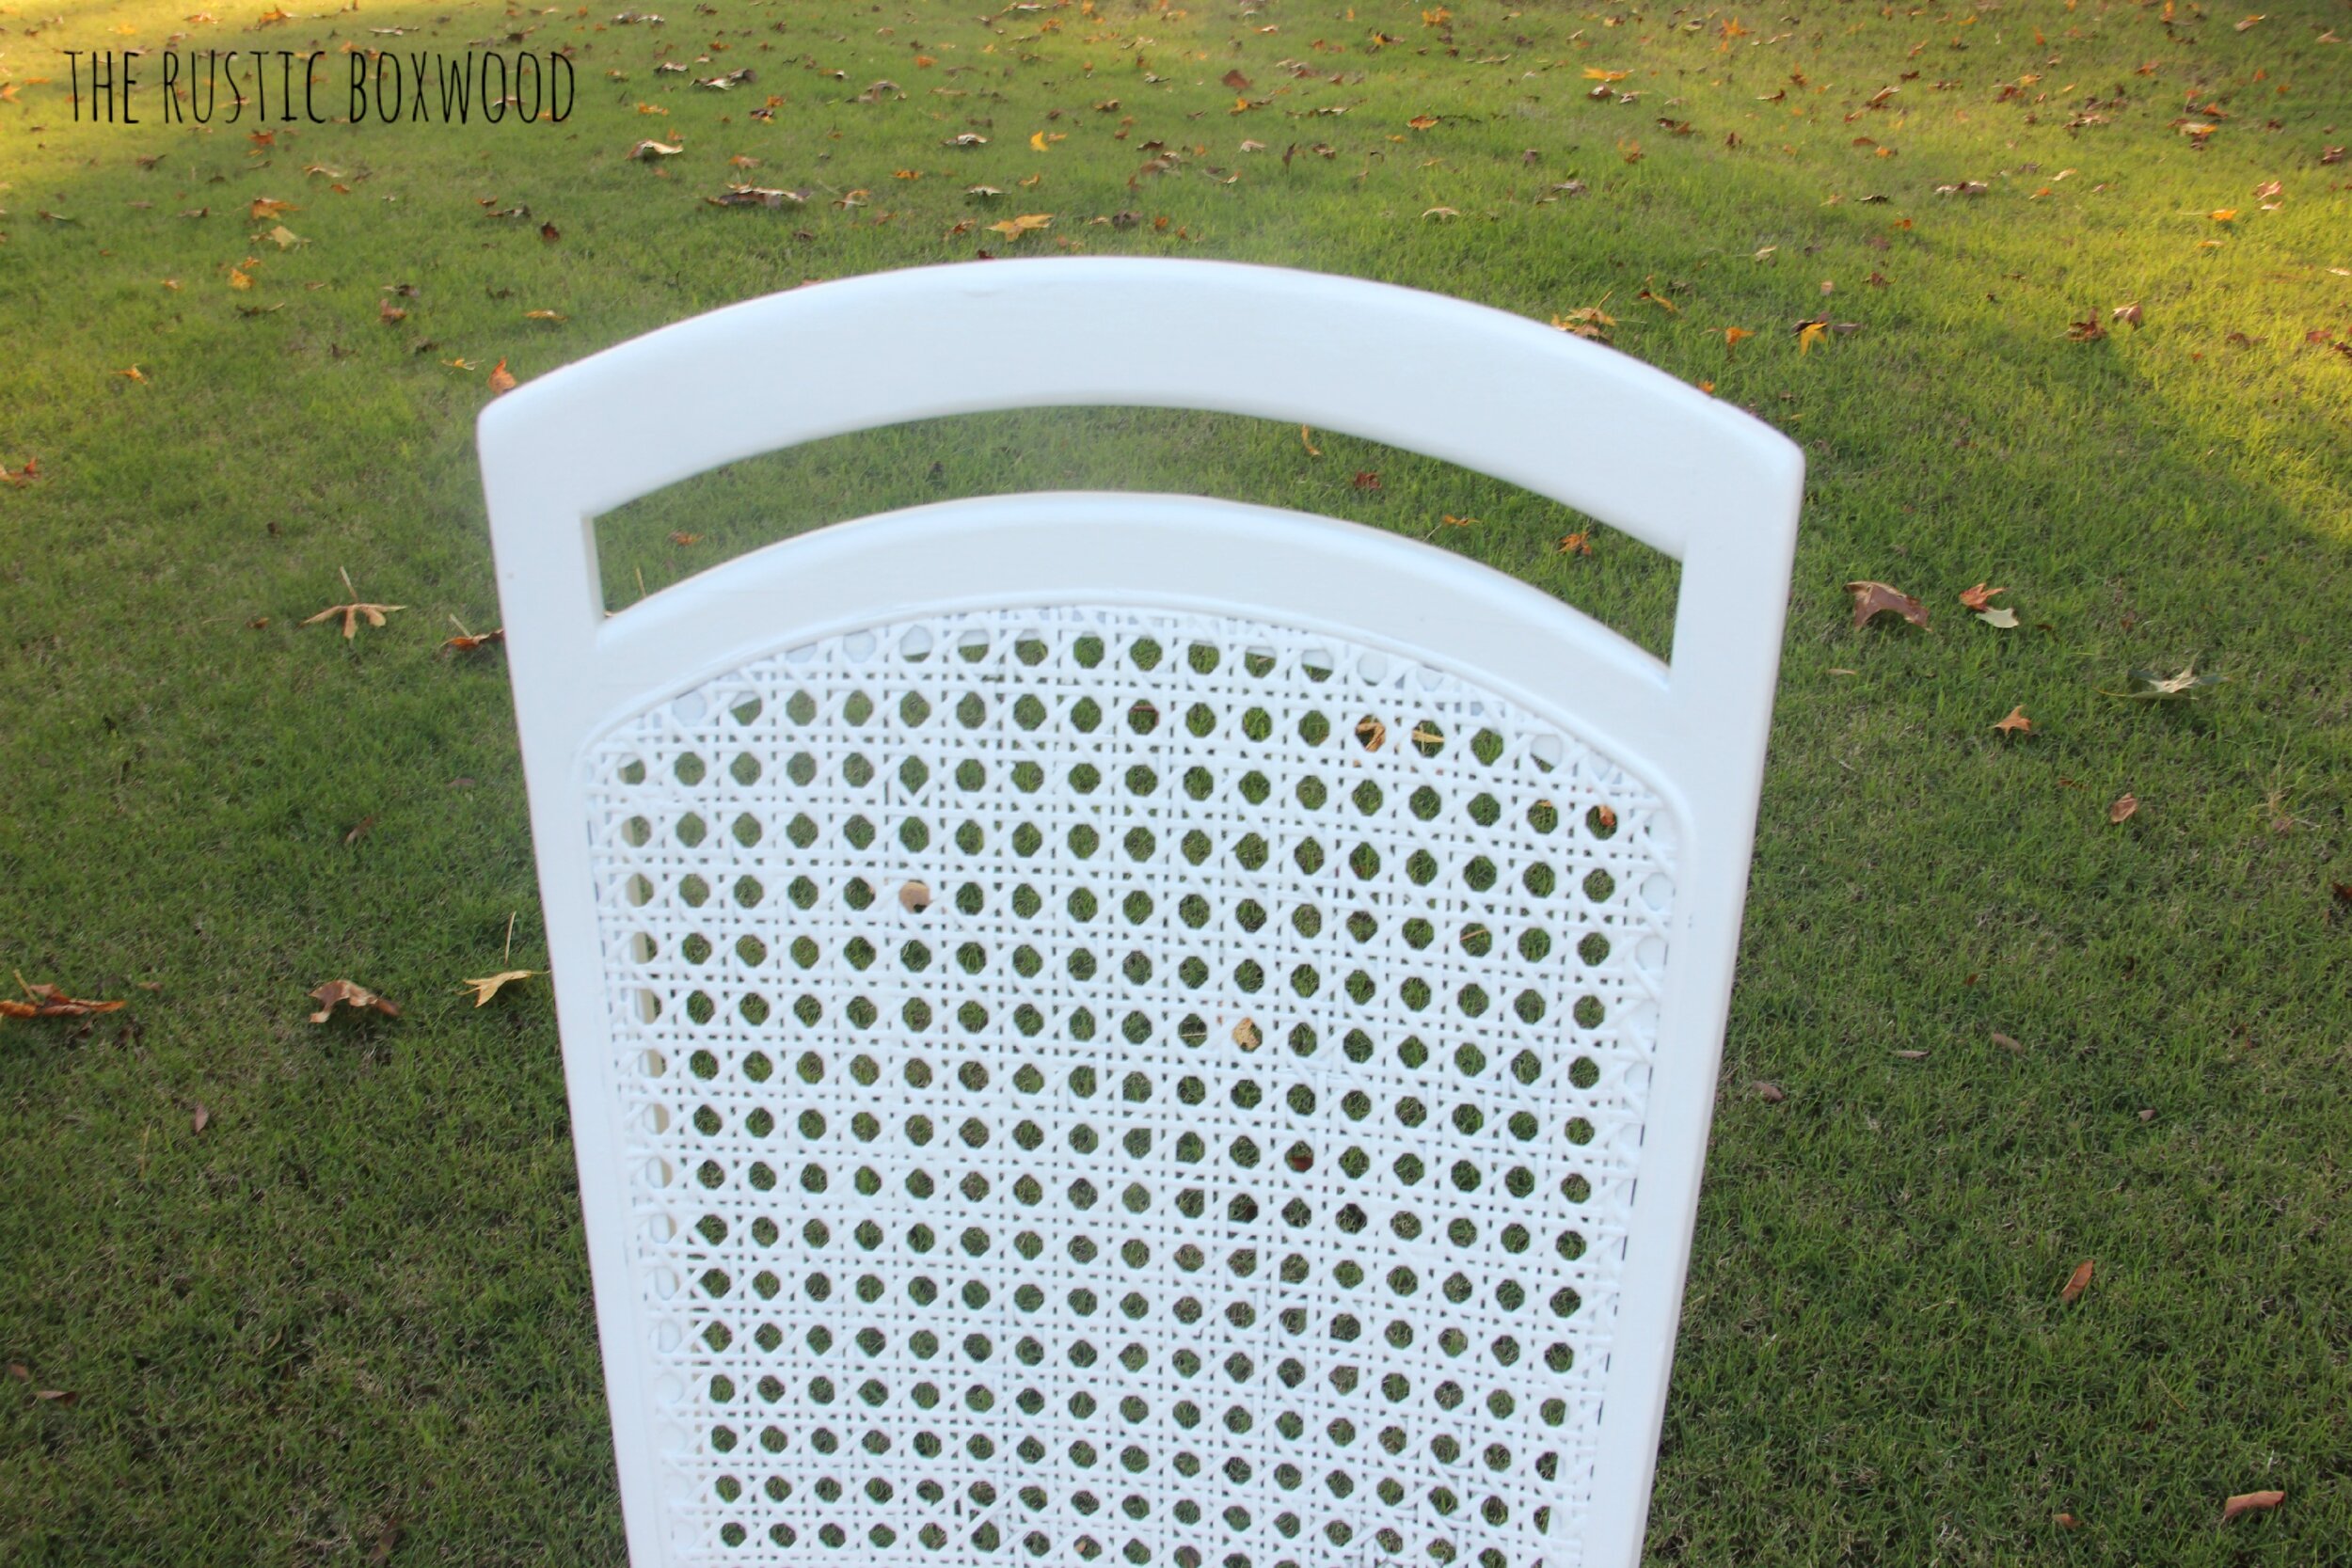
Because the grooves of the cane were very difficult to paint with a roller or brush, I grabbed a can of true white spray paint and quickly sprayed the cane without a single hitch! I wish I thought about doing that before I spent 30 minutes trying every other option! But at least SOMETHING worked!
(In regards to painting cane, make sure you don't paint a thick layer onto the cane. Add a few thin layers instead of one thick layer, or it'll look like a sloppy mess.)
And here's the finished product!
Now, if you'd like to take it a step further like I did, then grab your handy sanding paper and start sanding all the edges....You know, the natural areas that wear over time. I started out with a fine grit sanding paper and then gradually increased the grit for the desired effect. But this is where my handsome hubs would disagree with me. Ha! He says to start out with a more coarse grit and then decrease to a finer grit. But since I was doing the project, I was gonna do it MY way. Haha! Gotta love your better half!
Here's the finished result of my chippy chairs....I love them!!
And what do you think about our new, 10-foot farmhouse table with the matching bench??!! Isn't she a beauty?! We love the X-shaped legs, the just-right gray paint, and barnwood tabletop! And with our four cane chairs, it's a set made in heaven! :)
On a sidenote, Sherwin Williams sent me the HGTV paint and the Purdy products for my testing and evaluation. All opinions are my own. And I can tell you that, wholeheartedly, I loved their products. There are some brushes/rollers out there whose bristles and nap come out so easily, and it gets super frustrating. You end up having to stop your painting and pull out each individual bristle. But I knew I could count on Purdy to help me with this project! Also, the HGTV paint went on so smoothly and efficiently. I loved having the built-in primer!
Also, I don't claim to be a professional at giving my furniture that "chippy" look. But what I can tell you is that I put a lot of love into these pieces, and it's a matter of trial and error. Growing up, my sweet parents always said to me, "The person who never makes mistakes is the person who never tries." So, don't get discouraged if you make a few mistakes with your painting projects -- just learn from it and move on....That's why shopping at yard sales and thrift stores is so great! The prices are usually crazy good, so if you have a diy fail, it's no biggie! :)
Are you inspired to find a lifeless chair and give it a makeover? If so, I'd love to hear about it! Comment below or stop by and say hey on Pinterest, Instagram, Twitter, HomeTalk and Facebook. It always makes my day to hear from my sweet readers!
You might also like:


