
DIY Hospitality Basket with DecoArt
DIY Glitter HouseHey sweet friends! Thanks so much for stopping by! Don't forget to come find me on Instagram, Facebook and Pinterest in order to stay up to date with all the happenings and projects with the blog!
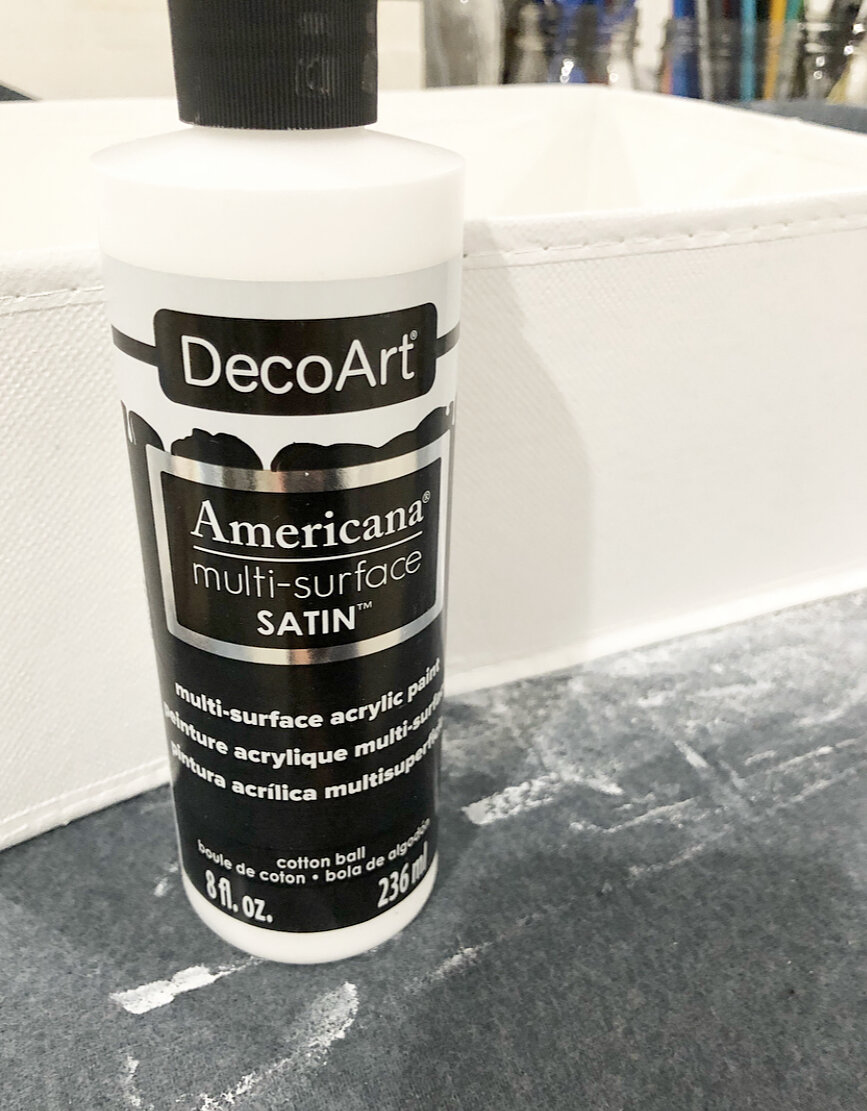
Today, I'm showing you how to take a basic container from ho-hum to wowee! I've partnered with the fabulous DecoArt brand, using their Multi-Surface paints (specifically the Cotton Ball and Black Tie colors), and I was so pleased with how easily these paints attached to my fabric basket. If you know me, then you know how I love to stick with neutrals throughout our home, and this basket definitely fits the bill. ;)
Here's a little info about DecoArt's Multi-Surface line...
It's an indoor/outdoor paint!
Can be used on just about any surface, such as styrofoam, most plastic, fabric, wood, ceramic, terra cotta, paper, metal, masonry, glass, canvas and walls
Cleans up easily with just soap and water
Non-toxic
The best part? These multi-surface paints are self-sealing, which means you don't have to add a protective sealant or varnish to the outside of your project!
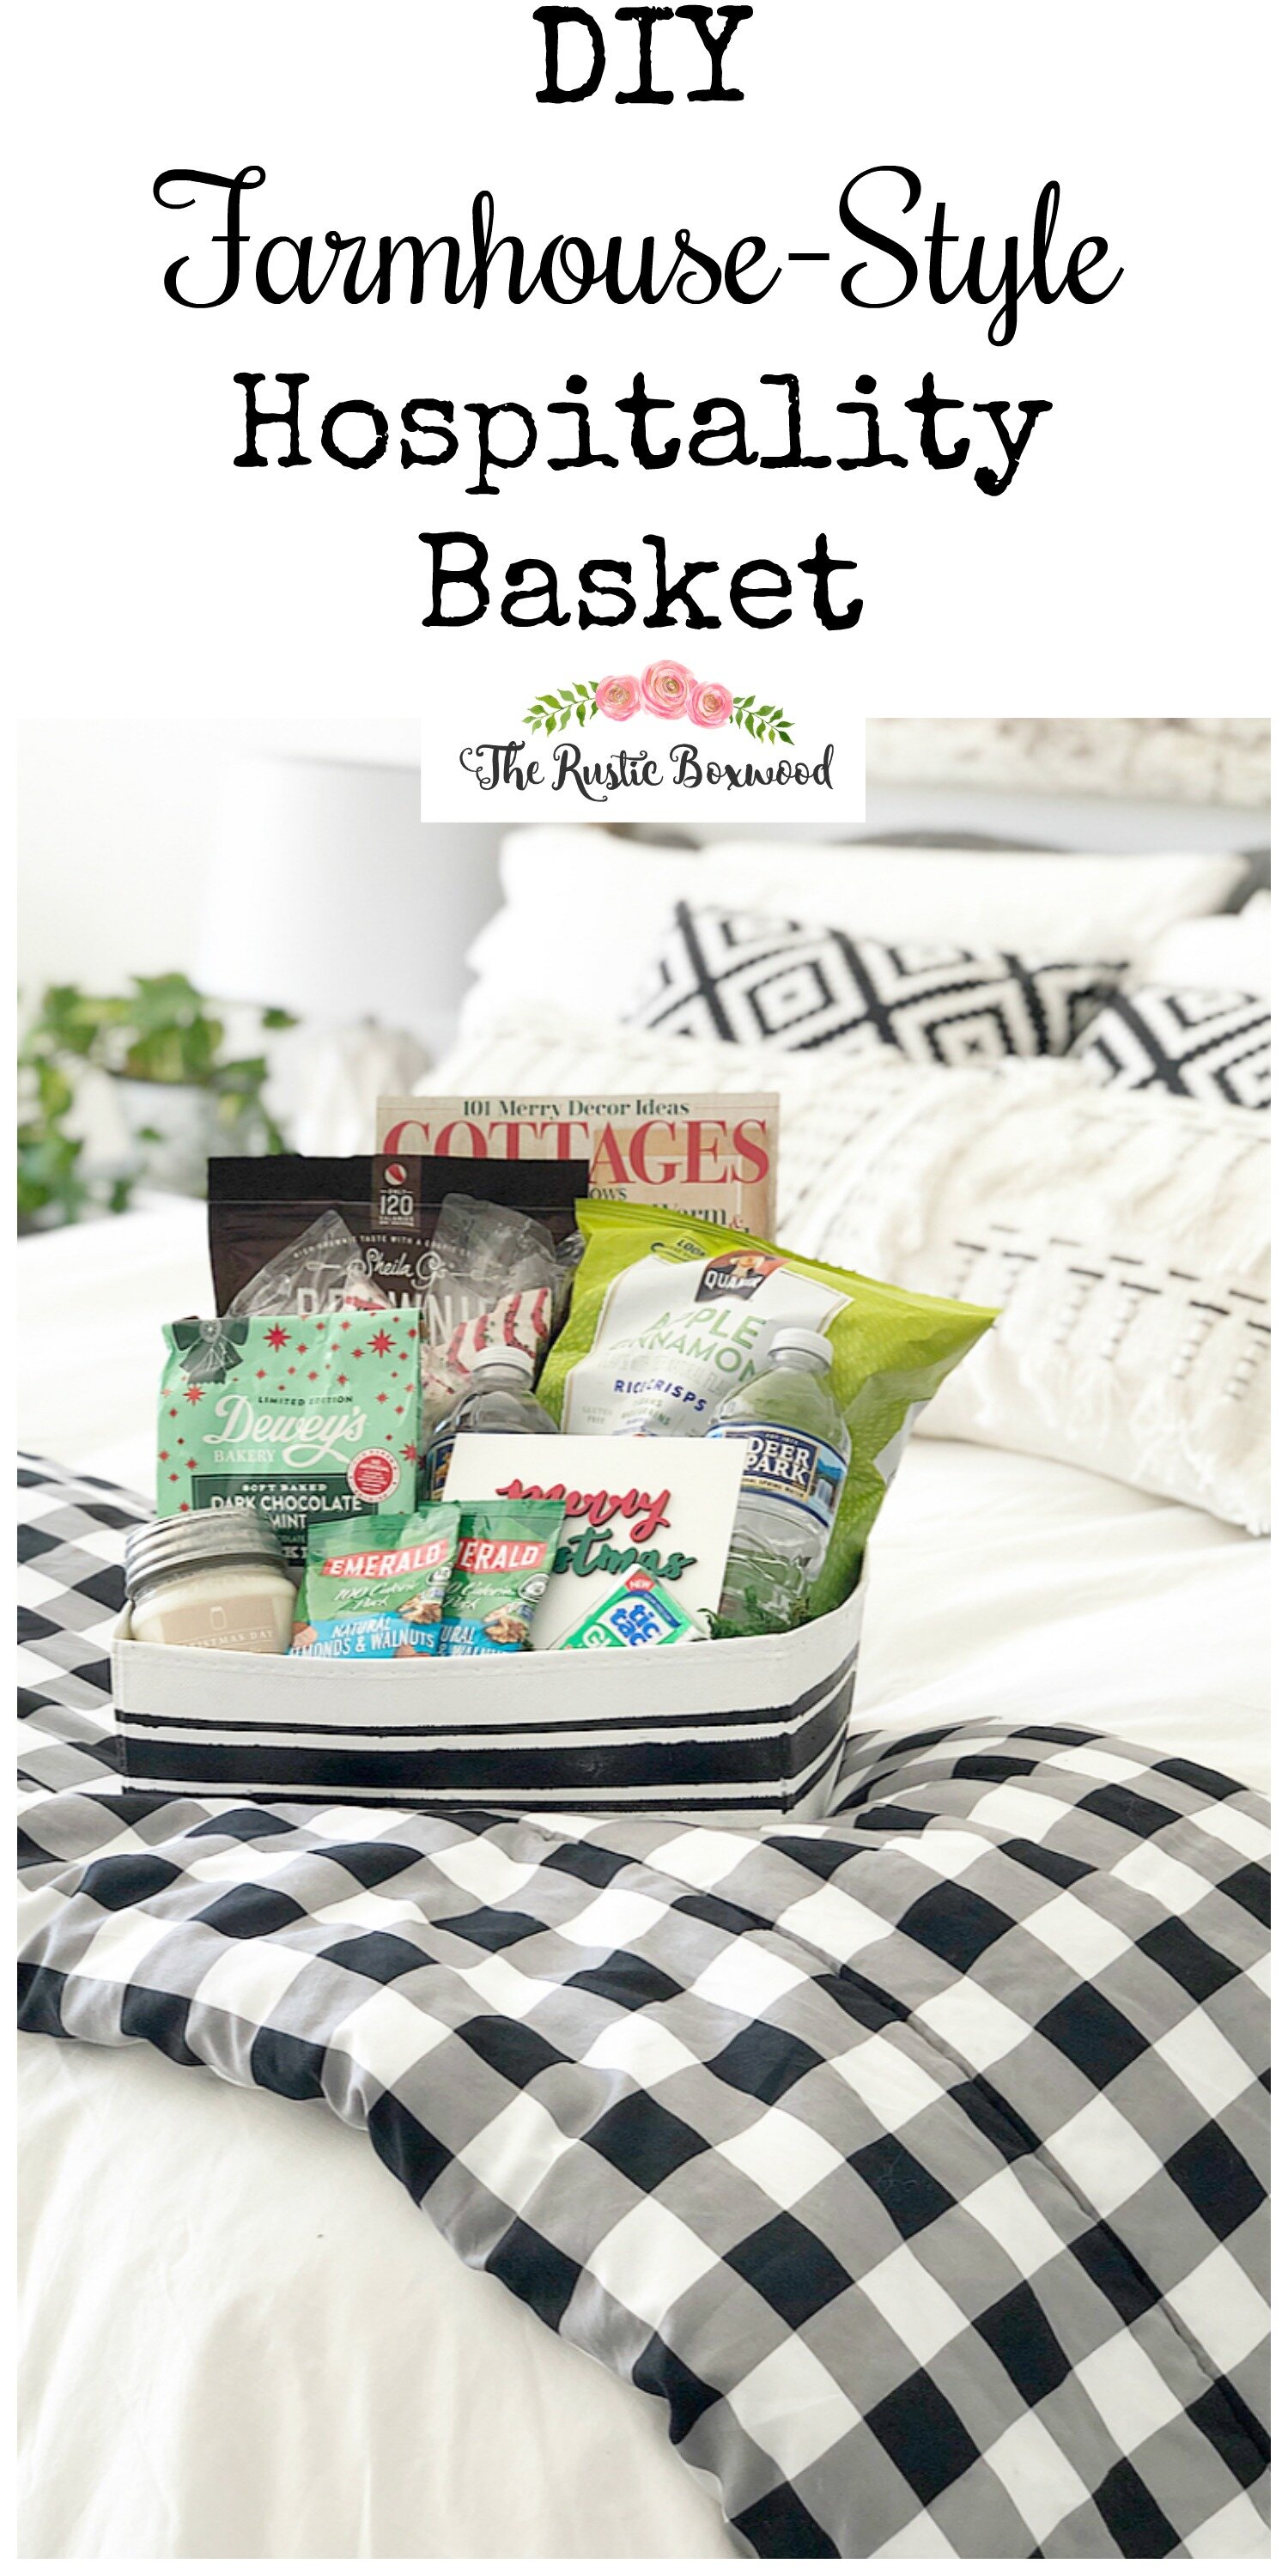
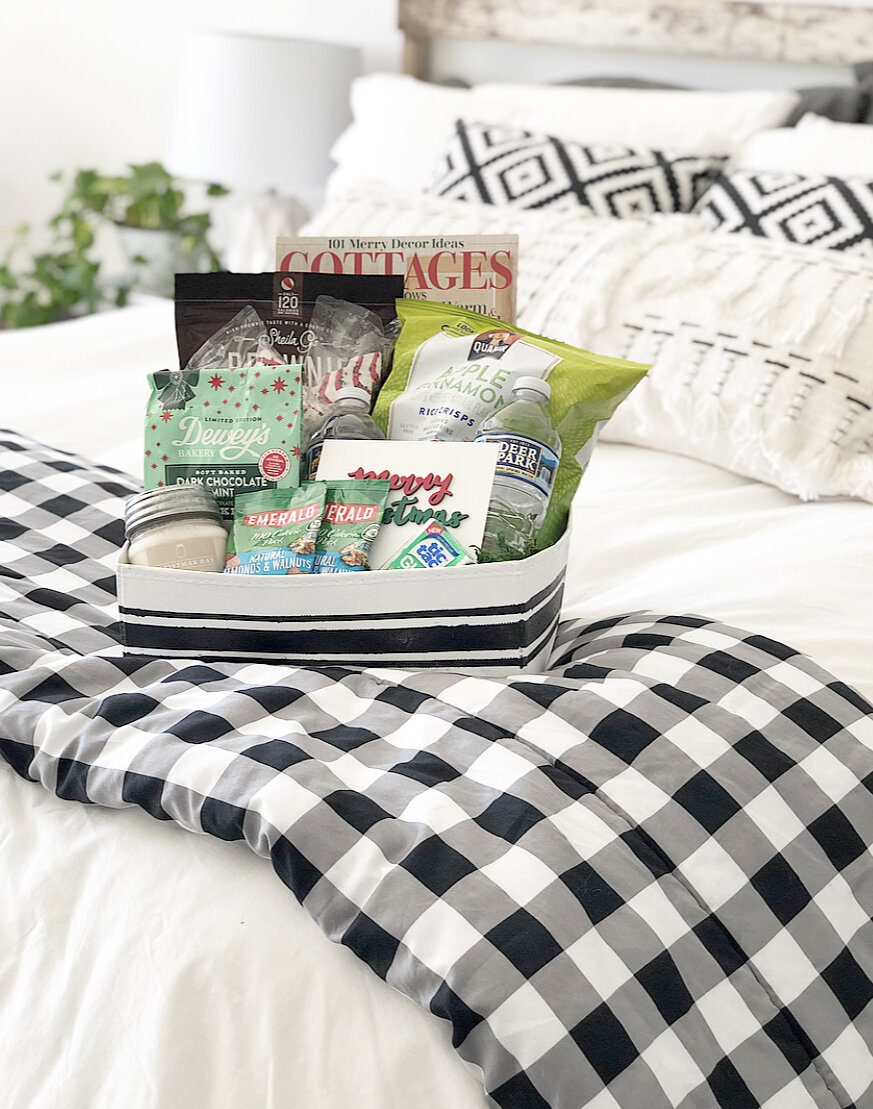
Now that you know all about this awesome paint, let's make a farmhouse-style hospitality basket! Since Christmas is just around the corner, this basket is perfect for overnight guests and will be sure to bring relaxation and comfort to your visitors! ;)
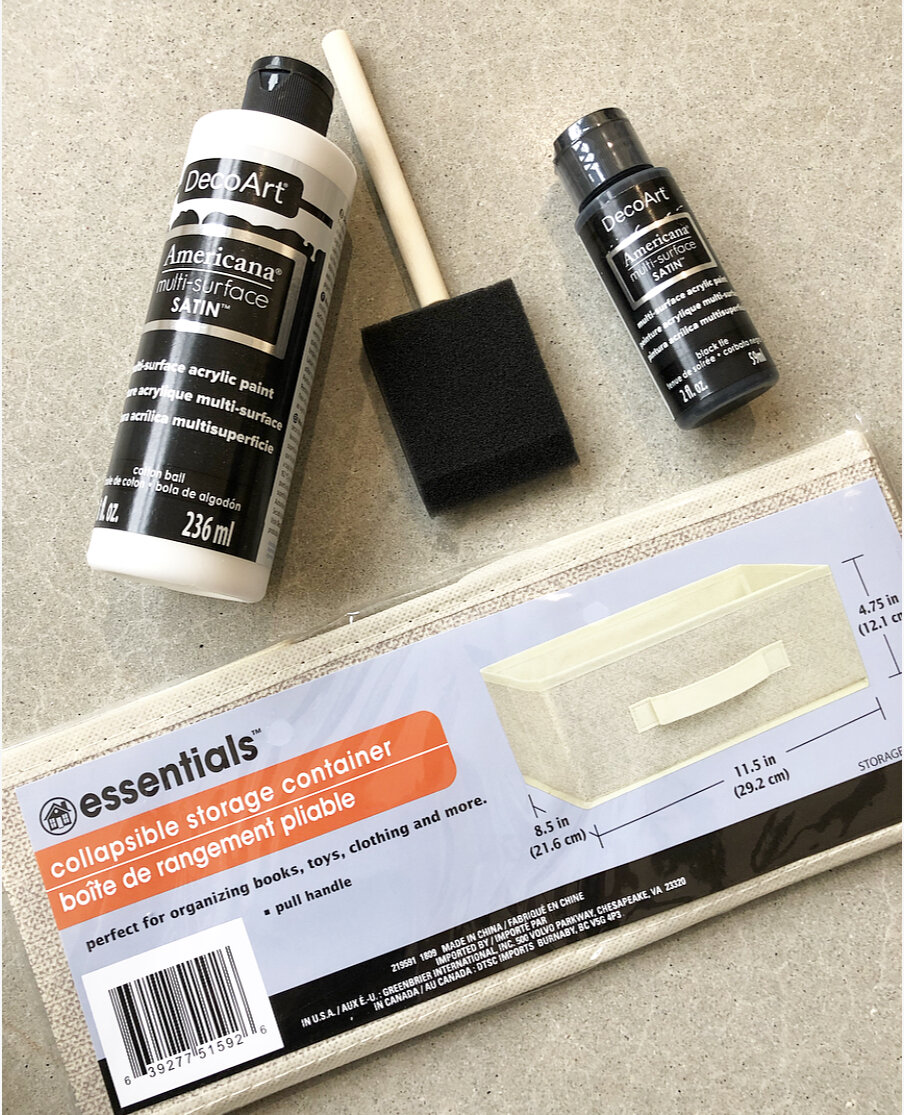
Here's what you'll need:
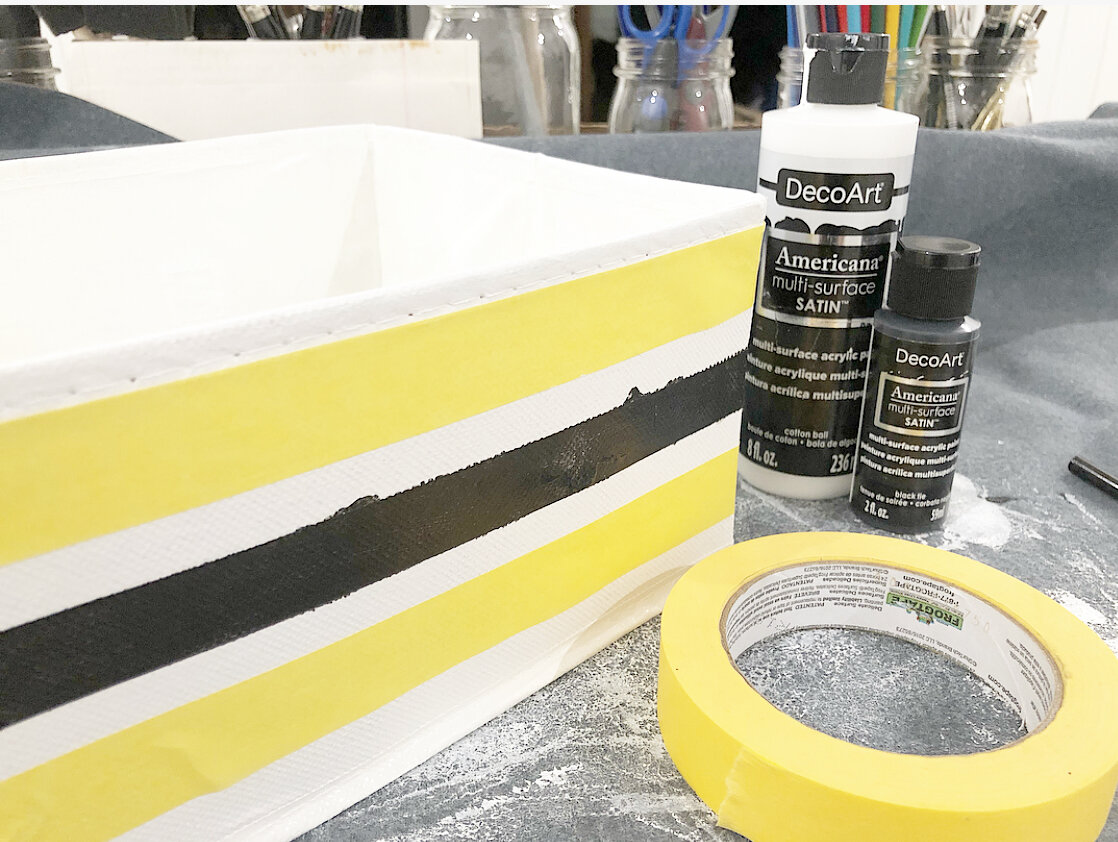
DecoArt multi-surface satin paints from the Americana line (i.e. I used the Cotton Ball and the Black Tie colors.)
DecoArt paint brush and a wooden-handled sponge brush
basket (i.e. I used a collapsible, storage container from the dollar store.)
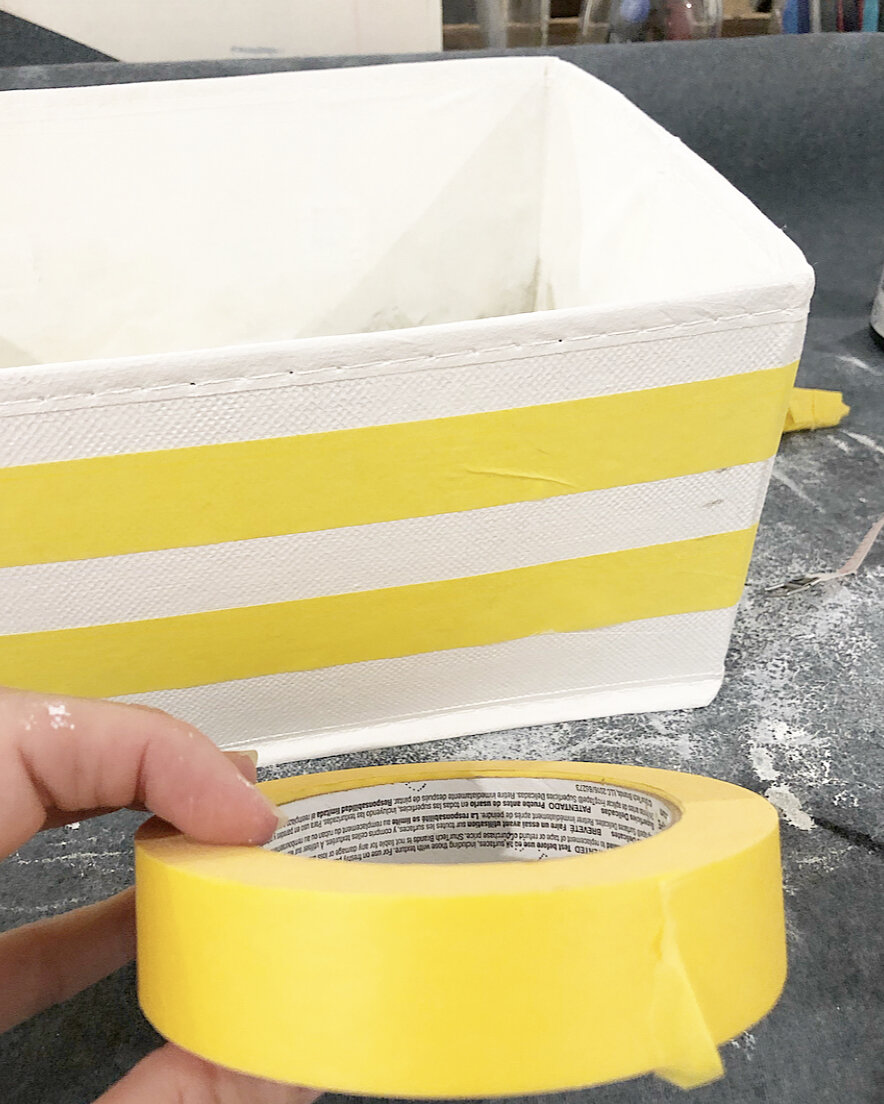
painter's tape
protective surface, such as a drop cloth or even a cardboard box, depending on the size of your basket
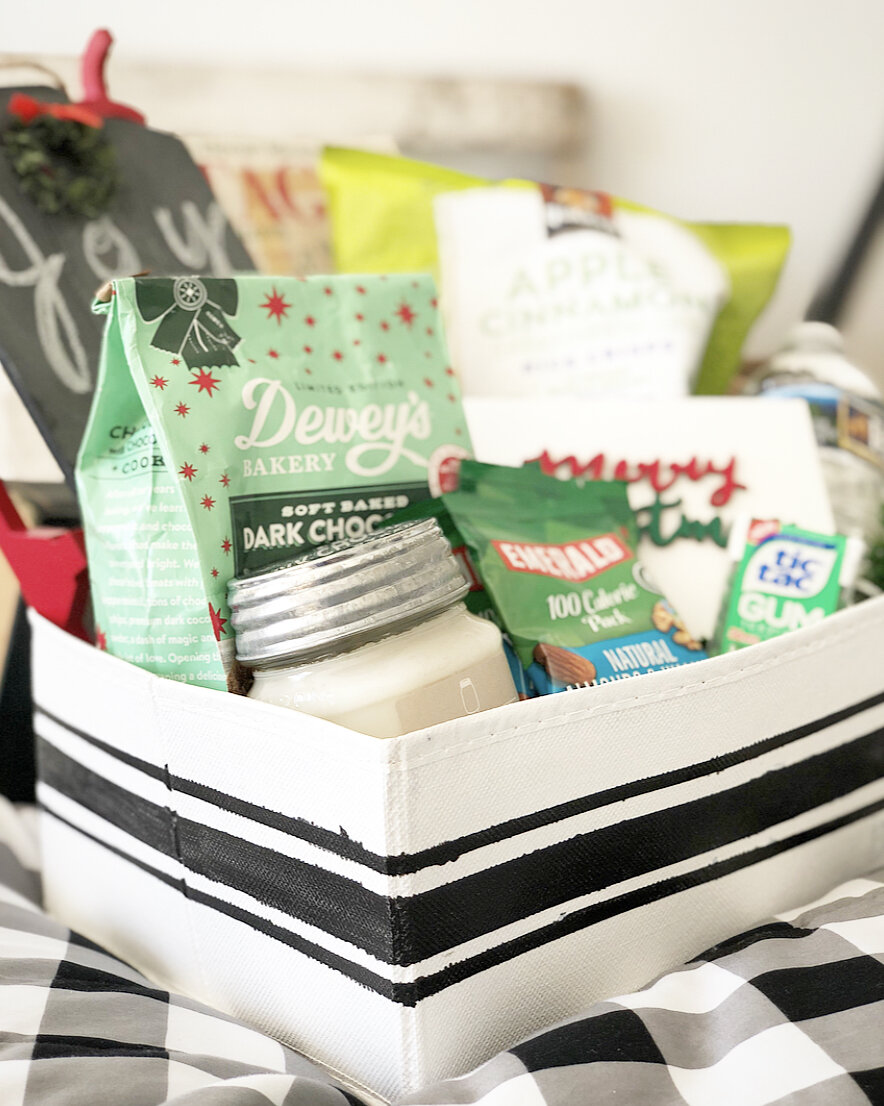
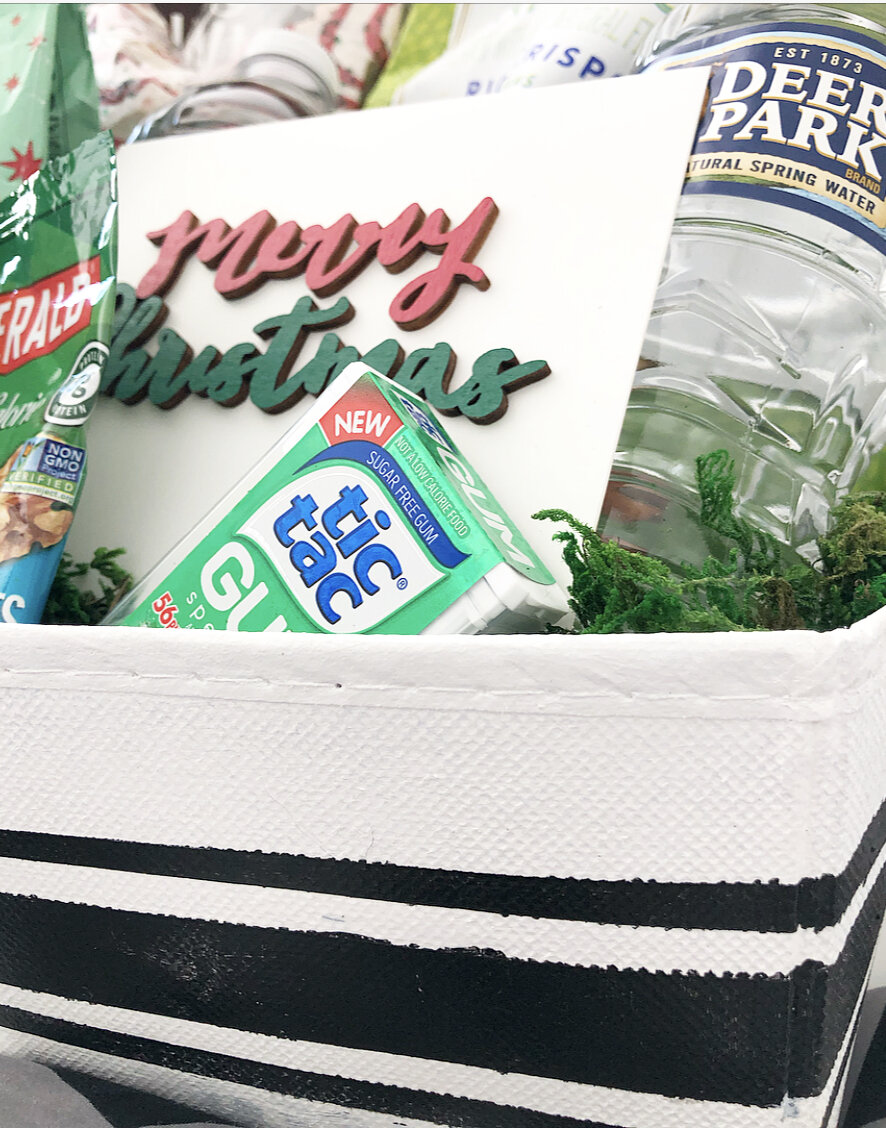
filler for your basket, such as faux moss, farmhouse napkins as the liner, feedsack linens or shredded paper
filler for the "hospitality" part of the basket, such as snacks, magazines, water bottles, mints, lotion, etc.
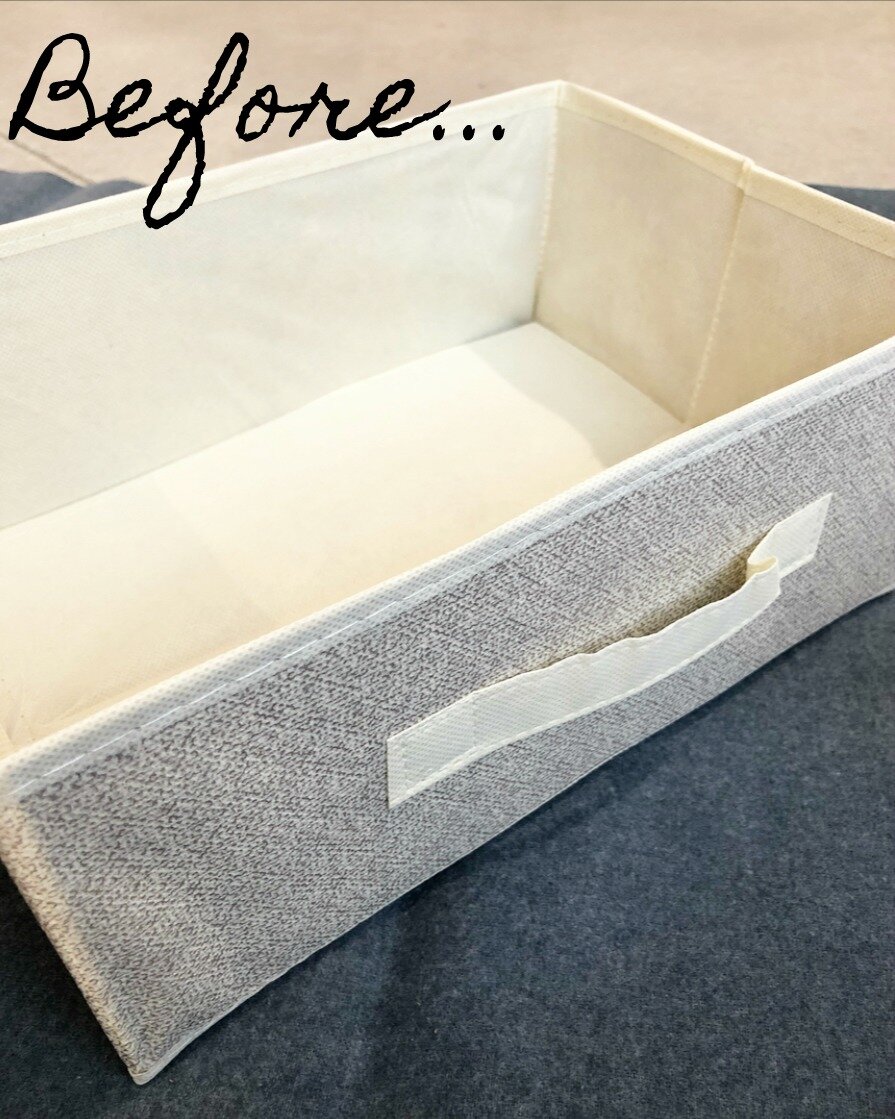
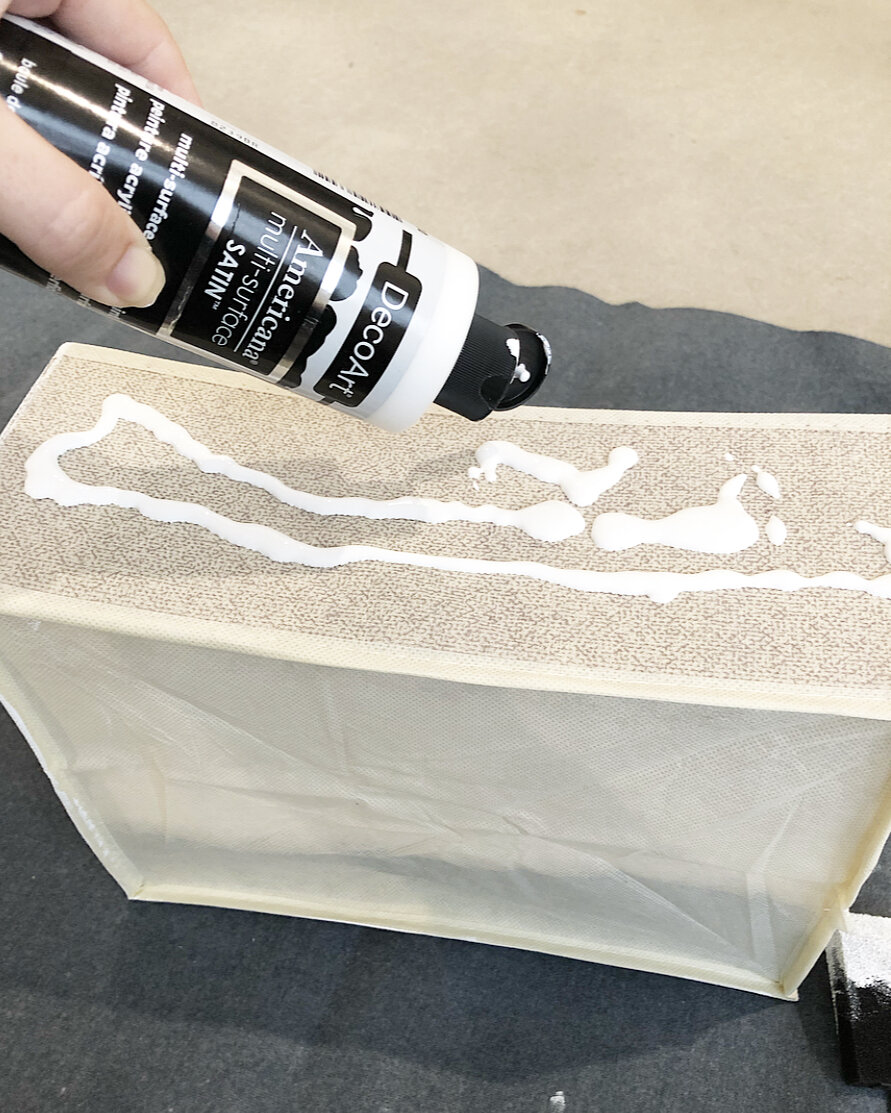
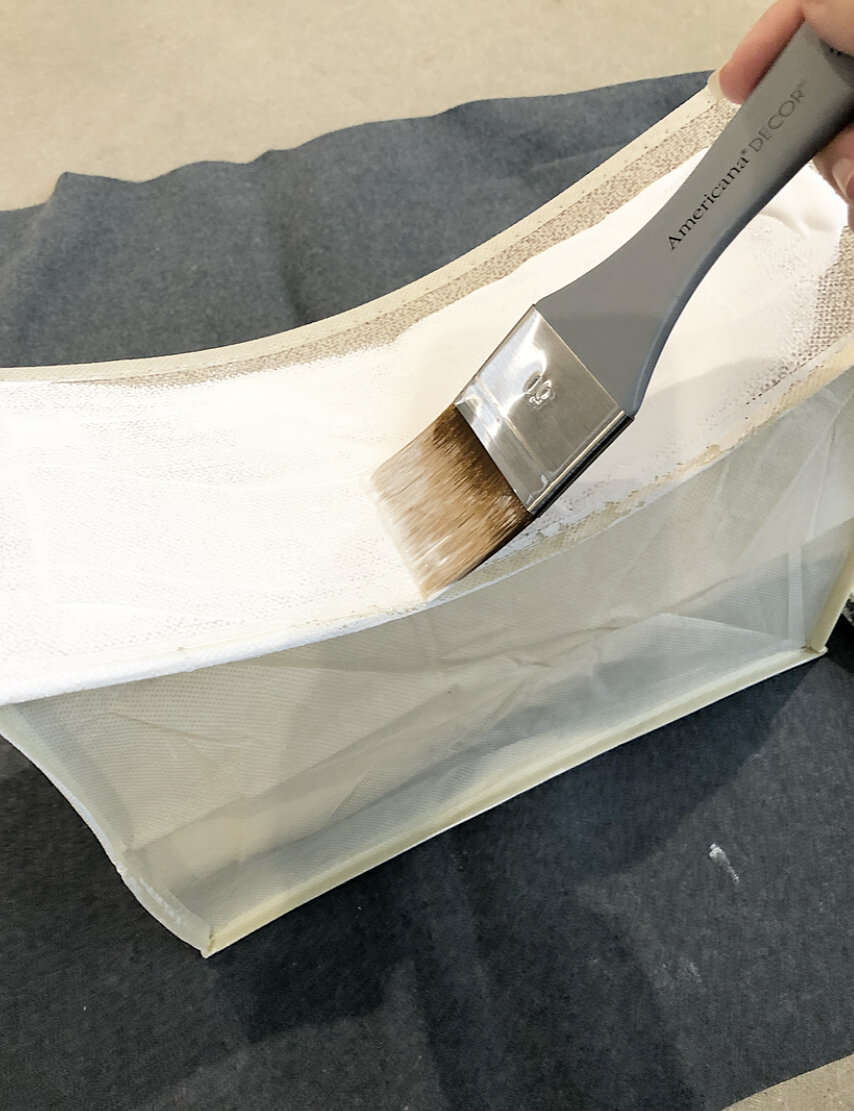
First, wipe down your container to remove any dust or debris, and place your container on a protective surface.
Next, using the white paint and brush, paint the entire container, covering both the outside and inside! Continue to apply coats of white until it reaches the desired depth of color. (I applied 3 layers.)

Let dry completely. Now, you're ready for your grainsack stripes! You can measure and tape off your basket however you like, but it probably would be best to start with the middle stripe. Instead of using brush strokes to apply the Black Tie color, I lightly blotted the paint onto the fabric basket in order to give it that "worn-in" look.
Once I finished creating the first stripe, I removed the painter's tape right away and then let the paint completely dry. Afterwards, I taped off the 2 outside stripes and painted them using the same "blotting" method. Let dry completely.
Now it's time to fill the basket with your favorite goodies. You could shop your pantry and throw in some yummy granola bars, sweet treats, water bottles, tissues, hand sanitizer, etc.

Thank y'all again for stopping by today. I am so honored to be a Core Blogger for DecoArt and would love for y'all to check out the other projects I've done using DecoArt products! You can search "DecoArt" in the search box on my blog, and there you'll find lots of posts on how I worked with their products!